You may notice that your indoor plants have yellowing stems during winter, which is why you need to know how to fix yellowing stems on indoor plants during winter. This yellowing often signals issues like overwatering or poor light conditions, leading to damage and potential wilting of the affected stems. If left unaddressed, the problem can worsen, weakening the plant and making it harder to fix, but you can improve the situation now by inspecting light levels and adjusting your watering schedule.
Step 1 – Remove Affected Stems of Indoor Plants
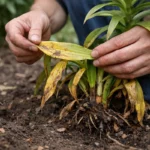
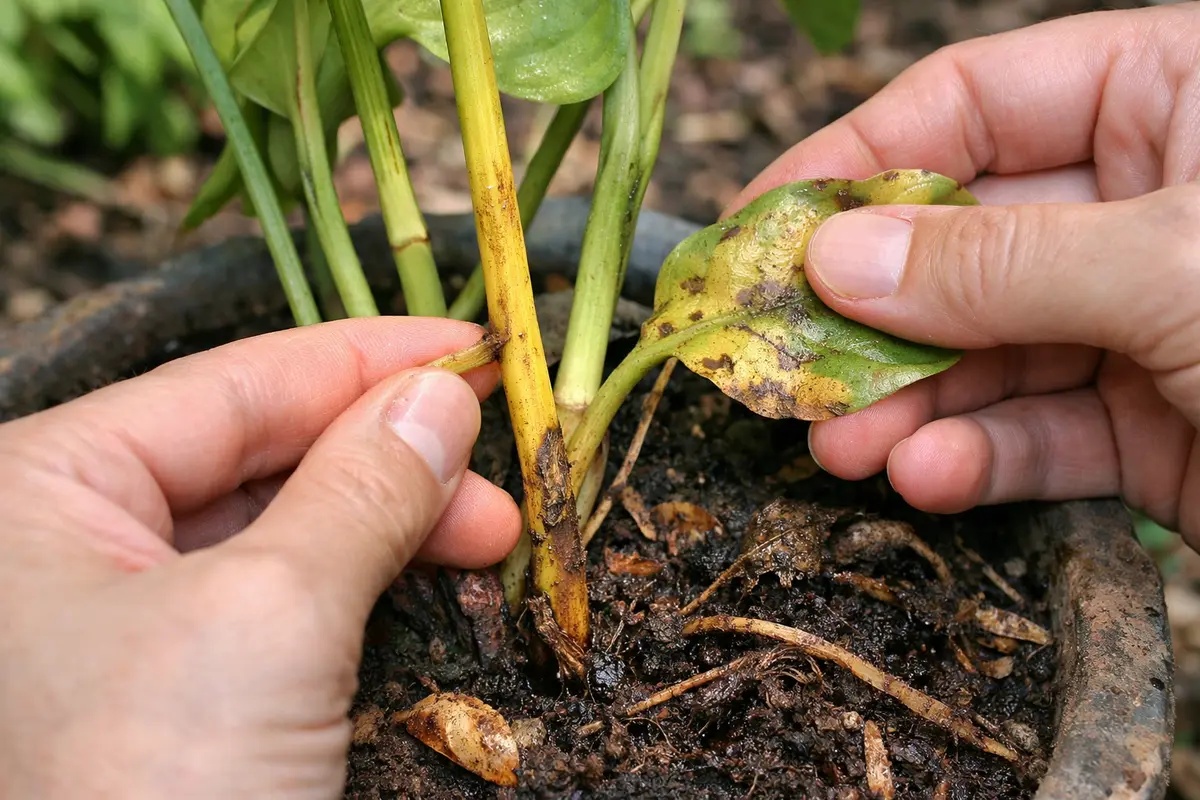
First, remove your indoor plant from its current pot and gently shake off the old soil to examine the roots. Look for signs of rot, such as mushy or dark-colored roots, and trim away any that appear unhealthy. Immediately after this step, your plant should look less crowded, revealing robust, white roots that signal a healthier state.
Acting fast is crucial because yellowing stems are often an indicator of root problems caused by overwatering or poor drainage. If you delay, the roots can deteriorate further, leading to a complete collapse of your plant’s structure. Healthy roots appear white and firm, whereas decayed ones will look brown and mushy, emphasizing the need to address the issue promptly.
For instance, one gardener waited too long to address yellowing stems, believing that simply watering less would do the trick, only to find that their plant had developed root rot. This scenario illustrates how timely intervention can prevent critical decline. If you notice yellowing but don’t see any root damage, check for proper watering schedules instead.
Acting quickly prevents further stress on the plant and allows for more efficient nutrient distribution. Yellow stems signal that the plant is struggling—often due to insufficient light, cold temperatures, or waterlogging. When damaged parts are removed, the plant can focus its resources on healthier growth, promoting better overall recovery. This crucial intervention can serve as a turning point in the plant’s health trajectory, with visual changes often observable within a few days.
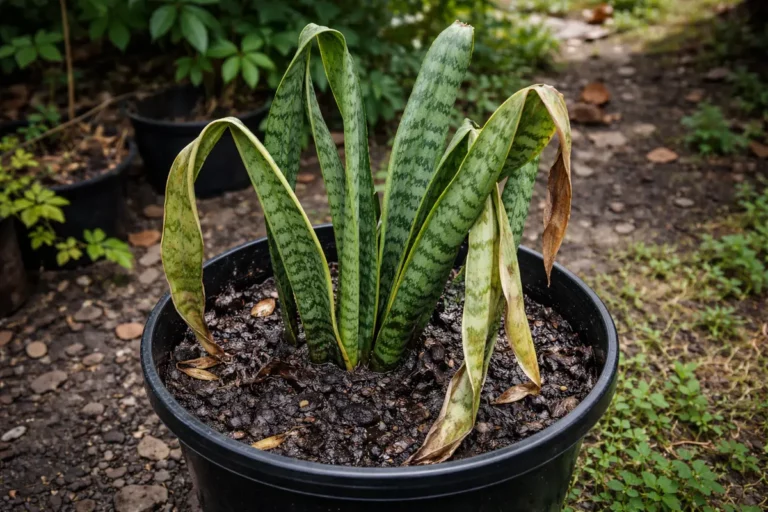
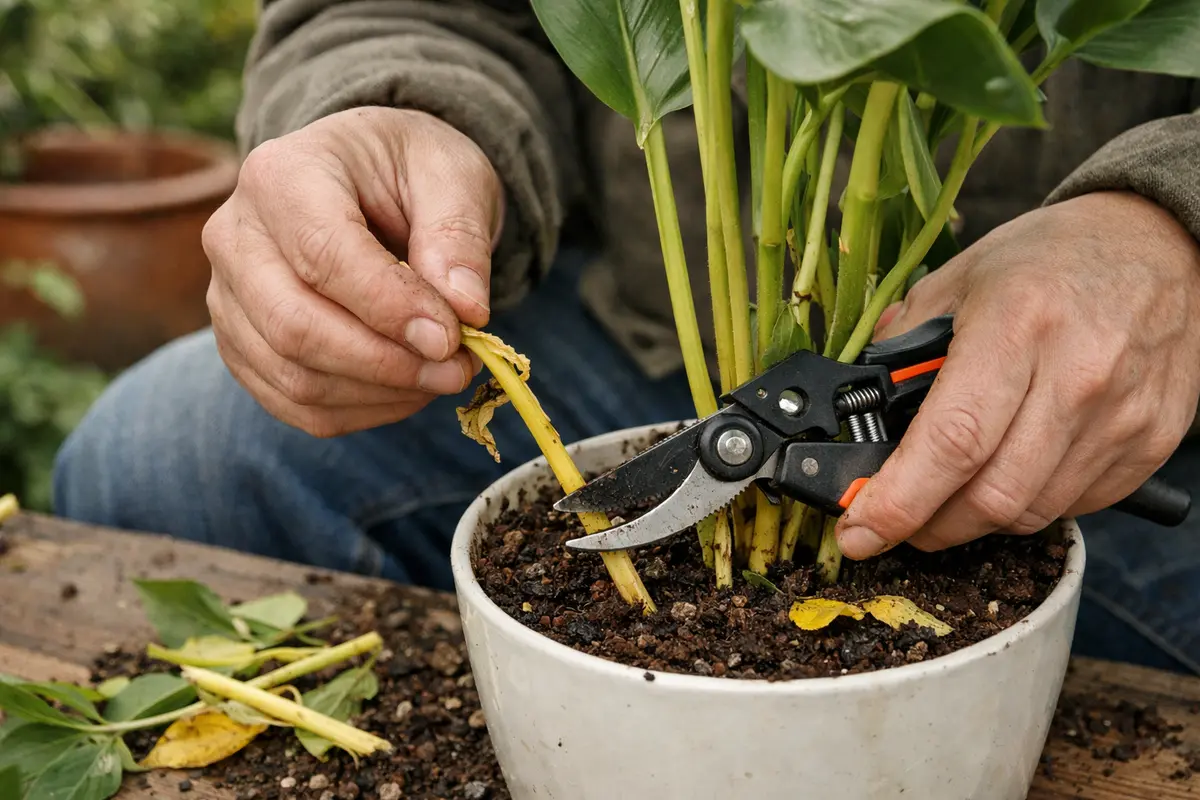
Many inexperienced gardeners mistakenly believe that leaving yellowing stems will encourage new growth, but this often exacerbates the issue. If you leave these stems, the plant will continue to expend energy on dying tissue, worsening the overall health of your indoor plants. Thus, removing affected areas promptly typically leads to a faster and healthier recovery. In a practical scenario, a potted snake plant left with yellowing leaves may take much longer to recover than one that was pruned immediately, emphasizing the importance of decisive action. To ensure no parts are left unaddressed, take a moment to validate that all yellowing stems are cut—this may require inspecting the plant multiple times during initial recovery.
Step 2 – Diagnose Cause of Yellowing Stems
First, check the soil moisture and ensure it is not excessively dry by sticking your finger about an inch deep into the soil. If the soil feels dry, water the plant thoroughly until excess moisture drains from the bottom. After this step, you should observe the yellowing stems begin to regain their firmness within a few days.
When indoor plants experience dry soil, they often exhibit yellowing stems due to lack of moisture, which leads to desiccation of cells in the stems and roots. This condition prevents adequate nutrient transfer, resulting in the visual symptom of yellowing. In contrast, if the soil is too wet, the plants can suffer from root rot, which also leads to yellowing stems but typically presents with a mushy texture.
If the soil smells sour, it indicates potential root rot from overwatering, so repot the plant in fresh, dry soil and remove any brown or mushy roots. Alternatively, if you notice that the stems are becoming thin and leggy rather than outright yellow, it may point to inadequate light rather than water issues, in which case you should consider moving the plant to a brighter location.
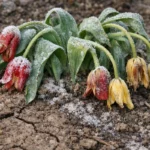
In many cases, yellowing stems can be attributed to overwatering during winter when the ground is cold and less absorbent. Waterlogged soil can suffocate roots, leading to nutrient deficiencies that show up as yellowing. Understanding these factors is crucial, as it allows you to adjust care strategies to support your indoor plants effectively. Regular checks can include lifting the pot to feel its weight; if it feels excessively heavy, it’s likely retaining too much moisture. When this occurs, allowing the plant to dry out between waterings can often bring about remarkable improvements in just a few cycles.
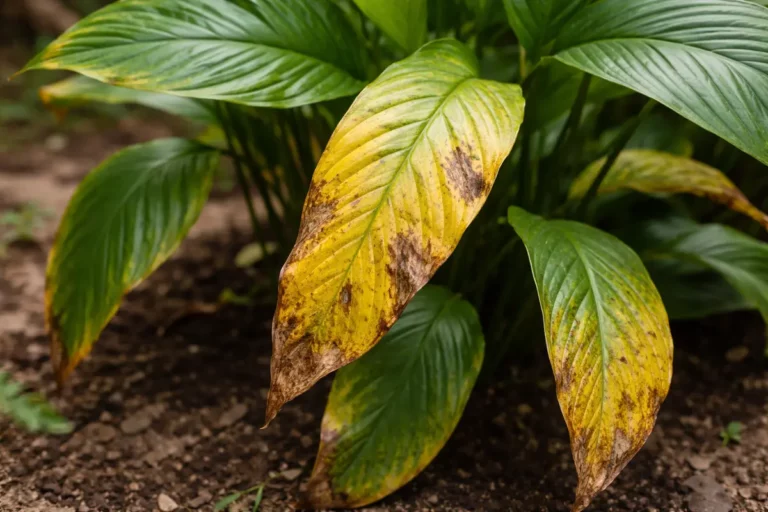
If you notice a sour smell from the soil or if it feels excessively soggy, these are signs of root rot. Conversely, dry soil with a crisp texture indicates prior underwatering. If the soil smells sour, it’s essential to repot the plant with fresh, well-draining soil to foster healthier conditions. Implementing these diagnostic checks can save your plant from further deterioration; for instance, nitrogen deficiency often manifests as yellowing in older leaves, while other types of stress may show random yellow patches. This variability demonstrates the importance of being attentive to changes in your plant’s environment; a thorough examination may involve checking the soil’s moisture with your fingers and observing leaf texture closely. Catching these signs early typically allows you to modify variables before the plant’s condition worsens.
Step 3 – Revive Plant Health with Proper Watering
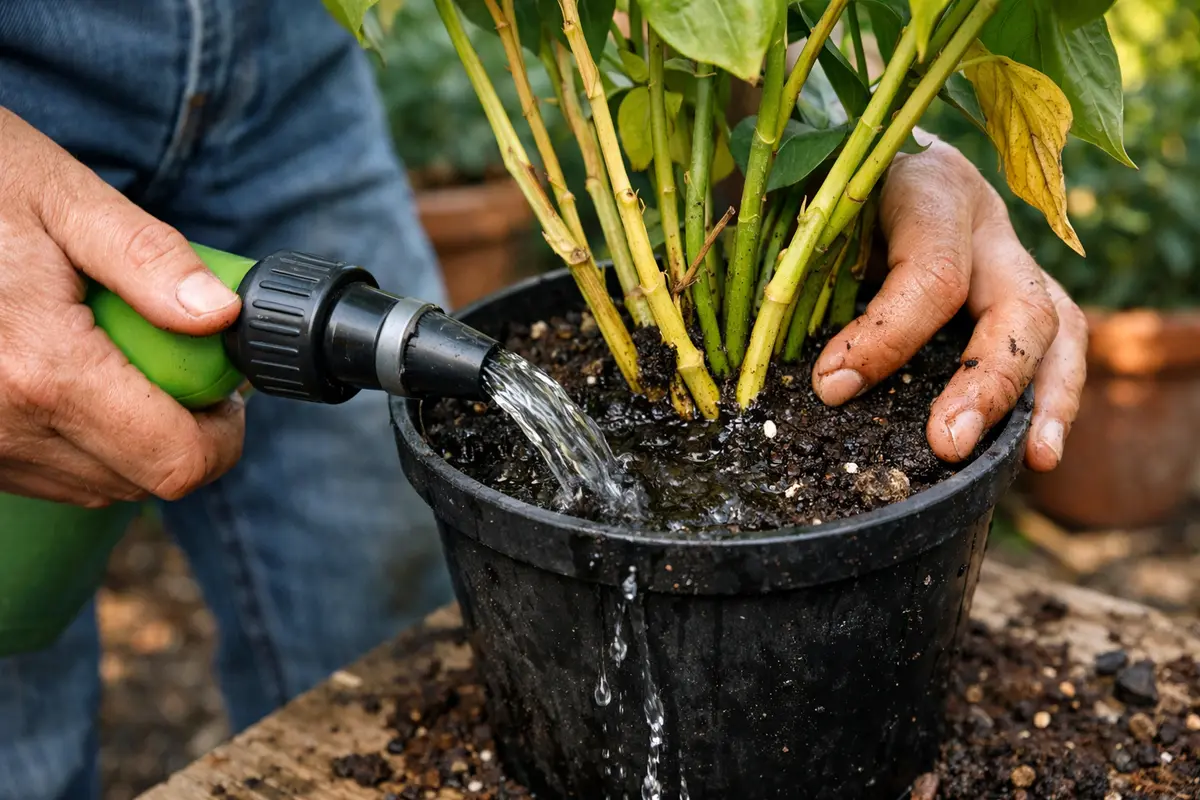
Water the soil thoroughly but only when the top inch feels dry to the touch. You will see your indoor plant regain firmness in its stems and may notice new growth appearing within a week. This observable change is a clear indicator that your watering practices are effective and the plant is responding well. Ensure you use room-temperature water since cold water can shock the roots and hinder recovery.
Proper watering habits are crucial for plants to recover from yellowing stems, especially during winter. When plants receive too much water, it can halt proper nutrient absorption and lead to excess moisture around the roots. Conversely, inconsistent moisture levels can also stress the plant, leading to further yellowing due to nutrient deficiencies. Aim for a well-balanced approach where you monitor the plant closely; different types of indoor plants may have unique requirements based on their natural habitats. For example, succulents and cacti require far less water compared to tropical plants like ferns.
It’s important to avoid overcompensating by applying excessive water immediately after observing yellowing stems. Doing so can lead to root complications, especially if the soil doesn’t drain well. Instead, adhere to a consistent watering schedule that takes into account the indoor climate and the specific needs of your plants. Over time, this attention to detail is what separates thriving indoor environments from those filled with struggling plants. Remember that while it may be tempting to overwater in hopes of faster recovery, this often leads to a cascade of issues—including root rot—that can hinder rather than help. Always examine drainage holes to ensure they are not clogged, as this can trap excess water and exacerbate yellowing.
Step 4 – Avoid Overwatering During Winter Months

Start by ensuring your indoor plants receive adequate light by placing them near a south-facing window or using a grow light for at least 12 hours a day. This consistent exposure will significantly reduce yellowing stems and promote stronger, healthier plants.
The lack of natural light during winter can trigger yellowing stems, as plants may struggle to photosynthesize effectively. By providing artificial lighting, you alleviate the stress caused by inadequate sunlight, enabling the plant to maintain its necessary growth processes. If your plants appear pale yet are receiving enough light, check for other factors like overwatering or low temperatures.
As winter progresses, regularly rotate your plants to ensure all sides receive adequate light exposure. This routine adjustment helps prevent uneven growth and reduces the likelihood of yellowing stems caused by consistent light deficiency on one side. If the ambient temperature drops significantly, consider raising the light intensity or duration temporarily to compensate for the lack of natural warmth.
Creating this routine is essential as winter conditions can significantly decrease evaporation rates, causing the soil to retain water longer than expected. Preventing overwatering protects the roots from suffocation and lethargy that can result in further yellowing. Plants can also benefit from increased humidity, so consider misting or using humidity trays to augment their environment. Maintaining higher humidity levels can also help rejuvenate your plant’s natural vigor, as many common indoor plants thrive in slightly more humid conditions. If your home is particularly dry, using a humidifier can provide a more stable environment.
Seasonal variations often prompt gardeners to forget the impact of their indoor environment. During winter, check your soil’s moisture level more frequently since cold temperatures may trick you into thinking the plant is adequately watered. Always adjust your approach based on the specific conditions of your household during winter, including changes in heating. Neglecting to account for humidity changes might lead you to overwater simply because you feel the soil is dryer than it is. A good practice is to take a moment each week to assess both the ambient humidity and the moisture content of your plant’s soil to ensure they are always in harmony.
Step 5 – Inspect Leaves for New Yellowing Signs
Check your plant’s leaves for new yellowing signs every 4-5 days. You will notice healthier leaves starting to regain their color and firmness as your plant stabilizes. Spotting these signs quickly helps you ascertain the efficiency of your care and improves the chances of successful recovery. If the color shifts back to green or if leaves begin to grow new sections, it’s a positive indicator that your efforts are having an impact.
A fully recovered plant should exhibit vibrant green leaves and firm stems while showing no signs of new yellowing. Regular inspections help target new issues promptly, ensuring your plant doesn’t experience prolonged stress. If symptoms reappear, it’s essential to address the specific causes rather than waiting to see if they resolve. When you notice fresh yellowing, it may indicate a change in environmental factors—such as decreased light exposure or fluctuations in temperature—that require immediate attention. Keep in mind to monitor not just the leaves but also the overall plant structure; drooping stems can occur alongside yellowing and signal that the plant needs additional support.
If yellowing resumes, consider revisiting your watering frequency and light exposure; insufficient light can lead to further complications. You might need to reposition the plant near a light source or adjust your watering habits if you find the soil is consistently too wet or too dry. This repeated observation sharpens your awareness, helping prevent larger problems from developing. Making small adjustments based on your observations can often prevent minor issues from escalating into serious problems across your plant collection. Aim for a proactive rather than reactive approach, as small tweaks can yield significant results.
FAQ
How long does it take for indoor plants to recover from yellowing stems?
Recovery can typically take about one to two weeks once corrective actions are implemented. You should see visibly healthier leaves and stems during this period as the plant redirects its energy to restoring health. However, some plants may take longer depending on their specific needs, so patience is key. Regularly adjusting care based on visible changes will help you accurately gauge recovery.
Can yellowing stems spread to other parts of the plant?
If left unaddressed, yellowing can spread throughout the plant, leading to further damage if the root cause is not corrected. Regular inspections and timely interventions are vital to prevent this from happening, as new growth will often signal that conditions are improving. If you notice a newborn leaf showing signs of yellowing, this could indicate that nutrient uptake is again hindered, and an immediate re-evaluation of care is necessary.
Should I remove all yellowing stems at once?
It’s best to remove yellowing stems progressively rather than all at once. This approach allows the plant to recover without stressing it further, promoting balanced growth as the other stems reallocate nutrients and energy. In contrast, taking too much at once can shock the plant, prolonging its recovery time. Assessing and adjusting your strategy each time helps maintain a steady path toward full health.