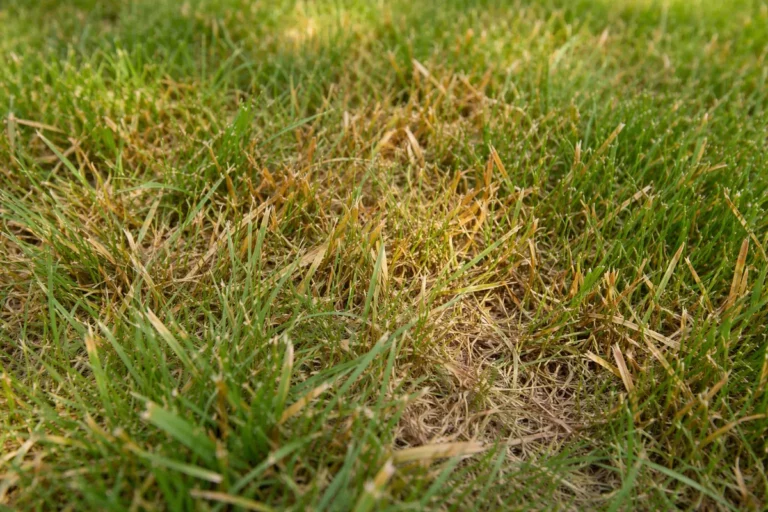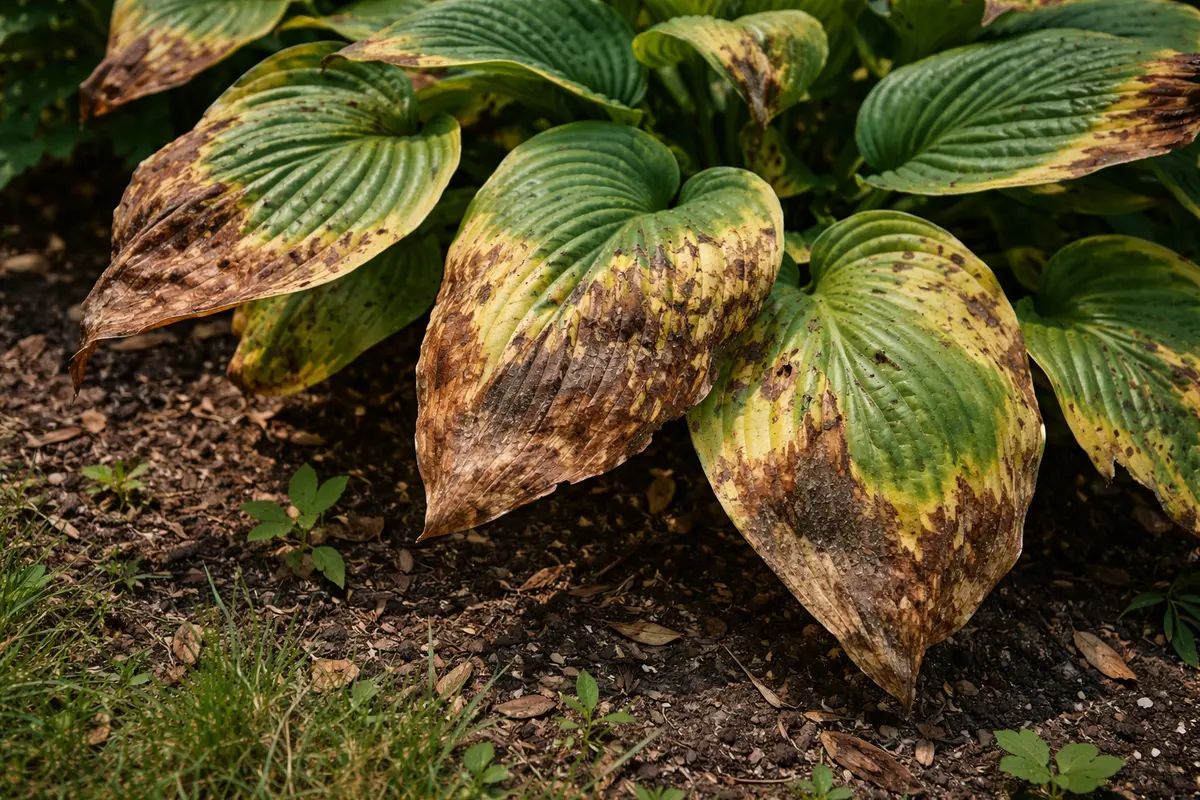
You may notice unsightly brown patches on your lawn after winter, which is why you need to know how to fix brown patches on lawns after winter. These patches occur due to a combination of frost damage and improper drainage, leading to yellowing and dead spots in your grass. If left untreated, the problem can spread and weaken the overall health of your lawn, making it harder to fix later on. The good news is you can revive your grass now by inspecting the affected areas, adjusting your watering schedule, and adding fertilizer to enhance growth.
Step 1 – Rake Up Thatch from Lawn Patches
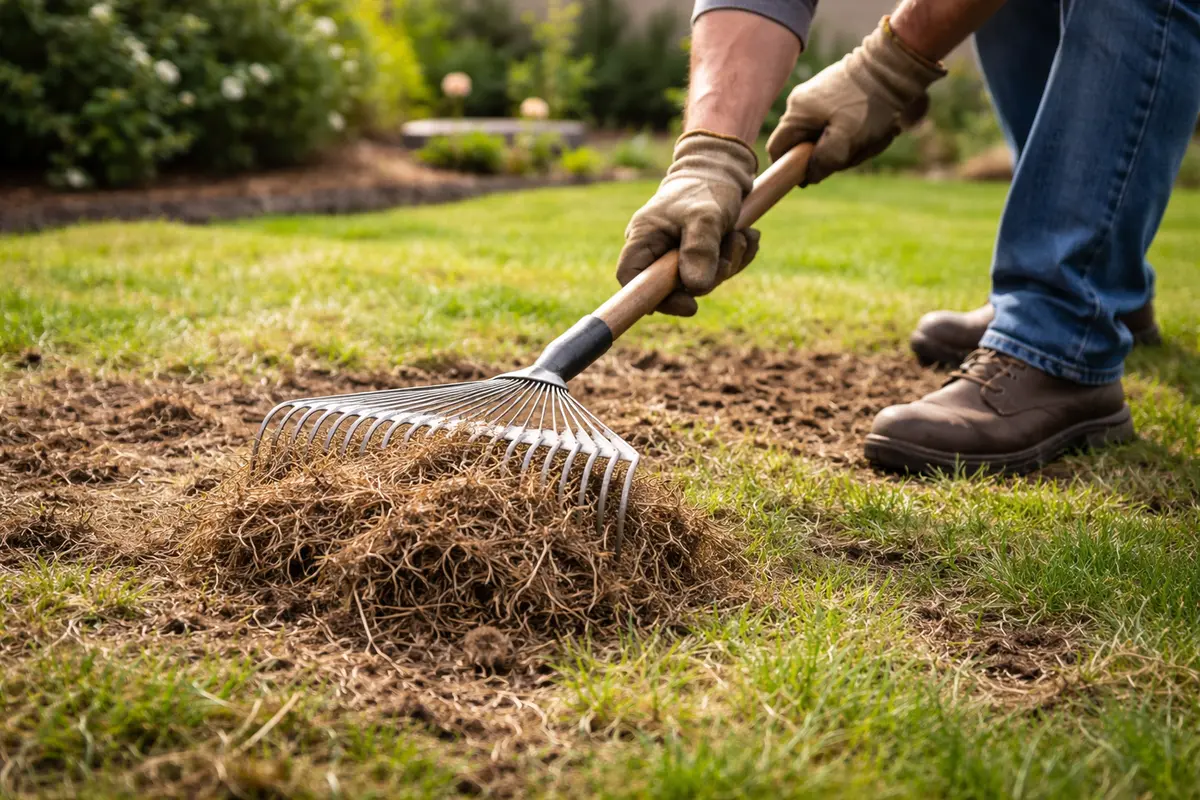
Start by raking up any thatch from the affected lawn patches. You will notice the surface soil aerating and drying out within a few hours, facilitating better access for moisture and nutrients to the grass roots. Thatch can prevent oxygen and nutrients from penetrating the soil, so clearing it away quickly improves air circulation and reduces the risk of fungal diseases that thrive in damp conditions. Keep in mind that heavy thatch—greater than half an inch—can choke grass, causing it to die back further. If your lawn consists of thick turfgrass varieties, you may find that thatch builds quickly, demanding frequent raking. The ideal thatch conditions for most grasses range from a quarter inch to a half inch; any more may require intervention.
This action is vital, especially after winter, as compacted layers develop when snow covers the lawn for long stretches. When thatch is left untouched, it can trap moisture, creating a perfect breeding ground for pests, such as grubs and fungus, which ultimately harms turf grass. To determine if your thatch layer is excessive, you can use a measuring stick: if it measures more than half an inch, it is time to clear it out. After raking, you should observe the soil color changing from dark and damp to light and crumbly, which indicates improved aeration. However, if you observe a dense layer of roots or debris remaining, additional raking or dethatching may be necessary.
Many gardeners overlook this initial step and instead focus on watering or fertilizing, assuming the nutrients will reach the roots. The reality is that without proper aeration, these efforts may be ineffective. Additionally, if the raking is insufficient, new grass may struggle to take root. Be cautious not to skip this step; too often, gardeners hastily apply fertilizers, only for them to sit atop a choking layer of thatch. Avoid waiting too long to rake; the earlier you do this, the better your lawn’s chances of robust recovery. If the weather has been consistently wet, wait for a dry period before you begin, as attempting to rake wet thatch can lead to compacting the soil even more, negating the benefits of aeration. Remember to inspect your raking technique; applying too much pressure can drive debris deeper into the sod, making future growth even harder.
Step 2 – Diagnose Underlying Soil Moisture Issues
Check the moisture levels in your lawn’s soil by digging a small hole about six inches deep. You will notice whether the soil is too wet, dry, or just right based on how it clumps in your hand. Addressing moisture levels helps to ensure grass roots are not suffocating from excess water or dehydrated, both of which contribute to brown patches. If the soil is sticky and clumps while digging, it indicates over-saturation; on the other hand, dry soil will easily fall apart with little resistance. A sticky texture typically suggests that the soil has poor drainage, possibly requiring a more comprehensive drainage solution. If your lawn is experiencing patches that seem consistently wet, focusing on enhancing drainage will be essential.
Frost causes fluctuations in temperature and water levels within the soil, potentially leading to root rot if the ground stays soggy for too long. When moisture isn’t monitored, it causes varying results; too much water suffocates roots while too little causes them to dry out. This critical balance is crucial after a winter thaw when new growth starts but requires adequate moisture to thrive. If you find only localized patches are wet while others remain dry, this might indicate issues with water distribution, possibly necessitating the addition of irrigation systems that can deliver targeted moisture.
If you find that the soil is consistently too waterlogged, consider aerating or enhancing drainage systems, such as installing perforated pipes to direct excess water away. Conversely, if the soil is excessively dry, initiating a structured watering plan is essential—consider starting with one inch of water per week, adjusting based on weather conditions. Monitor periodically; if the soil has a sour smell, that’s an indication of decay—shift your strategies immediately to tackle drainage issues or aeration as needed. If, after two weeks of regular watering, you notice no improvement in grass color, it may signal an underlying issue that requires professional assessment, especially if the roots feel compacted or lifeless. Establishing a moisture monitoring routine can prevent these issues from recurring, ensuring you’re acting before symptoms turn severe.
Step 3 – Aerate Lawn to Encourage Grass Recovery

Aerate the lawn by using a core aerator to create small holes across the affected areas. You should see the soil loosening and water penetration improving within days, which will promote healthier grass growth. Aeration alleviates soil compaction, enabling roots to access more oxygen and nutrients, crucial for recovery. Aim for spacing holes about three to four inches apart; this density allows for optimal air exchange and allows moisture to reach deeper root systems, fostering a lush green recovery. If you observe increased earthworm activity in moist soil, their presence serves as a positive indicator of improved soil conditions.
When grass begins to recover, you may notice fresh green shoots emerging within a week or two. Observing these signs is a positive indicator that the roots are re-establishing themselves effectively. However, if you still observe brown patches after aerating, reassess if the core holes are adequate for the grass type and adjust accordingly; too wide or too shallow cores may not yield the desired results. Timing is also important; perform aeration during the active growing season—ideally late spring—when temperatures are warm and grass is vigorously growing, allowing for optimal recovery. If you aerate too late in spring or again in the fall, grass may struggle to root before the onset of winter.
Be cautious not to overfertilize right after aerating; some gardeners mistakenly think that more nutrients will expedite recovery, but this can lead to nutrient burn. Instead, follow a balanced fertilization program for your grass type—generally, nitrogen levels should stay moderate, avoiding levels above 5%. Consistently observe the health of your grass; if within a week there’s still no greening or recovery noted, consider consulting a lawn care professional to evaluate deeper soil health issues, such as underlying compaction or pest problems that might have developed. Checking for soil pH can also provide insight into nutrient availability, especially in anaerobic conditions where nutrients become less accessible to grass roots.
Step 4 – Fertilize Brown Areas to Stimulate Growth
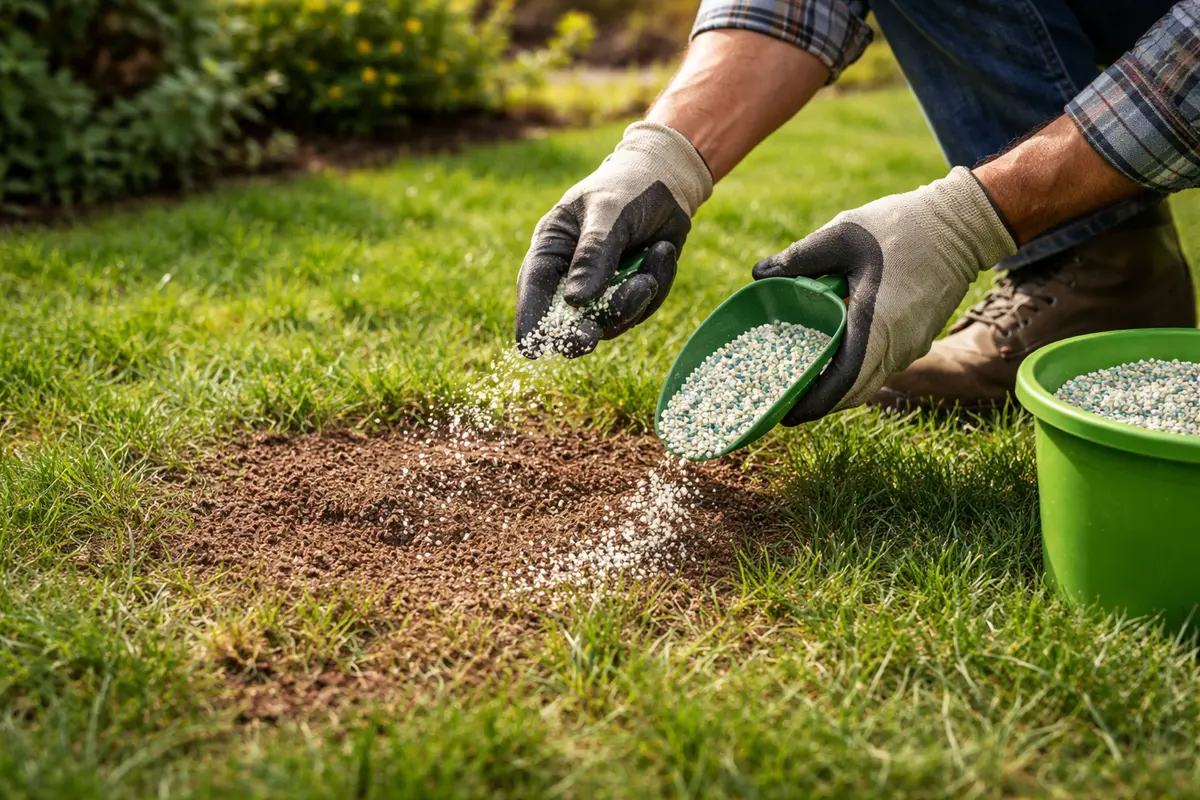
Fertilize the affected brown areas using a product high in nitrogen to stimulate growth, ensuring it aligns with season-specific nutrient needs. You will see greener grass starting to emerge within 10-14 days as the roots respond to the added nutrients if you’ve adequately prepared the soil. Use a slow-release or organic high-nitrogen fertilizer according to the product guidelines to prevent overwhelming the grass. High-nitrogen fertilizers, such as those with an N-P-K ratio of 30-0-0, help grass recover from stresses incurred over winter and encourage rapid growth. This nourishment is most critical for recovery in heavily damaged patches.
Timing is essential: apply fertilizer during the growing season—preferably when the soil temperature is well above 55°F—as this is when grass actively absorbs nutrients. A controlled application will promote growth without overwhelming the soil, ensuring nutrients are used effectively. Be aware of weather conditions; applying fertilizer just before heavy rain can lead to runoff, diminishing effectiveness and potentially harming water sources nearby. Monitor local weather patterns; late spring typically showcases optimal fertilization conditions.
Common mistakes include applying excessive fertilizer during initial treatments, which can cause “burn” spots, permanently harming the lawn in the long run. To prevent this, apply no more than the recommended amount per thousand square feet, and consider using a spreader for even application across designated areas. Additionally, avoid fertilizing during extremely dry or cold spells, as grass may struggle to utilize the nutrients effectively. If your grass doesn’t show signs of improvement within four weeks, reevaluate your soil quality alongside nutrient levels to ensure they’re adequate for successful grass recovery. If burning persists after multiple applications, it may indicate high soil salinity, affecting the grass’s capacity to absorb the necessary nutrients. Reassessing your fertilization habits then becomes urgent to avoid long-term grass damage.
Step 5 – Inspect for New Growth on Lawn Every Week
Start by monitoring your lawn every few days for visible signs of recovery from brown patches. Check for new green shoots emerging from the soil and observe changes in color and texture. Recheck your lawn weekly to ensure that areas showing improvement aren’t reverting back to brown.
A fully recovered lawn will display lush green grass with a dense, uniform texture, indicating vitality. In contrast, early signs of the problem returning include yellowing or thinning grass blades, which feel dry and brittle to the touch. If you notice the patches remain parched or take on a grayish hue, it is time to investigate further.
If brown patches reappear despite your initial efforts, increase irrigation in affected areas to see if moisture levels improve. Alternatively, consider applying a specialized lawn treatment that addresses nutrient deficiencies specific to your grass type. If the problem persists after these adjustments, consult a lawn care professional for deeper analysis.
A fully recovered lawn will feel dense and resilient when stroked underfoot, whereas areas with recurring brown patches may exhibit thin or wilting grass. Changes in texture, color, and overall feel underfoot are reliable indicators of lawn health and inform whether your remedial actions are effective. After observing new growth consistently for three consecutive weeks, you can ease the frequency of inspections to bi-weekly. However, remain vigilant for fluctuations in weather conditions or water supply that could stress the grass again. If mowing reveals bald patches, it may suggest that the roots are still weak or poorly established, indicating a need for redoubled efforts.
If you notice old brown patches returning, it may warrant repeating previous steps or consulting lawn care specialists for pests or additional assessments of soil quality. If patches recur despite your diligent care, it could indicate deeper problems, such as invasive grubs disrupting root systems or fungal diseases re-emerging in the soil. Frequent changes in moisture levels can also be a significant factor; observe how shifts in weather may directly impact grass health, adjusting your maintenance schedule accordingly. Should all else fail, consider consulting with a professional lawn care service to explore unseen issues potentially affecting your lawn’s overall vitality.
FAQ
How long does it take for my lawn to recover from winter damage?
Lawn recovery can typically take 4 to 6 weeks, depending on the severity of the winter damage and the care steps taken afterward. During this time, you should see new growth if the soil conditions and nutrients are managed appropriately, facilitating a healthy regeneration process.
Can brown patches spread if not treated?
Yes, brown patches can spread if left untreated, as the underlying issues, such as pests or inadequate watering, persist and affect nearby grass. Prompt action is crucial to prevent further spreading and ensure the health of your lawn; unaddressed patches may lead to a domino effect of deterioration over time. Pay attention to moisture and temperature fluctuations that could further complicate existing problems.
Should I remove the brown patches entirely?
Not necessarily. Unless the grass is completely dead, it’s better to focus on treatment and recovery methods rather than removal. Grass can often rebound if given adequate care; thus, patience and consistent observation are essential for revitalization. Regular monitoring will allow you to identify any ongoing or emerging issues requiring intervention, allowing for an effective recovery strategy to be implemented.