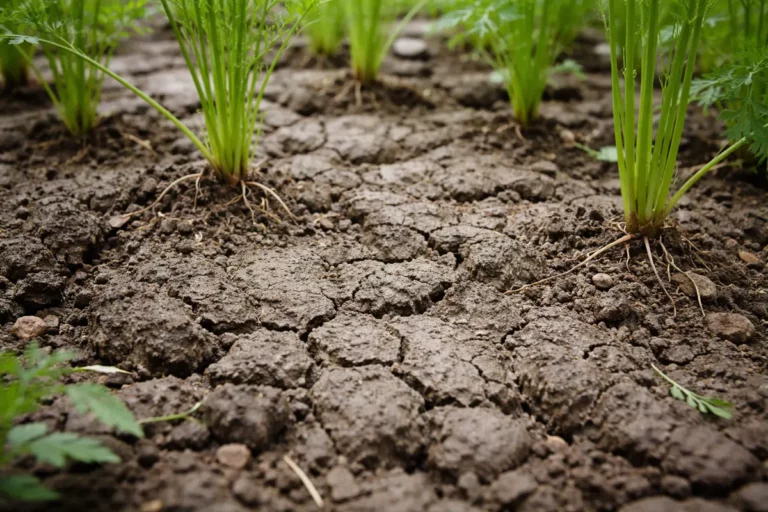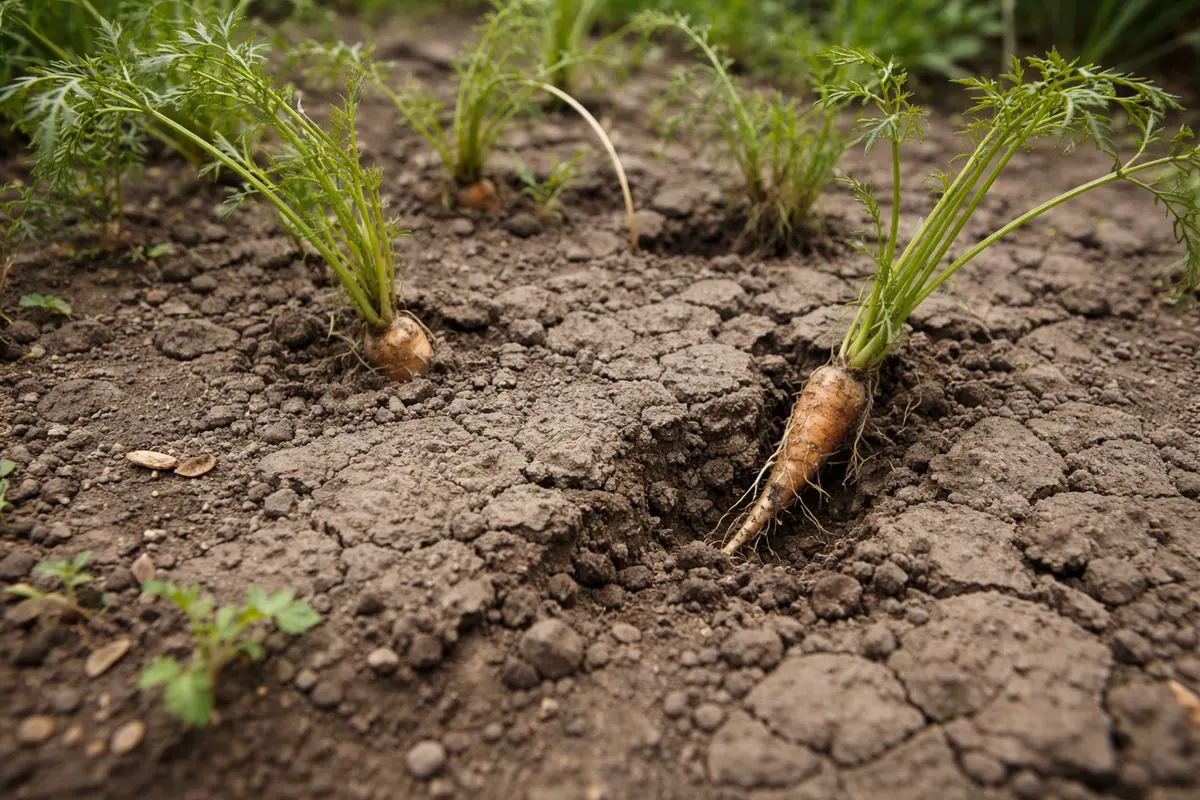
You’ve probably noticed that your carrot seedlings are struggling to break through the surface after the winter thaw, which is why you need to know, “Why are my carrots not growing in compacted soil after winter.” The seedlings may exhibit yellowing and stunted growth due to the dense soil limiting their root expansion and oxygen intake. Ignoring this issue leads to worsening conditions for your plants, as compacted soil stalls growth and weakens the overall health of the carrots, but you can improve the situation now by loosening the soil and ensuring proper watering.
Step 1 – Dig Up Compacted Carrot Bed Immediately
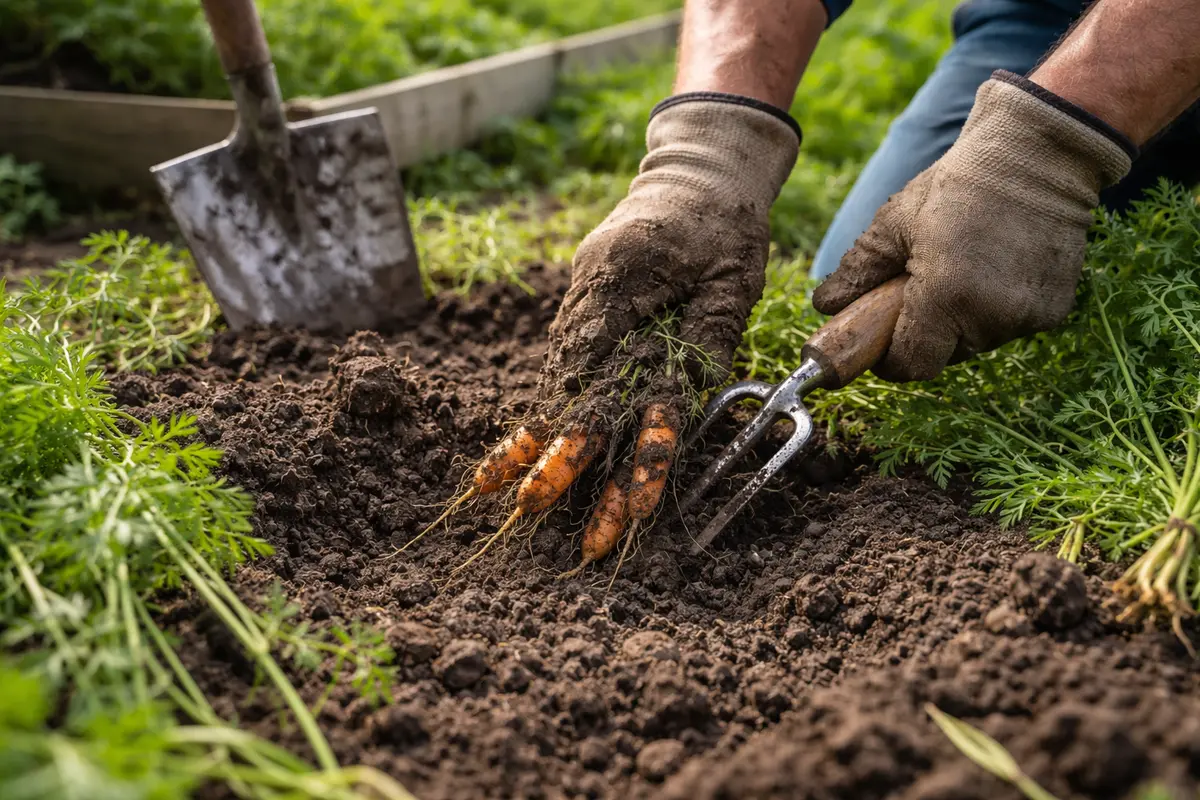
Start by loosening the compacted soil around your carrot bed. You will notice that the soil starts to crumble and becomes easier to work with, allowing for better airflow and drainage. Use a garden fork or broadfork to break the hard surface, taking care not to pierce any carrot roots beneath the surface. Target the edges of the planting area and work inward to minimize disturbance to those roots.
Acting quickly is crucial for carrots, as compacted soil restricts root growth and nutrient access. Carrots require loose, well-aerated soil to expand properly, and compacted earth can suffocate roots, leading to stunted growth or deformation. Removing the compacted layers exposes the roots to oxygen and nutrients, promoting healthier development. As you dig, look for any roots that are already starting to deform; this is a sign that immediate intervention is necessary. Pay attention to the texture; if the soil feels like clay or hardpan, it needs immediate loosening.
A common mistake here is to wait too long before checking the soil compaction. Gardeners often assume that since the carrots are in the ground, they are growing adequately. However, if the ground has not thawed or softened sufficiently in spring, roots may struggle to penetrate the hard surface, leading to weak plants. Checking the gardening space early in the spring is essential for timely intervention. If the soil remains hard after the thaw, increase your effort to amend it quickly, as delays can lead to irreversible damage to the roots. If you encounter sections that are particularly resistant, consider using a broadfork to aerate those stubborn areas effectively.
Step 2 – Assess Nutrient Levels in Soil
Measure the nutrient content in your soil using a garden soil test kit. You will reveal whether the soil has adequate levels of nitrogen, phosphorus, and potassium necessary for healthy carrot growth. Conduct the test by following the instructions carefully, sampling from various depths and locations within the carrot bed. Aim to take samples from at least three different spots to obtain a representative view of the nutrient profile.
Understanding nutrient levels is important as compacted soil can limit the availability of these essential nutrients. Compaction can lead to a build-up of salts or a decrease in organic matter, both of which hinder plant growth. If nutrients are deficient, weak plant growth will result as the carrots will struggle to receive what they need for development. If the test shows moderate to low nutrient levels, consider strategic amendments rather than over-fertilizing, which could lead to salt buildup that may further damage the root system. Always refer to local soil guidelines, as they can provide specific information on how to best amend your soil for carrots.
If the soil test indicates low nitrogen levels, consider amending the soil with a nitrogen-rich fertilizer. Conversely, if the soil appears overly acidic, which could be indicated by a sour smell or an abundance of weed growth, you may need to add lime to balance the pH, optimizing nutrient absorption for your carrots. Monitor the pH after amendments; ideally, carrot soil should have a pH between 6.0 and 7.0. Additionally, observe how the soil reacts to changes; if symptoms of deficiency remain after amendments, additional testing or observation may be necessary. Keep an eye out for any unexpected weeds that thrive in poor soil conditions, as their presence could indicate ongoing nutrient issues that need to be resolved.
Step 3 – Add Compost to Improve Carrot Growth

Start by loosening the compacted soil surrounding your carrot plants using a garden fork or tiller. Work the soil lightly to break it up without damaging the roots. Within a few days to a week, you should notice the carrot tops becoming greener and standing taller as they access more nutrients and air.
Recovery from soil compaction takes time, often several weeks, so patience is key. As your carrots reestablish, you will notice the leaves thickening and deepening in color, which indicates healthy regrowth. Warm, moist conditions can speed recovery, while cold, wet soil may slow it down significantly if not properly drained.
Avoid overwatering your carrots, as too much moisture can cause root rot and impede growth. If you see yellowing leaves, check your watering schedule and reduce frequency to allow the soil to dry slightly. Maintain a balance with fertilizer; too much can lead to nutrient burn and hinder development.
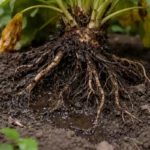
Adding compost not only restores vital nutrients but also enhances the soil structure, allowing for better drainage and aeration. Organic matter helps retain moisture while simultaneously creating an environment conducive to beneficial soil microbes, fostering robust growth in carrots. This helps ensure that the plants recover from their earlier state of stress. If you mix the compost lightly into the top layer of soil, it can further help root integration. Regularly check for any reduction in moisture levels shortly after application as compost can hold considerable amounts of water.
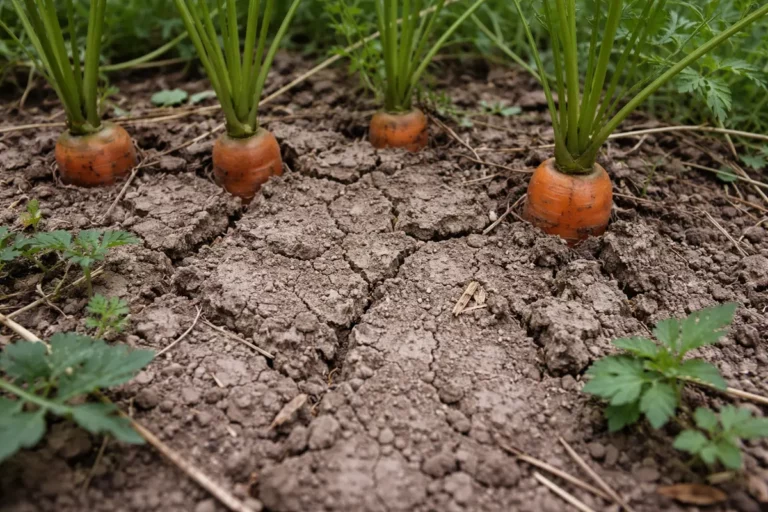
Be cautious not to overapply compost, as too much can lead to nutrient overload. This often manifests in excessive foliage growth at the expense of proper root development, making the carrots look more like bushy tops instead of robust roots. Striking a balance is key; if you notice more leaf growth than root size, reduce the amount of compost introduced during the next application period. Keep an eye on the depth of compost as well; if it’s too thick, moisture retention may become an issue, leading to a different kind of soil compaction underground. Observation of your plant’s growth over time can be crucial; if you see carrots pushing above the soil surface tightly, it may indicate nutrient competition or compacted conditions still present below.
Step 4 – Water Carrots Regularly to Prevent Compaction
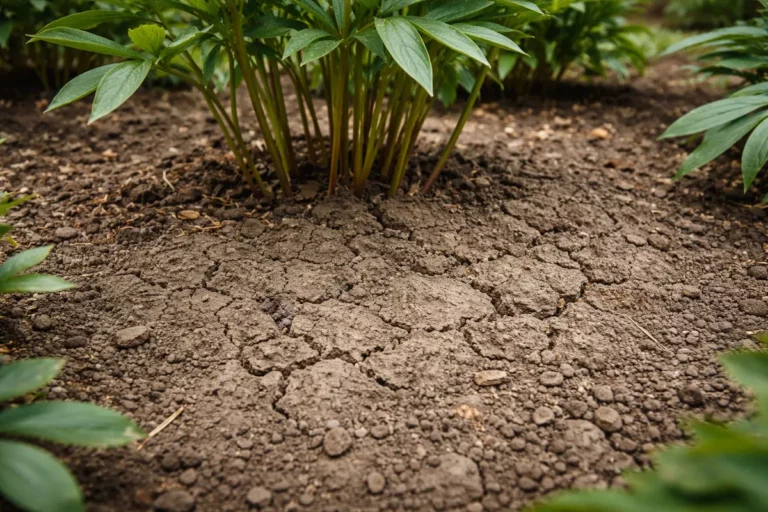
Start by loosening the compacted soil around your carrot bed using a garden fork or tiller. Break up the soil to a depth of at least 12 inches and add organic matter like compost to improve aeration. This immediate action will create a more favorable environment for your carrots to germinate and grow, promoting better root expansion.
Compacted soil restricts root development and moisture absorption, often leading to stunted carrot growth. When soil remains dense, it can dry out faster or hold too much water, both of which inhibit germination. Addressing this issue by aerating the soil helps to create a balanced environment where moisture and nutrients can properly seep into the root zone, allowing for more robust carrot development.
In spring, as temperatures rise, adding a layer of mulch can further prevent soil compaction while retaining moisture. If heavy rains are expected, consider creating raised beds to improve drainage and reduce the likelihood of soil compression. If your carrots still struggle despite these adjustments, check if pests are affecting root growth or if soil pH is out of balance.
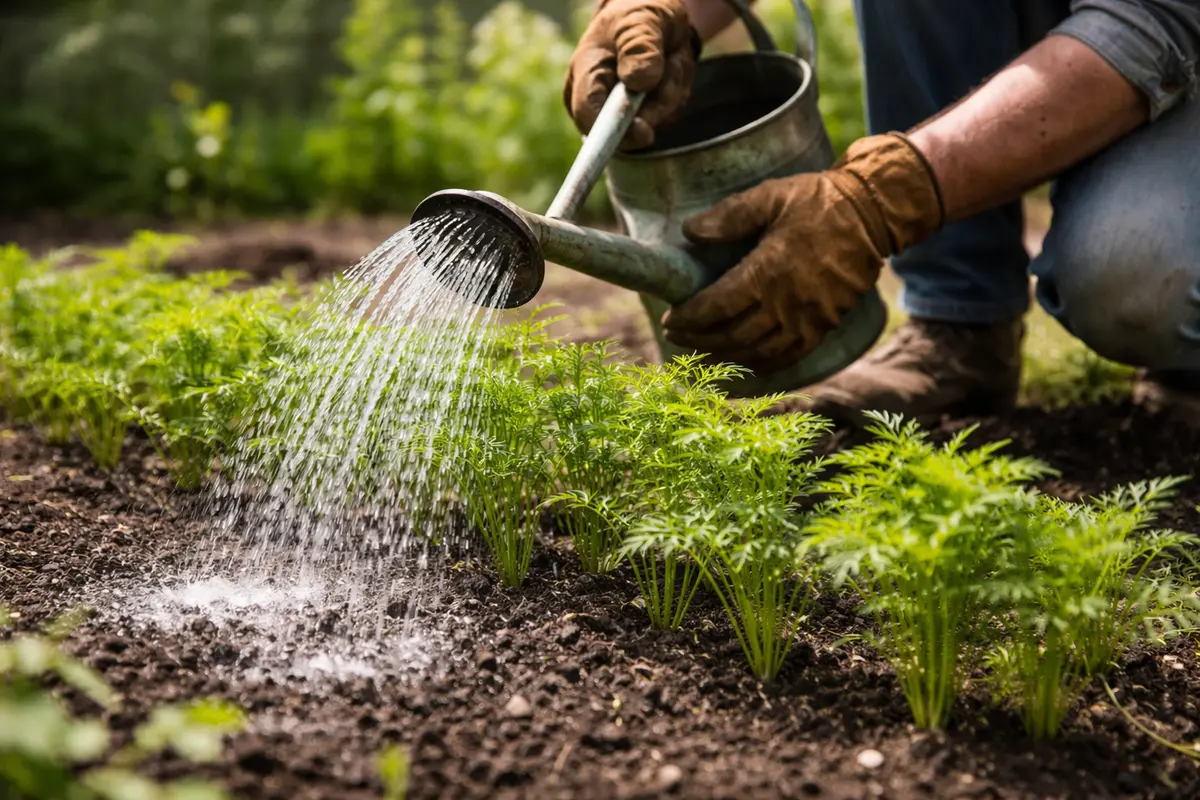
Regular watering keeps the soil moist but not waterlogged, which is essential for carrot growth. Carrots require about an inch of water per week, either from rainfall or irrigation, to properly hydrate and grow. When watering, consider using soaker hoses or drip irrigation systems to apply moisture directly to the root zone without oversaturating surface soil. Deep watering encourages roots to develop downward, allowing the carrots to grow long and straight. If you note that dry soil tends to crack or separate from the edges of the bed, it might be advisable to water more frequently to maintain moisture consistency around the inner root zone.
During hot, dry spells, adjust your watering frequency to prevent soil from drying out too quickly. An ineffective practice is watering lightly every few days; instead, deep soak the soil and allow the top layer to dry out between waterings. This method encourages robust root growth and prevents future compaction from occurring. Be alert, especially in dry conditions; if you notice the soil cracking or pulling away from the edge of the garden bed, it may be time to increase your watering frequency to prevent stress on the carrots. Check the moisture levels daily during the hottest times; if carrots are showing signs of wilting, it should prompt immediate watering to avoid further drought stress on the plants.
Step 5 – Inspect Carrot Tops for Growth Progress Weekly
Inspect your carrot tops and soil moisture every week. Look for visible signs of growth, such as vibrant green foliage and firm stems. Make sure to examine both the tops of the plants and the texture of the soil beneath the surface, checking for a balance between moisture and air incorporation. Your objective is to see healthy, upright leaves that suggest the plant is concentrating on upward growth rather than root development.
A successfully recovering carrot plant should show consistent green growth and a robust stature. You’ll also want to ensure that the soil feels adequately moist but not soggy under the surface. Weekly checks help you identify any signs of recurring issues, such as yellowing leaves or stunted growth, which might indicate there’s more compaction or nutrient deficiency that still needs to be addressed. If growth seems stagnant or plants turn yellow, consider backtracking through your steps to ensure no area was overlooked, especially environmental factors that can impact growth. If you observe plants exhibiting poor health, consider common pests like aphids or larger insects that might be damaging the leaves.
If you observe that growth remains stagnant after several weeks, despite following these tips, consider re-testing the soil for additional nutrient imbalances or the presence of pests. Such issues could include root maggots or nematodes, which may require targeted treatments to eliminate the problem and encourage healthy carrot production. Additionally, be mindful of pests or other disturbances; if the area is attracting pests, this could compromise the plants’ ability to recover effectively. Regularly clear away debris that might shelter these unwanted guests. You might also want to observe the moisture of the soil; any sign of excessive wetness can attract pests like slugs, further impeding growth and health of your crop.
FAQ
How long will it take for carrots to recover from compaction?
Carrots can start showing signs of recovery as soon as one to two weeks after loosening the soil and adding compost. However, full recovery will often take several weeks, as root development is dependent on consistent watering and nutrient availability. Regular observation during this period ensures that changes can be made quickly if issues arise. Watch for root swelling just below the soil line to gauge progress.
Should I remove any damaged carrot tops?
If the carrot tops are yellowing or appear weak, it’s advisable to prune them back to allow the plant to focus energy on healthy growth. This can help improve airflow and reduce competition among older and weaker leaves. Make sure to clean your pruning tools to prevent the spread of disease when performing this task. In cases of root damage, maintaining healthy foliage will not only aid in crop vitality but also help gather sunlight necessary for recovery.
Why do my carrots still struggle to grow even after fixing the soil?
If you’ve adjusted the soil but still see slow growth, check for pests like root maggots or inadequate moisture levels. These factors can severely impact the health of your carrots and may require further investigation or intervention. If you notice roots above the soil’s surface, compacted conditions might still be in play, demanding further disruption of the soil structure. Consider implementing organic pest solutions if you detect any signs of infestation that could interfere with root health.