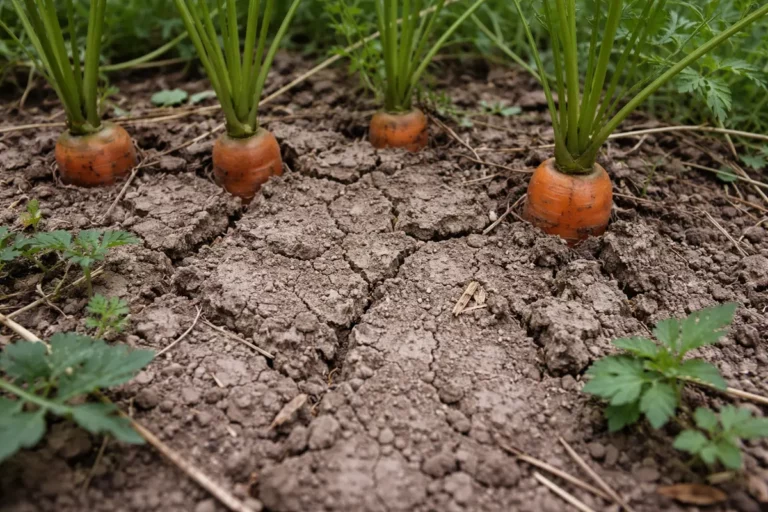
You may notice that after heavy rain, your carrot plants are struggling to thrive, their once vibrant foliage now showing signs of distress, which is why you need to know how to fix compacted soil for carrots after heavy rain. The excess moisture can lead to soil compaction, causing the carrots to suffer from wilting and nutrient deficiencies. If left unaddressed, this compaction can worsen, stalling growth and leading to more damage in your crop, but taking action now by aerating and improving drainage can make a significant difference.
Step 1 – Aerate Carrot Beds After Heavy Rain
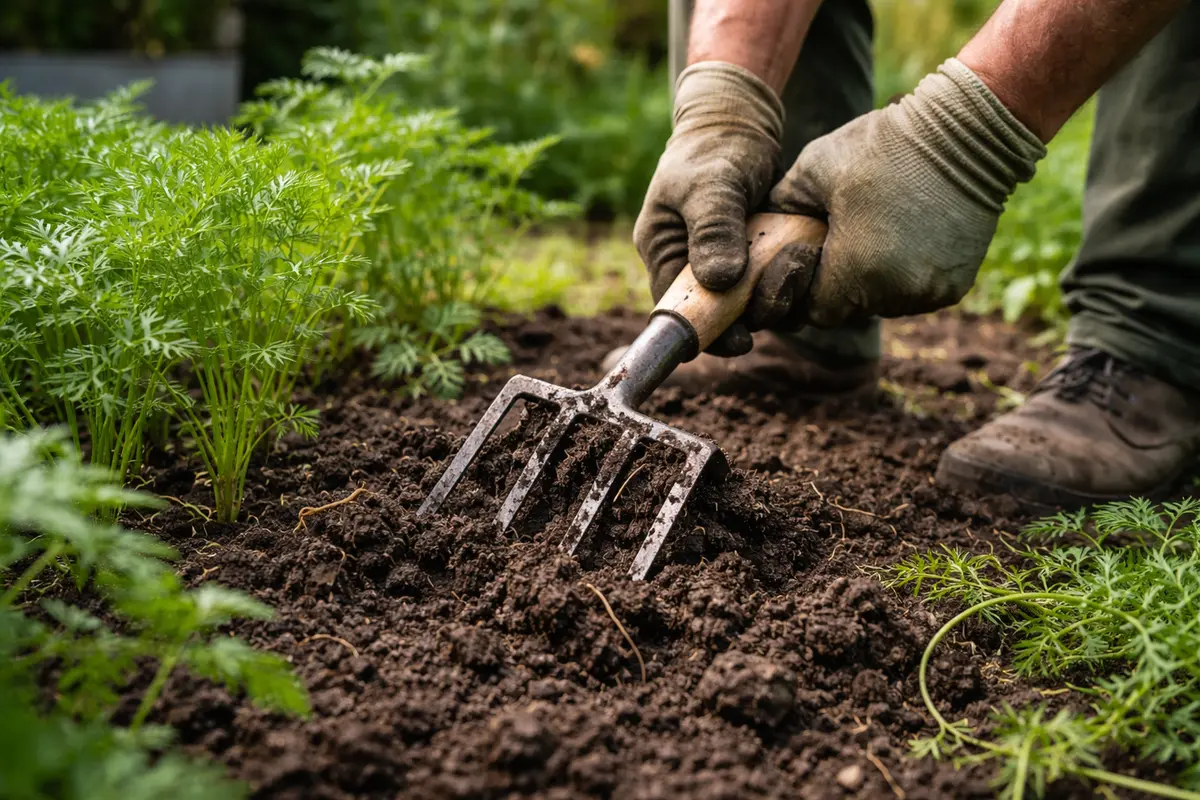
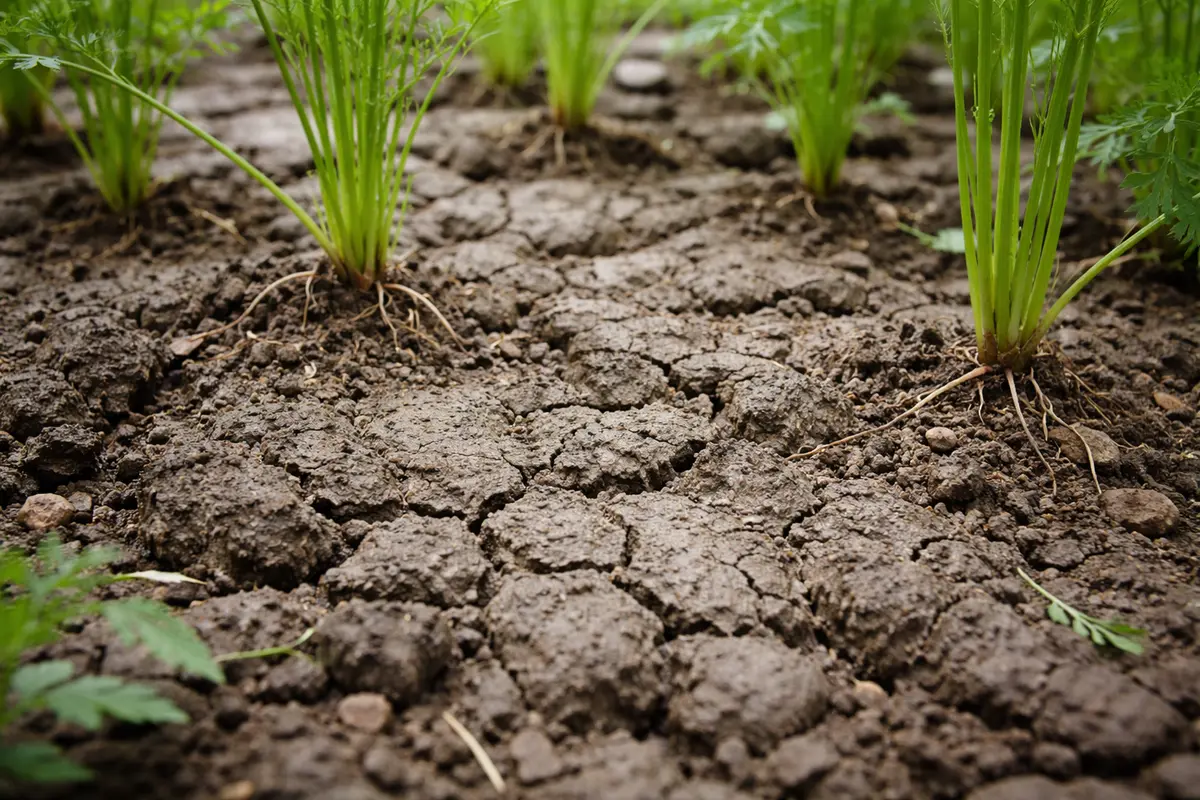
Start by gently loosening the compacted soil around your carrot plants with a garden fork or broadfork, inserting it at a depth of 6 inches and lifting the soil to aerate it. This action should create visible gaps in the soil structure, making it appear more crumbly and less dense, which allows better water infiltration and root expansion.
Acting quickly is crucial because compacted soil restricts oxygen and water movement, both vital for root respiration and nutrient uptake in carrots. If the soil remains compacted for too long after heavy rain, carrot roots can become stunted and deformed, unable to grow properly and absorbing fewer nutrients. Proper aeration within 24 hours of heavy rain significantly increases the likelihood of a strong and robust carrot crop.
For instance, a gardener who delayed aerating their carrot patch after heavy rainfall found that their carrots were misshapen and smaller than usual, while another who acted promptly noticed a much healthier yield. One common mistake is neglecting to check the soil’s moisture content before aerating; if it feels excessively wet and clumpy, you risk further compaction instead of alleviating it.
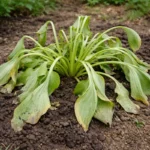
Acting quickly is crucial, as compacted soil deprives carrots of necessary oxygen and moisture, leading to stunted growth and poor flavor. If you delay this intervention, the roots can become stressed and susceptible to rot, which is often visible through wilting or yellowing starts. In contrast, well-aerated soil promotes strong root development and enhances nutrient uptake.
A gardener once left a compacted patch unattended after heavy rain, leading to a complete crop failure due to root rot. If you notice your carrot tops yellowing post-rain, aerating immediately can prevent this decline—if not this step is taken, check your soil drainage to avoid future problems.
Soil compaction often occurs after heavy rain as the moisture forces the particles closer together, reducing air pockets that plants rely on for healthy growth. Pay close attention to how the soil crumbles as you aerate; a fresh, earthy smell indicates improved drainage and interaction with aerobic microbes. If you find that your garden fork struggles to penetrate deeper than 1 inch even with force, the compaction may be extreme. This oxygen deprivation can cause roots to rot, leading to further damage if left unchecked. Aerating the soil relieves this pressure and enhances root health while significantly improving drainage for your carrot plants.
Many gardeners make the mistake of ignoring the soil condition during wet seasons, assuming plants can recover on their own. This misconception might lead to water pooling on the surface and creating a mushy environment, which can exacerbate the compaction problem. If the soil remains compacted for too long, it can create an anaerobic environment, further stressing the plants. Taking this initial step of aeration can lead to a much quicker turnaround for your carrots, transforming a problematic bed into a thriving environment.
Step 2 – Diagnose Compaction in Carrot Soil
Inspect your soil for signs of compaction by poking a finger or small stick into the ground to check its resistance level. You should feel significant resistance if the soil is compacted, indicating poor drainage and root growth potential. Carry this test out in multiple locations of the garden bed, as compacted areas may not be uniform. Look for areas where the stick does not penetrate easily; that’s where compaction is most severe, confirming that you need to take remedial action.
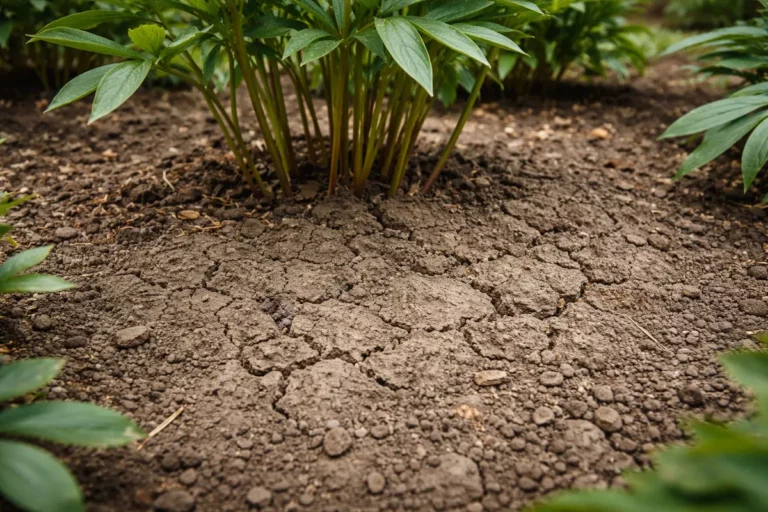
Compacted soil often appears crusty on the surface yet remains waterlogged or mushy underneath. You can identify this condition by observing how quickly water drains when applied—if water pools on the surface for more than 30 minutes, this is a clear indicator of compaction. If you observe soil waterlogging, it can manifest as a sour smell even a few inches below the surface, signaling root decay. Carrots require loose soil for proper root development; if the soil is packed too tightly, nutrients and moisture cannot reach them effectively. This layer of hardened soil creates a barrier that restricts root expansion, ultimately stunting the vegetable’s growth.
If you notice that your soil feels dry on top yet saturated beneath, this is an indication of compaction that needs addressing. Use a trowel to dig down a few inches to check the moisture content visually; if the soil is dark and muddy below but crusty above, it’s time to start remediating. Avoid excavating everything at once; instead, focus on loosening pockets of compacted soil. If you find that the soil is not loose at all, consider replacing the top layer with a fresh soil mix that incorporates sand or organic matter to improve structure. Implementing these corrective measures can open up pathways for the carrot roots, promoting a healthier growing environment.
Step 3 – Amend Soil to Promote Carrot Recovery
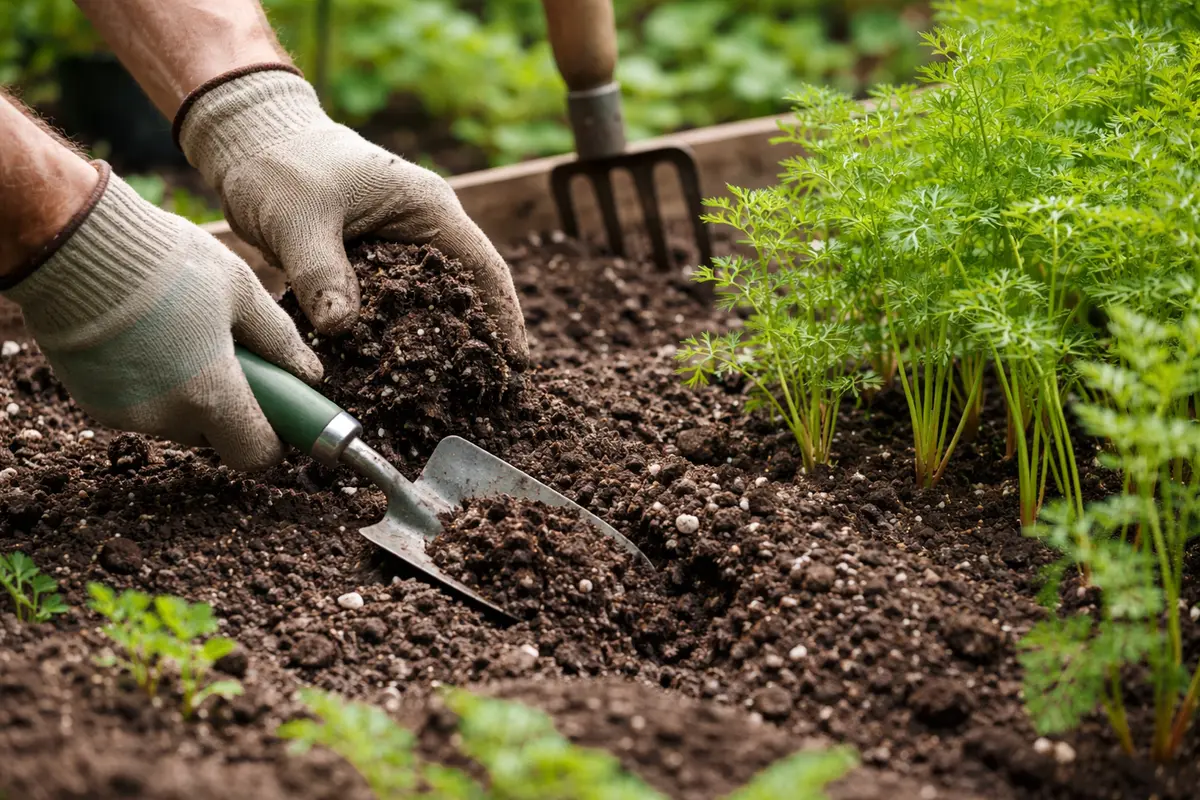
Start by gently loosening the compacted soil around the carrot roots using a garden fork or spade, being careful not to damage them. After a few days, you should notice an improved drainage situation, with the soil feeling more crumbly and aerated, allowing the carrots to grow deeper and healthier.
The recovery timeline for compacted soil can vary; expect noticeable changes within one to two weeks, with new root growth emerging. Healthy regrowth appears as thicker, greener tops on the carrots, with soil that remains loose and crumbly; slower recovery may indicate further compaction or inadequate moisture levels. If the soil feels overly dry and crumbly rather than moist yet loose, check for sufficient watering or rainfall.
A common mistake during recovery is overcompensating with excessive water and fertilizer, which can lead to mold growth or nutrient burn. Instead, focus on maintaining a consistent moisture level, as too much water can exacerbate compaction issues. If the leafy tops appear droopy despite moisture, check the soil moisture level to ensure it isn’t waterlogged.
Organic amendments play a critical role in creating a balanced environment for carrot roots to thrive by improving both drainage and nutrient availability. Amid this process, you may observe the texture changes as it becomes softer and crumbly, indicating better aeration. These materials also attract beneficial microorganisms that further assist in breaking down compacted areas by providing allelopathic effects. As a result, your carrots will begin to absorb nutrients more effectively, which leads to healthier growth above and below the soil surface.
A common mistake here is to over-fertilize after amending, leading to potential burn on the tender roots. Keep fertilization at a moderate level—around half the recommended amounts on labels if using commercial fertilizers—monitoring how your plants react within the next few weeks. If the changes are still not noticeable after a short recovery time, it may be necessary to reexamine your aeration and soil structure to ensure the amendments penetrate deep enough to reach the roots effectively. This ongoing attention can support your carrots as they rebound from the challenges of compaction, but remember that patience is essential; significant improvement takes time and consistency.
Step 4 – Water Carrots Wisely to Prevent Compaction
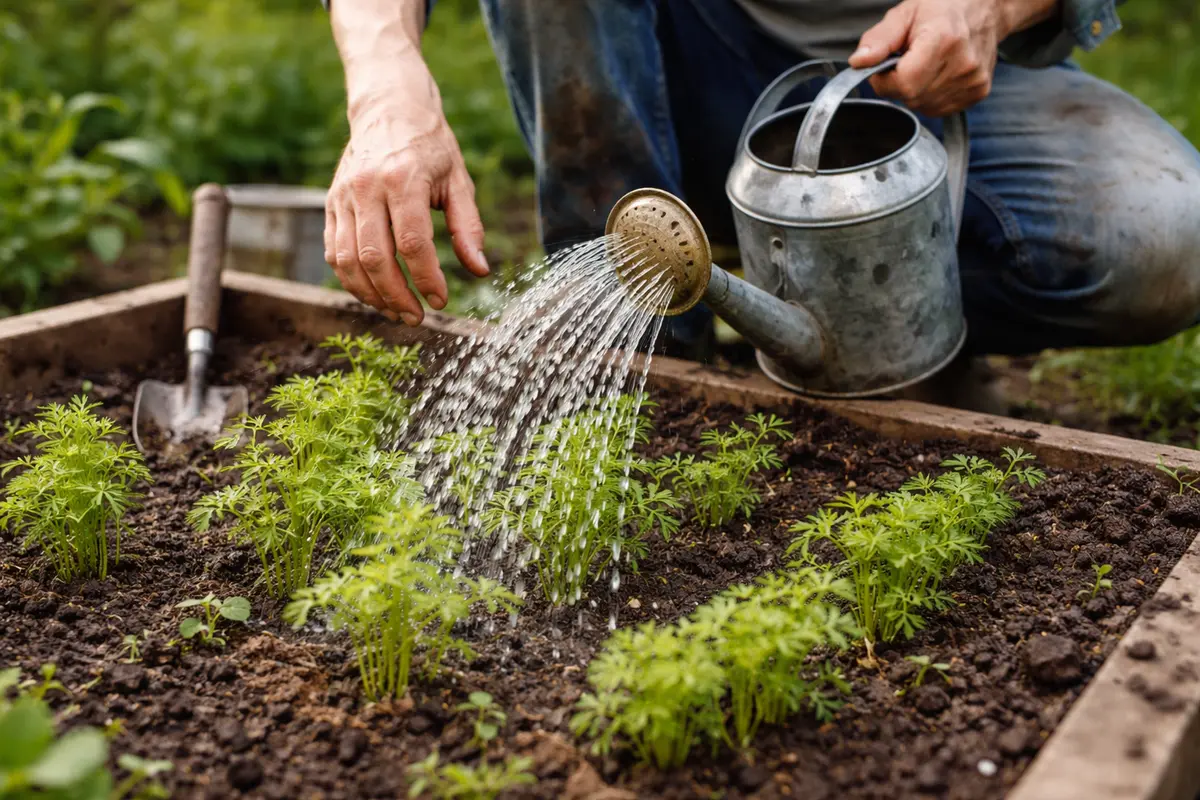
Water your carrot beds deeply but infrequently, aiming to provide about 1 inch of water per week, either through rain or irrigation. This practice will promote deeper root growth, helping ensure the roots can reach moisture and nutrients while allowing them to become more resilient against future compaction. Avoid watering on a daily basis, as too much moisture can lead to soil saturation, which encourages compaction over time.
Carrots benefit from receiving a good soaking about once every week, allowing the moisture to reach the roots effectively. Observe the soil’s response during watering; if the water does not seem to penetrate after several minutes, the upper soil layer may still be compacted. If this situation arises, consider employing a slow-drip irrigation system or soaker hoses that can distribute water evenly without overwhelming the soil. When the soil is consistently too wet, it can lead to compaction as the weight of the water drives soil particles closer together, making it crucial to adjust the timing of your watering.
In dry conditions, many gardeners tend to over-water in an attempt to keep plants hydrated, leading to physical stress on the roots. Additionally, if you see that the leaves are becoming yellow or drooping despite your watering efforts, it indicates that there may be other underlying issues complicating recovery from compaction. Use mulch to retain moisture without over-saturating the soil—this offers the added benefit of controlling soil temperature and conserving water. Proper adjustment of your watering practices can be key to maintaining healthy carrot beds, allowing robust growth while drastically reducing the potential for future compaction.
Step 5 – Inspect Carrot Growth for Signs of Stress
Recheck your carrot beds every 3-4 days for visible signs of recovery or stress in the plants. Look for new green growth and firm, healthy leaves during your inspections. Harsh wilting or discoloration can help you identify when the recovery is not going as planned. A positive indicator is fresh shoot emergence, which typically correlates with improved conditions below the soil. Document these observations in a garden journal to keep track of progress over time and identify patterns.
After implementing the steps to improve soil conditions, new healthy growth typically indicates that the amendments and watering practices are working effectively. Conversely, if you notice yellowing leaves, wilting, or minimal growth despite favorable conditions, this could signal that issues persist with soil compaction or drainage. Regular monitoring is crucial; if new root shoots do not expand as expected or appear weaker than before, it may mean that the soil remains compacted or overly wet, necessitating further aeration or additional amendments.
If you observe that the signs of stress reappear, it may be time to revisit your watering habits or amend the soil composition again. Setting reminders on your calendar for assessments can help catch these issues early. Sometimes a second round of aeration may be necessary if the compacted layer builds up once more; punitive conditions can frequently recur after heavy rains. Being proactive about checking your plants enables you to quickly pivot with solutions, ensuring healthy and thriving carrots while reducing the potential of enduring impacts on their growth.
FAQ
How long does it take for carrots to recover from compacted soil?
Carrots typically take 1 to 3 weeks to show signs of recovery after addressing soil compaction issues. The timeline can vary based on the severity of compaction, environmental conditions such as temperature and moisture levels, and the effectiveness of your remedial actions. If the area remains humid and warm, recovery might be faster due to optimal conditions.
Will carrots recover if they are planted in compacted soil?
Carrots planted in compacted soil can recover if timely corrective measures are taken. By adding organic matter, aerating the soil, and employing a sensible watering regime, you can significantly enhance their chances of survival and growth, allowing the carrots to reclaim their vigor. However, if the situation is too dire, replanting may become necessary.
Should I remove affected carrots if they show damage?
If carrots display signs of severe damage, like significant wilting or stunted growth, it’s advisable to remove and discard those affected. Doing so creates space for the healthier carrots to grow and reduces competition for nutrients, ultimately ensuring the wellbeing of the remaining plants. Continuous observation will guide when this action is necessary and beneficial for the healthy plants.