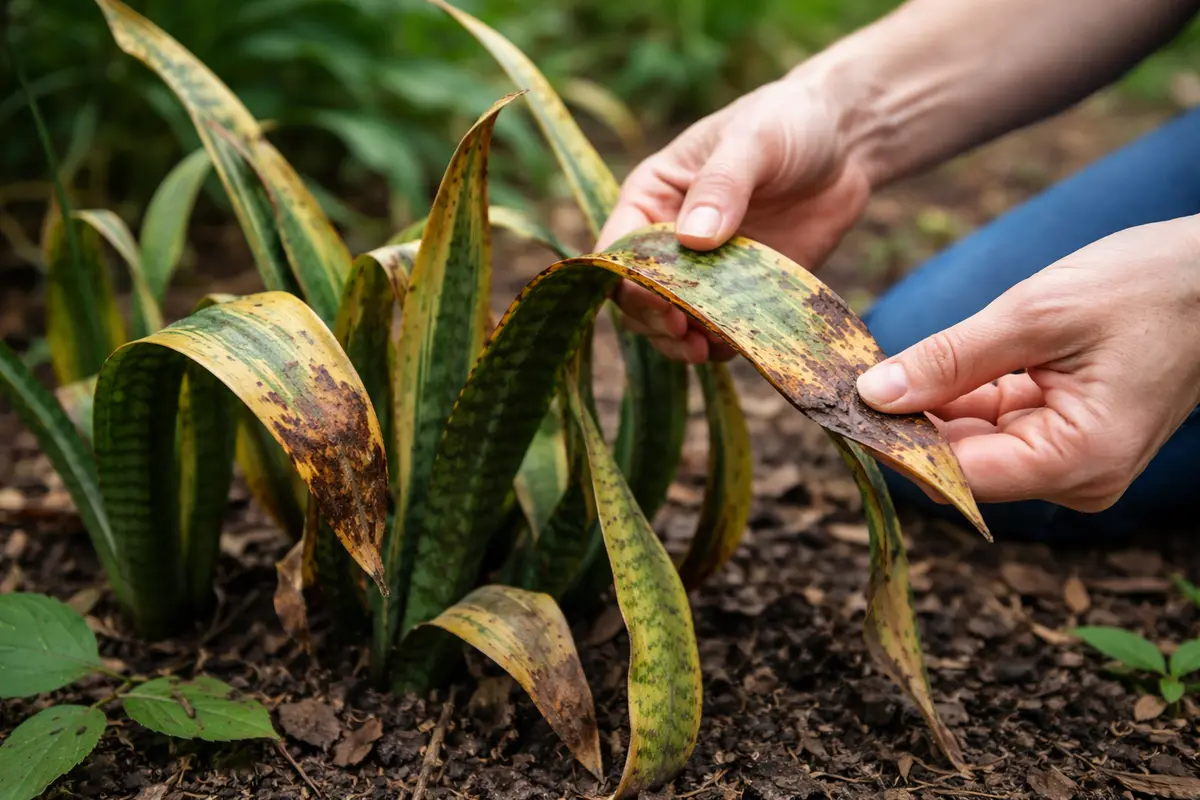
You may notice your snake plants wilting and drooping after heavy fertilization, which is why you need to know how to fix drooping snake plants after fertilizer burn. This distress is caused by excessive nutrients in the soil, leading to leaf droop and potential damage. If ignored, the situation gets worse and weakens the plant, but fixing it is possible now—just inspect the roots, adjust watering, and monitor the soil’s condition.
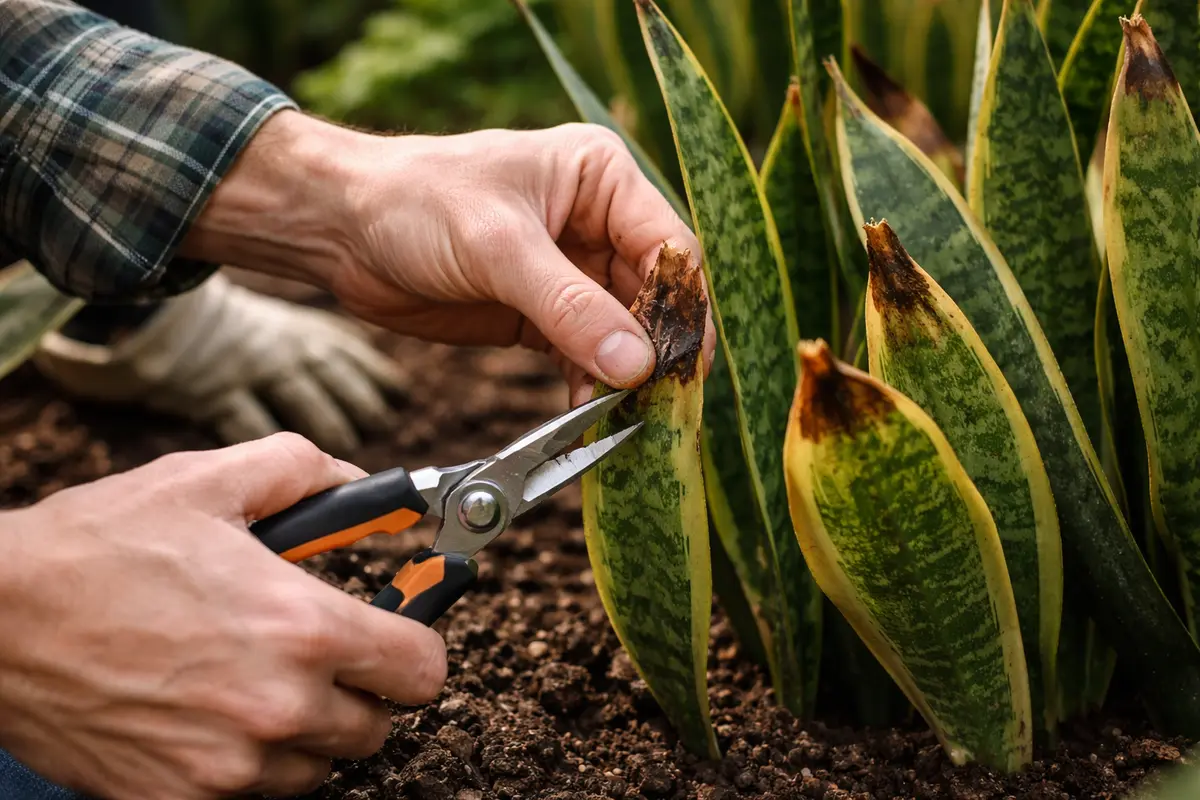
Step 1 – Trim Back Burnt Snake Plant Tips
First, remove the snake plant from its pot and gently shake off the excess soil to expose the roots. Inspect them for any signs of damage, and trim away any blackened or mushy roots before repotting it in fresh, dry potting mix. After doing this, the plant should exhibit improved firmness and a more upright posture within a few days as it acclimates to the new soil.
Acting fast is crucial for snake plants since they have a slow recovery rate from fertilizer burn, and delayed intervention can lead to irreversible root damage. If left unattended, the affected roots may continue to decay, which reduces the plant’s ability to uptake moisture and nutrients, further exacerbating drooping symptoms. Healthy roots appear firm and white, while damaged roots will be soft and dark, so distinguishing between the two is essential when evaluating your plant’s condition.
A gardener once noticed their snake plant drooping after fertilizing too heavily and waited a week to act. By the time they repotted, many roots had deteriorated, leading to a prolonged recovery period. Many gardeners frequently overlook the need to repot immediately, thinking that watering alone is sufficient to rectify the situation; however, this can worsen the damage and prolong the plant’s distress.
Acting quickly is vital because snake plants can succumb to root rot if fertilizer burn is left unaddressed. When roots are damaged, the plant struggles to absorb essential water and nutrients, which leads to drooping leaves as it prioritizes survival. If this issue persists, the entire plant may decline further, becoming more difficult to revive, especially if the roots start to decay into mush.
A real-world scenario involves a gardener who delayed action after noticing drooping leaves and ended up with an unrecognizable, wilting plant that took weeks to recover. Conversely, those who promptly repot the affected plant often find a quicker turnaround, illustrating that immediate intervention can save a snake plant that on the surface appears to be only slightly damaged. If leaves continue to droop without visible root issues, check for overly soggy soil that can lead to other problems.
Acting fast is crucial because snake plants are sensitive to over-fertilization, leading to root burn that impacts their ability to absorb water and nutrients. If you delay, the damaged roots continue to deteriorate, causing further drooping and potentially resulting in irreversible death of the plant. In contrast, a plant that receives timely intervention can bounce back due to restored root functionality, while one left untreated may show no signs of improvement.
In one case, a gardener waited three days to intervene, leading to complete root rot that could not be saved. A common mistake is assuming that simply withholding water will rectify the issue; however, not addressing the fertilizer burn directly can exacerbate the problem. If you notice persistent drooping despite withholding fertilizer, check that the roots are still viable and not rotting away.
Acting fast is crucial because snake plants can suffer irreversible damage if fertilizer burn is allowed to persist, leading to root rot and permanent drooping. When fertilizer builds up in the soil, it can dehydrate the roots, causing a breakdown in cellular structure, which results in drooping leaves. For this specific plant, a quick intervention can reverse cell damage more effectively than waiting for symptoms to worsen; if you see blackened roots, check for moisture retention in the soil.
For example, a gardener who attended to their snake plant within 24 hours saw a full recovery, while another who delayed action found their plant wilted and brown by the end of the week. Waiting too long can lead to a complete loss of the plant, as the roots may become too damaged for revival. Remember, removing the plant and assessing the roots promptly is key; if they appear healthy but drooping continues, check for soil compaction or drainage issues.
Trimming the burnt tips helps reduce stress on the plant, allowing it to focus its energy on healthy growth. When you cut away the damaged areas, you create a pathway for the plant’s energy to flow to the remaining healthy parts, encouraging recovery. This change is crucial within the first two days after noticing the damage since delayed action can lead to more extensive tissue decay. Focus on cutting back to the tissue that retains its original color, avoiding any dark or dry areas that indicate severe damage; if too much healthy material is removed, the plant might struggle to recover even more. If the tips were out of control before, using a strategic approach at this stage is vital to establish a balance in the plant’s structure and appearance quickly. Monitoring the plant closely after the trim is crucial; if there’s no improvement within a week, consider removing any additional damaged sections. Be particularly cautious of extremely droopy leaves that display no sign of life; they may need more drastic measures.
A common mistake at this stage often includes not trimming back enough; merely cutting a small portion of the leaves may leave too much burnt tissue. When this occurs, the plant’s recovery is slowed, resulting in prolonged drooping and an overall sluggish response. Additionally, if you use ineffective or dull tools, this can create rough edges that may harbor bacteria, exacerbating the existing issues. Ensure you’re using scissors specifically designed for gardening to promote clean cuts and enhance healing. After trimming, monitor the plant closely; if you notice any additional drooping within a few days, a more thorough removal of damaged leaves may be necessary. Keeping your pruning shears disinfected will help maintain plant health and prevent complications due to bacterial infections from the cuts. If you’d like to avoid problems in the future, regular observation after fertilization is beneficial; this allows for timely action if initial cuts prove inadequate.
Step 2 – Diagnose Fertilizer Lockout in Soil
Begin by assessing the soil’s condition and the plant’s overall health to determine if fertilizer lockout has occurred. You should notice changes in leaf texture and color—leaves may appear wilted or curling despite moist soil, indicating root damage from nutrient accumulation.
Fertilizer lockout arises when excess salts build up in the soil, often due to over-fertilization. This accumulation impedes the roots’ ability to absorb water and nutrients effectively, resulting in the plant exhibiting drooping leaves. For instance, if the soil feels hard or crusty, it’s a clear indicator that nutrient absorption is compromised, which is distinct from symptoms caused by lack of water.
If the soil has a white powdery residue on top, it suggests excessive salt buildup. To remedy this, you need to leach the soil by flushing it with plain water until it drains freely from the bottom of the pot—about twice the volume of the container is effective. For example, if your container holds one liter of soil, pour about two liters of water slowly. Monitor how the water drains; if it drains sluggishly, that could indicate a mix that’s too dense and may need perlite or sand for improved aeration. In cases where drainage remains poor, inspect the pot for sufficient drainage holes.
If the soil smells sour and appears overly wet, this may signify root rot due to prolonged moisture exposure. In this situation, you must carefully remove the plant from its pot, allow the roots to dry for a few hours, and repot it in dry, well-draining soil to restore health. Subsequent to addressing the immediate issues, ensure you maintain balanced fertilization practices to prevent future occurrences of lockout.
Step 3 – Mist Leaves for Hydration Recovery
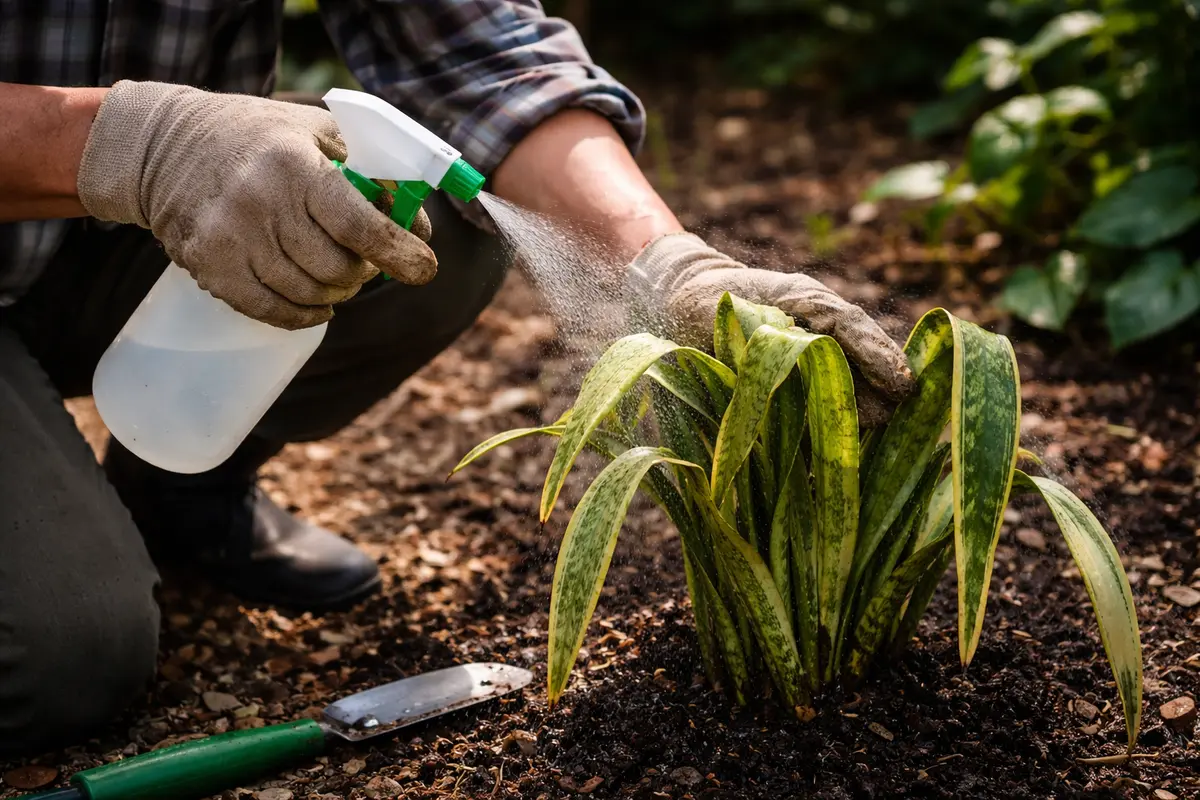
Start by misting the leaves with water daily to facilitate hydration recovery, which helps increase moisture at the plant’s surface. You will likely observe an increase in leaf turgor pressure and a gradual reduction in drooping within just a few days. Mist in the morning to ensure excess moisture evaporates by evening, reducing the risk of fungal issues.
This essential hydration method counters the dehydration effects caused by fertilizer burn. Misting supports cellular function and nutrient uptake without oversaturating the roots. Pay attention to humidity levels; if your home is particularly dry, such as during winter, increase misting frequency to twice daily in extremely dry conditions. Maintaining this routine is crucial; insufficient moisture can hinder new growth and worsen the plant’s condition. This ongoing care strengthens hydration levels and improves the snake plant’s resilience against pests.
Once the decline stops and the plant shows signs of recovery, shift focus to prevention. To prevent future issues, mist only when needed, particularly in dry months, and monitor for optimal conditions. If humidity levels drop significantly, adjust the misting schedule accordingly. Maintain the snake plant in a well-lit area with indirect sunlight to reduce stress. Watch for signs of mold on the leaves or soil, as it can lead to rot if not addressed. If you notice fungus developing, reduce misting and improve air circulation around the plant; employing a small fan can effectively disperse moisture while keeping the environment healthy for your snake plant.
Step 4 – Inspect Leaves for New Curling Weekly
Begin by inspecting the leaves for new curling or symptoms of stress once a week. If your snake plant is recovering well, you will notice the new leaves starting to straighten out and maintain a firm texture, indicating improvement in its health. Set a regular schedule for these inspections to stay attuned to the plant’s progress.
For the next week, check if the leaves display a vibrant color and exhibit signs of new growth; these are clear indicators that your care measures are being effective. If you see firm and upright leaves alongside fresh growth points, your snake plant is on its way to recovery. Conversely, if curling returns or deterioration occurs, this may mean the plant is still under stress. In such a case, reduce exposure to direct sunlight temporarily to help the plant recuperate, as too much light can exacerbate the problem.
If issues persist and you don’t observe expected improvements after a couple of weeks, consider repotting the snake plant in fresh, nutrient-balanced soil. As you do this, examine the root system closely; black, mushy roots will need pruning to facilitate recovery. If a large portion of the roots appears unhealthy, starting with a fresh root system may be essential to promoting better growth in the long term. Remember, proper spacing in the soil will enhance aeration and moisture retention, setting the stage for a flourishing plant.
FAQ
How long does it take for a snake plant to recover from fertilizer burn?
Recovery from fertilizer burn can typically take one to three weeks, depending on the severity of the damage and the level of care provided afterward. Trimming, flushing the soil, and adjusting the watering schedule effectively accelerates this recovery. Keeping a close watch on growth patterns during this period will ensure the plant is on the mend, as fluctuations can indicate the need for further actions. If there’s no improvement seen within three weeks, it may be prudent to reassess the entire environmental setup.
Can fertilizer burn spread to other plants nearby?
Fertilizer burn itself does not spread; however, if the damaged plant is left untreated, it can weaken nearby plants due to unfavorable conditions like humidity and shared soil. Maintaining proper care practices for all plants can help mitigate issues. Ensure good airflow between plants to minimize the risk of disease while also introducing diverse fertilizers that suit each plant’s needs. If multiple plants show symptoms, it might indicate an overarching problem with the watering or fertilization practices impacting the entire area.
Should I remove the entire leaf if it’s damaged from fertilizer burn?
Only remove the entire leaf if it is completely dead or severely damaged. Trimming the browned tips often suffices, allowing the remaining healthy portions to contribute positively to the plant’s overall health and aesthetic appearance. If a leaf has substantial damage but remains partially healthy, consider delaying its removal until the plant stabilizes to assist in the natural nutrient cycling process within the plant. Conversely, if significant portions of the plant continue to degrade, it may be worth addressing those conditions before becoming too attached to its existing shape.