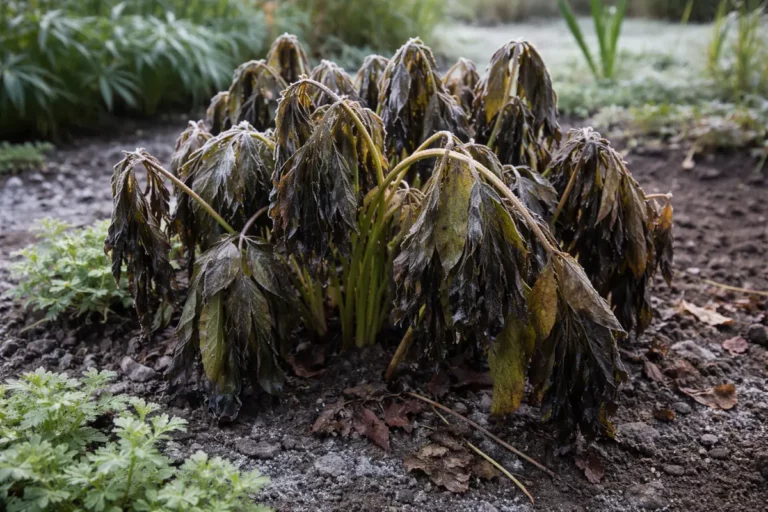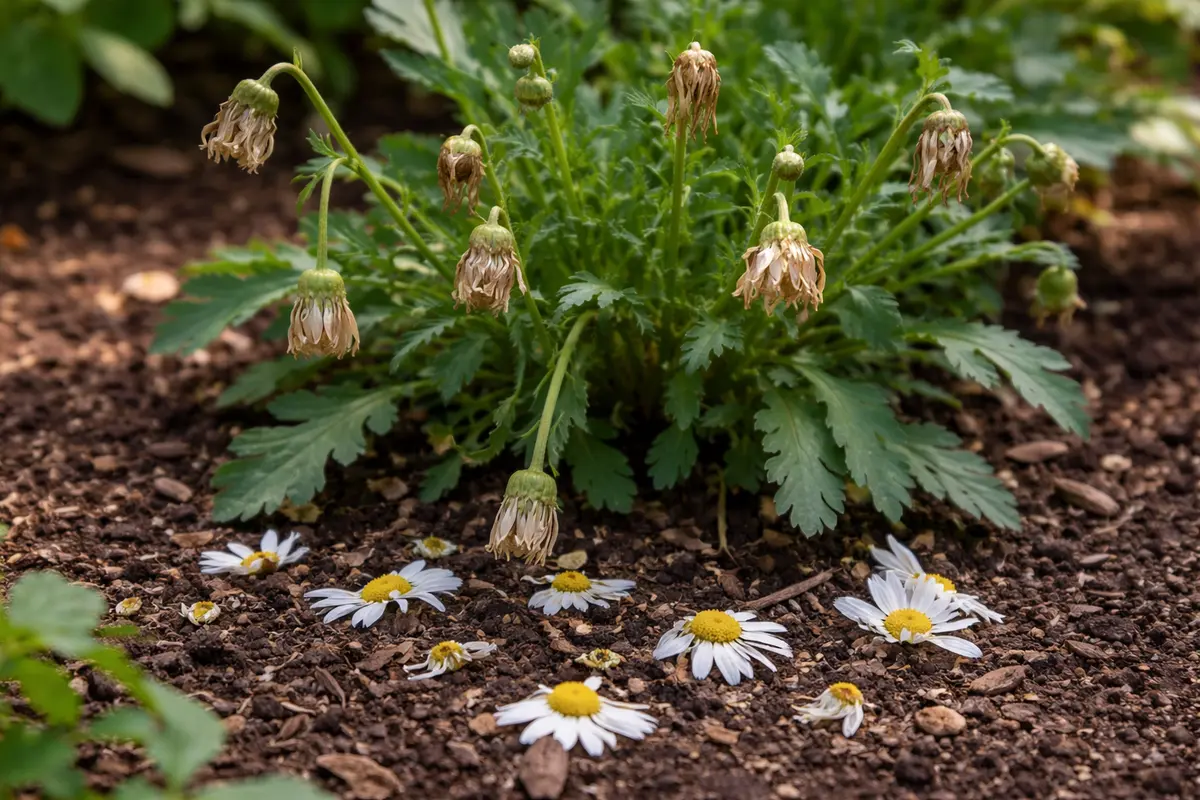
You may notice that your daisies are not producing vibrant blooms when they should be during spring bloom, which is why you need to know why are my daisies not flowering during spring bloom. The plants might show signs of yellowing leaves or wilting stems, often indicating stress due to insufficient sunlight, poor soil conditions, or inappropriate watering. If left unaddressed, this issue can spread and weaken the plant’s health, making it harder to revive; however, fixing it is possible now—just inspect the soil, adjust your watering routine, and provide adequate light for recovery.
Step 1 – Inspect Daisies for Pests or Disease
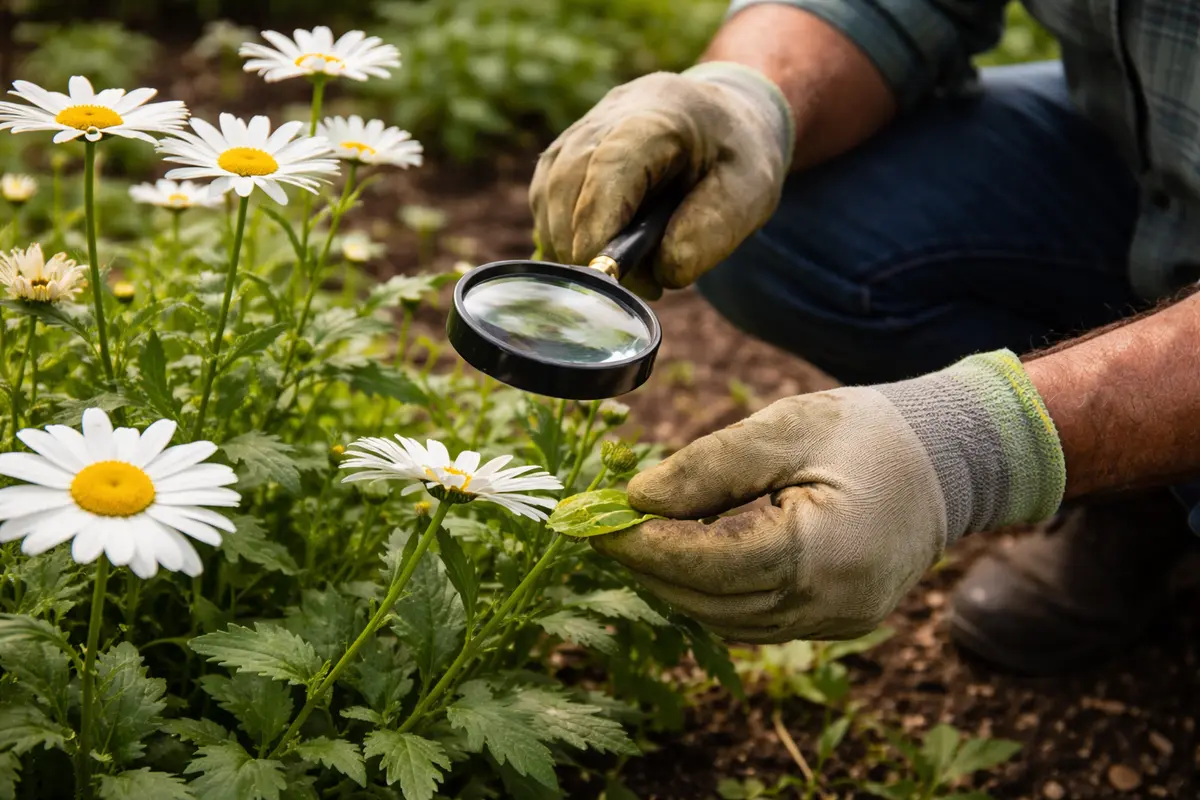
Start by closely examining your daisies for any signs of pests or disease. Within a few minutes of inspection, look for discolored leaves, wilting, or any pests, such as aphids or spider mites, clinging to the foliage. Noticing small webs or sticky residue can be a clear indicator of spider mites, while clusters of small, green insects can signal aphid problems. These visible signs will often reveal that a pest situation has become severe enough to stunt or entirely hinder blooming, resulting in lost buds.
Inspecting plants early helps you catch infestations or diseases before they cause significant damage. When pests colonize the leaves, they can prevent your daisies from blooming properly by sucking out nutrients and impacting photosynthesis. This can lead to diminished health and vitality, making your daisies more vulnerable to further pest attacks. For instance, if left untreated, infestations can compromise your daisies’ immune responses, allowing diseases like powdery mildew to take hold, further exacerbating the blooming issue.
During peak blooming season, it’s common for gardeners to overlook early signs of pest damage, which can lead to a more serious infestation that makes treatment more difficult. If you notice yellowing leaves alongside stunted growth, check the undersides, as pests often hide in those spaces. Immediate action can limit damage and facilitate recovery, possibly involving insecticidal soap or neem oil targeted at the pests. If left untreated for too long, the weakened plants may struggle to rebound, creating a cycle of decline. Consider rotating your treatment methods after each application; this helps avoid pest resistance, ensuring a more effective defense against future attacks.
Step 2 – Diagnose Nutrient Deficiencies in Daisies
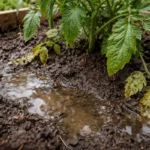
Start by checking the soil moisture levels around your daisies. If the soil feels too dry, water the plants thoroughly and observe if they begin to produce buds within a week. This direct action should help stimulate blooming if dryness is the issue.
When daisies are deprived of adequate moisture, their roots struggle to absorb necessary nutrients, stunting flower development. In contrast, if the soil is overly saturated, the roots may rot, leading to yellowing leaves and no blooms. If the daisies are failing to flower despite sufficient water, check for pest infestations or nutrient deficiencies.
If the soil smells sour or shows signs of waterlogging, amend it by incorporating compost or improving drainage to prevent root rot. Alternatively, if the daisies display signs of wilting despite having moist soil, assess for pests like aphids or spider mites that can also hinder flowering. This requires different treatment strategies to restore the plants’ vitality.
Nutrient deficiencies can cause poor growth; if your daisies lack essential elements like nitrogen, phosphorus, or potassium, this will lead to symptoms like yellowing leaves, shorter stems, and fewer blooms. For example, nitrogen deficiency results in pale, stunted growth, while phosphorus deficiency may show as dark green leaves lacking flowers. Without these critical nutrients, your daisies may fail to produce at their full blooming potential.
If you notice the soil is compacted or has low organic matter levels, this condition can further hinder nutrient absorption, making it more difficult for nutrients to reach the root zone. Compacted soil restricts root growth and access to vital nutrients. An immediate action is to assess the soil structure and, if compacted, carefully aerate it using a garden fork or soil auger. This method allows better oxygen flow and nutrient accessibility for your daisies. Additionally, consider incorporating organic materials such as compost, which enhances both soil structure and nutrient availability. If your soil feels too wet or lacks proper drainage, adjust your watering schedule; over-saturation can lead to root rot, creating further issues.
Step 3 – Fertilize with Balanced Nutrients for Daisies
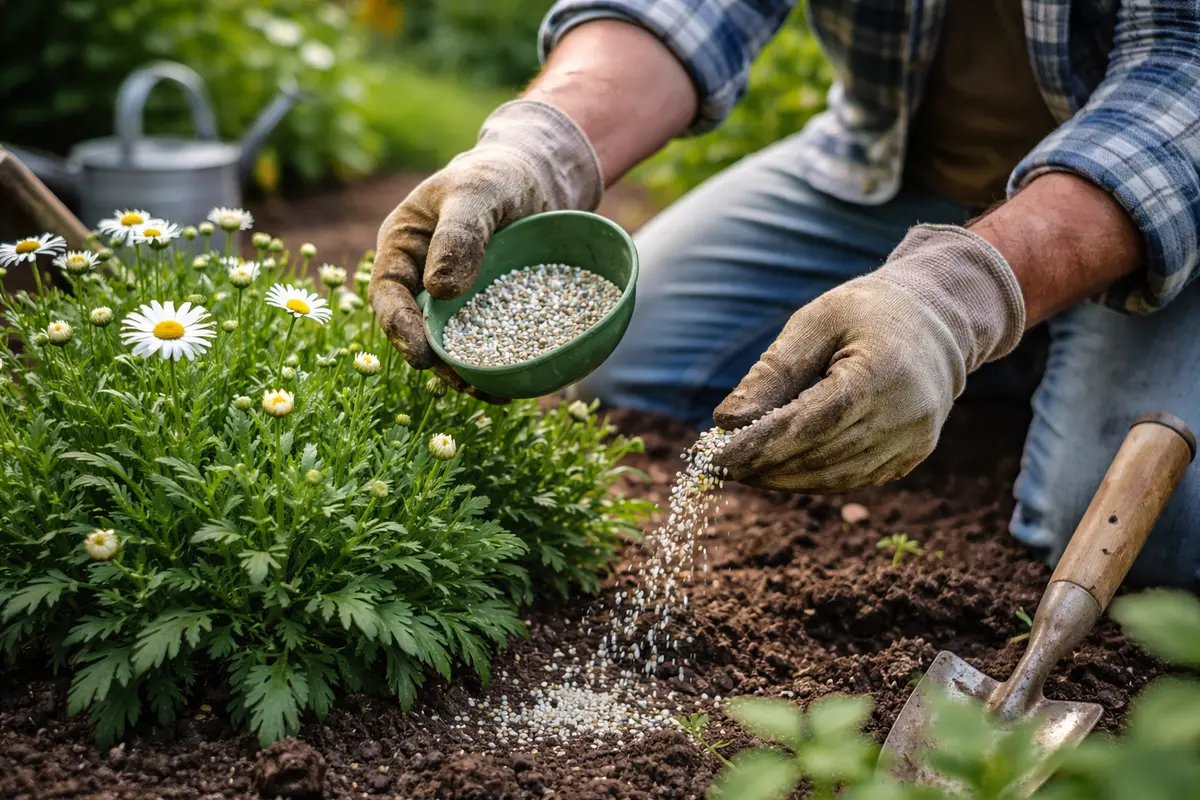
Apply a balanced fertilizer designed for flowering plants around the base of your daisies, giving it a good initial watering. After fertilizing, you should observe greener leaves and the emergence of flower buds within one to two weeks, indicating that the plants are effectively using the nutrients provided. It’s crucial to remember that a balanced fertilizer will have an equal ratio of N-P-K (Nitrogen, Phosphorus, Potassium) to bolster flowering.
Fertilizing ensures your daisies receive the proper nutrients needed for blooming. A balanced fertilizer integrates equal parts nitrogen, phosphorus, and potassium, which work synergistically to bolster plant health, support flowering, and create a robust root system. Apply the fertilizer according to package instructions; typically, using granular fertilizers occurs in early spring before new growth begins, while liquid versions are often used biweekly or monthly. This timing helps ensure your daisies are set up for abundant blooms later in the season.
However, some gardeners mistakenly over-fertilize, thinking it will accelerate growth, potentially causing fertilizer burn. Symptoms of this issue manifest as browning leaf edges and wilting after application. If you suspect you’ve overdone it, flush the soil by thoroughly watering your daisies until the water drains freely, helping to wash away excess nutrients in the soil. Ensure you meticulously follow the product instructions; if unsure about dosages, consider a half-strength application to prevent harm. The timing of fertilization is critical; avoid fertilizing during extreme heat to prevent stress on the plants and ensure they can adequately process the nutrients. Observing changes during this period will help you gauge the success of your efforts.
Step 4 – Check for Proper Sunlight Exposure for Daisies
Adjust the placement of your daisies to ensure they are receiving adequate sunlight. Move them to a spot that gets at least 6 to 8 hours of direct sun. When positioned correctly, you will see your daisies start to perk up and show signs of improving health within a matter of days, such as brighter foliage and potentially even blossoming buds. Regular monitoring for changes after relocation is essential as it can indicate whether the adjustment is positively impacting growth.
Daisies typically thrive in full sunlight, essential for optimal blooming. If they are not getting enough light, they might yield fewer blooms or produce weak, spindly growth as they reach for sunlight. Excessive shading can be particularly damaging; for instance, daisies placed under trees may compete for light, leading to long internodes and no blooms. Notably, daisies in shady locations will struggle and often fail to flower at all, frustrating gardeners hoping for a colorful display. By adjusting their location to a sunnier spot, you can significantly enhance their flowering potential and overall vigor, which often rapidly becomes apparent as the weather warms.
Be mindful of seasonal changes; as the angle of the sun shifts throughout the year, previously ideal spots can become inadequate for sun exposure. To ensure your daisies are thriving, consider checking your garden layout during early spring and adjusting their position as necessary. For instance, areas previously shaded by trees can eventually open up in spring, changing the light dynamics for your plants. If follow-up observations indicate continued poor performance, consider trimming adjacent greenery or even relocating container plants to maintain optimal sunlight exposure.
Step 5 – Look for New Growth on Daisies After Care
Start by checking the soil moisture levels around your daisies, ensuring they are neither waterlogged nor too dry. Observe the leaf color and texture for signs of nutrient deficiency or pest infestation, such as yellowing leaves or visible webbing. Recheck these observations weekly to gauge any changes or improvements in the plant’s condition.
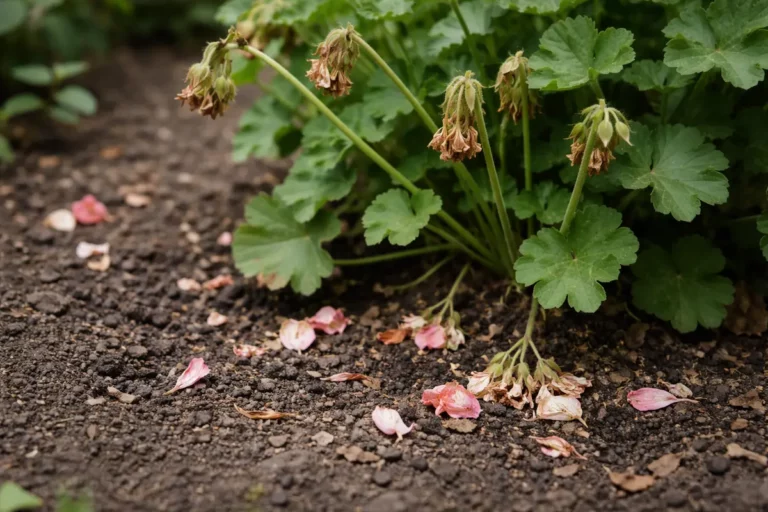
A fully recovered daisy plant boasts vibrant green leaves along with multiple flower buds forming, indicating robust growth. In contrast, early signs of a problem may present as wilting leaves with a dull, dry texture or flower buds that remain small and undeveloped. If the plant does not show these healthy indicators and instead exhibits limp foliage, check for excessive watering or root rot as a lingering issue.
If the problem returns despite your efforts, it may be time to assess the planting location; ensure the daisies receive adequate sunlight and air circulation. Consider changing the soil or applying a balanced fertilizer to rejuvenate the plant, or consult a local nursery for specialized advice if conditions do not improve. If significant pest damage is evident, implementing pest control measures may be necessary to safeguard the plants.
New growth indicates that your daisies are responding positively to your care efforts. Healthy plants will display vibrant green leaves that feel firm to the touch, while struggling plants may continue to droop or display yellowing foliage. Recognizing these signs of recovery early ensures that you can confirm your interventions are effective. Improvement might take several weeks; flowering typically lags behind other signs of plant health, making patience crucial. For instance, if you begin to see new leaves but no flowers, revisit your sunlight exposure and watering practices, as these factors may still require adjustment.
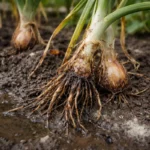
If, despite your care, you do not see improvements after a few weeks, it may be time to re-evaluate your watering schedule and check for root issues. Investigate whether the roots are becoming pot-bound, as stuck roots can hinder moisture and nutrient absorption effectively stunting growth and flowering potential. Sometimes, problems can persist due to underlying soil compaction or drainage issues that weren’t initially evident when planting. If, after diligent monitoring, you still see no progress, consider consulting a professional or a local extension service to explore if there are broader environmental or systemic issues affecting multiple plants.
FAQ
How long does it take for daisies to recover from nutrient deficiencies?
Once you address nutrient deficiencies with proper fertilization, you can expect to see signs of recovery within 1-2 weeks. Shortly after feeding with the correct nutrients, newly emerging leaves should look darker and greener, indicating that your daisies are regaining their strength and vitality for future blooms.
Can pests spread and cause permanent damage to my daisies?
Yes, pests can spread quickly and severely damage your daisies if not addressed promptly. Continuous infestations left untreated may lead to weakened plants that struggle to recover, affecting their blooming potential for the entire season and potentially increasing susceptibility to hard-to-cure diseases.
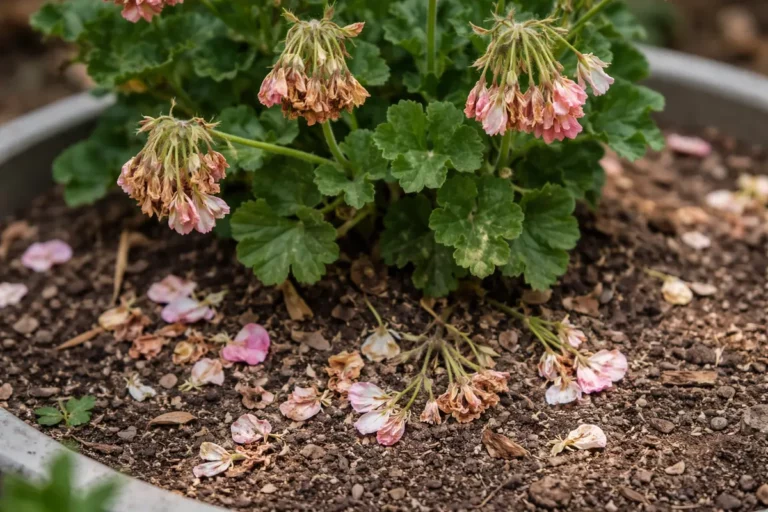
Should I remove dead flowers to encourage new blooms?
Yes, removing spent flowers, known as deadheading, redirects the plant’s energy back to healthy growth rather than seed production, effectively encouraging new blooms. Engaging regularly in this practice during the blooming season sustains a continuous flowering cycle, as well as improving the overall aesthetic of your daisies while minimizing energy expenditure on futile reproductive efforts.