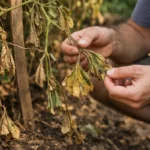
You may notice your collard greens looking less vibrant and more yellow during periods of heavy rain, which is why you might be asking, “Why are my collard green leaves turning yellow after heavy rain.” This yellowing typically results from excess moisture leading to root stress and nutrient deficiency, causing damage to the leaves. If left untreated, this issue can worsen, weakening the plant and making it harder to fix, but you can improve the situation now by inspecting the soil drainage and adjusting your watering practices accordingly.
Step 1 – Inspect Collard Greens for Excess Water
First, remove any excess water around the base of the collard greens by gently lifting them up, creating small channels for drainage. You should notice the soil level dropping as the water clears, leading to a firmer, drier base, which will immediately reduce the risk of root rot.
Acting fast is crucial because prolonged saturation from rain can suffocate the roots, leading to yellowing leaves as the plant struggles to oxygenate. If the soil remains wet for too long, the plant may begin to experience nutrient deficiencies, further contributing to leaf discoloration. Immediate drainage supports healthy respiration, which is essential for the collards to recover from water stress.
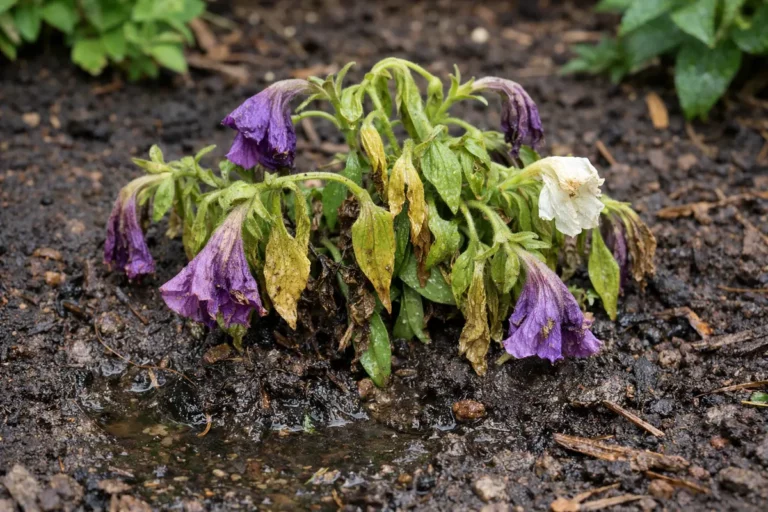
For instance, a gardener who waited too long to address waterlogged conditions found that his collards slowly declined, while another who quickly drained their garden noticed a prompt improvement in their plants’ color and vitality. A common mistake is failing to check for adequate drainage after heavy rain; if the leaves droop and yellow, check the soil moisture level first—it should feel damp but not soggy.
Acting fast is crucial because collard greens rely heavily on nutrient uptake through their leaves, and yellowing can indicate a nutrient deficiency exacerbated by excessive moisture. When leaves turn yellow, chlorophyll production decreases, leading to limited photosynthesis. If you delay this action, the plant’s stress levels can increase, potentially resulting in irreversible damage to its overall structure.
A gardener once neglected to remove yellowing leaves from their collards after heavy rain, which led to the rapid spread of downy mildew. Observing the contrast, those who promptly removed affected leaves found healthy growth shortly after. If not this, check soil drainage to ensure you’re not causing excess moisture retention.
Acting quickly is crucial because excessive moisture can suffocate roots and hinder nutrient absorption. Prolonged wet conditions interfere with oxygen availability for the roots, leading to critical problems like root rot, which can completely kill the plants. An observable sign of overwatering includes the surface of the soil appearing muddy or mushy. This issue becomes especially apparent when soil retains water too long, usually noted in clay-heavy soils where drainage is poor, making it difficult for the plants to breathe. If the area pools with water after a rain, this is a clear signal that drainage is inadequate.
A common mistake gardeners make at this stage is assuming that visible yellowing alone indicates a lack of nutrients. They often respond by over-fertilizing without checking the soil moisture content first. Checking soil moisture levels can clarify whether the plant is suffering from overwatering. If the soil feels soggy each time you check it, you may need to improve drainage or redefine your watering practices before the problems worsen. If you notice pooling around the roots but the plants still stand, that could indicate stress from waterlogged roots not being able to take up nutrients effectively.
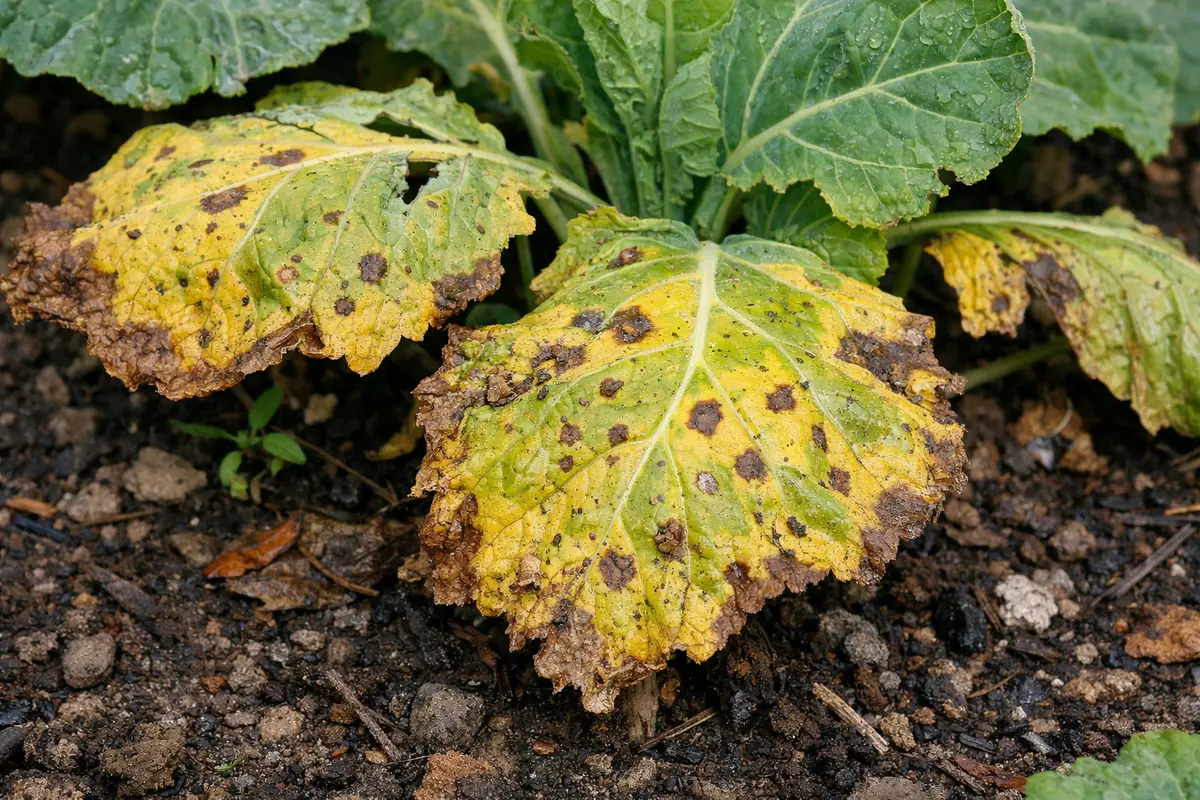
Step 2 – Diagnose Cause of Yellowing Leaves
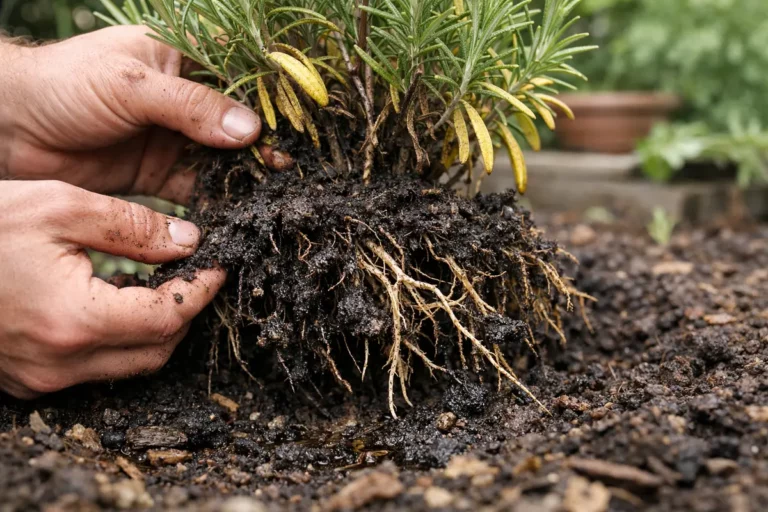
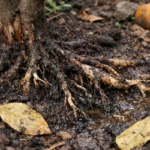
Examine your collard greens for any signs of root rot. Gently pull back a few leaves to check the soil structure; you will notice wilting or collapsing leaves despite adequate moisture, indicating that nutrients are not being absorbed properly. Also, inspect the roots, which should be white and firm. Dark, mushy roots indicate that rot has developed. This inspection can clarify whether overwatering or a lack of nutrients is the main issue. If roots feel slimy or emit an unpleasant smell, this signals advanced decay.
Root rot occurs when waterlogged conditions create an anaerobic environment, stunting growth and leading to yellowing leaves. This problem is particularly exacerbated in poorly draining soils. When roots are continuously submerged in moisture, beneficial bacteria die off, and harmful pathogens thrive. These pathogens can lead to a significant decline in plant health, emphasizing the importance of proper drainage and soil types for optimal growth. If you suspect root rot, do not hesitate to take corrective measures, as the longer the roots stay wet, the more damage occurs. If root health deteriorates past a certain point, even aggressive treatment may not help.
If your soil gives off a sour smell when checked, indicating anaerobic conditions, it’s a strong sign of root rot or pathogen growth. On the other hand, if the soil appears dry and the leaves are yellowing, inspect for pest infestations. Pests like aphids and spider mites can stress the plant, mimicking symptoms of nutrient deficiencies. When checking for pests, inspect the undersides of leaves for any signs of spider webs or small insects. Each issue has different recovery paths and should be addressed appropriately if you want your plants to return to good health. Make note of any pests, as they may require immediate removal to prevent further stress.
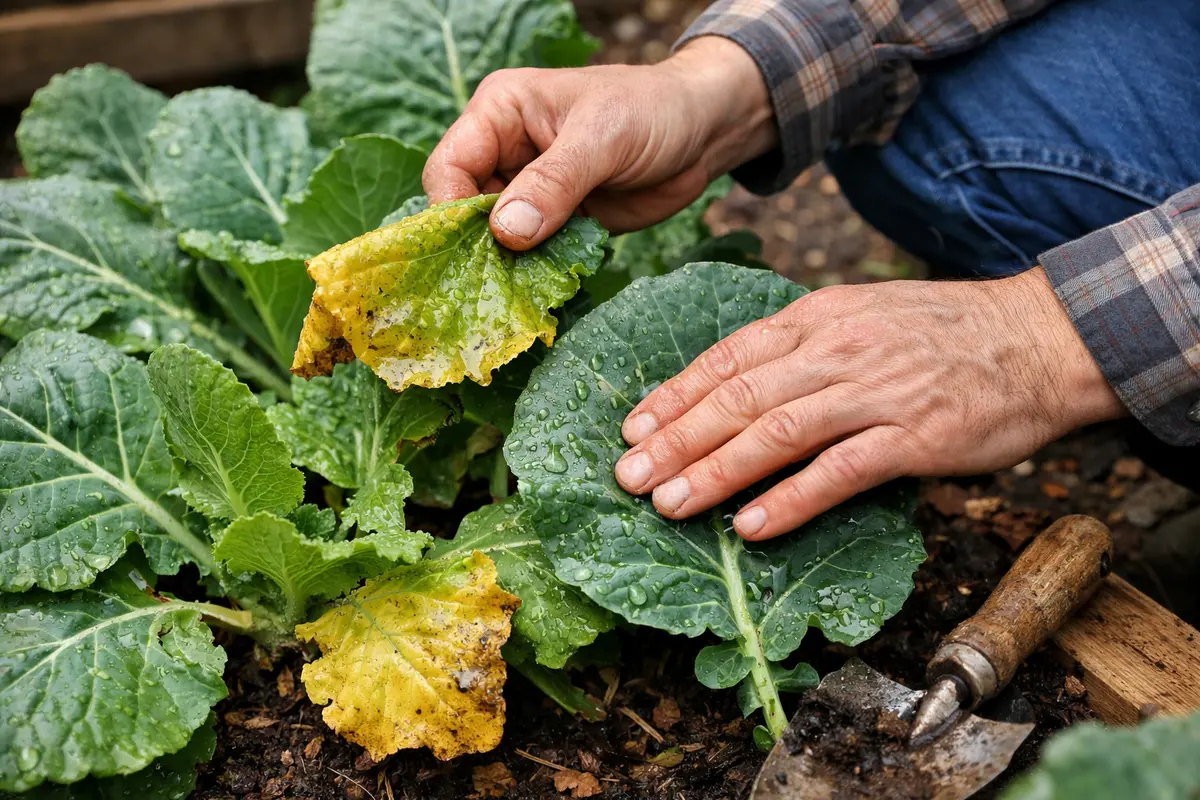
Step 3 – Fertilize Collard Greens to Aid Recovery
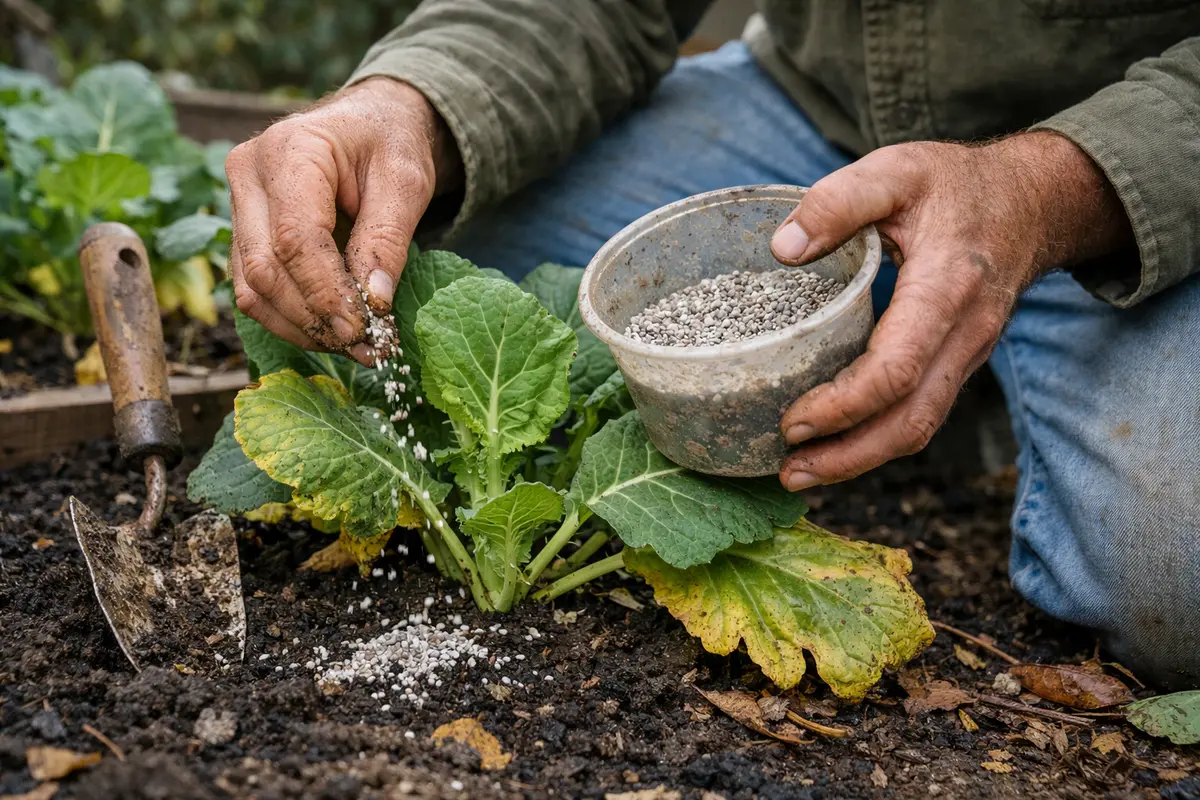
Apply a well-balanced, potassium-rich liquid fertilizer to your collard greens based on the package instructions, usually at a rate of 1 to 2 tablespoons of fertilizer diluted in a gallon of water. Apply the fertilizer directly to the base of the plants to minimize fertilizer burn on the foliage. You will see the plants start to perk up with new growth appearing within a week. Follow up with a watering to ensure the nutrients penetrate the soil effectively, reaching the roots. While applying fertilizer, observe the weather patterns; avoid fertilizing just before rain as it might wash away nutrients.
This fertilizer will replenish essential nutrients that may be missing due to root damage or nutrient leaching from heavy rains. By providing the necessary nutrients, you can kickstart the recovery process, ensuring that the leaves regain their vigor and turn a healthier green. Signs that you can observe as recovery progresses include deeper green colors, which indicate successful photosynthesis. This revitalization may take time; signs of improvement might not be prominent for several days as the plants deal with prior stress. Monitor for changes such as greener leaves and new growth budding at the tips, which indicates they’re regaining strength.
A mistake to avoid during this recovery phase is over-fertilizing the plants. Over-fertilizing can lead to chemical burn and additional stress, which causes further yellowing or wilting. If the tips of the leaves begin to brown, that could indicate too much fertilizer, which can trigger additional health concerns. Observe the plants’ progress; if you notice any new growth or signs of greener leaves emerging, then your efforts are paying off and the plants are on a path to recovery. However, if the yellowing continues despite fertilizing, consider re-evaluating your moisture management practices and whether root health has truly returned.
Step 4 – Water Collards Only When Soil Dries
Reduce your watering schedule to only when the top inch of soil feels dry to the touch. Stick your finger into the soil at least an inch deep before deciding to water again; if it feels dry, it’s safe to water. This habit will help maintain the right moisture balance in the soil, reducing the risk of both overwatering and under-watering. If you still feel moisture at this level, wait another day or two before testing again, as collard greens prefer to stay slightly dry between waterings.
By monitoring soil moisture regularly, you avoid repeating the conditions that caused the yellowing leaves. Keeping the soil consistently moist but not soggy is essential for preventing root rot and ensuring the plants receive the nutrients they need. This practice can be particularly important in warmer months when evaporation increases. Most collard greens thrive best when their roots have consistent access to oxygen, as it contributes to stronger growth. Additionally, utilize mulch around the base of the plants to help retain soil moisture and regulate temperature, reducing the frequency of watering needed during periods of heat.
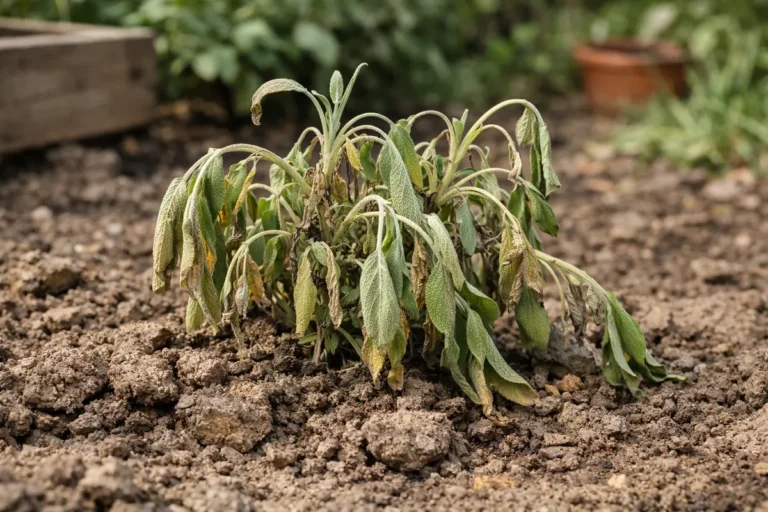
During periods of hot weather, it’s essential to keep a vigilant eye on water levels. If temperatures spike, or rainfall is scarce, check the soil more frequently and ensure it does not dry out completely. This can be particularly crucial for newly planted collard greens that haven’t yet established deep roots. Implementing a good watering routine, where you adjust based on plant response, will help establish healthier growth habits moving forward. If your plants continue to droop or wilt, check for root health; this may indicate a longstanding issue has yet to be resolved. If the wilting persists, a soil test may be necessary to diagnose any nutrient imbalances.
Step 5 – Check Leaves for New Yellowing Weekly
First, check the soil moisture level and drainage around your collard greens after heavy rain. Observe the leaves for signs of yellowing; they should return to a rich green within a week if conditions improve. Recheck the soil moisture daily for excess saturation, as this can impede nutrient uptake.
A fully recovered collard green plant will have vibrant, dark green leaves with a firm texture and a healthy sheen. In contrast, if yellowing reappears, the leaves may start to droop or develop uneven coloration, suggesting a recurring issue. If the leaves are wilting before they turn yellow, check for root rot caused by standing water.
If yellowing persists despite proper drainage and care, apply a balanced fertilizer to replenish nutrients washed away by rain. Consider addressing soil amendment if nutrient imbalances are suspected, and escalate to inspecting for pests or diseases if the problem continues.
A fully recovered plant should display vibrant leaves without any signs of yellowing or wilting. Regular monitoring allows you to act early should any issues arise again, preventing repeated stress to the plant. This vigilance is particularly important during lifecycle transitions and after environmental changes, such as a sudden change in weather or soil conditions. If your plants are growing well but still show yellowing in some leaves, that could indicate localized issues such as pest problems or localized root damage.
If you notice yellowing returning after following these steps, consider reevaluating your watering or fertilization schedule. Persistent issues could also warrant testing your soil pH or nutrient levels, as imbalances can be silent plant killers before any visible symptoms arise. If necessary, consult with a local gardening expert or extension service for further guidance. Prompt attention can help catch problems before they escalate, ensuring your collard greens stay healthy and produce well. If more than a few plants are affected, consider investigating your garden practices to identify any systemic issues.
FAQ
How long will it take for my collard greens to recover from yellowing?
Recovery can take anywhere from a few days to a couple of weeks, depending on the severity of the issue and how effectively you address it. You should start to see new growth within a week if the conditions improve and root health is restored. However, if the yellowing persists, it might indicate a deeper issue requiring further intervention.
Can yellowing leaves spread to other plants nearby?
While yellowing leaves are typically a symptom of environmental stress rather than a disease, it’s crucial to monitor surrounding plants. Nutrient deficiencies or root issues can occur in nearby plants under similar conditions, so assess your garden’s moisture management overall. If multiple plants exhibit similar symptoms, consider that the environmental factors affecting all may stem from shared soil or watering routines. Taking a proactive approach can help minimize the risk to your entire garden.
Should I remove the affected leaves from my collard greens?
Yes, removing significantly yellow or damaged leaves can help redirect the plant’s energy towards new growth. However, do this only sparingly and avoid over-pruning, which can stress the plant further. Ensure that you clean your cutting tools with alcohol before pruning to prevent introducing any potential infections to the plant. This cleanup also minimizes the disease risk to surrounding foliage, maintaining overall garden health.