You may notice your indoor ferns stretching awkwardly towards dim light during the winter months, which is why you need to know how to treat leggy growth in indoor ferns under low light. This unnatural elongation occurs when the plants are seeking adequate light, leading to weak stems and drooping fronds that diminish their overall aesthetic. Ignoring this issue only weakens the plant and can lead to more damage, but fixing it is possible now—simply check your light conditions and trim back the leggy growth to encourage healthy, fuller foliage.
Step 1 – Trim Leggy Fern Fronds to Encourage Growth
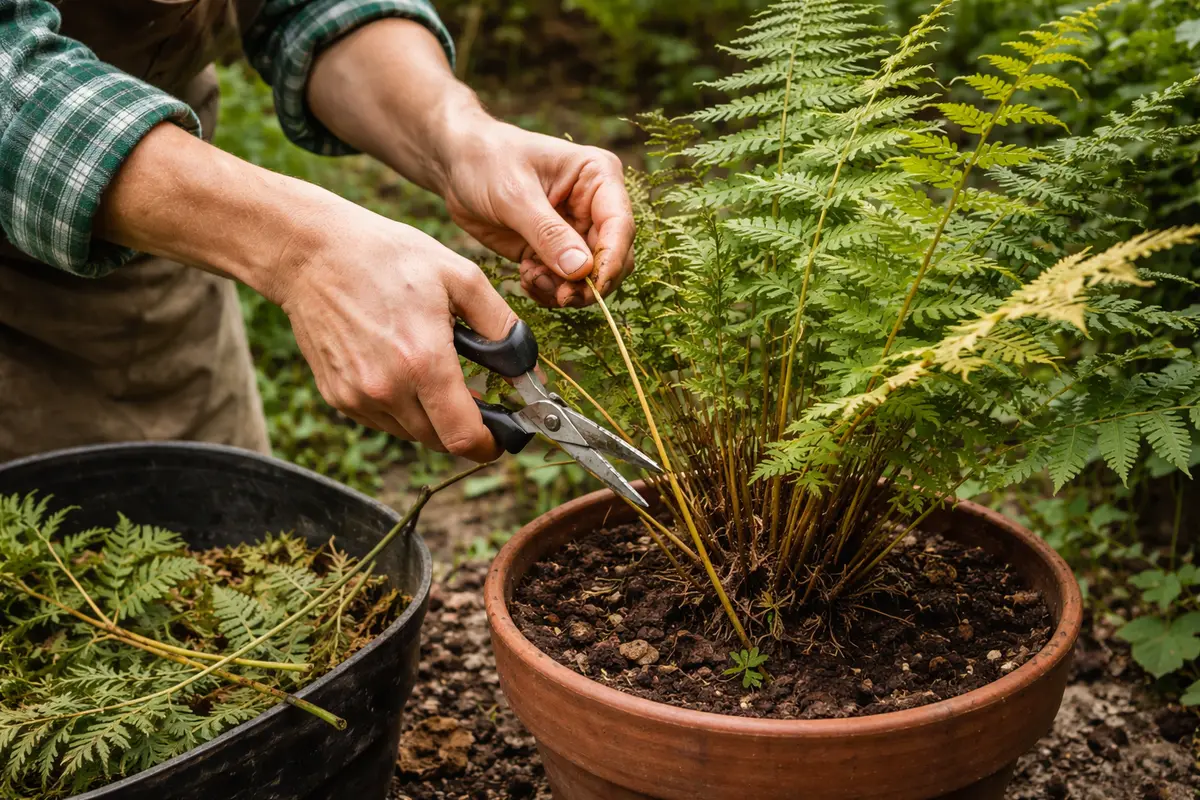
Start by pruning the leggy fronds of your indoor fern back to a leaf node. This action not only removes excessive growth but also redirects energy to healthier leaves, which should appear fuller and more compact shortly after the trim. Ensure you inspect the base of the plant for any signs of rot, as this can contribute to leggy growth.
Acting fast is crucial since delayed intervention allows the fern to continue stretching toward the light source, causing an unbalanced growth pattern. The weakening of the plant’s structure occurs over time as it reallocates resources to support its elongated fronds. If you notice yellowing leaves after trimming, check to see if root rot is present, as this can hinder your fern’s recovery.
For instance, a gardener who waited too long to address leggy ferns discovered that their plants didn’t bounce back as well as ones pruned sooner. A common mistake is assuming that simply waiting for more light will fix the problem, while in reality, the plant’s condition might worsen without prompt action. If leggy growth persists despite more light, check the watering routine, as inconsistencies can exacerbate the issue.
Leggy growth occurs when ferns lack sufficient light, which causes them to grow taller in search of better conditions. If you delay trimming, this energy drain leads to weak stems and fewer leaves — continuous growth in this direction is suboptimal. Therefore, it’s essential to take action quickly and reshape the plant to foster health and vitality. Fresh cuts will not only remove unnecessary length but stimulate new growth from the nodes that remain. If you notice that fronds are permanently bent or awkwardly positioned, it may be necessary to remove them entirely to prevent crowding in future growth.
Many gardeners overlook the importance of pruning during recovery. For instance, waiting too long can lead to a situation where the fronds are not only leggy but also brittle, making them hard to cut back without damaging other parts of the plant. Additionally, cutting fronds back when the plant is too stressed can lead to further damage rather than recovery. Be sure to prune during the plant’s active growth period after the initial cut, which typically includes the spring months, to promote lush growth without harming the healthy sections. After cutting, consider occasional misting to reduce stress on the plant. Monitor how your ferns react after pruning to adjust the care routine as necessary. If the stems show signs of disease after cutting, allow them to dry for a few hours before watering.
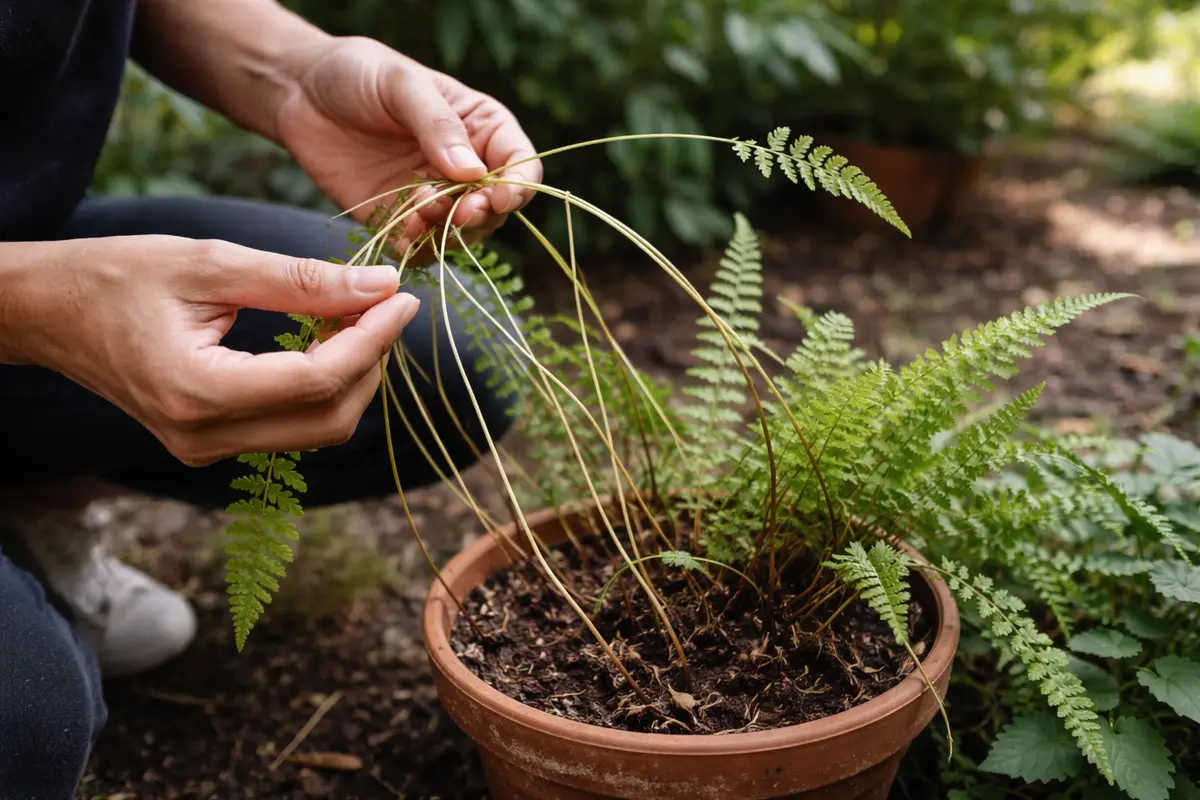
Step 2 – Diagnose Low Light Issues Impacting Ferns
Next, assess the lighting conditions where your ferns are kept. If you determine that they are indeed in low light, consider relocating them to a brighter spot. You should notice the leaves appear perkier and more resilient within a week after adjusting their position. This direct light exposure encourages healthier growth and minimizes leggy tendencies. Make sure that the new spot receives indirect light for most of the day, as ferns prefer bright but filtered light to thrive. Observe the performance of your ferns in the new location by checking the moisture retention of the soil; higher exposure may lead to quicker evaporation.
Inadequate light affects the photosynthetic capabilities of indoor ferns, leading to elongated growth and sparse leaves. Light is essential for the energy production that helps ferns thrive. Without proper light, the ferns grow tall but frail, compromising overall vitality. When assessing light quality, observe the leaves’ orientation; if they are leaning towards a window, it’s a sign they are not receiving adequate light. This tendency can lead to awkward growth patterns as they struggle for light. Correcting this issue fosters robust growth by enabling the plant to gather energy effectively. If several plants in the same area show similar symptoms, it often indicates a need for a broader evaluation of the space’s light distribution.
Some gardeners misinterpret light requirements and mistakenly choose to use artificial sources, leading to different problems. For example, if you move the ferns near a bright window, monitor their response to ensure they are not scorched by direct sunlight, which could create a new issue. After relocating them, evaluate the fronds’ condition weekly; if they begin to curl or exhibit brown edges, consider filtering the light with sheer curtains instead of direct exposure. Assessing the soil moisture and frond condition regularly can indicate whether the plant has adapted well. If you suspect low light despite relocating your plants, consider supplementing natural light with grow lights set on a timer for 12-14 hours a day for consistent energy supply, remembering to adjust the height of the bulbs to avoid scorching.
Step 3 – Boost Nutrients for Underperforming Ferns
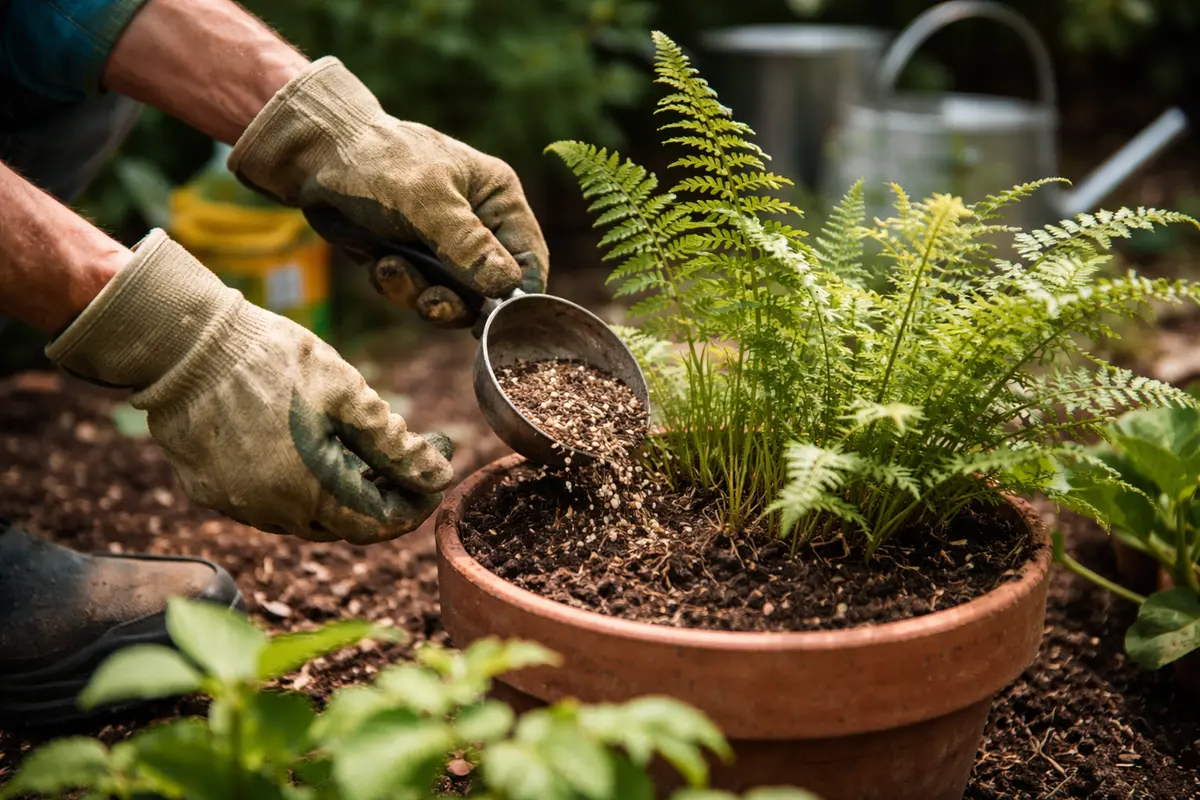
Apply a balanced liquid fertilizer specifically designed for indoor ferns every four to six weeks to boost nutrient levels. You should see some improvement in overall health and vigor, with new growth forming within a month. This consistent nourishment provides essential elements that support strong stem and leaf development. When diluting the fertilizer, follow the label instructions closely to avoid over-fertilizing, which can shock your plants. If your ferns show apparent signs of nutrient deficiency, such as yellowing or small fronds, consider increasing the frequency of application slightly until normalized but always monitor closely to avoid any potential over-application.
Fertilizers help replenish nutrients that indoor plants may deplete, especially in nutrient-poor potting mixes. Indoor environments often lack the diverse nutrient profile found in garden soil, and ferns, in particular, need micronutrients like magnesium and iron for optimal growth. Low nutrient levels lead to weak growth, so regular fertilization combats this by promoting leafy growth and vitality. After fertilizing, observe your ferns for signs of new growth; healthy plants typically develop new fronds that are plump and green. Conversely, be wary of any white crust forming on the soil surface; this may indicate excess salt buildup from fertilizers.
It’s crucial to watch how your ferns react to fertilizers, as over-fertilizing can cause leaf burn and other damage. A common mistake is applying too much too soon, thinking it will speed recovery, but this often leads to stress instead. Pay attention to growth patterns; if you see yellowing leaves or crispy edges within a week of fertilizing, reduce the application or dilute the solution further to ensure better results without harming the plants. It’s also wise to perform a soil test every few months to better understand the nutrient levels your ferns require; based on this, adjust your fertilizer composition accordingly. If after a few cycles there are signs of nutrient deficiency or poor response, consider switching to a slow-release fertilizer that can provide nutrients gradually over an extended period without the risk of quick over-concentration.
Step 4 – Inspect Fern Leaves for Fresh Growth Weekly
Next, monitor your fern closely by checking its growth every few days. Observe the new fronds for signs of unfurling and increased density, as these indicate recovery from leggy growth. If fronds remain thin and spaced apart, recheck weekly to confirm whether the plant is responding positively or if the issue persists.
A fully recovered fern showcases lush, compact fronds with vibrant green coloration and even spacing. In contrast, early signs of returning leggy growth include long, weak stems with spaced-out leaves, often with a faded appearance. If you notice fronds that still seem thin and elongated despite previous adjustments, check the light levels to ensure they’re receiving enough indirect sunlight.
If the problem returns after adjusting your care routine, consider relocating the fern to a brighter spot or potentially supplementing with a grow light for additional illumination. Should these measures fail, you might need to prune back the leggiest stems, which can help redirect energy to healthier growth and encourage a fuller appearance.
A fully recovered fern displays vibrant green leaves, with firm, upright fronds that no longer appear weak or stretched. In contrast, early signs of leggy growth might show as thinning fronds or new growth developing at odd angles — both signals that the plant may need further care. Observing these changes helps keep the ferns healthy and thriving. Establishing a routine to check moisture levels and the soil condition alongside the fronds can secure optimal health. Regularly deep-watering can also enhance soil moisture retention, improving nutrient uptake.
If leggy growth returns despite implementing these steps, consider reassessing lighting conditions and the fertilization schedule. Sometimes, new growth may indicate that efforts are paying off, yet leggy fronds can hint at inconsistent light exposure or nutrient deficiencies still lurking. If the fronds that are growing continue to be long and thin, consider increasing the light exposure duration or adjusting the type of fertilizer used to better meet your plants’ needs. Pay attention to the soil moisture content; if the soil remains dry while the fronds elongate, it may signal a need for better watering practices. Adjust your care routine quickly to avoid spreading the problem, ensuring your ferns stay healthy and thriving. Detection at early stages can significantly influence their recovery timeline and improve your chances for rejuvenation.
FAQ
How long does it take for ferns to recover from leggy growth?
Recovery from leggy growth can take around 4 to 8 weeks, depending on the conditions provided. With proper light, trimming, and nutrients, you can expect to see new growth emerging within the first month. Regular monitoring is essential to measure progress during this period; taking notes on weekly changes can provide clarity on the ferns’ recovery efficacy. If no improvement is seen after this timeframe, reevaluating the care conditions may be necessary. Plan accordingly to implement graduated changes for better outcomes.
Can leggy growth in ferns spread to other plants nearby?
Leggy growth itself is not contagious, as it’s a symptom of inadequate light rather than a disease or pest issue. However, environmental conditions such as low light or poor humidity affecting one plant can also impact others nearby. If multiple plants show similar symptoms, reconsider the entire area’s light conditions and humidity levels to ensure all plants receive the care they require. Increasing airflow and spacing can also minimize competition for limited light, thus improving conditions. Additionally, maintaining a regular check on the soil moisture and nutrient balance for adjacent plants can help stabilize overall health.
Should I remove all leggy fronds from my ferns?
It’s not necessary to remove every leggy frond; focus on trimming back the most extreme cases to promote a healthier shape. Removing over half of the fronds at once can stress the plant, so proceed gradually. Aim for a balanced approach where you assess the impact of each cut, leaving some foliage to continue photosynthesis, allowing the plant to recover more naturally. If you notice signs of shock in the remaining fronds after pruning, consider postponing any further pruning until the plant reestablishes itself. Maintaining sufficient frond density can help sustain energy production during recovery periods.