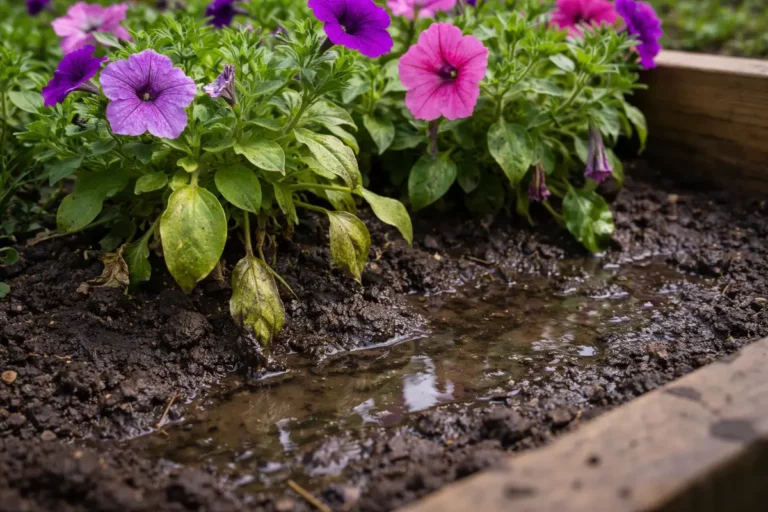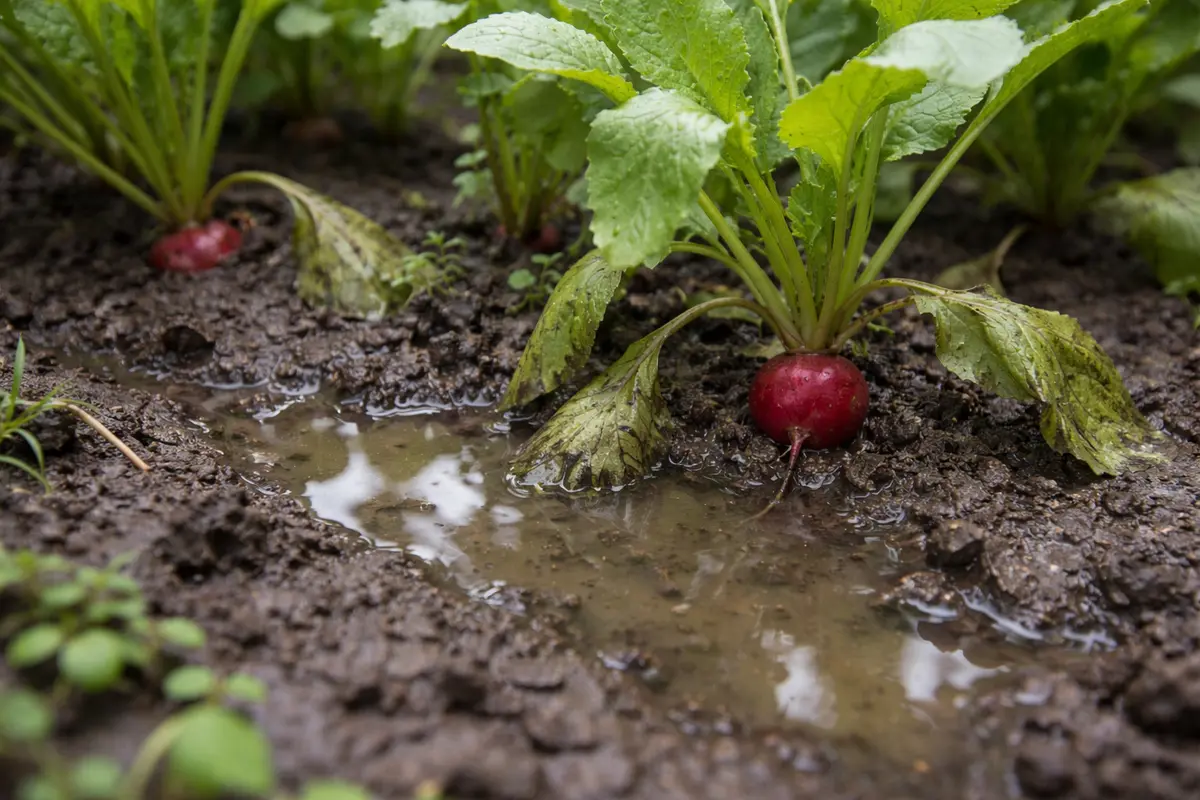
You may notice that your radish plants show signs of trouble during the rainy season, which is why you need to know how to fix soggy soil around radishes when overwatering. The roots become waterlogged, leading to yellowing leaves and drooping stems as the plants struggle to access oxygen in the overly saturated soil. If this issue is ignored, it can spread to other nearby plants, weakening them and ultimately stalling growth, but fixing the problem is possible now—simply check your watering schedule and improve soil drainage by adding organic matter.
Step 1 – Dig Up Soggy Soil Near Radishes
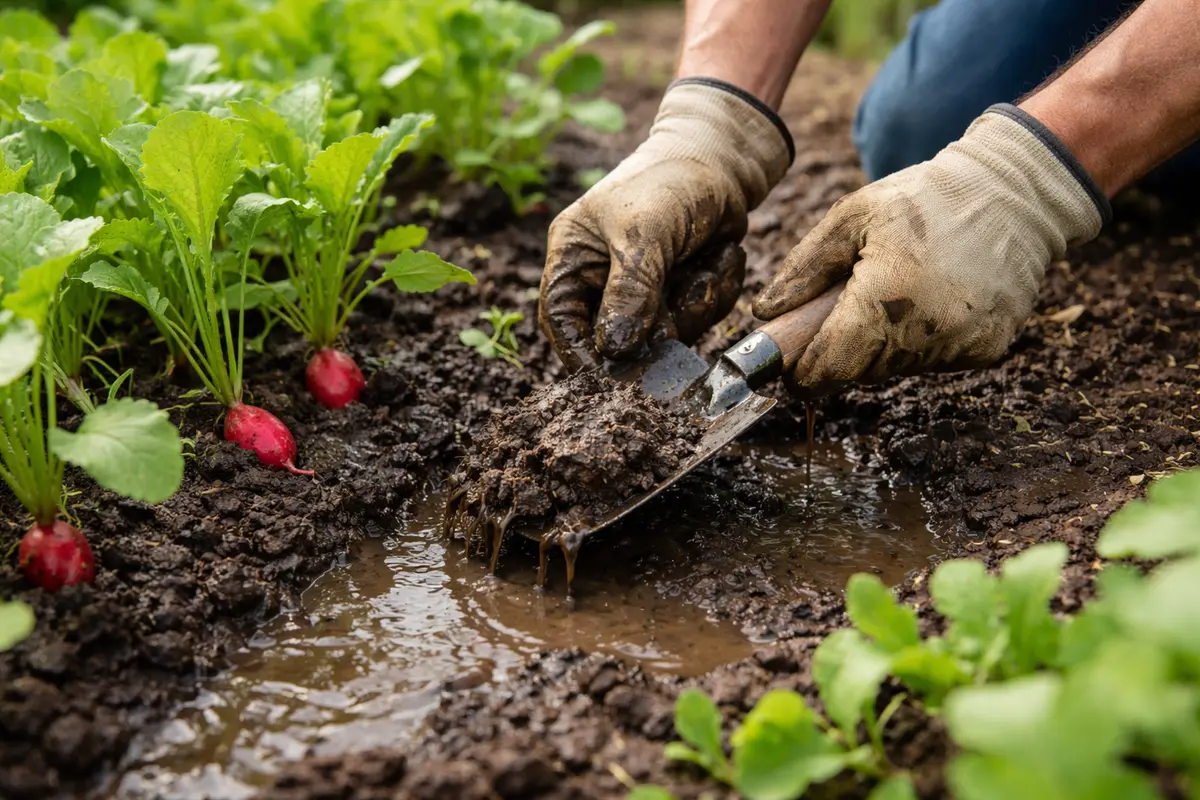
Start by digging up the soggy soil around the radishes. You will notice a notable difference in moisture levels as you expose the soil beneath. This immediate action reduces the risk of root rot by allowing the area to dry out more quickly, significantly improving drainage around the roots. Take care to dig down about 6 inches, as this depth is typically where the most moisture accumulation occurs and where healthier soil is likely to be found. Ensure that you’re breaking up any large clumps as well; compact clods can trap moisture and exacerbate the problem.
Radishes thrive in well-drained conditions, and too much moisture can lead to root suffocation, inhibiting their growth. Excess water can also invite fungal infections, which not only affect the roots but may also spread to the leaves, potentially jeopardizing the entire crop. If you delay addressing the moisture saturation, you risk deep-root rot, which can take weeks to correct, impacting your harvest. Watch for signs of overly dark or clumping soil as key indicators of how much water is being held and how soon you need to act. A shiny or slick appearance on the surface of the soil often means it has high moisture content.
A common mistake at this stage is to simply leave the soil as is, hoping it will dry out on its own. In reality, this only delays the inevitable, making the situation worse. If you dig up the soil and notice a mucky mess filled with clumped material, it’s a strong indicator that immediate action is necessary. Furthermore, if the soil feels like a sponge and retains a lot of water, act fast before the situation worsens, which could make your radishes vulnerable to pests that thrive in soggy conditions, such as root maggots. If left too long, the stench of anaerobic decay will become palpable, which denotes serious trouble for your plants. Make a mental note of the smell and texture, as these will be the benchmarks for measuring improvement in subsequent checks.
Step 2 – Diagnose Overwatering in Radish Beds
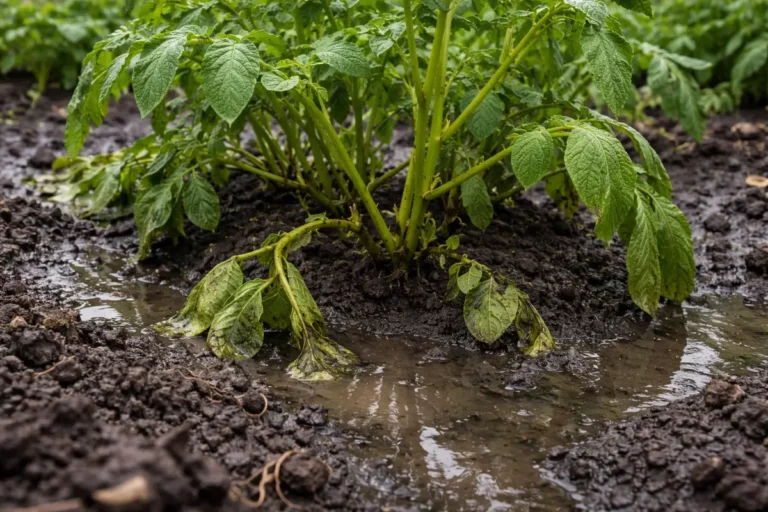
Check the drainage conditions of your radish bed immediately. You will observe the soil texture and moisture levels, which help identify if overwatering is indeed the issue. This step reveals whether the soil structure is compacted or if water is pooling, both of which create constantly soggy conditions that require correction. If upon inspection you find that any water collects on the surface after watering, it’s a strong indicator that drainage is solely to blame. Additionally, check for a crusty layer on the surface, which can indicate evaporation and is often a sign that moisture is trapped below.
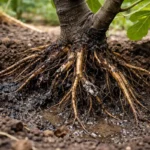
When radishes receive too much water, the soil’s ability to hold nutrients decreases, impacting the plant’s overall health. Saturated conditions mean roots cannot adequately oxygenate, which promotes rot and stunted growth. If you notice a smelly odor or slimy roots, it indicates serious root rot, requiring urgent care. These symptoms are often a clear sign that the rot is progressing beyond recovery; thus, immediate action is paramount. Left unaddressed, these conditions can create a cascade of problems, potentially affecting neighboring plants as well. You’ll often notice that healthy soil should possess a spongy, loamy feel rather than a soggy texture.
If your soil has poor drainage and retains moisture, upgrade your soil texture by mixing in compost or perlite. Using one part compost to three parts native soil often strikes a good balance for aeration. If the soil smells off or shows signs of foul rot, you may need to remove affected parts immediately to promote healthier growth. Another frequent issue arises when water pools due to compacted clay soil, requiring aeration techniques such as tilling or incorporating sand. In this situation, try breaking the soil up further and mixing in small, coarse sand, which will help facilitate drainage without compacting. Without addressing the drainage issue, the problem is likely to recur, perpetuating the cycle of sogginess and reducing your yield. This diagnostic step is crucial, as it sets the stage for targeted interventions needed to restore optimal growing conditions.
Step 3 – Amend Soil for Healthy Radish Growth
Start by aerating the soggy soil around your radishes using a garden fork or shovel, which will help improve drainage. Allow the soil to dry out for a few days, and you should notice less water pooling on the surface, indicating that the air is beginning to circulate through the soil more effectively.
Recovery from overwatering can take anywhere from a week to a month, depending on the severity of the sogginess and environmental factors like sunlight and temperature. Healthy regrowth will be visible as the radishes start to perk up, with leaves becoming firmer and greener. If your radishes continue to droop despite the improvements you’ve made, check for signs of root rot, which can slow recovery significantly.
Avoid adding excessive fertilizer during this recovery period, as it can further stress the plants in already compromised soil conditions. Instead, allow natural soil microbes to rehabilitate the area; too much fertilizer can overwhelm them and hinder recovery. If your soil remains soggy even after aerating, check the surrounding drainage system—ensure there are no blockages that could be causing persistent water accumulation.
Recovery can take anywhere from one to three weeks, depending on the initial severity of waterlogging and environmental conditions. In ideal scenarios, you’ll see roots re-establishing and new leaf growth emerging; however, a lack of sunlight or persistent moisture can severely delay this process. If your radishes appear stunted or yellowing, check for proper sunlight exposure and adjust accordingly.
Avoid overcompensating by adding too much fertilizer or water during recovery, as this can lead to further stress on your radishes. If you see that the soil dries out quickly, checking for signs of re-established root systems is critical; do not immediately assume they require more water. Instead, focus on balancing irrigation to prevent a repeat of waterlogging while allowing roots to breathe.
Recovery may take 1 to 3 weeks, depending on soil drainage and environmental conditions. Healthy regrowth appears as vibrant green leaves and firm, developing radishes. If temperatures are warm and humid, recovery may slow down, while dryer conditions can speed up healing; ensure that your soil remains consistently moist but not waterlogged. If wilting continues despite dry soil, check for root rot, as this would indicate that the roots have still been adversely affected. Consider taking a sample of the roots to assess their health and remove any that are blackened or mushy.
Avoid the mistake of overcompensating with additional water or fertilizer during recovery, as this can lead to further damage. Radishes require moderate moisture and should not be flooded; instead, maintain a balanced watering schedule. If you see new growth appearing but leaves yellowing, check the soil’s moisture level to avoid additional stress. Furthermore, over-fertilization can lead to excessive nitrogen uptake, causing leggy growth, which weakens the plant.
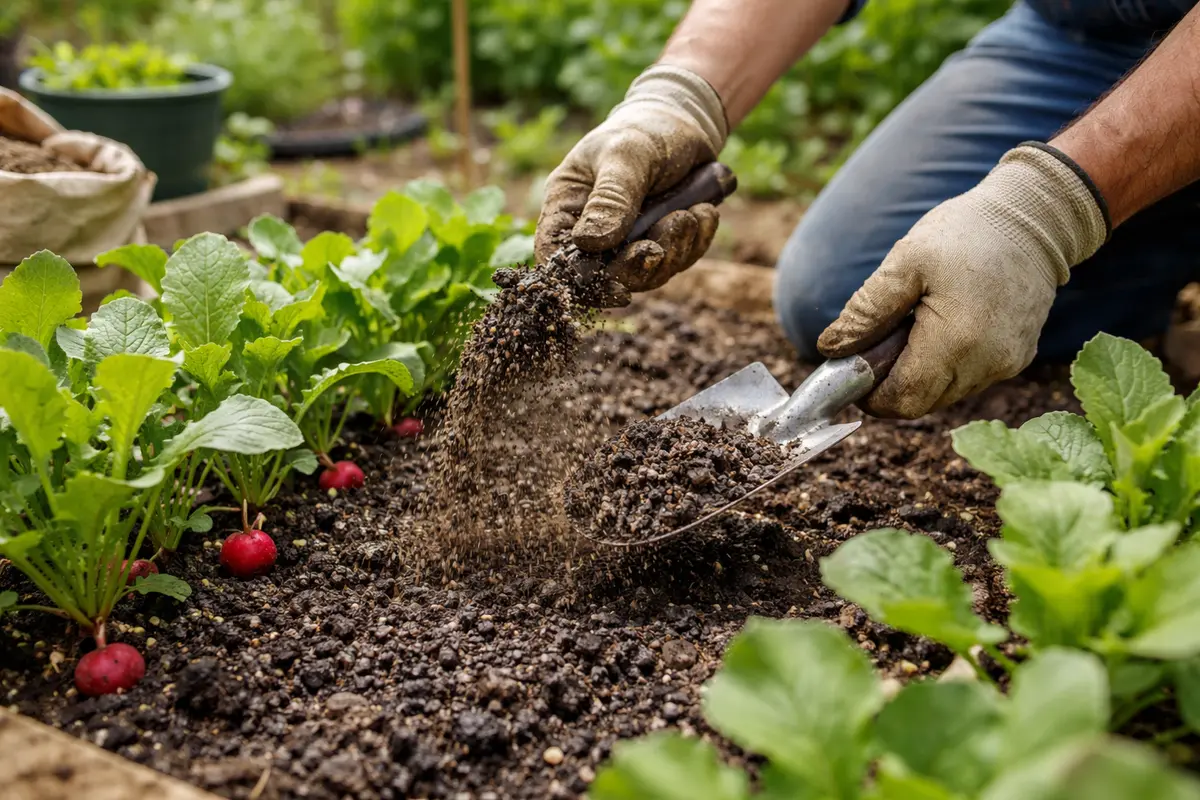
Amending the soil helps balance moisture levels while preventing overload during rainfall or excessive watering. Organic matter such as compost improves aeration and nutrient content, leading to healthier plants and better resistance to pests or disease. Mix at least 2-4 inches of compost or organic material into the top few inches of soil to enhance moisture retention without oversaturation. You’ll likely see color changes from dark to lighter shades, which indicates improved absorption of moisture, directly contributing to the growth of robust radishes over time.
A common mistake when amending soil is to overcompensate with fertilizers, which can lead to nutrient burn. When amending the soil, focus on establishing a healthy base of organic matter that encourages the soil to stabilize around the radishes, rather than introducing high levels of synthetic fertilizers that can leach away during heavy rains. Regularly checking moisture levels during both dry and wet seasons can help set a structured recovery timeline for optimal growth. If soil amendments seem not to hold moisture well after application, it may indicate a need for additional organic matter to improve stabilization, ultimately allowing it to retain essential moisture without drowning the roots.
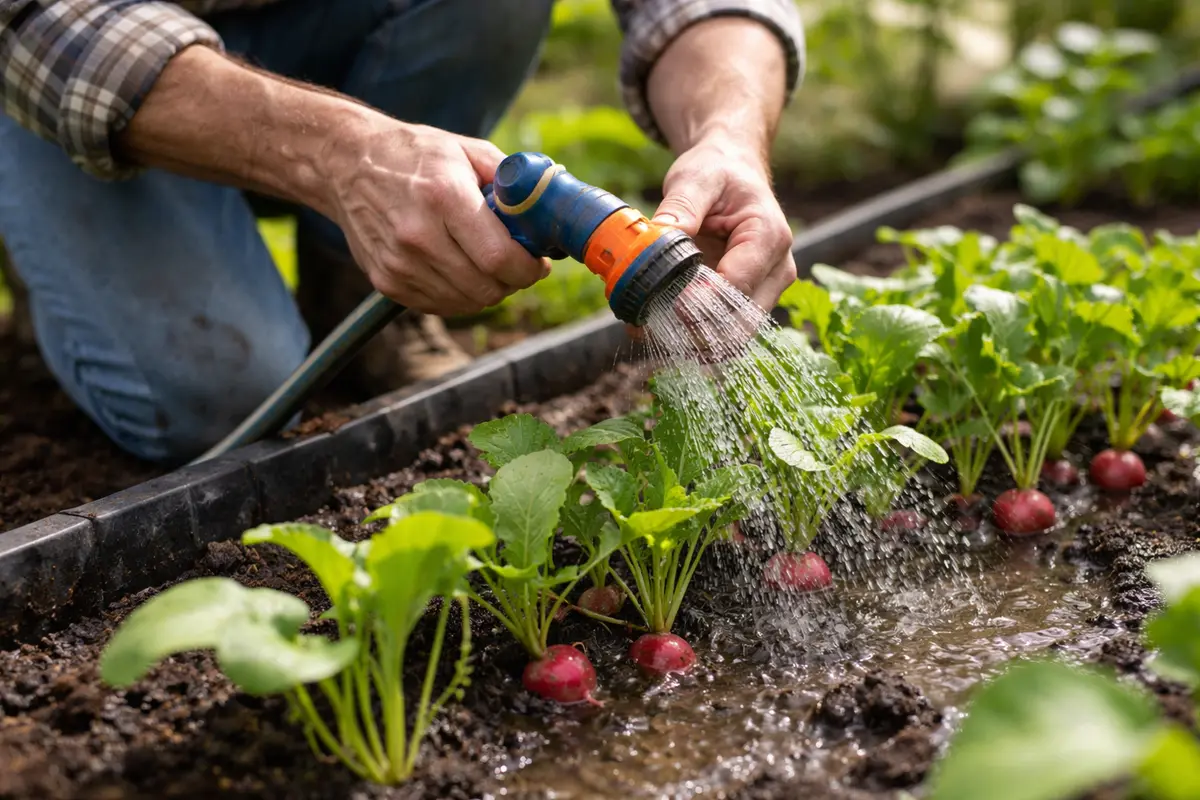
Step 4 – Adjust Watering Schedule to Prevent Soggy Roots
Start by improving soil drainage by mixing in organic matter, like compost or aged straw, into your garden bed immediately. This will create a looser texture and help prevent water from pooling around the radishes. Aim for one part organic matter to two parts native soil for the best results. This adjustment should help in managing moisture levels more effectively without causing overcrowded conditions.
Heavy clay soil and consistent rainfall often create a soggy environment for radishes, leading to poor root development. By adding organic matter, you address the root cause of the problem, allowing excess water to drain more effectively and maintaining the ideal moisture level for radishes. If you notice water retaining in specific patches, consider implementing additional soil amendments in those areas to improve drainage. If you find that even with amending, a particular section remains excessively wet, you might need to dig out that area, break up the soil, and reintroduce better soil structure.
During the rainy season, consider setting up a simple rain garden or a series of raised beds to enhance drainage and protect radish crops. By raising the planting level, you can further prevent over-saturation while making it easier to manage irrigation effectively during drier periods. Raising the garden bed by about 18-24 inches can help control moisture levels, and adding a small drainage outlet can facilitate excess water removal.
Overwatering usually occurs due to rigid watering schedules rather than consideration for changing weather and soil conditions. Consider transitioning to a flexible schedule that accommodates weekly checks; this enables you to assess how dry the soil becomes between watering sessions, allowing you to water only when necessary. Using a moisture meter helps gauge soil needs accurately. If the meter shows consistent saturation, it’s time to adjust your routine, possibly transitioning to bi-weekly or less frequent watering, especially after a significant rainfall.
Use caution as seasonal shifts may require adjustments; radishes need more moisture when germinating in spring yet less during hotter months. Noticing the first signs of wilting or yellowing leaves will also indicate overwatering. Keeping an eye on rainfall predictions can help you adjust watering accordingly. Furthermore, if you’ve amended the soil properly but still see signs of sogginess, reassess your watering strategy in conjunction with environmental factors. Too frequent watering can counteract the organic improvements and may even push the soil into a state of compaction, thereby worsening drainage conditions.
Step 5 – Inspect Radish Foliage for Signs of Overload
Start by checking the soil moisture levels around your radishes three days after your last watering. Use a soil moisture meter or dig about an inch into the ground with your finger to observe how wet the soil feels. If the soil is still consistently soggy, gradually reduce your watering frequency to allow the soil to dry out, and recheck the moisture levels every few days to evaluate progress.
A fully recovered radish plant will have vibrant green leaves that are firm to the touch, while early signs of recurrence include yellowing leaves that feel soft or mushy. If you notice the leaves starting to droop or develop a grayish tint, this may indicate that overwatering issues are re-emerging. Compare this to a healthy plant, which displays bright, upright leaves with a smooth texture overall.
If soggy soil and related problems persist despite following these steps, consider amending the soil with organic matter to improve drainage. You can also create raised beds to enhance air circulation and prevent waterlogging. Escalate the issue by consulting a local gardening expert if conditions do not improve, as they can help diagnose underlying soil issues.
A fully recovered radish plant displays vibrant green, crisp leaves that stand upright, indicating adequate water balance and nutrient absorption. In contrast, early signs of recurring issues may present as wilting or yellowing leaves with a slightly slimy texture on the surface. If the leaves begin to droop or display dark spots, check for waterlogged soil once more, as this may signal that the issue is returning.
If symptoms persist despite monitoring and adjusting watering practices, consider amending the soil with organic matter or sand to improve drainage. If there’s still no improvement, it might be necessary to relocate the radishes to a better-draining area of your garden or consult with a local gardening expert for further evaluation.
A recoverable healthy plant should display vibrant green leaves, firm stems, and solid roots. Leaves wilting or yellowing can indicate that the issue of sogginess has not been fully rectified or that root health is compromised. If you observe poor leaf health or continued yellowing while the soil appears dry, further adjustments in care are necessary, as these symptoms can signify more systemic issues requiring intervention. Regularly check for pests like aphids that can thrive under conditions of moisture stress, contributing to overall plant decline.
If you note recurring signs of stress despite changing watering habits, consider consulting with a local gardening expert for tailored advice. Look for new root signs, as healthy roots often lead to good overall plant health. Keeping a log of your observations over time can help track recovery and pinpoint when interventions are most effective. Timely follow-ups on the health of foliage can prevent setbacks in radish growth and overall yield. Moreover, failing to check leaf health often means missing early signs of root rot or other water-related problems that could spread to other plants in your garden, impacting broader growth.
FAQ
How long does it take for radishes to recover from soggy soil?
Radishes can show signs of recovery within one to two weeks after correcting soggy conditions. It is crucial to monitor the soil moisture closely; if you’ve amended the soil effectively and adjusted watering, expect to see new growth and greener leaves during this period. Keep an eye out for wilting or yellowing leaves, as these are indicators that further adjustments may be necessary. Checking moisture levels should become a daily routine during the recovery phase for better outcomes.
Can overwatering radishes spread to other plants?
Yes, overwatering can lead to fungal infections, which can easily spread to nearby plants. It’s crucial to monitor all plants in the area for signs of distress and adjust watering accordingly, possibly limiting moisture in those sections. Implementing a shared drainage solution or mulching can help minimize moisture retention in affected areas, thus maintaining a balanced environment for all plants involved. Be vigilant, as plants exhibiting wilting or discoloration can often signify a broader issue in the soil.
Should I remove affected radishes after noticing soggy soil?
Remove any visibly rotting or yellowing radishes promptly to prevent disease spread. By doing so, you can refocus your gardening efforts on healthier plants and reduce competition from decaying organic material that can harbor pests. Following removal, consider re-evaluating the soil condition to prevent further incidents, possibly through additional soil amendments to counteract lingering soggy issues. Assessing the nearby plants for any signs of distress will also safeguard your overall crop, allowing for preventive measures to be initiated as needed.