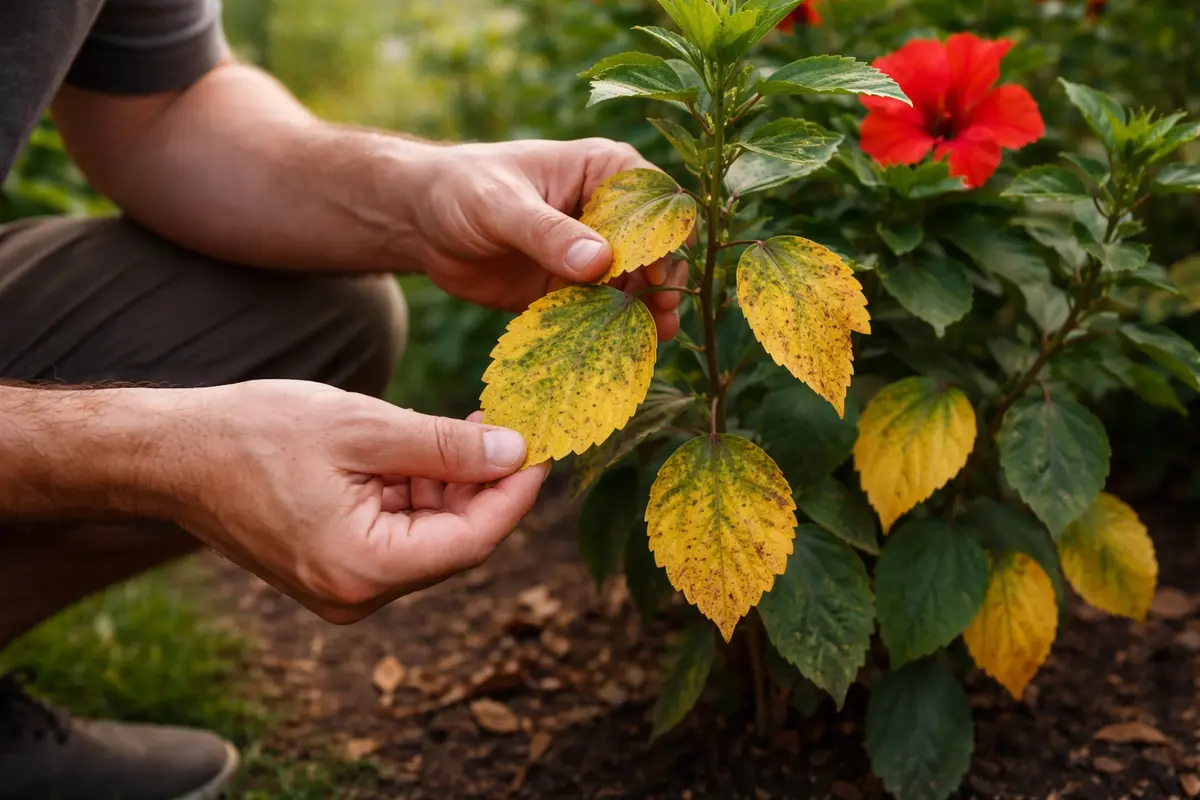
You may notice your hibiscus plants developing yellowing leaves during the heat of summer, which is why you need to know how to fix yellowing leaves on hibiscus in summer. This yellowing often occurs due to nutrient deficiencies or improper watering, signaling stress for the plant. If left unaddressed, the problem can spread and weaken the plant, making recovery more difficult. Fortunately, you can improve their health by inspecting the soil quality and adjusting your watering routine.
Step 1 – Trim Yellowing Hibiscus Leaves Promptly
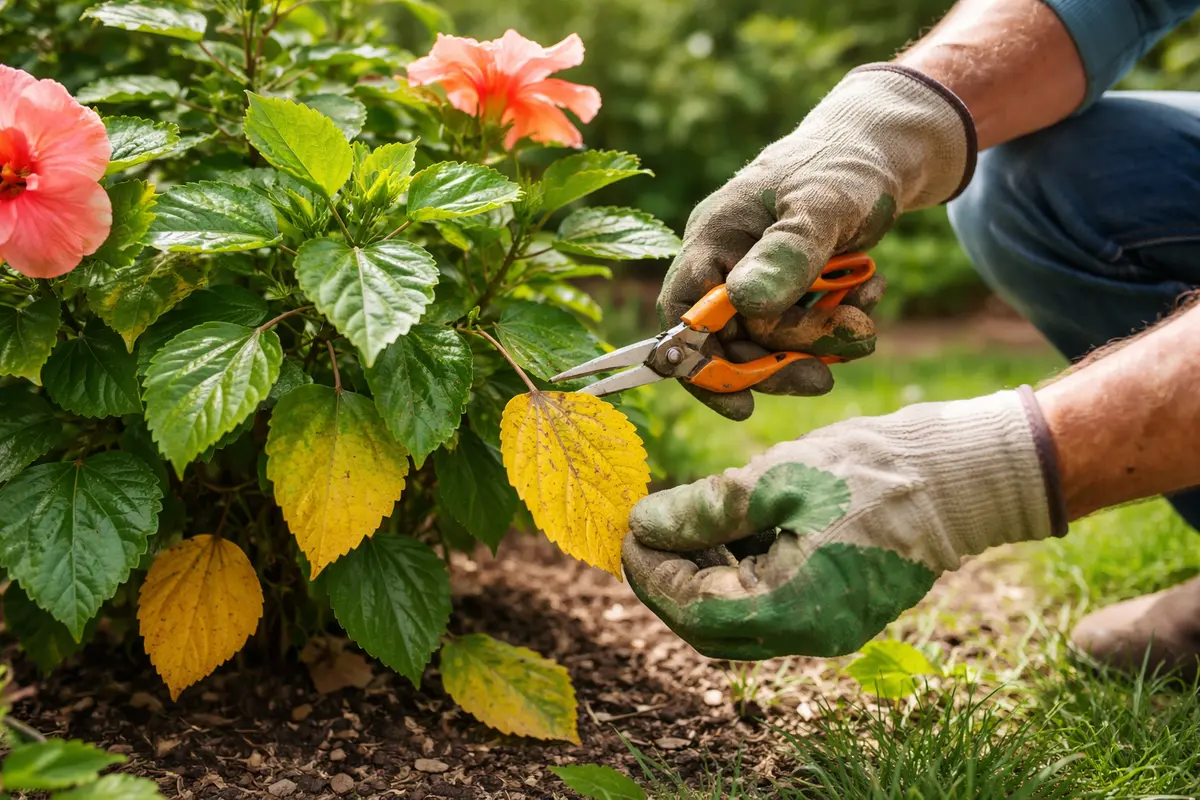
First, remove any yellowing leaves from your hibiscus plant to limit the spread of potential disease. As you do this, inspect the remaining leaves for any signs of wilting or further discoloration. You should see a clearer, more vibrant appearance in the healthy leaves within a few days, indicating that you’ve begun to address the issue.
Acting fast is crucial because prolonged exposure to stressors such as nutrient deficiency or pests can escalate the yellowing, potentially leading to complete leaf drop. If your hibiscus is infested with pests, the yellowing may worsen and spread, while prompt action can help contain and mitigate the damage. If your plant starts to look droopy or exhibits small dark spots along with yellowing, consider checking the soil for overwatering or poor drainage.
In one case, a gardener delayed removing yellow leaves, which allowed aphids to proliferate, leading to extensive damage and loss of buds. Conversely, another gardener promptly addressed the yellowing by removing affected leaves, preventing a similar infestation. Many overlook pest inspections at this phase, focusing solely on leaf color, which can lead to bigger problems later.
Removing the yellowed foliage helps the plant redirect its energy to healthier leaves and new growth, preventing further stress. Quick trims can make a substantial difference; if left unattended, yellowed leaves can lead to secondary issues such as rot or pest infestations, which may necessitate more drastic measures later on. Healthy foliage helps the plant photosynthesize more effectively, providing the energy needed for recovery. It’s essential to use clean, sharp pruning shears to avoid introducing pathogens to the plant, as clean cuts heal faster to encourage fresh growth. Aim to clean your shears between plants to prevent cross-contamination without spreading potential infections.
A common mistake at this stage is delaying the trimming of affected leaves, which can lead to further decline. When gardeners wait too long, they might see brown edges appearing on the leaves, indicating dead plant tissue that can rot and invite pests such as aphids or spider mites. Therefore, if yellow leaves are more than 50% discolored, it’s time to act immediately. By addressing these symptoms early, you lay the groundwork for recovery, as keeping your hibiscus clean reduces disease risk and boosts resilience against environmental stressors. If you notice that healthy leaves are starting to droop as well, it’s critical to take immediate action; this tells you that the health of the entire plant might be compromised. Additionally, plants that are stressed can suffer from compromised immunity to pests and diseases, making early intervention necessary.
Step 2 – Diagnose Nutrient Deficiency in Hibiscus
Check for signs of nutrient deficiency by inspecting the soil and leaves for symptoms like discoloration or stunted growth. If nutrient deficiencies are present, you will see improved leaf color and overall vigor within a few weeks of nutrient supplementation. Look closely; symptoms often vary between nutrients: for instance, yellowing between the veins indicates magnesium deficiency, while older leaves might indicate nitrogen scarcity, often leading to overall plant weakness or stunted blooms. For a more accurate diagnosis, consider using a soil testing kit to identify specific nutrient levels.
Nutrient deficiencies can severely impact your hibiscus’s ability to thrive. A lack of essential nutrients such as nitrogen, magnesium, or iron can result in yellow leaves, especially along the leaf margins, with that sad, drooping appearance of the plant as it struggles to sustain itself. Healthy soils are rich in organic matter — they retain nutrients effectively, fostering optimum growth conditions for the plant. Conducting a soil test can pinpoint specific deficiencies, providing you insight into how to address them correctly with appropriate treatments. Observe if the soil crumbles easily and smells earthy; these are signs of good organic matter content.
If the soil smells sour or has a dense, compacted texture, it may indicate an over-application of fertilizers or poor drainage systems leading to waterlogged conditions which can suffocate roots. Conversely, if you notice firm, green stems and a general absence of yellowing leaves, this could signify that your plant is healthy and well-nourished. Always adjust your fertilizing schedule based on the soil’s condition and the plant’s visual cues. If the soil remains compacted, consider aerating it with a garden fork to improve drainage or incorporating organic compost to boost nutrient content. This can also help replenish essential nutrients, ensuring that your hibiscus receives what it needs to flourish. A frequent oversight is neglecting to hydrate the plant after fertilization, which can hinder nutrient absorption; ensure the soil is moist before application. Watch how your hibiscus responds to nutrient application; if you see leaves becoming vibrant again yet still have yellowing sporadically appearing, review the specific nutrient ratios and adjust your fertilization to be more targeted.
Step 3 – Fertilize Hibiscus for Leaf Recovery
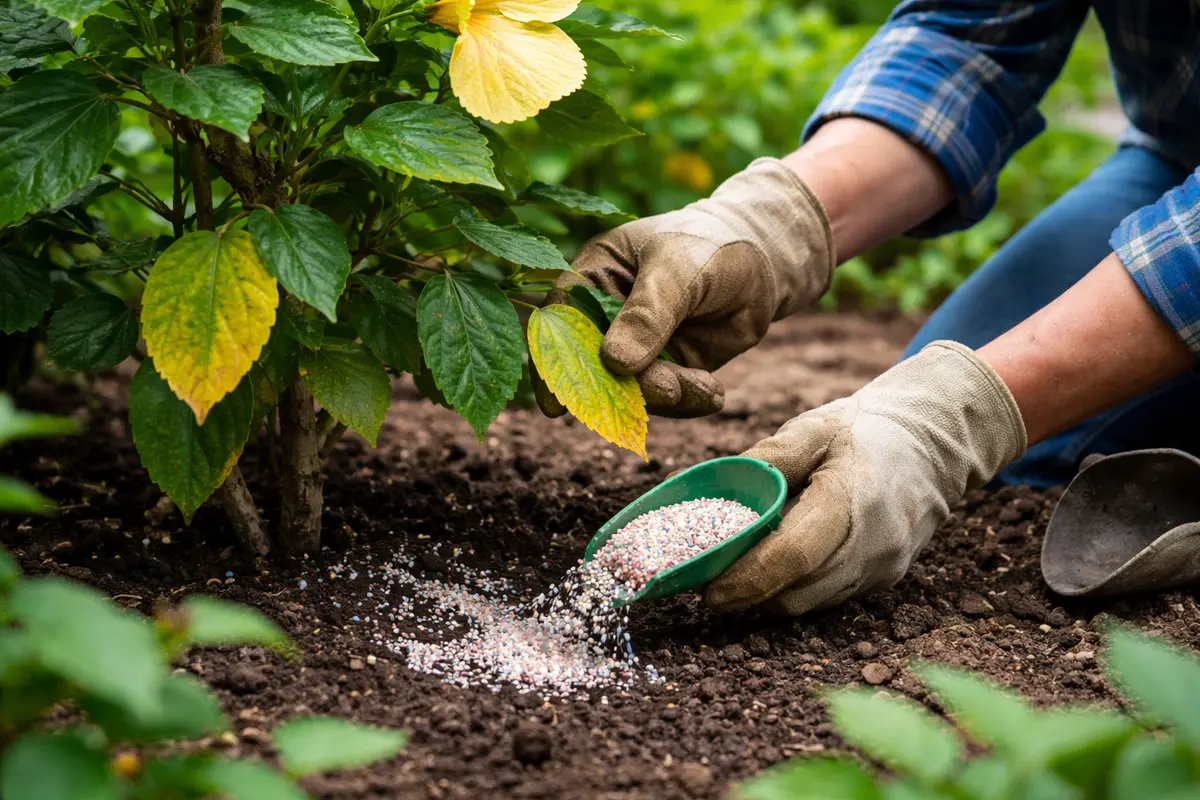
Apply a balanced, slow-release fertilizer specifically formulated for hibiscus plants. You should see the first signs of recovery, such as greening of the leaves and new growth, within two weeks of application. Opt for a fertilizer that provides a balanced N-P-K ratio of around 10-10-10, ensuring that your plant receives equal parts essential nutrients while helping recover its lush foliage. Fertilizing during the early morning or late afternoon can minimize evaporation and maximize absorption, enhancing the effectiveness of your efforts.
The right fertilizer will provide the essential nutrients that may be lacking in the soil. Growth-promoting components like nitrogen enhance foliage health, while phosphorus supports strong root systems, making the plant far less susceptible to summer stressors like heat. A balanced approach ensures that macronutrients and micronutrients are adequately supplied, allowing the plant to thrive despite previous stressors. Seasonal fertilizer applications coinciding with blooming cycles can optimize your plant’s growth throughout the summer months while maintaining vibrant, healthy blooms. Be sure to follow the manufacturer’s instructions for application rates to prevent over-fertilization, which can lead to leaf burn or nutritional drought. Always monitor your plant’s response within the first couple of weeks post-fertilization for optimal health indicators.
A common mistake during this stage is over-fertilizing, which can lead to nutrient burn or even root damage. This usually happens when gardeners believe that applying more fertilizer will yield better results without considering the plant’s actual needs. High levels of salts can build up in the soil, causing damage to the root system, leading to further yellowing. An important indicator is the presence of a white crust at the soil surface, which may signal excess salt build-up damaging the plant roots. If you see brown tips on the leaves, this can indicate that you’ve over-fertilized. To avoid problems, always conduct a soil test to determine the nutrient levels before application and adjust your fertilization strategy accordingly. If over-fertilization occurs, consider flushing the soil with a good amount of water to leach out the excess salts; however, this should be done cautiously to avoid washing away beneficial nutrients while ensuring the plant still receives adequate hydration. If the yellowing persists despite taking these actions, you might need to explore alternative fertilizers or an alternate feeding schedule to cater better to the plant’s needs.
Step 4 – Inspect Hibiscus for New Yellowing Weekly
Check your hibiscus plants weekly for any signs of renewed yellowing leaves, paying close attention to soil moisture levels and the overall health of the foliage. You should observe a gradual improvement in leaf color and firmness, indicating that the corrective measures taken are effective. If the leaves remain vibrant and firm, it signifies a positive response to your care protocol. Be systematic during these checks; consider keeping a gardening log to document changes and results over time. In doing so, you’ll better understand which care strategies are most effective for your plants.
In a fully recovered hibiscus, you expect to see vibrant green leaves, healthy budding, and an increased resilience to temperature fluctuations that detract from plant vitality. If you start to notice any yellowing again, it may suggest that the plant is experiencing stress due to environmental factors, such as improper watering or sudden excessive sunlight exposure. Regular checks help catch issues before they escalate and allow you to adjust care strategies proactively. If the yellowing is localized to lower leaves while upper foliage remains healthy, it could indicate the natural aging process of the plant. Should you see widespread yellowing, it is critical to revisit each care step thoroughly; this ongoing assessment is crucial for long-term plant vitality.
If the yellowing returns despite following proper care guidelines, consider reviewing your watering practices and sunlight exposure. Ensure that the plant is not sitting in overly moist soil or overly exposed to harsh sunlight, which can lead to leaf stress and photosynthetic difficulties. Testing soil moisture levels with your finger helps gauge needs; if the top inch of soil feels dry, it’s time to water. Adjustments may involve repositioning the plant in a slightly shaded area during the hottest part of the day or modifying the watering regimen to create a more stable environment. Additionally, check for pests regularly, as these can contribute to stress and further yellowing, especially when you notice stippling or webbing on the foliage. The best practice is to establish a routine check that includes looking for pests, assessing soil moisture, and inspecting leaf health; this way, you can maintain consistency in plant care and identify issues before they become serious. If new growth shows signs of yellowing while older leaves remain healthy, this might indicate water temperature issues with taps; water your plants with lukewarm water to align with their preferred conditions.
FAQ
How long will it take for my hibiscus to recover from yellowing leaves?
Recovery can take anywhere from a couple of weeks to a month, depending on how swiftly you address the underlying cause. If proper care and fertilization methods are applied consistently, you should start seeing improvements within two weeks. However, recovery time may extend if the plant had significant nutrient deficiencies or root damage, particularly if old yellowing leaves remain untrimmed. Regular inspections after recovery should be part of your routine to ensure continued health and vitality.
Can yellowing leaves spread on my hibiscus plant?
Yes, if the underlying cause remains unaddressed, yellowing can indeed spread to other healthy leaves. Immediate corrective action is essential to stop the spread and ensure the overall health of the plant. Persistent inspection is beneficial in this regard; if one area shows symptoms, the likelihood of it spreading increases, signaling a need for prompt intervention. Regular inspections can help you spot early signs and implement changes before the condition worsens.
Should I remove all the yellow leaves from my hibiscus?
Yes, it is advisable to remove any yellow leaves to help the plant conserve resources for healthy growth. However, be careful not to remove too many leaves at once, as this could shock the plant and hinder recovery. A good rule of thumb is to remove no more than a third of the plant’s foliage during one session, allowing the remainder to continue photosynthesizing effectively and potentially supporting new growth. This also helps maintain the structural integrity of the plant, minimizing any negative impact on its overall health. Moreover, leaving some leaves intact can help the plant sustain its photosynthetic capacity while it regains health.