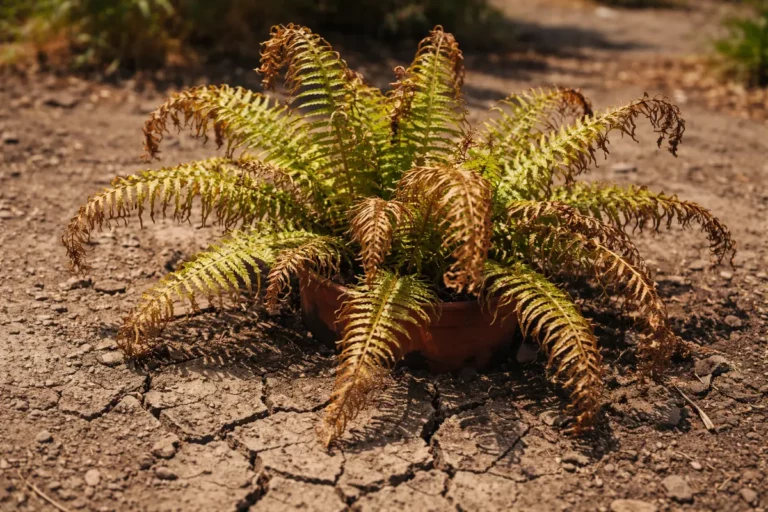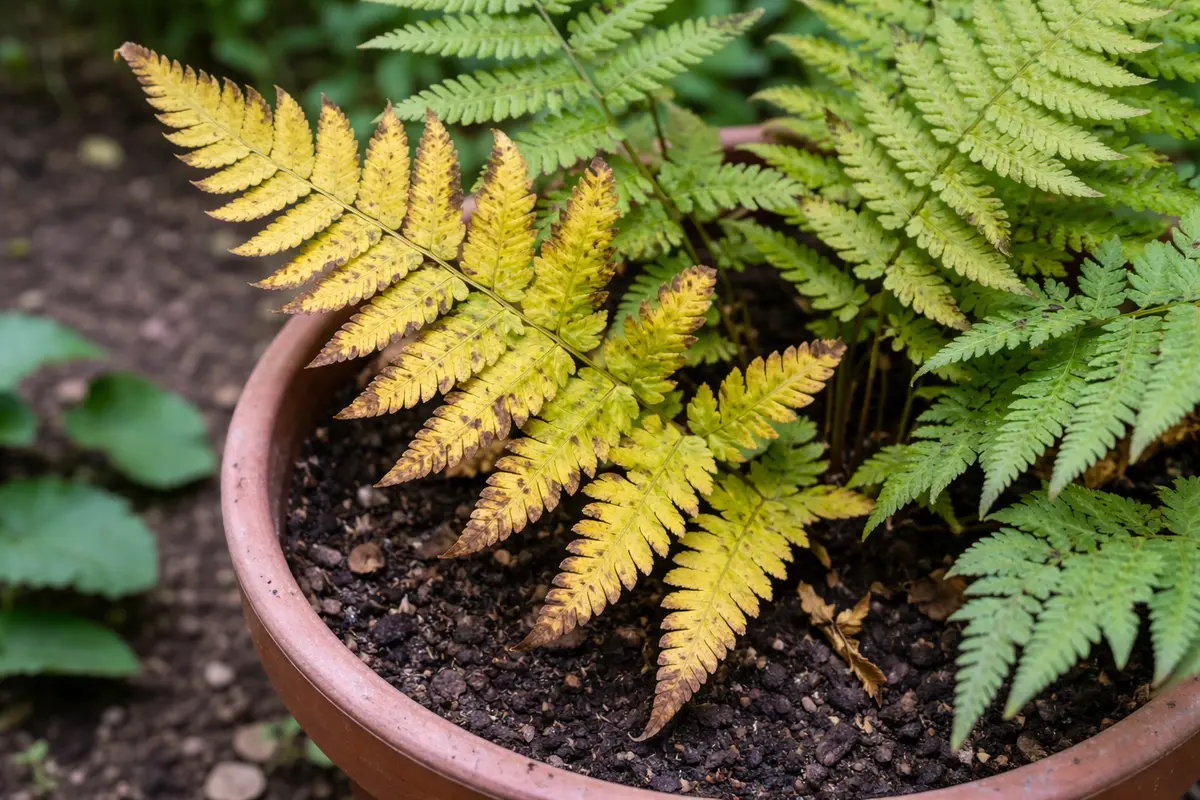
You may notice your once-vibrant indoor fern developing yellowing fronds after repotting, which is why you need to know why is my indoor fern turning yellow after repotting. This yellowing can be caused by transplant shock or overwatering, leading to wilting and nutrient deficiencies. If ignored, the situation can worsen, weakening the plant and making recovery harder, but you can still fix it by monitoring moisture levels and adjusting your care routine.
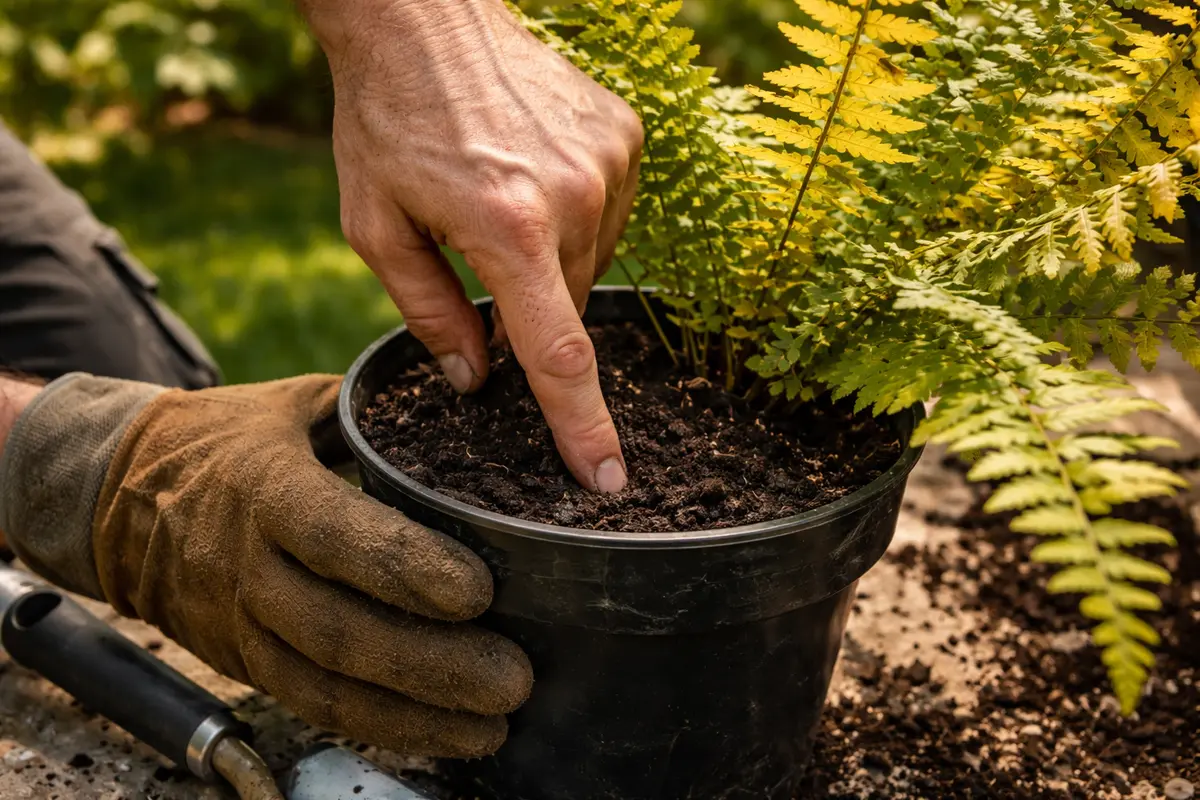
Step 1 – Check Fern Soil Moisture Immediately
Start by placing your fern in a stable location away from drafty areas or direct sunlight. You should notice a reduction in stress as leaves stop drooping and yellowing may slow down within a few days.
Acting quickly is essential because yellowing leaves indicate stress related to changes in environment or care conditions. If the fern remains unsettled, it may divert energy to struggling foliage rather than new growth, which can lead to further decline and eventually loss of the plant.
A gardener once hurriedly repotted a fern without giving it a chance to acclimate after moving it to a new location. The plant’s leaves browned within weeks, whereas taking the time to relocate it properly could have protected it from shock during the transition. If you see consistent yellowing, check for too much crowding from nearby plants that may be restricting airflow.
It’s crucial to act quickly because dry soil can cause the roots to lose their ability to absorb water and nutrients, leading to yellow leaves. When ferns are under-watered, they exhibit distress by yellowing leaves, and if left unchecked, this can progress to completely wilted and lifeless foliage. Ferns, being tropical plants, require consistent moisture for optimal health, especially after the added stress of repotting. Keep a close eye; if you check soil moisture and find it overly wet, a different approach is necessary to prevent root rot — a common ailment with overwatering.
A common mistake many gardeners make is to assume that the plant needs no water in the days immediately following repotting. Depending on the environment (like warm temperatures or low humidity), the freshly repotted fern may dry out more quickly than anticipated, emphasizing the need to check frequently during this critical period. This vigilance becomes essential especially if you’re experiencing unusually dry air or elevated temperatures; both conditions can lead to rapid moisture loss, leaving your fern parched before you even realize it.
Step 2 – Diagnose Nutrient Imbalance in Your Fern
Examine the soil composition around the fern’s roots and check for signs of nutrient imbalance. If the leaves are not only yellow but also weak and stunted, this is a clear indication that the plant requires a nutrient boost. In some cases, you may need to amend the soil with a balanced fertilizer to restore essential nutrients. Look for slow-release fertilizers, which can provide a steady supply of nutrients gradually, ensuring the plant absorbs them effectively over time. Applying a diluted liquid fertilizer can give a quicker response if your fern shows immediate signs of distress due to nutrient deficiency.
Ferns thrive in nutrient-rich environments, and repotting can sometimes disturb their access to necessary minerals if the new soil lacks fertility. Poor nutrient uptake can lead to yellowing leaves as the plant struggles to develop and maintain healthy foliage. Nutrient deficiencies, particularly nitrogen, can disrupt growth and overall plant health, making adequate fertilization vital after repotting. If you find that the soil is too compact or chewed by pests, it may require redoing with fresh potting mix that includes organic matter; this ensures better drainage and nutrient availability.
If you notice that the yellowing is accompanied by a fuzzy white residue on the soil surface, it may indicate over-fertilization, which causes root burn and nutrient lockout. In such cases, consider flushing the pot with water to help remove excess salts while waiting for a couple of weeks before reintroducing a diluted fertilizer. The flushing process should involve allowing water to flow through the pot’s drainage holes; at least two times the pot volume in water is generally effective. Many gardeners overlook the signs of over-fertilization, mistakenly believing that more fertilizer equates to quicker recovery, and they may end up stressing the plant further.
Step 3 – Water Correctly to Revive Your Fern
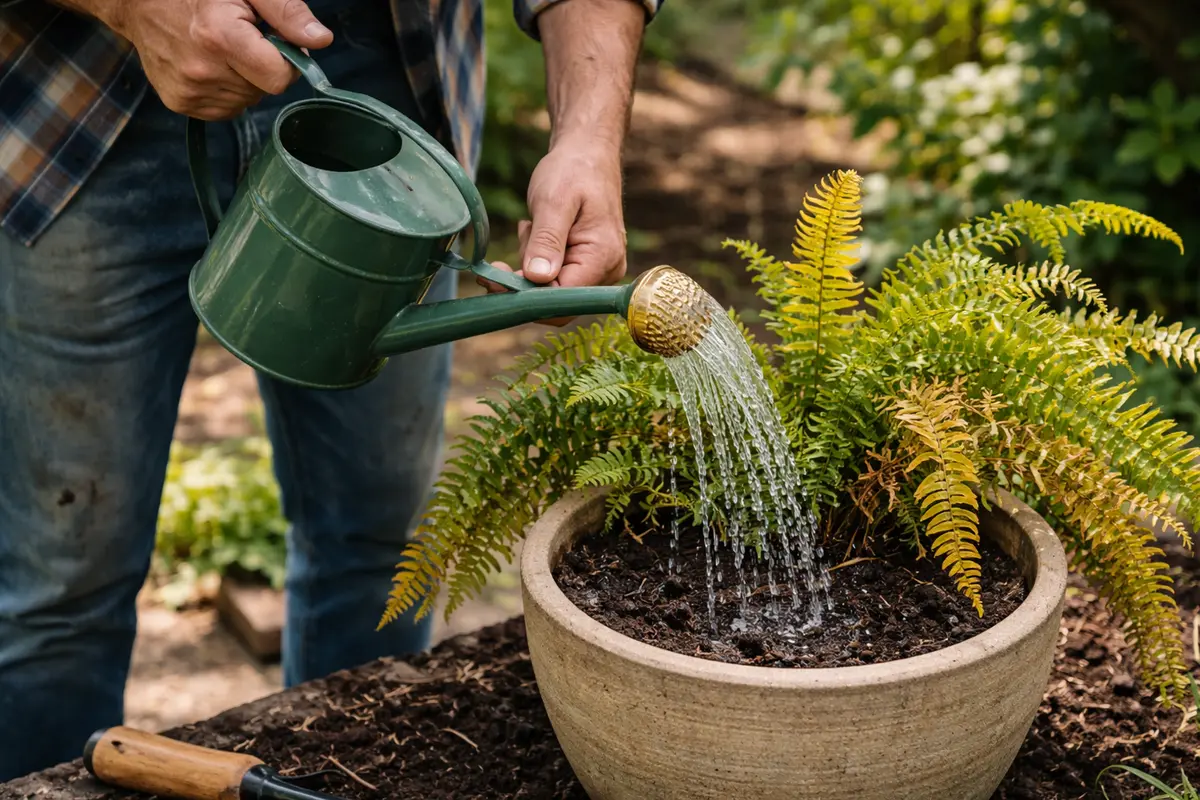
Water the fern thoroughly until water drains from the pot’s bottom. This deep watering technique is crucial; you should see immediate signs of recovery as the leaves begin to regain their vibrancy and any wilting starts to reverse. Pay attention to when watering; doing it in the early morning can allow the moisture to stabilize before evening heat kicks in. This method promotes a strong root system by ensuring the soil retains adequate moisture without becoming waterlogged.
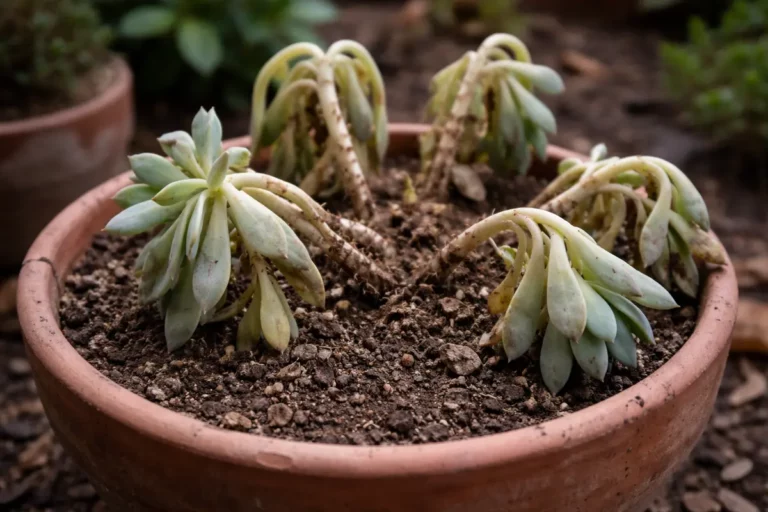
By watering deeply, you ensure that moisture reaches the entire root zone, which is essential for active nutrient and water uptake. Healthy roots are broader and more efficient, allowing your fern to absorb the nutrients essential for leaf health more effectively. This period typically sees the plant responding positively over the first few days, with the yellowing beginning to subside. Be mindful, though: if the pot retains puddles of water after watering, the drainage system is likely inadequate, leading to root suffocation. Roots sitting in saturated soil can lead to fungal issues, effectively choking the plant.
A mistake to avoid is being overly cautious with watering due to the fear of over-watering, especially just after repotting. If the topsoil is dry, deeper roots may be dehydrated despite the surface appearing moist. Timing and depth of watering are crucial; a thorough soak once the soil dries will help establish a robust health baseline. Monitor the drainage; if subsequent checks show soil remaining overly dry again within a day or two, it might be necessary to rethink the pot size or evaluate the root system for potential constriction. Signs of this may include roots visible through drainage holes or roots circling the pot.
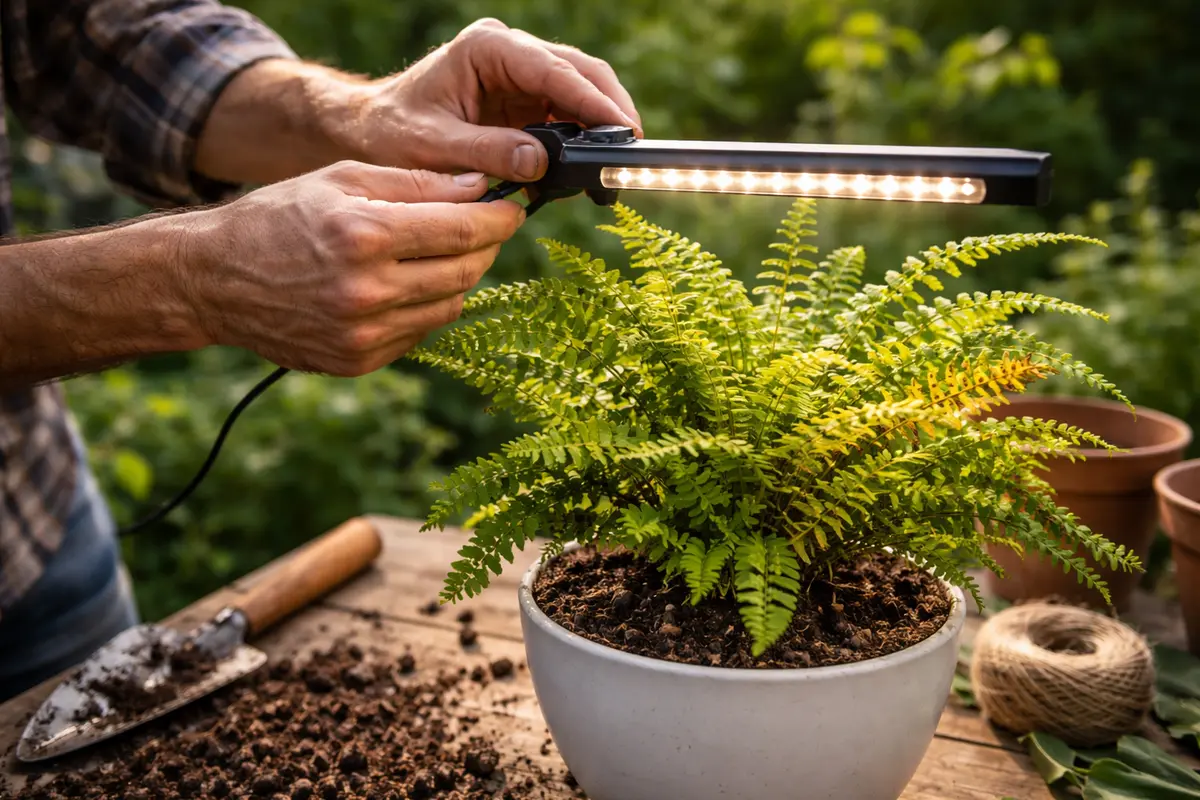
Step 4 – Adjust Indoor Light for Healthy Ferns
Start by adjusting your indoor fern’s watering routine to provide consistent moisture without over-saturating the soil. As a result, the leaves should regain their vibrant color, reducing the yellowing that appears post-repotting.
Yellowing often signals that the fern is either receiving too much or too little water, which disrupts its ability to absorb essential nutrients. Maintaining a stable moisture level helps prevent such imbalances; for instance, a fern that is too dry will wilt while one that is overwatered develops yellow leaves due to root rot. If not this, check the drainage holes to ensure they’re not blocked.
During the drier winter months, increase humidity around the fern to combat dryness that might trigger yellowing. Alternatively, consider using a pebble tray filled with water underneath the pot to enhance moisture levels, especially when indoor heating reduces humidity levels significantly.
Light levels greatly affect leaf coloration and overall vitality. Too much direct sunlight can scorch the leaves; you may notice brown edges or crispy tips, while too little can stop photosynthesis, leading to yellow leaves. Assess the plant’s new location, ensuring that it is well-positioned to receive bright, indirect light to promote healthier growth. Be patient; sometimes it takes time for the foliage to show signs of recovery. Use a light meter if available, which can help you more accurately gauge light intensity for your specific fern species.
Consider seasonal changes when adjusting light exposure — in the summer, you might need to place your fern further away from a window, while during the winter months, a little more light will be beneficial. Additionally, fluctuations in artificial lighting may also need to be adjusted, especially if you are using grow lights. This attention to detail not only addresses the current issue but also cultivates a routine that enhances plant growth long-term. More importantly, keep an eye on pale or bleached patches forming on the leaves as an early sign that the fern is receiving too much light, necessitating another adjustment.
Step 5 – Inspect Fern Leaves for Yellowing Trends
Start by checking the soil moisture level of your fern two days after repotting. If the top inch feels dry, provide a thorough watering while ensuring excess water drains away. Recheck the moisture levels every few days to prevent wilting but avoid overwatering, which can lead to root rot.
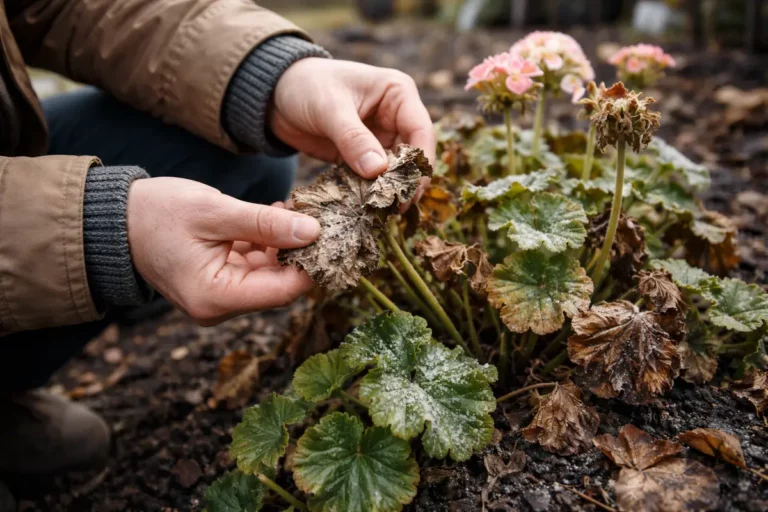
A fully recovered fern displays lush green fronds that are neither wilted nor yellowed, while early signs of trouble include fronds that are still yellowing or curling at the edges. Look for new growth emerging from the center, indicating a return to health; if the older fronds continue to show yellowing despite newer growth, there may still be an underlying issue. If you notice leaf tissue becoming crisp or brittle alongside yellowing, this is a sign that the problem is returning.
If the yellowing resumes despite your watering adjustments, consider adjusting the fern’s light exposure. Ensure it receives indirect, bright light; if not, check for signs of overexposure or drafty conditions. In persistent cases, it may be time to inspect the roots for any signs of rot or disease and possibly repot with fresh soil to provide a healthier environment.
A fully recovered fern will display fresh, vibrant leaves without any fading colors or wilting. Healthy ferns should have leaves that feel firm and robust rather than limp or mushy. Being vigilant during the recovery phase will ensure that any issues can be addressed quickly before they escalate, promoting a healthier plant. If you see new leaves forming, albeit slowly, that typically signifies that the fern is regaining energy, especially after the stresses of repotting and adjusting to new conditions.
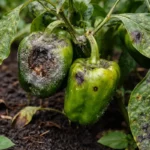
If you observe persistent yellowing despite proper care, it may signal a need for further adjustments, such as reviewing the watering frequency or drought conditions. In some instances, persistent yellow leaves despite doing everything right could indicate a disease or pest issue that requires immediate attention. Regularly examine both sides of the leaves for pests like spider mites or scale; these can sometimes cause similar yellowing and require swift intervention for successful recovery. If these pests are found, immediate treatment with insecticidal soap or neem oil can help mitigate the problem.
FAQ
How long does it take for my fern to recover from yellowing?
Recovery times can vary, but you should start seeing improvements within a week to ten days after correcting watering and light conditions. New green growth is a positive sign that your fern is on the path to recovery. If no signs of improvement appear after two weeks, recheck all care parameters, and consider soil testing for hidden nutrient deficiencies that may be affecting your plant.
Can yellowing leaves spread to other plants?
If the yellowing is caused by a disease or pest, it can potentially spread. It’s essential to isolate affected plants and treat them promptly to prevent any infestations or infections from transferring. Always ensure that any tools used in care are disinfected to minimize transfer risks, particularly between multiple plants sharing the same care space.
Should I remove yellow leaves from my fern?
Yes, remove yellow or damaged leaves to prevent any potential spread of pests or diseases and to encourage new growth. Removing yellowing foliage helps your fern redirect energy toward healthy growth and can result in a more aesthetically pleasing appearance. Snip them off carefully at the stem using sterile scissors to avoid introducing pathogens into the plant, and discard them properly to ensure they do not contribute to potential issues in the future.