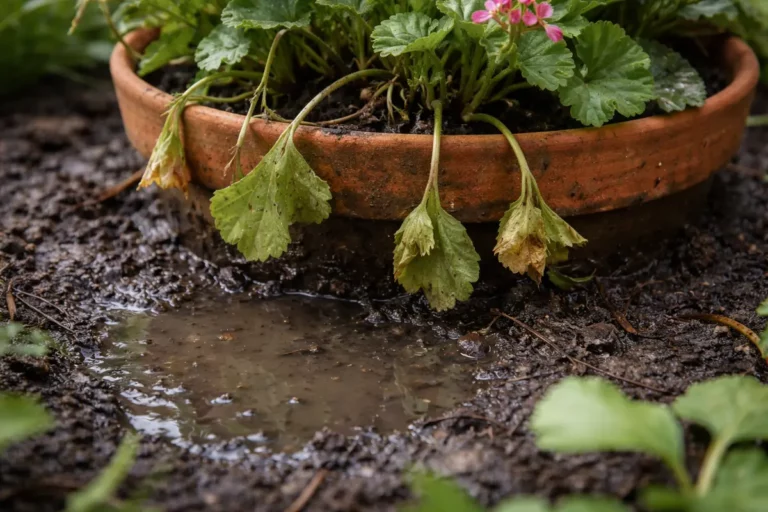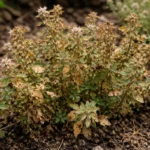
You may notice your potted orchids drooping and developing mushy roots during extra rain, which is why you need to know how to fix root rot in potted orchids during extra rain. This condition occurs when excess moisture suffocates the roots, leading to wilting and decline. If ignored, the problem gets worse and can spread to other parts of the plant, making it harder to fix. Fortunately, you can improve your orchids’ health now by inspecting the roots and adjusting their care to reduce moisture levels.
Step 1 – Prune Decayed Roots from Orchids Quickly
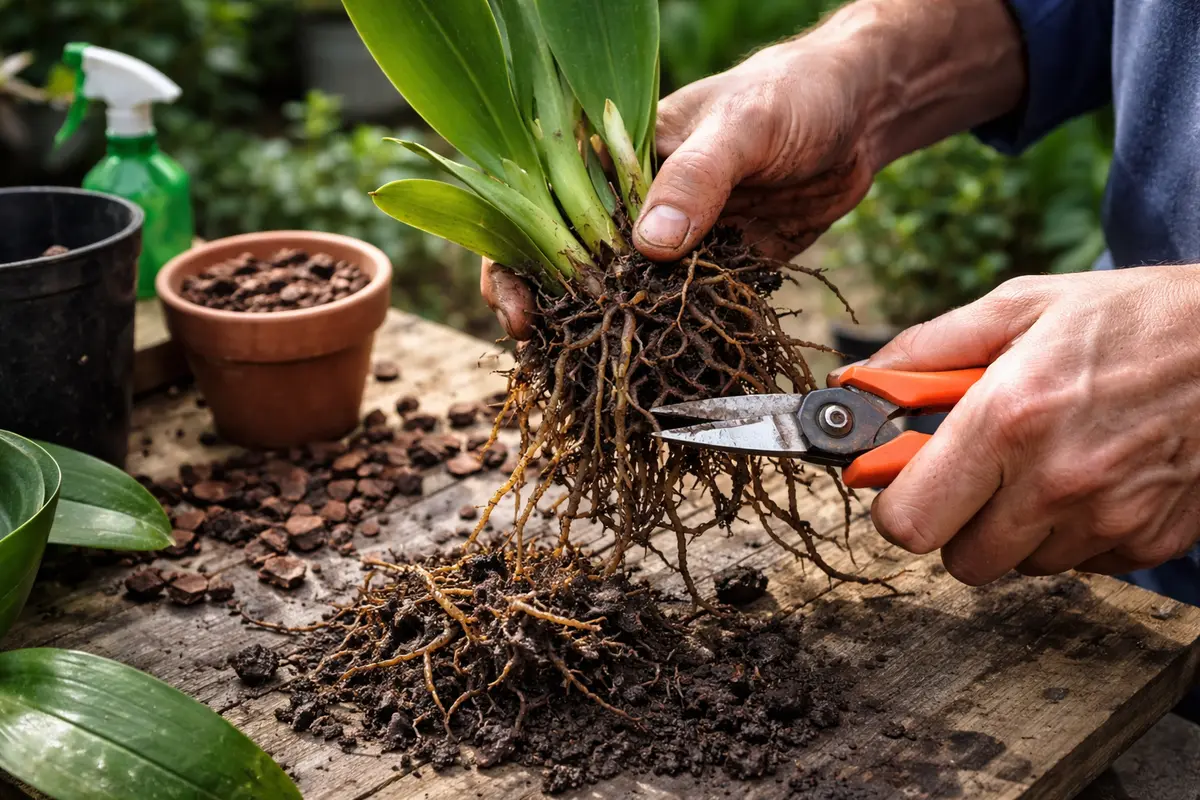
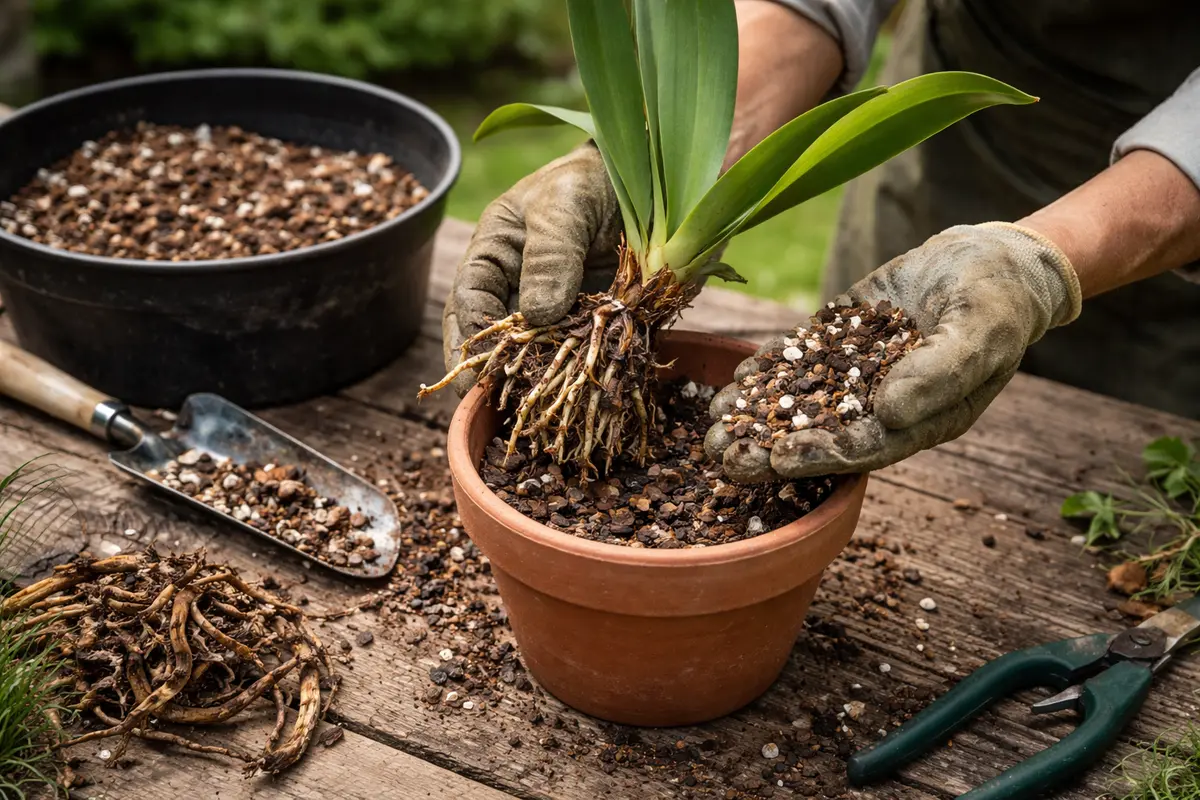
First, remove the orchid from its pot and examine the roots for any signs of mushiness or dark coloration, indicating root rot. Trim away the affected roots with sterilized scissors, ensuring you leave only firm, healthy roots. After this physical action, you should notice a reduction in the overall heaviness of the root mass and a cleaner, healthier appearance of the remaining roots.
Taking immediate action matters because orchids with root rot experience oxygen deprivation, leading to further decay and eventual plant death if not addressed. By quickly identifying and removing rotten roots, you allow the healthy portions to access essential nutrients and oxygen. If delayed, moisture levels can exacerbate rot, transitioning a healthy root system into a complete loss of roots if not treated promptly; if you notice yellowing leaves, check for soggy roots.
In one instance, a gardener waited a week to inspect their potted orchid after heavy rain, only to find nearly all roots had succumbed to rot, resulting in a total loss of the plant. Conversely, another gardener acted within days of noticing soggy soil and saved their orchid by swiftly trimming rotten roots and repotting. A common timing error is neglecting to check the root system after heavy rainfall, which can lead to irreversible damage sooner than expected.
Acting quickly is essential because decayed roots can quickly hinder the plant’s ability to absorb nutrients and moisture, leading to additional symptoms like yellowing leaves. This situation worsens when excess moisture accumulates, enabling fungal invaders to spread swiftly through the root system. For example, if you notice that the soil is soggy and the plant is starting to wilt, this is an urgent indication that decayed roots may already be forming. Removing dead or damaged parts stops the rot in its tracks and allows your orchid to begin recovery sooner.
A common mistake gardeners make at this stage is neglecting to remove enough rotted material. If only a few damaged roots are cut, the remaining parts may still harbor pathogens, causing a recurrence of the rot. By fully inspecting and pruning all affected roots, you create a cleaner baseline for recovery. For instance, if you find brown, mushy roots, be sure to remove any firm but discolored roots as well since those can still harbor disease. Look for healthy roots that are firm and white or light tan; these are the areas to preserve. If you skip this thorough inspection, you might be setting yourself up for future failures despite all your efforts to save the orchid.
Step 2 – Diagnose Water Oversaturation in Potting Mix
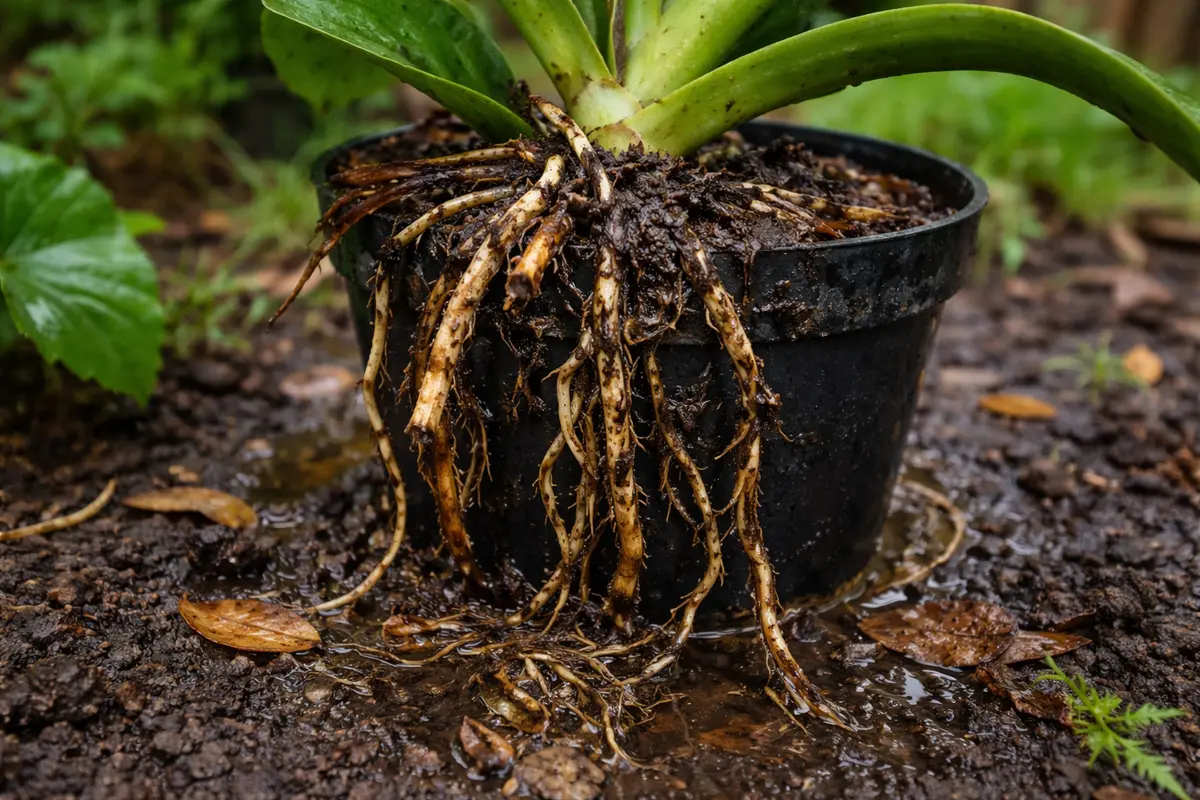
Check the potting mix to confirm water oversaturation by inserting your finger into the soil up to your second knuckle. If you feel wet soil, it indicates excessive moisture that can suffocate the roots and lead to further rot. The soil should be damp but not saturated. If you find yourself guessing whether the soil is too wet, use a moisture meter for accuracy in this crucial diagnosis.
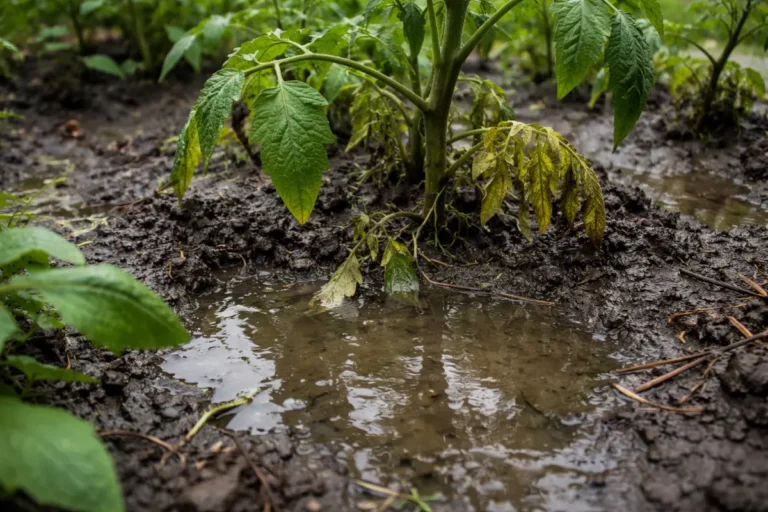
The reason for this condition is that potting mixes often retain too much moisture in wet weather, especially if they lack adequate drainage holes. When the roots stay submerged in waterlogged conditions, they can’t access oxygen, leading to decay and fungal growth. This scenario is particularly common in heavy, clay-based mixes or pots without sufficient drainage. For example, if your potting medium appears muddy or has an unpleasant odor, you can be sure that water retention is an issue that needs urgent addressing. Consider also the visibility of roots: if you see thick, mushy roots emerging above the soil, it’s a sign of distress that should be rectified immediately.
If you detect a sour smell while checking the moisture level, this denotes anaerobic conditions where harmful bacteria may thrive. If the soil remains excessively moist despite several days of no rainfall, consider switching to a more breathable medium, such as a mix designed specifically for orchids that combines bark, perlite, and coconut coir to enhance drainage and aeration. This adjustment can drastically improve your plant’s health moving forward; orchids thrive in environments where air circulation is maximized and excess water can escape quickly.
Step 3 – Provide Nutrients to Support Orchid Recovery
Remove the orchid from its pot and inspect the roots; trim away any mushy or darkened areas with sterilized scissors. Repot the orchid in fresh, well-draining medium, ensuring it can breathe and excess water can escape. Within a few weeks, you should notice new root tips beginning to form, signaling recovery.
Realistically, recovery may take two to four weeks, depending on the orchid species and environmental conditions. Healthy regrowth typically includes firm, green roots and leaves that stand upright. Warm temperatures and indirect light can speed up recovery, while excessive humidity or cold drafts may slow it.
Avoid the mistake of flooding the orchid with water or fertilizer as it recovers; this can exacerbate root rot instead of encouraging growth. If leaves start turning yellow despite adequate moisture, check the root health first, as it may indicate ongoing rot rather than a need for additional nutrients.
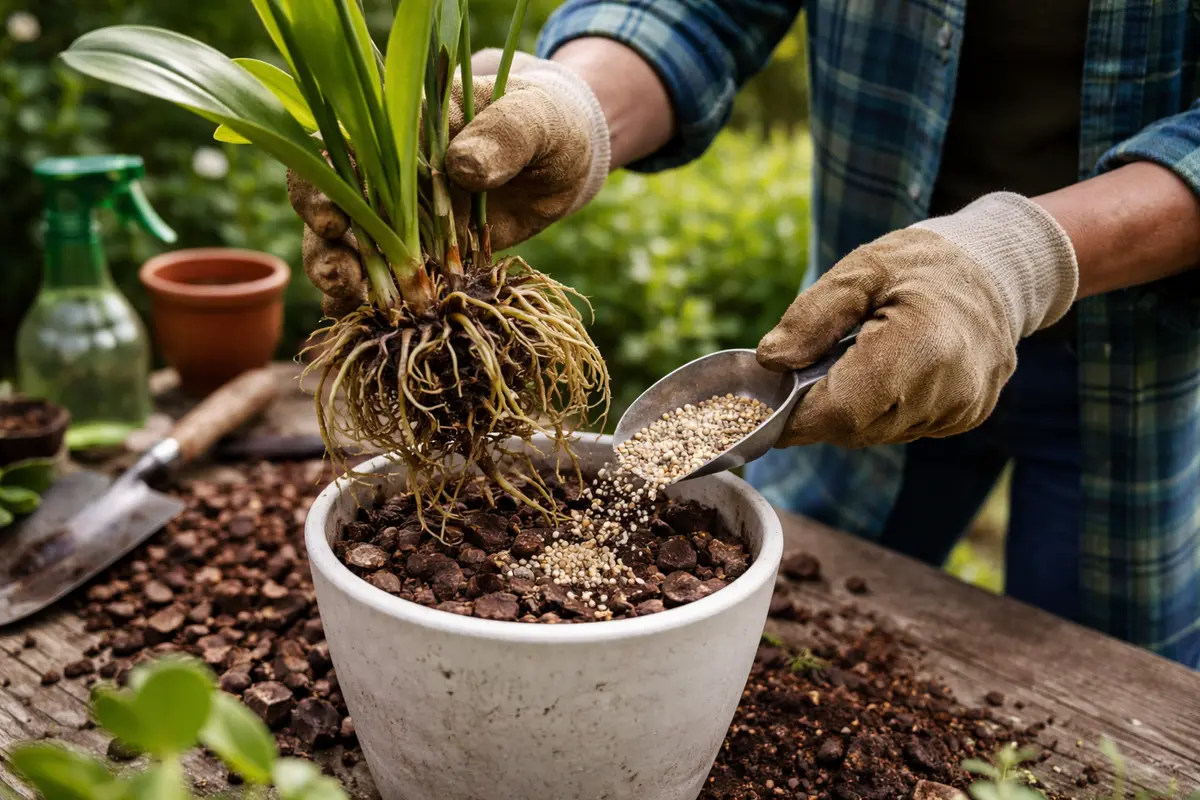
Boosting nutrients is crucial because, after recovering from root rot, orchids need extra energy to regrow healthy roots and foliage. A balanced fertilizer formulated for orchids will help replenish essential nutrients that may have been depleted during the decay process. You can expect your orchids to show signs of recovery in two to three weeks after resuming fertilization, with small shoots emerging from the crowns of the plants, which signify that recovery efforts are beginning to take effect. Keep a close eye on your orchid’s response; if growth appears less vigorous, reconsider your feeding strategy.
A mistake to avoid during this recovery phase is over-fertilizing, which can lead to nutrient burn and additional stress for your plant. Stick to a monthly feeding schedule, and if new growth begins to appear, you can gradually increase the frequency to bi-weekly during the peak growing season. Caution is critical; if the foliage starts to look dark or scorched, immediately cut back on feeding, as this indicates a nutrient overload. Over time, this could hinder the recovery process and delay improvements in soil health and root structure. In the case of recovering orchids, less can often be more, so err on the side of caution here.
Step 4 – Use Well-Draining Media for Rainy Seasons
Switch to a well-draining potting mix suitable for orchids to prevent future root rot. You will notice that water drains quickly and does not pool on the surface after watering, significantly reducing the risk of oversaturation and promoting healthier root systems. A good mix should consist of 50% bark, 30% perlite, and 20% charcoal or coconut coir to optimize drainage.
Using appropriate media is necessary because orchids thrive in conditions that mimic their natural environments, which often feature quick-draining substrates. A mix that promotes excellent airflow around the roots will keep them healthier and prevent water from accumulating, which is essential during periods of excessive rain or watering. If you’re transitioning to a faster-draining mix, consider including several ingredients: sphagnum moss, bark chips, and perlite can combine effectively to create a structure that allows for optimal drainage and air circulation. If you observe that the roots are becoming overly dry despite rain, this could indicate a need for reconsideration of your media, especially when changing conditions occur.
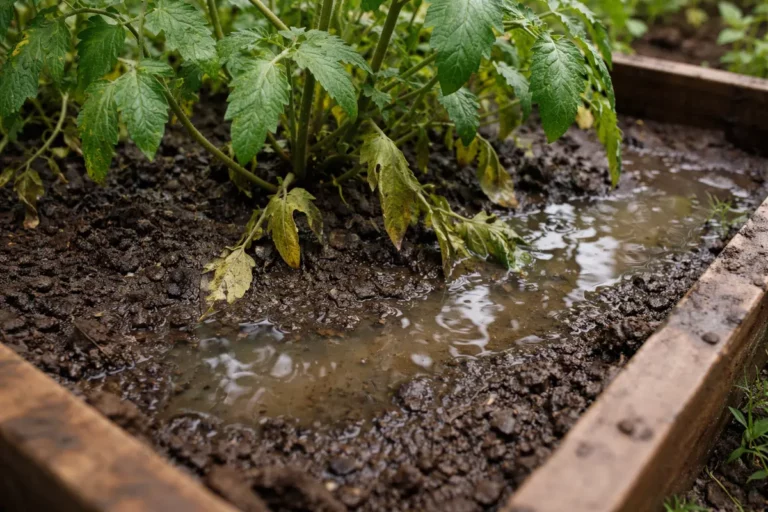
Recognize that during rainy seasons, you may need to modify your watering habits, even after changing the media. Pay attention to weather patterns; if you expect excessive rainfall, consider withholding water for a few extra days. Additionally, placing your pots in a location where they can dry out between rains can significantly assist in maintaining optimal moisture levels. For example, consider elevating pots slightly off the ground with bricks or decorative stones to ensure maximum drainage. This approach helps prevent water from accumulating around the base, which can lead to root rot.
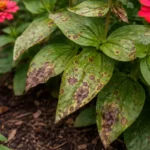
Step 5 – Inspect Orchid Leaves for Signs of Stress
Start by checking the roots of your potted orchids for signs of disease at least once a week during periods of extra rain. Look for brown, mushy roots or any lingering odors that suggest rot. Reassess the moisture level of the potting medium as well, ensuring it isn’t overly saturated, as this can encourage fungal infections.
A fully recovered orchid appears vibrant, with firm green roots and healthy leaves exhibiting a glossy sheen. In contrast, early signs of the problem returning include roots that begin to soften or leaves that turn yellow or drop unexpectedly. If you observe a slight fuzziness on the roots, it’s a clear signal that the disease could be re-emerging.
If the issue returns even after taking these preventive steps, repot the orchid in fresh, sterile potting medium to eliminate any lingering pathogens. If the situation does not improve, consult a local horticulturist for advice on fungicide treatments that may be necessary to address persistent disease effectively.
A fully recovered orchid exhibits firm, white or green roots that are plump and healthy. In contrast, returning early signs of root rot might present as roots that feel slimy to the touch and turn a dark brown color. If the leaves are still bright green and taut, the plant is likely recovering; however, if they begin to droop or yellow again, it is a signal to reassess the root health.
If you notice the problem returning despite your care, take immediate action by repotting the orchid in fresh, well-draining medium that will allow for better airflow and moisture control. Consider treating the roots with a fungicide to tackle any persistent pathogens. Seek to increase ventilation around the plant to prevent further moisture buildup, especially in humid conditions.
A fully recovered orchid will display healthy green roots that are firm to the touch and new growth such as healthy leaves and flower spikes. In contrast, early signs of root rot returning may include roots turning black and a general wilting of leaves despite adequate care. If you notice leaf yellowing or a slimy texture to the roots, these are indicators to act quickly.
If the problem persists despite your interventions, consider repotting your orchid in fresh, well-draining media to reduce moisture retention. If you still see signs of rot after repotting, escalate by trimming away affected roots and applying a fungicide specifically for orchids to prevent further spread. Regularly monitor the conditions to adapt your care appropriately.
A fully recovered orchid will exhibit vibrant green leaves and robust growth, while early signs of trouble may manifest as leaf yellowing, wilting, or blackening. Regular inspections help catch potential reoccurrences early on, enabling you to take corrective measures before serious damage ensues. This proactive approach is critical, especially after the plant has faced the stress of root rot, which can make subsequent issues more likely if not monitored carefully. For example, if leaves retain a dark coloration for too long, they might continue to deteriorate, leading to the potential for complete defoliation. If you observe leaf tips turning brown, this indicates your watering habits might still be a concern.
If any signs of stress return, reassess your watering conditions and root health again. Ensure that drainage holes are clear and that the medium remains appropriately dry between waterings. If problems persist despite following these steps, consider repotting your orchid and examining the roots once more to ensure no hidden rot is still affecting the plant’s health. If new rot appears even after repotting, it may be time to consult a professional to determine if further treatment or specialized care is required. Ignoring these signs can lead to a cascade of root rot problems that go unaddressed.
FAQ
How long will it take for my orchids to recover from root rot?
Recovery typically takes about 4 to 6 weeks, depending on the severity of the root rot and the health of the remaining root system. With proper care, you will start seeing new growth in about two weeks after taking corrective measures, such as pruning and adjusting care routines.
Can root rot spread to other plants?
Yes, root rot can spread to adjacent plants, particularly if they share the same growing medium or are in close proximity. It’s crucial to isolate affected orchids and sanitize their containers to reduce transmission risks, especially if you notice any shared soil or moisture environments between plants.
Should I remove all affected roots during recovery?
Yes, it is essential to remove all visibly rotten roots to prevent the spread of decay. Leaving behind even a small section of affected root can lead to a recurrence of root rot, undermining your recovery efforts. As a general rule, if you’re in doubt, err on the side of caution and remove any sections of roots that appear unhealthy.