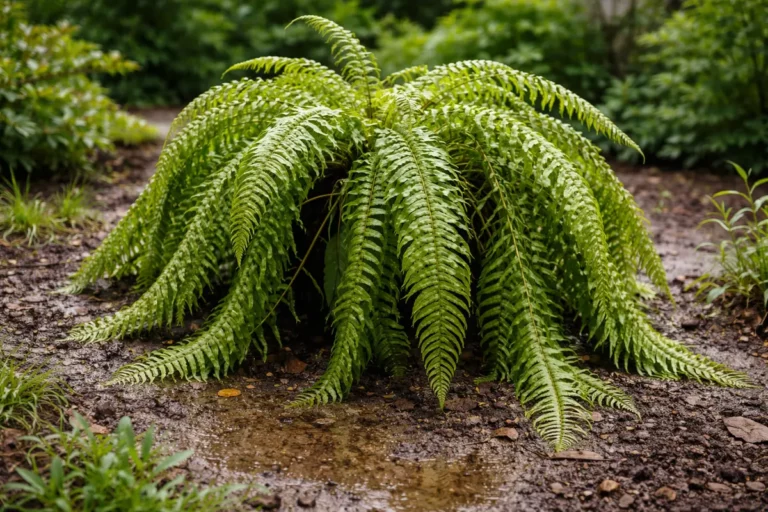
You may notice your ferns wilting and looking unhealthy after high humidity, which is why you need to know how to fix drooping ferns after high humidity. This drooping can occur when excess moisture causes the fronds to become mushy and weak. If left untreated, the condition can worsen, leading to further damage and stalling growth, but you can improve their health by adjusting watering habits and checking for root rot.
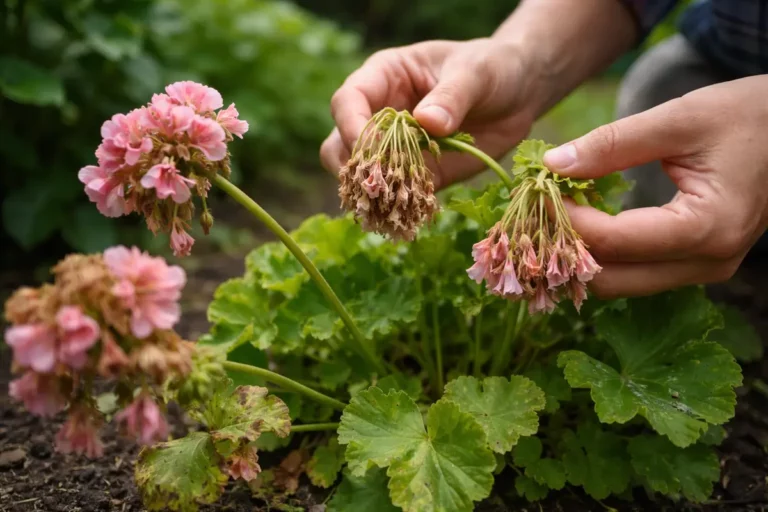
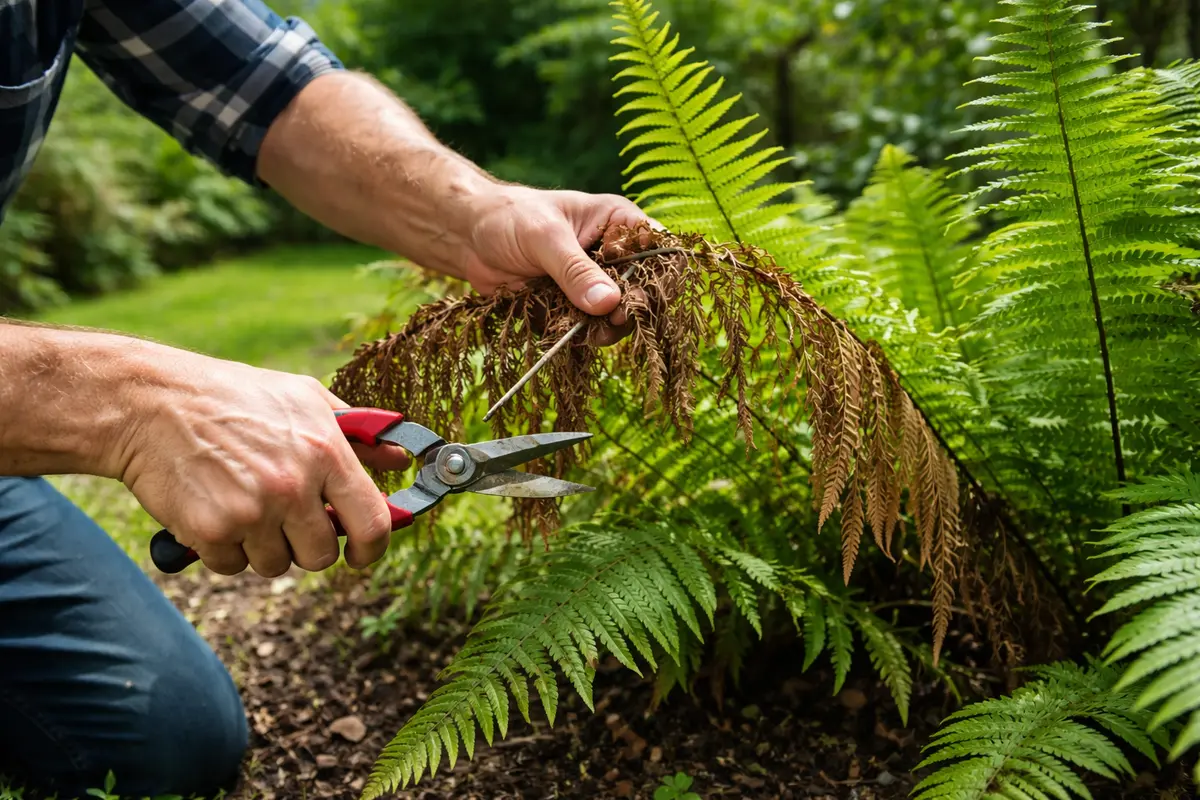
Step 1 – Trim Drooping Fern Fronds Immediately
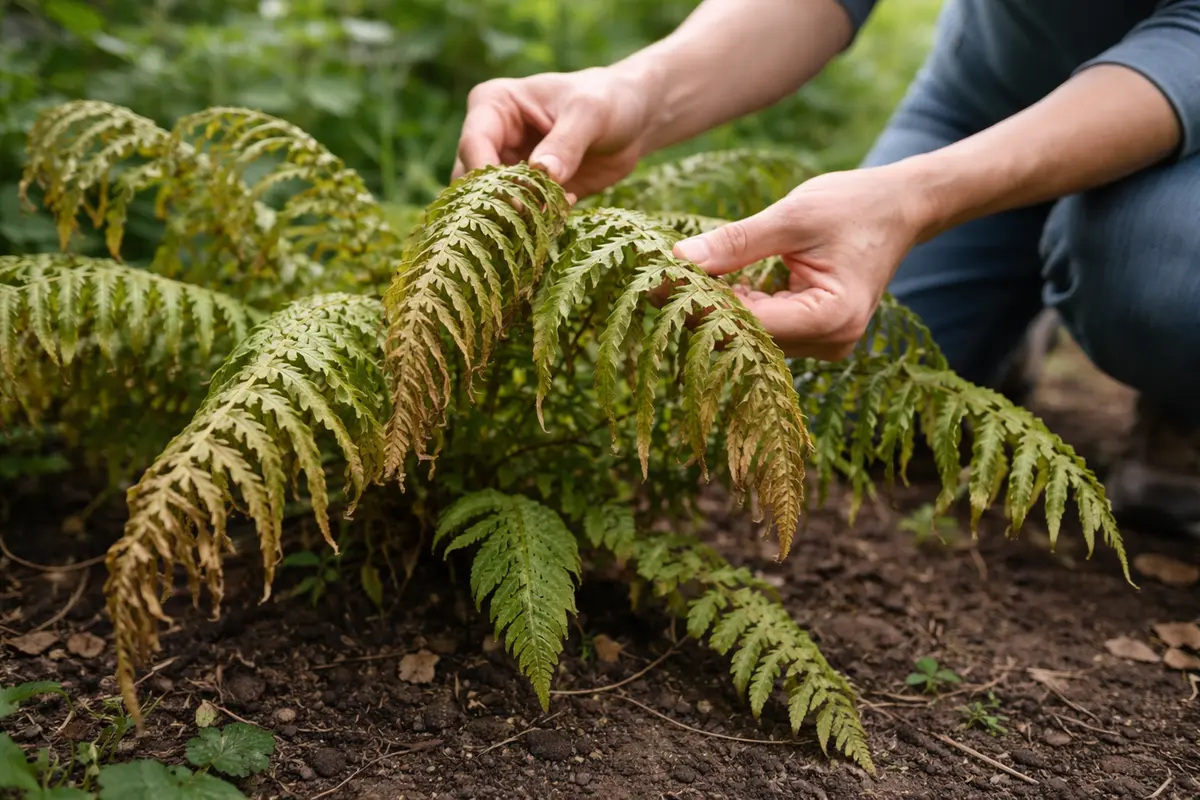
Start by carefully removing the drooping ferns from their current location. Gently pull them out of the soil, being cautious not to damage the roots, and check for waterlogged soil. Immediately replacing it with fresh, well-draining potting mix or adding perlite can help the soil retain moisture without suffocating the roots. After making this change, you should notice the ferns begin to perk up within a few hours as they receive improved aeration and drainage.
Acting quickly is vital for ferns because prolonged exposure to excessively high humidity can lead to root rot, a condition where roots begin to decay from lack of oxygen. If left untreated, the ferns may suffer irreversible damage, resulting in stunted growth or even death; whereas, ferns that are promptly moved can recover their structural integrity and aesthetic appeal. If you find yellowing fronds alongside drooping leaves, this indicates root stress; however, if they remain green but limp, check for underlying soil compaction.
A typical scenario often arises when a gardener neglects to change out the damp soil; this can escalate into a crisis where the ferns deteriorate rapidly. For instance, a gardener who waited too long found that her ferns developed mushy roots and had to be replaced entirely. Remember, jumping in swiftly can prevent more extensive damage, preserving your ferns and minimizing plant loss.
Acting quickly is vital because prolonged saturation can lead to root rot, where the plant’s roots decompose and hinder water absorption. If left unchecked, the fronds may turn yellow and become mushy before ultimately dying. If the ferns seem droopy but the soil is dry, check for pest infestations that could also be causing stress.
A gardener once delayed response after a heavy rain, resulting in extensive root damage before the ferns could recover; the soil was overlooked for too long, which exacerbated the plant’s condition. Often, gardeners mistake waterlogged soil symptoms for natural drooping; recognizing the difference early on can prevent irreversible harm.
When you trim away the fronds that show signs of wilting, it helps reduce stress on the plant. Ferns, like many houseplants, experience energy depletion when dealing with damaged leaves. This impedes their ability to photosynthesize effectively, so cutting off drooping foliage helps the plant conserve energy and redirect resources to healthier fronds. If you pay careful attention, you’ll see that the remaining fronds begin to firm up within days, reflecting that the plant is reestablishing its water balance. In specific cases, such as with ferns that have been subjected to too much humidity, fronds may begin drooping more quickly if not promptly removed, leading to a compounding negative effect on the plant’s health.
During this early stage, a common mistake is hesitance towards trimming fronds, as many gardeners worry about the aesthetics of the plant. However, leaving damaged leaves can hinder recovery significantly. Effective pruning not only improves airflow but also decreases the chances of rot, which is especially crucial in humid conditions. Thus, be decisive during this action; only retain fronds that appear healthy and vibrant. This is often observed when a gardener doubts whether a frond might recover, leading to a more pronounced wilting effect on the entire plant due to the lack of strategic pruning. If the plant’s overall density becomes too thick with damaged leaves left behind, it may create a suffocating microclimate that traps moisture, worsening the drooping condition.
Step 2 – Inspect Root Health of Drooping Ferns
Start by checking the soil moisture levels immediately; if the top 2 inches feel overly wet or soggy, allow the soil to dry out for a few days. You should see the ferns perk up and appear more upright as the soil moisture stabilizes, preventing further drooping.
Drooping ferns after high humidity are often a sign of waterlogged soil, which can suffocate the roots and lead to root rot. In well-aerated soil, roots can access oxygen needed for healthy function. Conversely, excessively wet soil loses oxygen, causing plant tissues to signal distress, leading to drooping leaves.
If the soil smells sour, indicating potential root rot, replace the soil and inspect the roots for any signs of decay. Alternatively, if the soil feels dry but the ferns are still drooping, check for pest infestations such as spider mites that can also cause similar symptoms but require different treatment methods.
Inspecting root health is crucial because extended waterlogged conditions and high humidity can lead directly to root rot in ferns. When roots remain in wet soil for too long without adequate drainage, they are unable to absorb nutrients and water effectively. In turn, this results in nutrient deficiencies that exacerbate drooping and hinder recovery. Monitor the soil’s consistency; properly aerated soil should feel crumbly rather than compacted, a sign that roots can access oxygen and nutrients. If compacted, consider using a wooden dowel to gently aerate the soil or probe areas where the roots are located, as this can help understand where moisture and air circulation are lacking.
If you discover that the roots feel mushy or exhibit signs of rot, such as a foul odor emanating from the soil, it’s imperative to replace the substrate with a fresh, well-draining potting mix. This will create a more favorable environment for recovery. In contrast, if the roots are dry and brittle, the ferns are likely experiencing drought stress due to insufficient water uptake. Adjust your watering regimen immediately; ensure moisture reaches the root zone without causing further waterlogging, using a moisture meter to accurately gauge levels if needed. You can start by watering lightly until moisture is perceived six inches below the surface; if you detect issues at that level, you may need to adopt a different watering routine entirely. It’s essential to observe that healthy roots directly correlate with the plant’s ability to recover—once the root condition is stabilized, you should see changes reflected in leaf health within two to three weeks. If recovery is still lacking after this period, consider evaluating your lighting conditions and adjusting as necessary, as inadequate light can hinder photosynthesis, compounding any moisture issues.
Step 3 – Rehydrate Ferns for Optimal Recovery
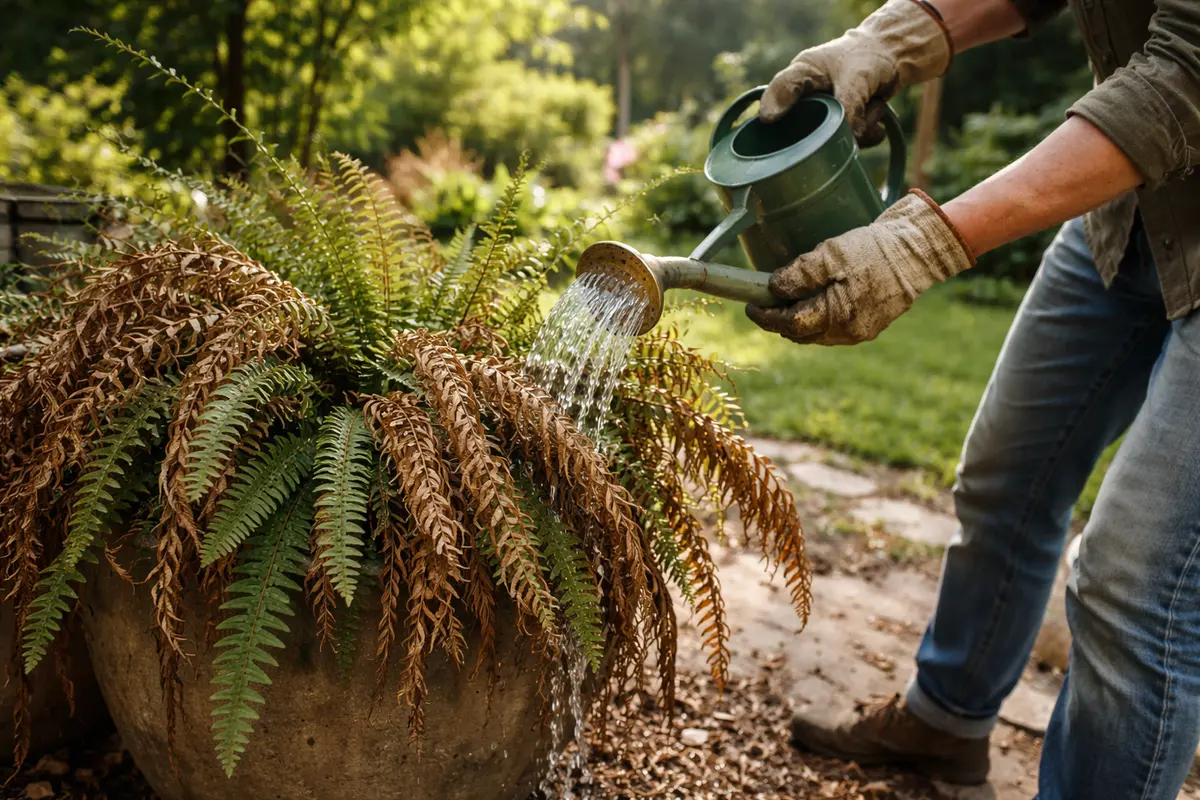
Water the ferns thoroughly until the soil is evenly moist but not soggy. You’ll observe the ferns perk up within a few hours, a clear indication that they are absorbing the moisture needed to restore turgor pressure in their tissues. If, however, the water runs straight through the pot without being absorbed, this may indicate compacted soil or severely damaged roots.
Rehydration after high humidity is essential to counteract the stress ferns endure from excessive moisture. When soils become overly saturated, root damage may contribute to the drooping seen in ferns. Proper hydration initiates recovery as it allows plant cells to regain sufficient volume and firmness necessary for the fronds to lift back into their natural posture. Understanding the precise moisture level is crucial; if the topsoil feels dry while the deeper layers remain wet, it could mean you need to adjust your watering approach. For best results, consider adjusting your irrigation schedule to incorporate slightly longer intervals between watering, especially if humidity persists.
A common mistake during this recovery phase involves overwatering, as gardeners may mistakenly believe frequent watering is necessary to compensate for prior conditions. In reality, monitor moisture levels by allowing the top inch of soil to dry out before watering again. This can be checked by inserting your finger into the soil. Avoid the pitfall of assuming more water will solve the issue; balance is key in maintaining healthy moisture levels without leading to further issues. Remember, signs of overwatering—such as yellowing leaves or further drooping—indicate that your approach needs adjustment, often necessitating a temporary cessation in watering to allow for soil recovery and aeration. Keep a close eye on the frond coloration; if they begin to yellow during this period, this is a clear sign to reassess your watering intervals, as well as possibly evaluate the drainage pathways of the pot, especially if it lacks adequate holes.
Step 4 – Check Fern Leaves for New Drooping Issues
Next, monitor your ferns daily for signs of recovery. Check the leaves for a gradual return to firmness, indicating they are regaining turgor. Observe the overall plant for any changes in color; healthy ferns should display a vibrant green with no yellowing or browning. Recheck these observations every few days to ensure they are improving rather than worsening.
A fully recovered fern displays upright fronds that are lush and vibrant, while signs of the problem returning include limp or wilting leaves which may feel dry to the touch, especially at the tips. If the fronds appear darker and droopy again despite initial recovery, the plant could be stressed, signaling either another humidity issue or underwatering. If fronds are soft and brown, the plant is in distress.
If the drooping persists despite maintaining appropriate humidity levels, take immediate action by adjusting your watering routine; ensure the soil remains consistently moist but not soggy. If condition fails to improve, consider repotting the fern with fresh soil to eliminate potential root rot. If symptoms still worsen, consult a local gardening expert for further diagnosis.
A fully recovered fern displays perked-up leaves with a vibrant green color, indicating hydration and health. In contrast, early signs of the problem returning include leaves that start to yellow or become limp again, with a noticeable wilting texture. If the fronds droop while retaining a rich green color, the issue may still be related to humidity and not watering.
If the problem returns despite adjusting watering habits, consider increasing air circulation around the plant by repositioning it or using a small fan. If drooping continues, escalate care by inspecting for root rot, which can occur from prolonged soggy conditions; if the roots appear dark or mushy, repotting in fresh soil may be necessary.
As the ferns start regaining their shape and color, a fully recovered plant will flaunt upright leaves and exhibit robust growth. However, early signs that the problem may be returning include any leaves that begin to curl or droop again. Such changes can indicate renewed stress resulting from overwatering or insufficient light. Make sure to inspect both the top and undersides of the leaves as pests can often contribute to unexpected drooping. If you identify pest activity, it is critical to act quickly; isolated pockets of pests can spread rapidly, leading to more significant health dilemmas.
If you notice the ferns reverting to their drooping state, assess the water conditions immediately. Overwatering remains a considerable risk, particularly for ferns fragile from previous humidity issues. Allow the soil to dry out and ensure that the plant receives adequate light, perhaps adjusting its environment for enhanced drainage and airflow. Implementing small fans or moving the plants to areas that receive indirect light may improve air circulation, enhancing recovery. If problems persist despite these efforts, consider repotting or consulting a gardening professional for more specialized advice. It’s essential to act quickly here; delaying can result in irreversible damage, escalating beyond easy recovery to more severe interventions. A gardener’s failure to react promptly to the subtle signs can lead to further fragmentation of the plant due to a lack of intervention, necessitating more laborious recovery steps later.
FAQ
How long does it take for ferns to recover from drooping?
Typically, you can expect to see improvements in drooping ferns within several days after addressing the underlying moisture issues effectively. However, full recovery could take a few weeks depending on the extent of the damage and environmental conditions such as temperature and light exposure. Healthy environmental factors can significantly speed up this process. Meanwhile, if no improvements are visible after three weeks, a reassessment of both the watering regimen and light location is advisable.
Can drooping ferns spread problems to nearby plants?
If root rot is the cause of drooping, there is a real risk of spreading pathogens to adjacent plants through contaminated soil. Isolate affected ferns and continually monitor neighboring plants for any signs of distress, implementing necessary remediation measures promptly to prevent spread. Ensure that any tools used are sanitized to avoid cross-contamination. Additionally, it is wise to check the water quality and humidity levels of the surrounding environment, as they can often predispose other plants to similar issues.
Should I remove all drooping leaves from my ferns?
Only remove visibly damaged leaves that show no chance of recovery. Healthy leaves actively contribute to photosynthesis and overall plant growth, so preserve them to support the ongoing vigor of your ferns during their recovery. Maintain a balance between pruning and preserving to facilitate optimum health, as completely removing all foliage at once can shock the plant. It’s worth noting that if the plant had many leaves already lost and only a few remain, this can induce stress, so gauging which fronds to trim while retaining adequate foliage is essential for the ferns’ recovery.