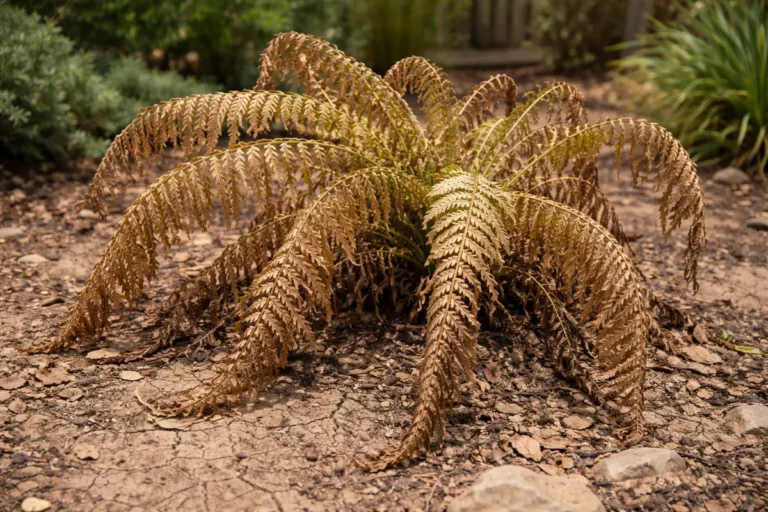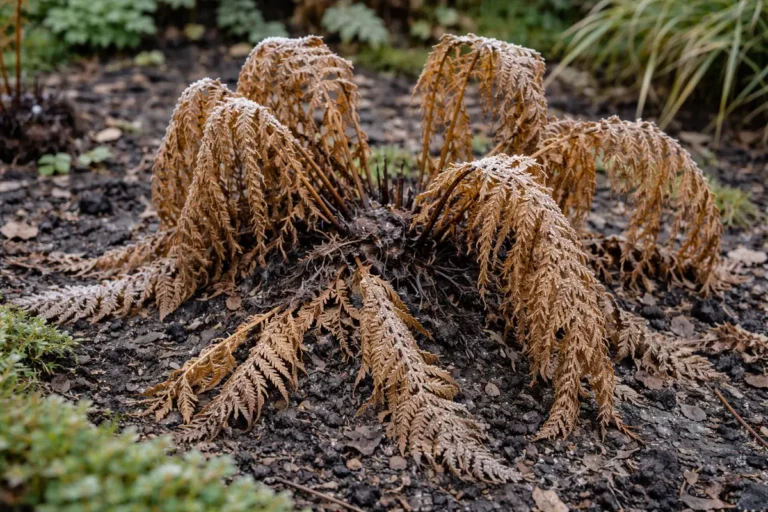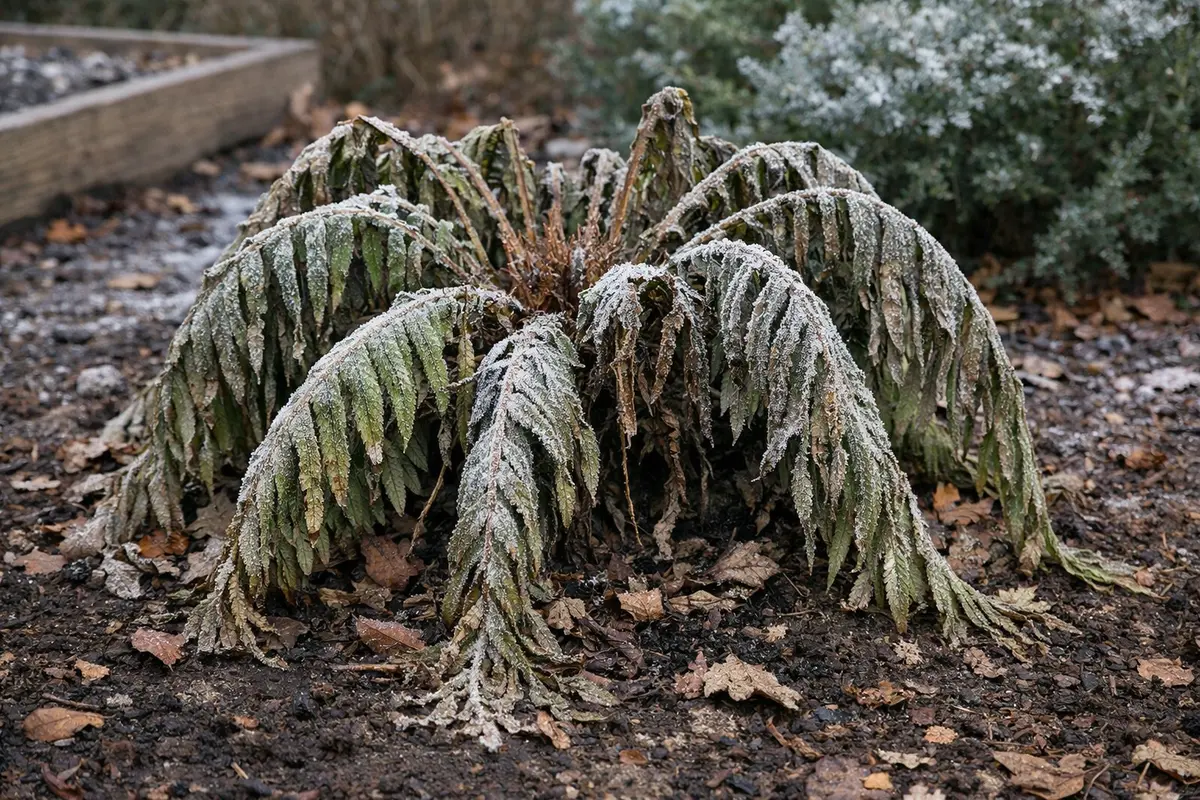
If you see your ferns drooping during winter, it’s crucial to know what to do if fern droops during winter. This condition often arises from root stress due to cold soil temperatures and insufficient moisture retention, which leads to leaf wilt and eventual root rot if not addressed. Ignoring this can spread stress throughout the plant, making recovery more difficult. Start by checking the moisture level of the soil; if it feels dry an inch below the surface, it’s time to water your ferns to restore necessary hydration before further damage occurs.
Step 1 – Inspect Fern Leaves for Wilting Signs
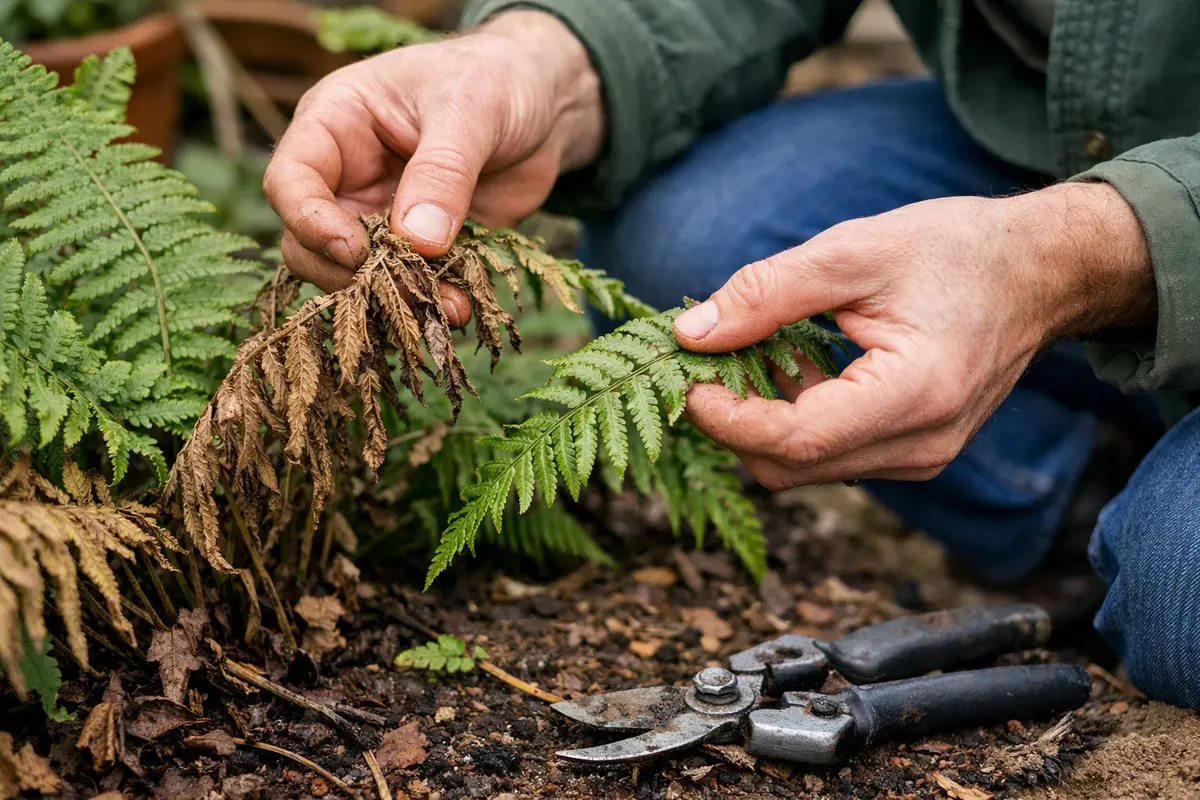
First, inspect the soil moisture level of your fern. If it feels dry below the surface, water the plant thoroughly until excess moisture drains from the bottom of the pot. You should notice the fronds starting to straighten slightly within a few hours once they’ve absorbed water.
Acting quickly by watering ensures that the fern gets the hydration it desperately needs; without water, the plant’s cells begin to lose turgor pressure, causing drooping. If left too long, the fronds can sustain permanent damage due to dehydration, leading to browning tips and other stress signs. If you notice the fronds wilting despite adequate watering, check for root rot caused by overwatering.
In one garden, a fern drooped significantly during a cold snap. The owner delayed watering, thinking it could survive the winter. When they finally acted, they found root rot had taken hold, illustrating how timely intervention can stop disarray before worsening. A common mistake gardeners make is waiting too long before addressing drooping ferns, which often leads to a need for drastic measures that could have been avoided.
Wilting occurs when your fern is unable to absorb sufficient water due to low temperatures or dry air, which can inhibit root function. The leaves show early warning signs as they lose turgor pressure, appearing limp. By inspecting the leaves promptly, you can identify whether the issue is related to watering or environmental factors, preventing irreversible damage within a few days. For instance, if you feel that the stems are also drooping without discoloration, this often indicates a more systemic pathology, rather than mere drying out. In this case, you may need to examine the roots or surrounding conditions more thoroughly.
A common mistake during this stage is focusing solely on cosmetic improvement. For instance, some gardeners might trim the drooping leaves without investigating the underlying cause first, leading to continued wilting. If the fern’s humidity levels are low or if it has been exposed to drafts, failing to fix those conditions will only worsen the situation despite superficial fixes. Moreover, if you notice an abundance of dead fronds littering the base, these may have been signs that the plant had trouble absorbing light and should be assessed before tackling cosmetic challenges. Therefore, it’s essential to evaluate the broader environmental conditions affecting your fern’s health before taking any cosmetic approach.
Step 2 – Determine Cause of Drooping in Fern
Inspect the soil moisture level immediately to determine whether overwatering or underwatering is the cause of drooping. You will see that soggy soil indicates overwatering, while dry soil points to underwatering. Depending on what you find, your next steps will vary significantly. For instance, if you probe the soil and find it clumping around your finger or retains a cold, damp feel regardless of the surface, that can confirm an overwatering issue.
Inadequate moisture levels inhibit the fern’s ability to uptake necessary water, leading to drooping leaves. Overwatering can cause root rot and further stress the plant by restricting oxygen flow to the roots. Conversely, underwatering can lead to dehydration, preventing the plant from performing photosynthesis as efficiently, often evident in browning tips and dry leaves. If the soil remains dry and crumbly, it’s vital to change your watering frequency to include moisture-retaining organic matter. Aim to introduce materials such as peat moss or coconut coir, which can help balance moisture retention and drainage effectively.
If the soil feels overly wet with a sour smell, then root rot may be a concern, signaling an urgent need to correct your watering practice. For instance, if your fern is planted in clay-like soil, you may need to improve drainage to avoid water accumulation. Make sure to check whether the pot has drainage holes; if not, that could lead to water pooling, allowing rot to set in. Alternatively, if the soil feels extremely dry, increase your watering frequency, and consider using a soil mix designed for ferns to retain moisture better. Also, if you notice the pot feels extremely light, this can indicate that the roots have stopped absorbing water due to desiccation, and immediate watering is necessary.
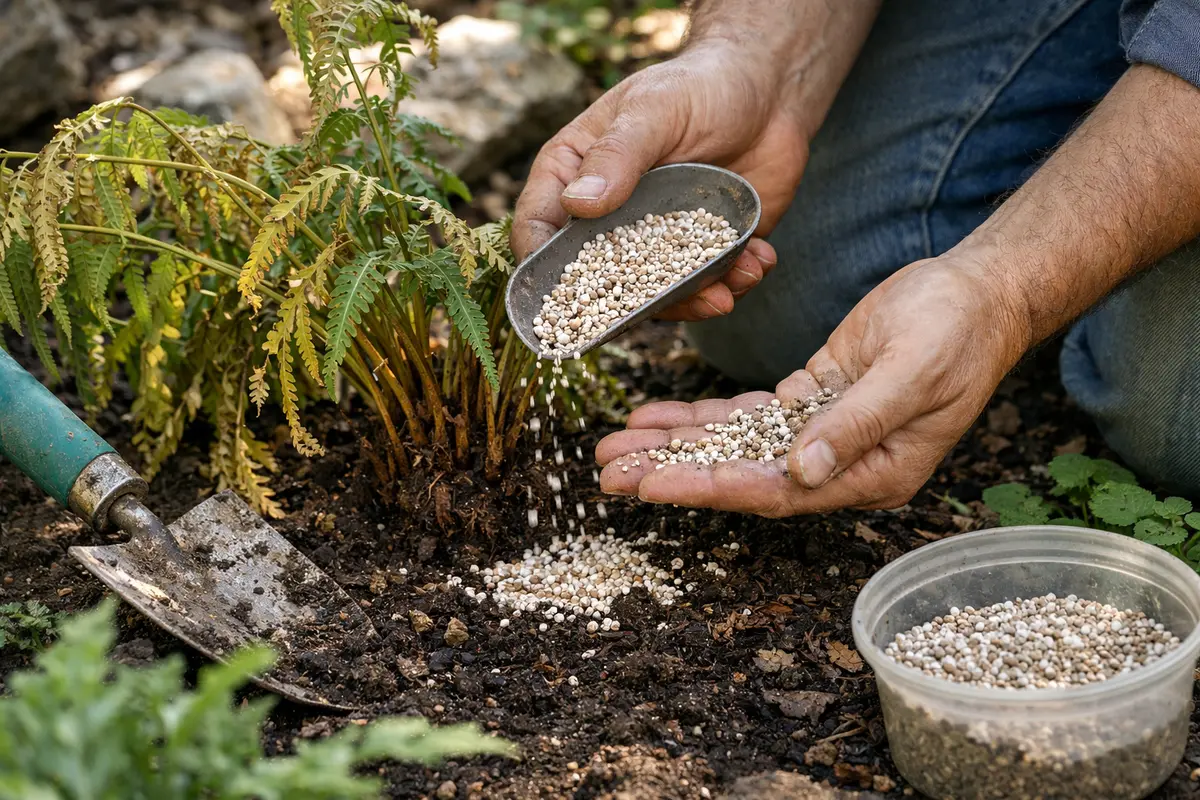
Step 3 – Apply Nutrients to Revive the Fern
Start by gently misting the fern with water and ensuring the humidity level around it is appropriate. Check for any signs of regeneration, such as new leaf unfurling or a firming of the drooping fronds, which indicate recovery is underway.
Recovery from winter drooping typically takes several weeks, depending on exposure to light and humidity. Healthy regrowth will manifest as bright, vibrant green fronds that gradually stand upright. Conditions such as maintaining ambient humidity and providing moderate light can expedite the recovery, while cold drafts or insufficient watering can hinder it. If the fronds remain limp after several weeks, check the soil moisture and adjust your watering routine accordingly. If they also feel sticky or unusually soft, check for pests like aphids or mealybugs that could be contributing to the plant’s distress.
Avoid overcompensating with excess water or fertilizer during the recovery phase, as this can worsen root rot and lead to further drooping. Timing also plays a critical role; if the fern has already experienced significant stress from low light, resist the urge to fertilize until new growth appears. If leaves remain brown and lifeless, consider testing a diluted liquid seaweed fertilizer, which provides gentle nutrients without the risk of burning the roots. Furthermore, if you’re introducing fertilizer for the first time after recovery, start with half the recommended dosage to monitor the plant’s response.
Nutrients such as nitrogen, phosphorus, and potassium play a crucial role in plant health, especially when a fern is under stress. These elements facilitate photosynthesis and energy production, which are particularly vital as the plant recovers. A good indication that your fertilization efforts are paying off includes seeing fresh, green leaves unfurl in areas that had been previously drooping. This means the plant is effectively utilizing the nutrients you’ve supplied. Conversely, if you see evidence of leaf curling or browning after fertilizing, it could mean overapplication, which can further stress the plant.
A common error at this stage is over-fertilizing, which can exacerbate issues if you’ve already been watering poorly. If you notice leaf burn or continued drooping post-application, it likely indicates that the fertilizer dosage was too high or the soil still has poor drainage. To avoid this, start with diluted fertilizer and gradually increase the concentration as needed, ensuring that the plant can adjust without stress. Keep an eye on the foliage for browning edges or a crusty buildup on the soil surface—both are indicators that your fertilization approach may need refining. Additionally, consider rotating your fertilization schedule with the seasons; during winter, use a lighter feeding routine that can adjust to the fern’s decreased growth rate.
Step 4 – Create Optimal Environment for Winter Care

Start by ensuring your fern is placed in a location with consistent humidity levels, ideally between 40-60%. By maintaining this environment, the fern will stand upright instead of drooping, indicating it has adapted well to its ideal conditions.
Low humidity, often exacerbated by indoor heating during winter, can lead to drooping fronds as ferns typically thrive in moist environments. Implementing a humidity tray with pebbles and water directly beneath your fern addresses this root cause, preventing moisture loss while allowing the plant to breathe properly. If your fern is still drooping despite this adjustment, consider examining the soil moisture to avoid root rot from over-watering. If the leaves are browning at the edges, this can also indicate that dry air is damaging the foliage before you can stabilize the roots.
In colder months, you might need to increase humidity for your ferns by misting them more frequently or using a humidifier if indoor air becomes excessively dry. If you notice condensation forming inside your plant’s pot, it may indicate that your humidity efforts are succeeding; otherwise, reassess your watering schedule and environment to ensure optimal moisture levels. To further boost humidity, consider grouping plants together, as they can create a microenvironment with higher humidity through their transpiration processes.
Maintaining humidity is vital for ferns, as they naturally thrive in moist environments. Low humidity indoors during winter can quickly lead to leaf wilting and stress, especially in species sensitive to dryer air. Test the humidity levels with a hygrometer; if readings fall below 40%, it’s time to take action. Additionally, keeping the fern away from cold drafts and warm heating vents will help protect it from extreme temperature changes that can hinder its ability to thrive. If possible, rotate your fern every few weeks to monitor for even light exposure and to ensure all fronds are receiving adequate light without being scorched.
When creating the optimal environment, remember that some ferns prefer cool, indirect light while others may tolerate low light. For instance, Boston ferns thrive in bright but filtered light, so you may need to selectively filter sunlight if the fern is near a window. If you reposition your fern near a window, ensure it’s not exposed to harsh, direct sunlight, which can scorch the leaves. Continuously monitor for adjusting humidity according to changing weather conditions, as fluctuations might require you to increase misting or adjust the humidity trays during especially dry spells. You may also consider placing a few ice cubes on the soil once a week to hydrate and cool the root zone, which mimics the natural effects of rain in their native environments.
Step 5 – Watch Fern for Signs of New Growth
Recheck your fern every few days to monitor for signs of new growth, such as emerging fronds or perkier leaves. You should see noticeable improvement after a week, with leaves appearing fuller and greener than before. If you see the fronds forming tight curls at first, this signals the fern’s intention to recover. Regular checks help you to confirm that your corrective measures are effective and that the plant is on the path to recovery. Additionally, if the new growth is higher up the stem than expected, it may indicate that the initial drooping has limited the lower fronds, affirming your adjustments.
Signs of recovery often include the emergence of new leaf shoots or the firming of previously drooping leaves. Fresh fronds signaling improvement should feel resilient and demonstrate a healthy color, indicating the plant’s physiological processes are functioning effectively. If the plant has pushed out new growth but old leaves remain limp and wilted, consider removing the unhealthy foliage to allow for better air circulation and energy redirection to the new growth. Furthermore, if the fern exhibits stunted growth alongside new leaves, it could be suffering from pests or root issues, necessitating further intervention.
If you still witness drooping despite providing adequate care and nutrients, it could indicate deeper-rooted issues that may require more advanced interventions or professional consultation. If the plant seems unresponsive after a week of care, consider repotting it in fresh soil to alleviate possible root rot or nutrient lockout. A change in potting mix can better support drainage and provide essential nutrients needed for overall recovery. Make sure to check the roots during this process for signs of damage; if you find blackened or mushy roots, prune them back before replanting into fresh, well-draining soil. Keep in mind, depending on the severity of the rot, you may need to leave the roots to dry out briefly to avoid further water absorption that could exacerbate the issue.
FAQ
How long will it take for my fern to recover from drooping?
Recovery time can vary based on the initial stress level, but most ferns begin to show signs of improvement within 1 to 2 weeks of appropriate care. Regular attention to watering, humidity, and nutrients will accelerate the recovery process. If you see no change after two weeks, reevaluate your care practices to check for environmental issues that may have not been addressed adequately.
Can overwatering cause fern drooping during winter?
Yes, overwatering can lead to root rot, which severely limits the plant’s ability to absorb water and nutrients. It is crucial to assess soil moisture and drainage to prevent this condition from developing. An immediate step if you suspect overwatering is to allow the soil to dry out, and consider removing the fern from its pot to inspect the root condition. A thorough examination can tell you if any roots are salvageable or if the entire plant needs a fresh start.
Should I remove the drooping leaves from my fern?
It’s often beneficial to prune any severely damaged or yellowed leaves to direct the plant’s energy towards new growth. However, only do this once you’ve stabilized the plant to ensure it can effectively support such changes. If you remove too many leaves too soon, you may hinder its recovery efforts, so it’s key to allow new growth to establish before extensive pruning. Keeping an eye on the plant’s energy levels by balancing trimming with recovery is essential.