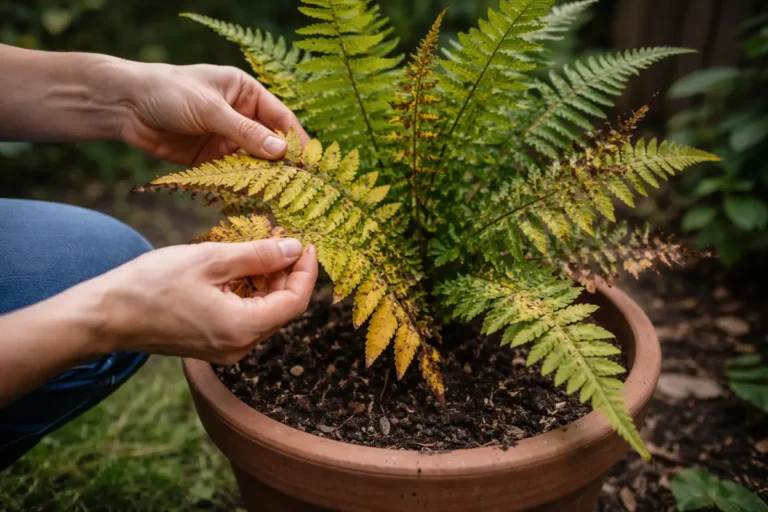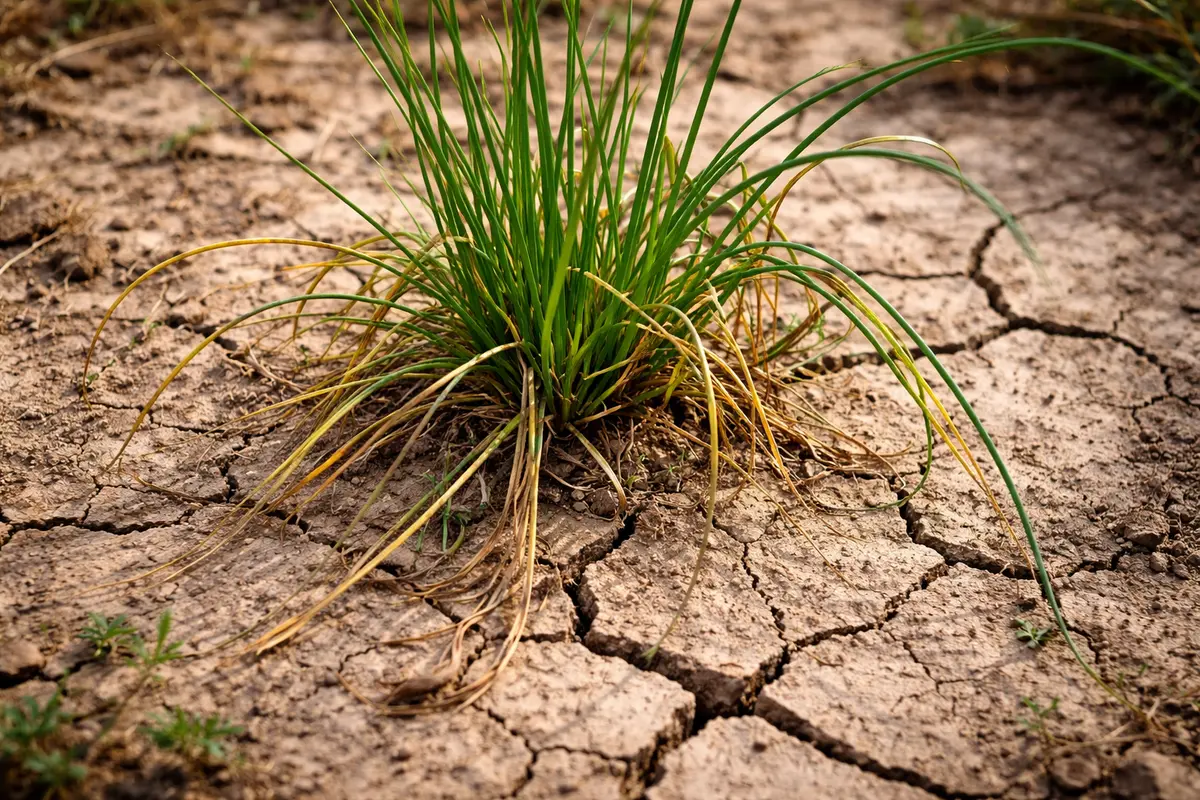
You may notice your chives starting to wilt and lose their vibrant green color during the hot days after a drought, which is why you need to know why are my chives slowly dying after a drought. This decline often manifests in yellowing leaves and drooping stems, signaling that the plants are suffering from inadequate moisture and nutrient stress. If left unaddressed, the situation worsens and weakens the plant, but fixing it is possible now—just check the soil moisture and water regularly to revive them.
Step 1 – Water Chives Deeply to Revive Them
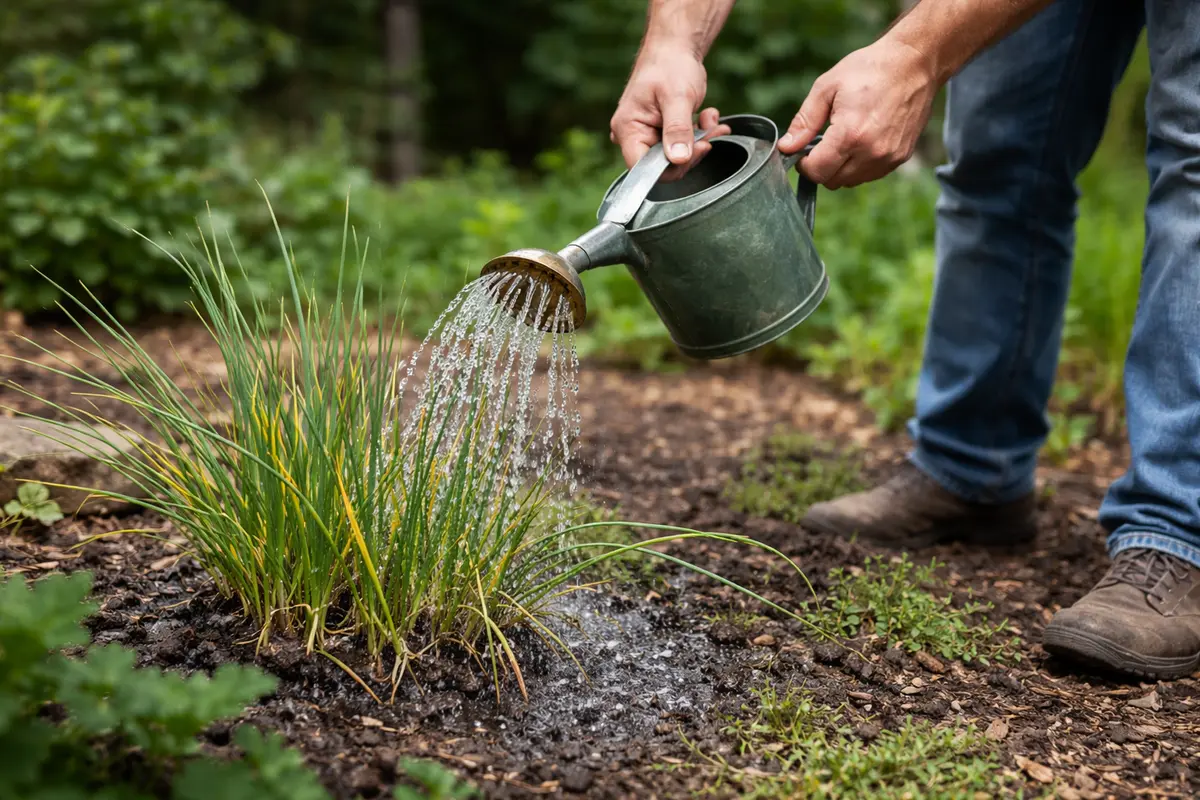
Begin by watering your chives thoroughly, ensuring moisture penetrates at least 6 inches deep into the soil. If executed properly, you will likely see the leaves begin to perk up and regain some color within just a few hours. Monitor closely for any changes over this period; if there is no improvement, further investigation may be necessary. Checking for wilting or browning leaves immediately after watering will help you determine the effectiveness of your efforts.
Providing adequate water quickly is crucial for reviving chives since they rely on moisture to maintain turgor pressure in their cells. By absorbing water, the roots help the plant recover from cellular damage due to dryness. Chives that have experienced drought stress without prompt watering often exhibit wilting and browning leaves, signaling that they need immediate hydration. If ignored for too long, the structural integrity of the plant may collapse, leading to irreparable damage. If you observe that the soil remains dry even after a thorough watering session, it may mean that the water is not reaching deep enough where the roots can access it.
A common mistake is to water only the surface without ensuring deep moisture penetration, which fails to reach the root zone. For example, if water pools on the surface for too long and appears to be absorbed slowly, the underlying issues remain unaddressed. If left unchecked, these symptoms can migrate deeper into the root zone, leading to further decline. Therefore, ensuring a proper soaking can make a significant difference in restoring your chives’ health. If you notice persistent surface dryness, consider using a soaker hose or drip irrigation to deliver water evenly over time, allowing deeper penetration.
Step 2 – Assess Soil Quality for Drainage Issues
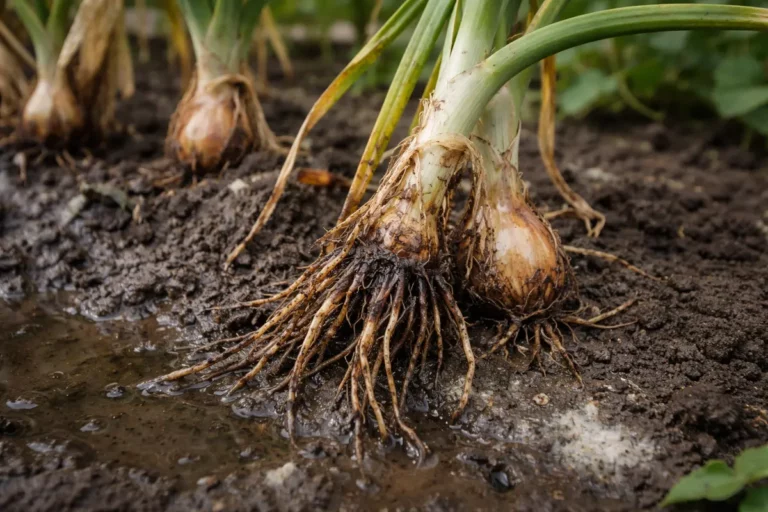
Check the soil around your chives for drainage issues by digging a small hole next to the plants and observing how quickly water seeps away. Ensure you observe the hole for at least 15 minutes; if the water pools or drains slowly, it’s a sign that your soil may not be supporting healthy root growth. Conversely, if it drains rapidly, the soil quality may be too sandy, failing to retain any moisture for your chives. If you notice standing water or mud, your soil may be saturated and at risk for root rot.
Soil quality directly impacts the health of your chives, especially after drought conditions. Poor drainage can hinder oxygen flow to the roots and promote root rot, which exacerbates the wilting and browning you’ve observed. In contrast, overly sandy soil may cause immediate drainage but leads to insufficient moisture retention, putting extra stress on the plants. It’s important to assess your soil’s structure and composition to understand how it has been impacted by drought and how it can be improved. This assessment may also highlight the need for amendments to enhance the soil’s ability to retain moisture during dry spells.
If your soil smells sour or overly wet, it indicates possible rot that needs addressing. Consider amending with organic matter like compost or aged manure, which can enhance drainage and nutrient availability. Alternatively, if your soil is overly dry, adding moisture-retentive polymers may help improve its structure. This step is critical; addressing both moisture retention and drainage will set the stage for long-term recovery, so don’t skip this analysis. In addition, if you encounter clay-like soil that clumps together or dries hard, consider incorporating coarse sand or perlite to improve drainage while retaining some moisture necessary for your chives.
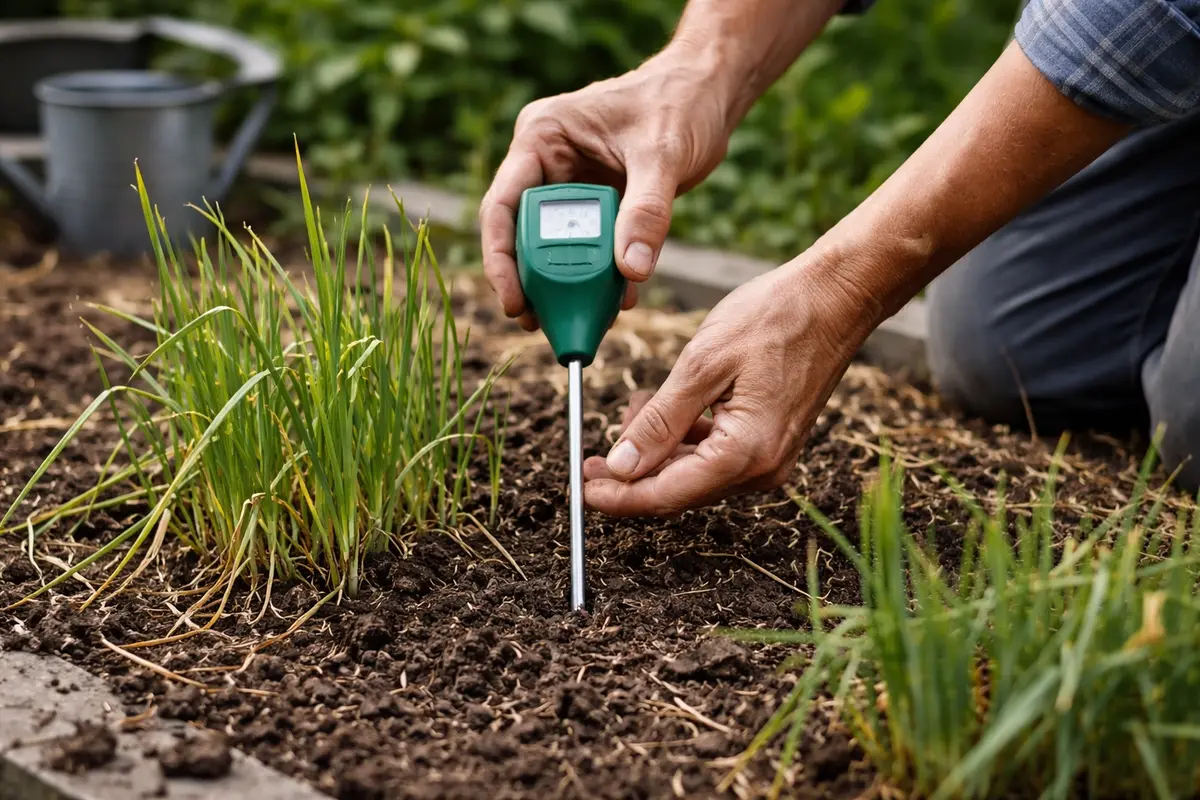
Step 3 – Test Soil Moisture Before Treating for Drought
Start by inspecting your chives closely for any signs of moisture stress. Look for yellowing leaves, wilting, or a dry, brittle texture which indicates the plants are not receiving enough water. You should notice that watering may help perk up the leaves and restore some hydration if the issue is indeed drought-related.
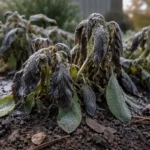
Chive plants experiencing drought stress will typically show yellowing tips and a limp appearance. In contrast, if the leaves are turning brown and brittle but still upright, this may signal root rot from overwatering instead. If not wilting and yellow → check for signs of mold or decay at the soil level.
If the diagnosis remains uncertain after observation, conduct a test by gently pulling on the chives to assess root stability. If the roots feel mushy or give way, root rot could be the issue; otherwise, continue observing the plants for a few days for any changes. Following this period, if you still see no improvement or visible recovery, reconsider your watering strategy.
Other issues like overwatering can create similar symptoms, such as yellowing leaves or a mushy texture, indicating root rot. If your chives feel damp but show signs of decay, this differentiates from drought-induced damage, which maintains a dry and brittle feel. If your plant exhibits both wilting and discoloration, assess the root system to identify whether rot is also present. However, if you notice only wilting but no other signs of decay, your plants are more likely experiencing drought stress rather than overwatering.
If the diagnosis remains uncertain, closely observe the chives for a few days while adjusting watering habits. Monitor moisture levels in the soil, which can provide further clues. If conditions do not improve or worsen, consider conducting a soil test to check for nutrient deficiencies affecting recovery. Confirming soil moisture is essential; dry soil can indicate insufficient watering, while overly moist soil may suggest unhealthy root conditions. Overwatering can cause wilting leaves due to oxygen deprivation, often leading to confusion about whether the issue is drought-related or a result of poor drainage. Checking moisture levels helps prevent unnecessary applications of water that could worsen the situation and allows for timely interventions. To enhance accuracy, use a moisture meter to take readings at varying depths.
If you’re unsure about soil conditions, consider using a moisture meter to provide precise readings. If wilting persists despite moisture levels being adequate, inspect the roots for damage or rot; this may indicate the necessity to repot or amend the soil to ensure better nutrient and water uptake. Furthermore, if roots feel mushy, it’s a sign of serious rot, and you need to address this before considering any further care steps. It’s crucial to keep an eye on moisture trends; if the soil consistently remains too wet or dry, reevaluating your watering schedule may be necessary for optimal recovery.
Step 4 – Fertilize Chives to Aid Recovery After Drought
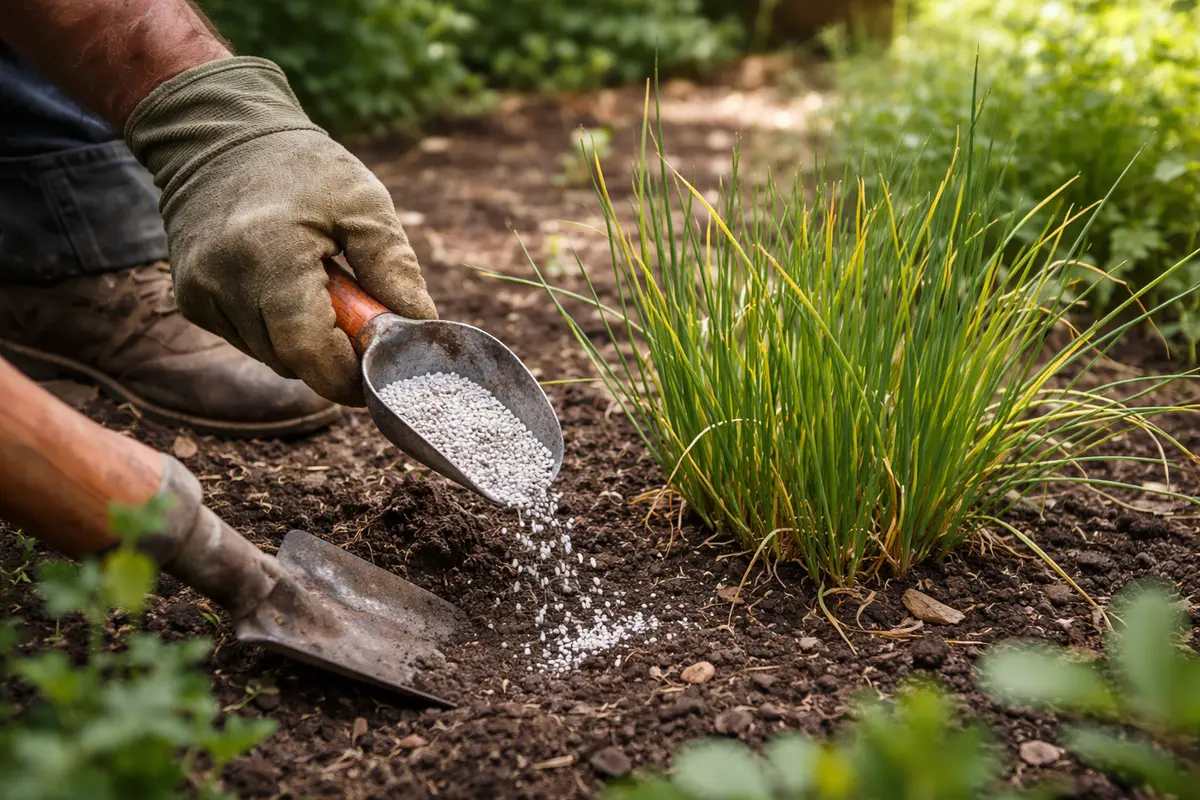
Apply a balanced, water-soluble fertilizer to your chives to support recovery. You should begin to see new growth within a week as the chives respond positively to the added nutrients. Make sure to follow up with another application in 4-6 weeks to bolster continued growth during the recovery period. Choosing a fertilizer with N-P-K (Nitrogen, Phosphorus, Potassium) ratios that suit chives will optimize absorption and growth. A common ratio is 10-10-10, which usually provides a balanced nutrient source.
After a drought, chives can suffer from nutrient depletion because they rely on soil nutrients for robust growth. This depletion makes fertilization critical in reestablishing healthy growth. Nutrients like nitrogen are vital for regenerating leaf tissue. When your chives receive adequate nutrients, you may notice improvements in leaf density and color, indicating the fertilization is effective. Similarly, overall vitality will increase as your plants bounce back. Additionally, paying attention to phosphorus and potassium can enhance root establishment and disease resilience.
Be careful not to over-fertilize, as this can stress the roots and potentially burn them. Fertilizer should be applied according to package instructions; a common mistake is to double the recommendation thinking it will expedite recovery. Illustrated by others’ experiences, applying too much can create a toxic build-up in the soil over time, leading to worse outcomes than applying none at all. Recovery typically shows through fresh green shoots and improved leaf structure, serving as indicators that your plants are regaining strength and vibrant health. If shoots appear stunted, it’s advisable to cut back on fertilization and reassess environmental factors affecting growth.
Step 5 – Water Regularly to Prevent Future Drought Stress
Start by watering your chives deeply at least twice a week to ensure their soil remains consistently moist. This practice will promote stronger root development and result in more resilient plants, preventing future die-off. Adjust these intervals based on seasonal temperature changes and local rainfall, recognizing that warmer spells may require increased watering frequency while cooler, rainy periods will need less.
Chives are sensitive to rapid changes in moisture levels. A drought can disrupt their hydration, leading to wilting, while overly wet conditions can cause root rot. By maintaining consistent moisture, you stabilize the environment around your chives, reducing the likelihood of stress-induced decline. Regularly check the soil with your finger, to ensure moisture retention remains optimal; ideally, the top inch of soil should stay evenly moist.
In warmer months, increase your watering frequency if temperatures rise above 80°F, as your chives may require more moisture. Additionally, applying a layer of mulch around your plants can help retain soil moisture, acting as a secondary prevention method against drought stress. Organic mulch will gradually enrich the soil as it breaks down, providing long-term benefits. However, keep mulch away from the stems as it can create a humid environment favorable to pests or mold.
Maintaining a reliable watering routine is a preventative measure that addresses the propensity for drought stress in the future. Regular moisture aids in promoting robust root systems and overall healthier plants, which can better withstand dry spells. Consider using a rain gauge to measure how much rainfall accumulates; adjust your watering accordingly. Seasonal adjustments should also be made depending on rainfall and temperature, particularly in warmer months when evaporation is heightened. If watering too often causes stress, scale back gradually and observe for signs of improvement.
If you find that your area frequently experiences dry conditions, consider implementing mulch around your chives to conserve soil moisture. Organic mulch, such as wood chips or straw, will keep the soil temperature stable while minimizing evaporation. Adding mulch also contributes organic matter to the soil as it decomposes, further supporting healthier chives. Establishing such preventative habits translates into healthier chives and will prove invaluable over time. One more consideration is preparing a drip irrigation system; this can ensure steady, even moisture delivery tailored to the specific needs of your chives.
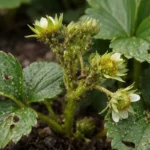
Step 6 – Check Chives for New Growth Weekly
Start by inspecting the soil moisture levels around your chives. Use your finger to dig about an inch into the soil; if it feels dry and crumbly, it’s time to water. Observe the chives for signs of revival within a few days after watering, such as greener, more upright leaves signaling a positive response. The appearance of new shoots is a strong indicator that recovery efforts are taking effect; if they remain absent, further evaluation is necessary.
A fully recovered chive plant displays vibrant green leaves that stand tall and firm, with a slightly glossy texture indicating hydration. In contrast, early signs of the problem returning include leaves that droop or turn a pale yellow, often feeling soft and limp to the touch. If your chives appear to be wilting after watering, check the roots for signs of rot or disease. Post-recovery progress can serve as vital feedback; noting progress or stagnation will inform whether further amendments are needed.
If your chives continue to decline despite corrective actions, consider moving them to a shadier location to mitigate stress from excessive heat. Additionally, applying a balanced fertilizer can provide essential nutrients that may have been depleted during the drought. Should the issue persist, consult a local gardening expert to explore potential pest issues or soil deficiencies. Furthermore, timing your inspections weekly aligns with optimal gardening practices; maintain steady communication with local climate conditions, as weather can accelerate or hamper recovery.
Monitoring your chives post-care is essential as positive signs suggest that your practices have had a beneficial impact. Strong growth will indicate that moisture and nutrients are well managed. Conversely, thinner leaves and a lack of new shoots signal that either the underlying issues persist or new problems have emerged. If growth is stunted longer than anticipated, you may need to reconsider your care approach or adjust the variables being applied. If you notice stunted growth even after reallocation, re-evaluating soil conditions or drainage may unearth more fundamental issues to rectify.
If your chives are still showing signs of distress despite following these steps, it may be time to conduct a thorough review of your care routine holistically. Be on the lookout for signs of fungal infection, which may develop if watering was not managed correctly. This inspection is crucial because diseases can easily derail recovery efforts; adapting your practices continually in response to the emerging needs of your plants will always yield better results. Keeping records of your care history can enhance successful recovery by informing future actions.
FAQ
How long does it take for chives to recover from drought?
Chives typically take about one to two weeks to show signs of recovery after proper watering and care have been initiated. You should look for fresh leaf growth and improved coloration indicating the plants are bouncing back. Early signs, like new leaf growth, can often be observed within a week, but overall health may take additional time to stabilize fully. Observational feedback from thriving plants at this stage is crucial.
Can dried-out chives spread their issues to nearby plants?
Dried and unhealthy chives can become a host for pests or diseases that may spread to neighboring plants. If not addressed promptly, pests like aphids may take advantage of weakened plants, while diseases can propagate, leading to a chain reaction of decline in adjacent plants. It’s beneficial to implement immediate care measures to avoid them affecting your garden, which can be as simple as isolating the affected plants as a preventive measure during the recovery process.
Should I remove dead parts of my chives after drought exposure?
Yes, removing any dead or severely damaged foliage is advisable to prevent the plant from expending energy on unhealthy tissue. This action is essential for recovery, as it redirects resources towards healthy growth. Additionally, cutting back dead parts will also help improve air circulation around the plant, further promoting healthier growth. Regular deadheading can also encourage new growth, maintaining a vigorous plant structure.