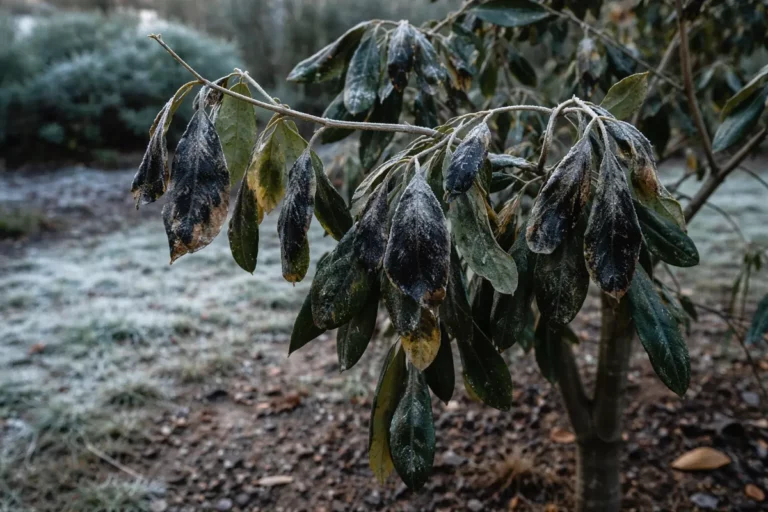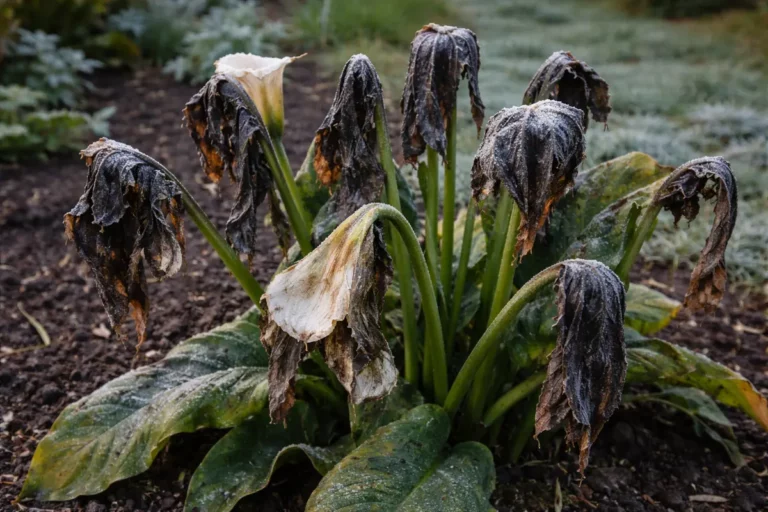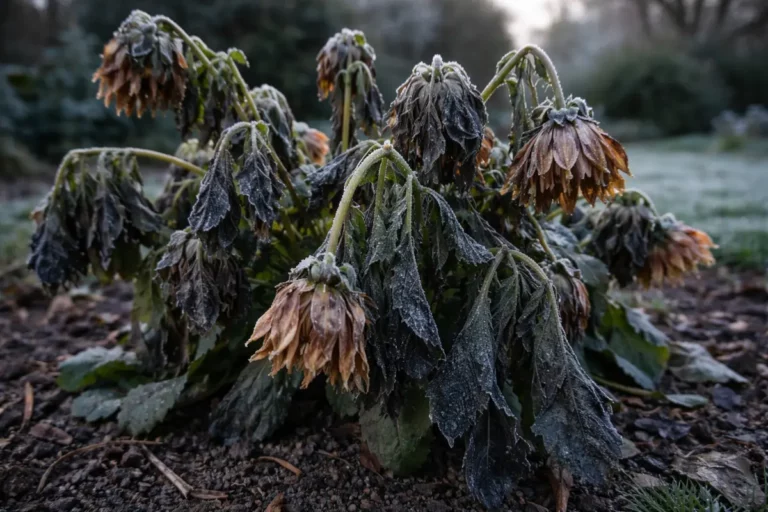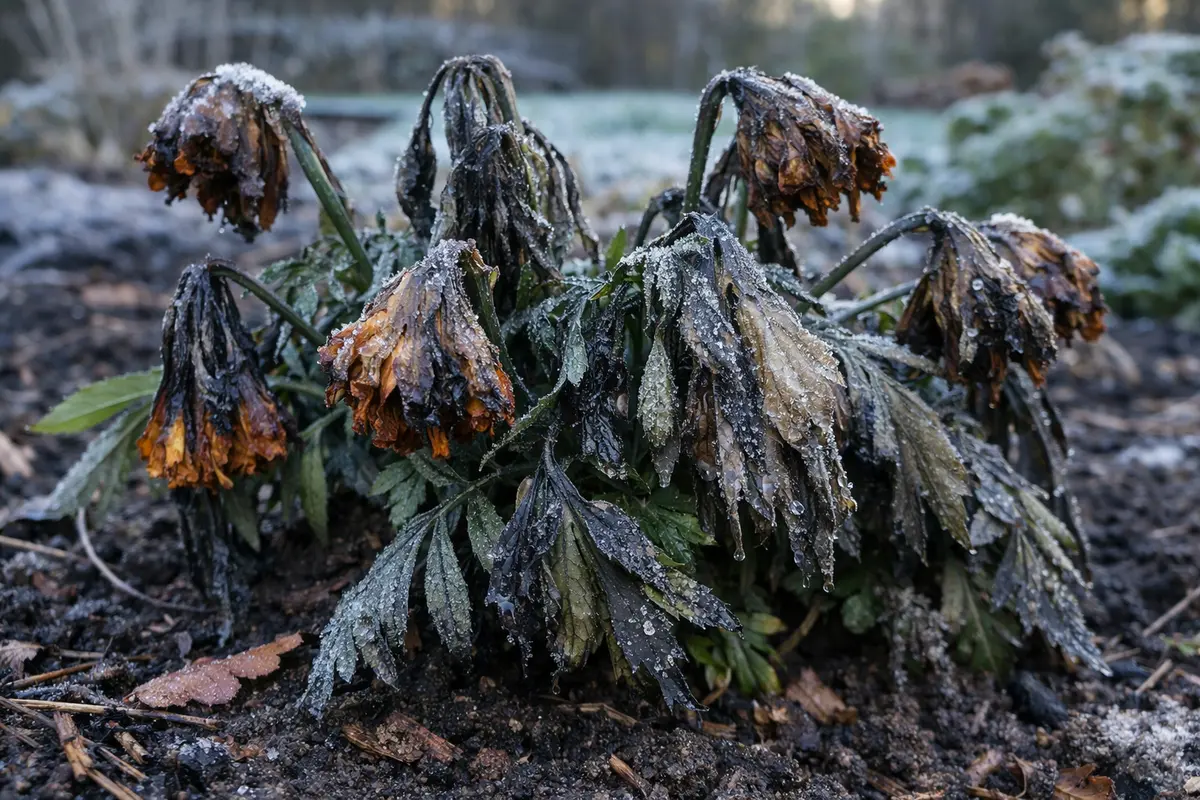
You may notice that your vibrant marigolds are wilting when nighttime temperatures drop unexpectedly, which is why you need to know “Why are my marigolds wilting after sudden frost.” This wilting occurs as the sudden chill causes cellular damage within the plant, leading to drooping leaves and evident stress. If left unaddressed, the damage gets worse, weakening the plant and leaving it more susceptible to disease; however, you can improve the situation by checking the soil moisture and trimming any severely affected parts. A swift response is crucial. Every passing hour can add to the distress of the plants, ultimately affecting their recovery and longevity.
Step 1 – Remove Wilting Marigolds from Frost Damage
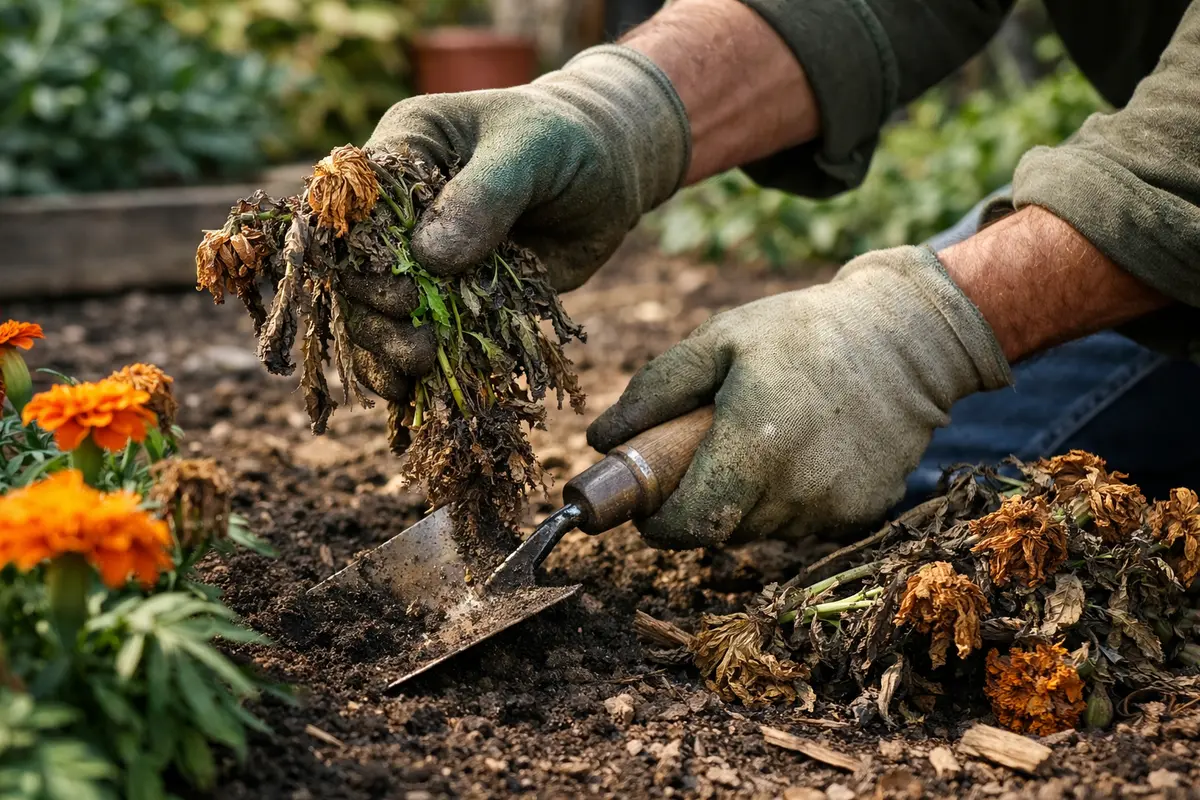
First, remove any wilted or damaged marigold leaves and stems by cutting them back to healthy tissue. This immediate action helps to limit any disease spread and allows for better airflow around the remaining parts of the plant, which should start to perk up within a few hours if they are salvageable.
Acting quickly is crucial for marigolds after a sudden frost because they can suffer cellular damage that leads to wilting. If plants are not pruned back swiftly, the damage can worsen as water and nutrients become trapped in the damaged tissues, leading to further stress and potential death. If you notice ongoing wilting after pruning, check for additional signs of root or stem rot.
In one case, a gardener delayed removing frost-damaged parts of their marigolds, leading to a drastic decline in plant health. This scenario shows how the speed of intervention directly impacts recovery. A common mistake is overlooking smaller signs of damage, leading to a larger issue, so checking for deformities or color changes immediately after frost can guide necessary actions.
Removing wilted parts conserves the plant’s energy for recovery, directing its remaining resources toward healthy sections. Frost damage disrupts the normal physiological processes within marigolds, leading to water loss and cell dehydration. Severing dead tissue minimizes the risk of infection and allows the plants to channel energy into producing new growth, which is crucial for their overall recovery. Use sharp, clean shears to avoid causing further injury; any small nicks can introduce pathogens that exacerbate recovery issues. It’s important to sanitize tools with a 10% bleach solution or rubbing alcohol before and after use to minimize the risk of spreading possible diseases.
A common mistake is delaying this action, thinking the plants will recover by themselves. Many gardeners wait too long to prune damaged areas, resulting in increased stress and slowed recovery, which can lead to higher susceptibility to pests and diseases. If you notice wilting within a few hours after frost exposure, act immediately instead of waiting until the next day. Early intervention is key; for example, if temperatures have dropped unexpectedly overnight, prioritize inspecting and cutting back your marigolds the next morning to intervene before any further damage occurs. If the wilting appears particularly severe, document the extent of the damage as well; this will help you recognize if recovery is taking place or if additional actions are necessary.
Step 2 – Assess Root Damage from Frost Exposure
Check the roots carefully by digging around the base of the plants to inspect for any signs of frost damage. Healthy roots should feel firm and moist, while damaged roots can appear mushy, blackened, or emit a foul odor, indicating rot. Pay close attention as you handle the roots, as excessive disturbance can worsen any damage already inflicted by the frost. If the roots seem overly dry or brittle, this suggests inadequate moisture retention following frost exposure that could hamper recovery. You may want to lift the entire plant with the root ball for a thorough examination.
Frost can cause chilling injuries that compromise root health, inhibiting nutrient uptake and leading to more severe wilting symptoms. When roots are damaged, the plant struggles to absorb water efficiently, contributing to the visible signs of dehydration and wilting above ground. Identifying stressed or damaged roots allows for targeted recovery strategies. Given that roots are sensitive after a frost event, even slight disturbances can dislodge and harm them further, requiring careful attention during this assessment phase. A common indication of root health is the soil texture; if the soil crumbles easily from the roots, this suggests a dry condition that requires immediate rectification.
If you discover mushy roots, it’s advisable to reduce watering significantly to prevent further damage and allow the plant to stabilize. Overwatering, particularly in critical conditions like frost damage, can exacerbate root rot and lead to the plant’s demise. Always ensure your soil drains well after frost events to prevent water accumulation around the roots. If the soil feels waterlogged days after watering, this is a clear indication of potential root damage. Incorporating coarse materials like perlite or sand into the potting mix can improve drainage and avoid compaction. Always assess your pots’ size; if they are too small, roots can become compacted and face more stress, worsening the condition. Consider repotting into a larger container if you observe that roots are tightly coiled or growing through drainage holes.
Step 3 – Revive Marigolds with Nutrient-Rich Fertilizer
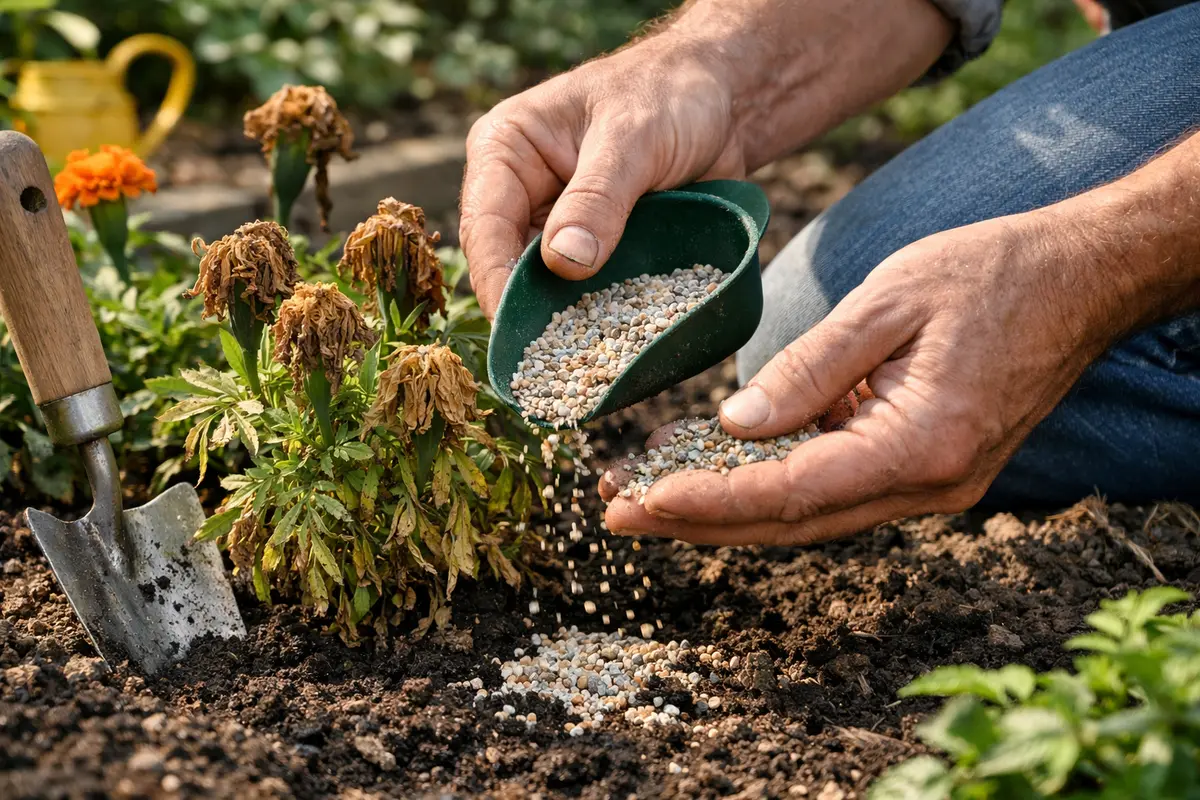
Apply a balanced fertilizer specifically designed for flowering plants to rejuvenate your marigolds. You should notice new growth and improved color within a week as the plants respond positively to the nutrients provided. Fertilizer application should be done carefully—ideally during early morning or late afternoon—to avoid further stressing the plants with harsh overhead sunlight. Mix the fertilizer into the top inch of the soil for better absorption and distribution around the roots.
Nutrient-rich fertilizer helps replenish essential minerals depleted in the aftermath of frost damage. This recovery action is vital because marigolds require adequate nutrients to kickstart growth and repair any tissue that may have suffered from cold stress. A well-balanced fertilizer ensures they receive the right supply of nitrogen, phosphorus, and potassium necessary for enhancing flower development and vitality. Always adhere to the manufacturer’s recommended dosage to prevent over-fertilization, which can cause more harm than good. If possible, opt for a slow-release fertilizer that gradually feeds the plant over several weeks, which reduces the risk of burning the roots compared to a quick-release form.
A frequent mistake during recovery is over-fertilizing; gardeners often believe that more is better. Stick to the recommended dosage, especially during cooler temperatures, to avoid possible nutrient burn. Plants already stressed from frost exposure are particularly susceptible to excess nutrients, which can lead to complications like leaf curl or drop. Monitor for browning leaf tips after fertilization, which generally indicates an overdose of nutrients. If you encounter such symptoms, it might be beneficial to flush the soil with water to help dilute the fertilizer concentration. For instance, if your fertilizer calls for 1 tablespoon per gallon of water, always measure accurately instead of eyeballing it, which could lead to inconsistencies. If symptoms persist, consider switching to an organic fertilizer that is easier on stressed plants.
Step 4 – Watch for Signs of New Growth in Marigolds
Monitor your marigolds regularly by checking back every few days for signs of new growth, such as fresh leaves or vibrant blooms. You should see visible improvements within two weeks, including a return to brighter colors or newly sprouted leaves indicating recovery. Maintaining a close watch on your marigolds can help you catch any recurring issues before they escalate to critical levels. Look for new leaf buds emerging at the base or on existing stems, which signify healthy recovery patterns.
A fully recovered plant exhibits robust green foliage and is likely to return to its previous bloom state. Be vigilant for early signs of problems returning, such as drooping leaves or new yellowing. It’s crucial to keep an eye on soil moisture levels, ensuring you avoid both drought and waterlogging, which can exacerbate stress conditions after frost damage has already occurred. Utilizing a moisture meter can provide insight into the soil’s moisture levels, helping you avoid unnecessary fluctuations that could stress the plants further. If fresh leaves grow but exhibit yellowing, it may be a signal of lingering stress or nutrient deficiencies demanding further attention. Always check the moisture level just beneath the soil surface, as surface dryness may not always reflect true conditions at the roots. Wet feet over time may coincide with stop yellowing leaves on.
If wilting or yellowing returns despite your proactive measures, re-evaluate your watering practices and consider relocating the marigolds to a more sheltered area to shield them from further cold exposure. Additionally, reassess the soil conditions for compaction or low nutrient levels, which may be hindering root growth. A common oversight is failing to adjust the environment surrounding the marigolds after frost; the plants may require more sunlight or improved air circulation to fully recuperate. For instance, moving marigolds closer to structures that provide protection from harsh winds can significantly enhance their recovery outlook. Utilize windbreaks, such as garden fences or potted plants arranged strategically, to create a more stable microclimate conducive to growth.
FAQ
How long will my marigolds take to recover from frost damage?
The recovery time for marigolds depends on the extent of frost damage. Generally, you can expect visible improvements within one to two weeks with adequate care. Consistent monitoring and timely interventions will facilitate faster recovery, especially if the weather remains favorable. In some instances of severe damage, prolonged recovery periods may be necessary, so patience and careful management are essential. Ensuring optimal conditions, such as sufficient light and proper watering, will be key in advancing their recovery process. If adverse environmental conditions persist, additional protective measures against cold may be warranted.
Should I remove all parts of my marigolds that are showing signs of frost damage?
Yes, it’s essential to remove all visibly damaged flowers and leaves to inhibit any potential rot from spreading and ensure the plant can concentrate its energies on healthier sections. This practice aids the plant in allocating energy more efficiently towards new growth while also mitigating stress imposed by damaged tissues. Use clean, sharp tools for pruning to achieve clean cuts and reduce the likelihood of disease transmission. Furthermore, disinfecting shears between plants serves as an added safety measure against transferring pathogens that may affect other healthy plants. If you’re uncertain about which parts to remove, prioritize the most discolored or limp sections first.
Can frost-damaged marigolds spread rot to healthy plants nearby?
While marigolds typically don’t directly spread rot, damaged plants can create conditions that foster pests or diseases if left untreated. Ensuring that all wilting or browning areas are promptly removed can substantially reduce this risk and help maintain the health of surrounding plants. However, if you observe signs of fungal growth or persistent rot, it’s wise to separate affected marigolds to prevent any potential negative impact on neighboring healthy plants. Maintaining cleanliness in the garden—such as eliminating fallen debris and old leaves—can also significantly fortify against such conditions. Lastly, keep a close eye on nearby plants; any signs of wilting should prompt immediate investigation, especially if they are positioned closely to affected marigolds. Frequent inspections help catch any signs of cross-infection early enough to mitigate spread.