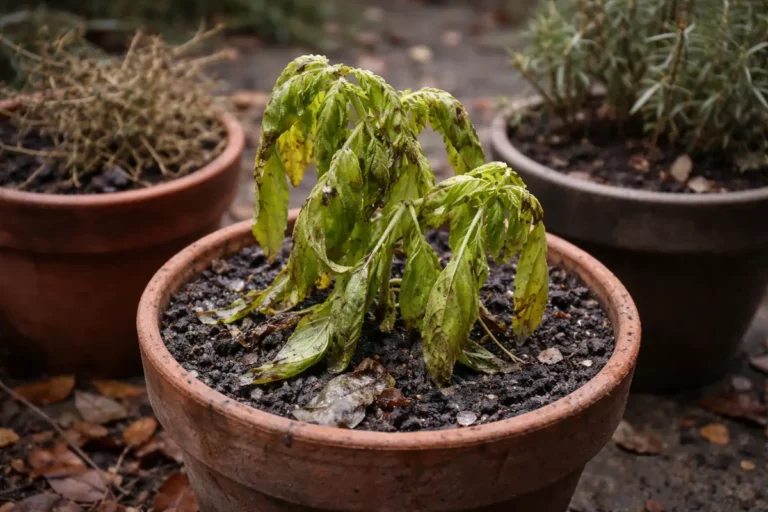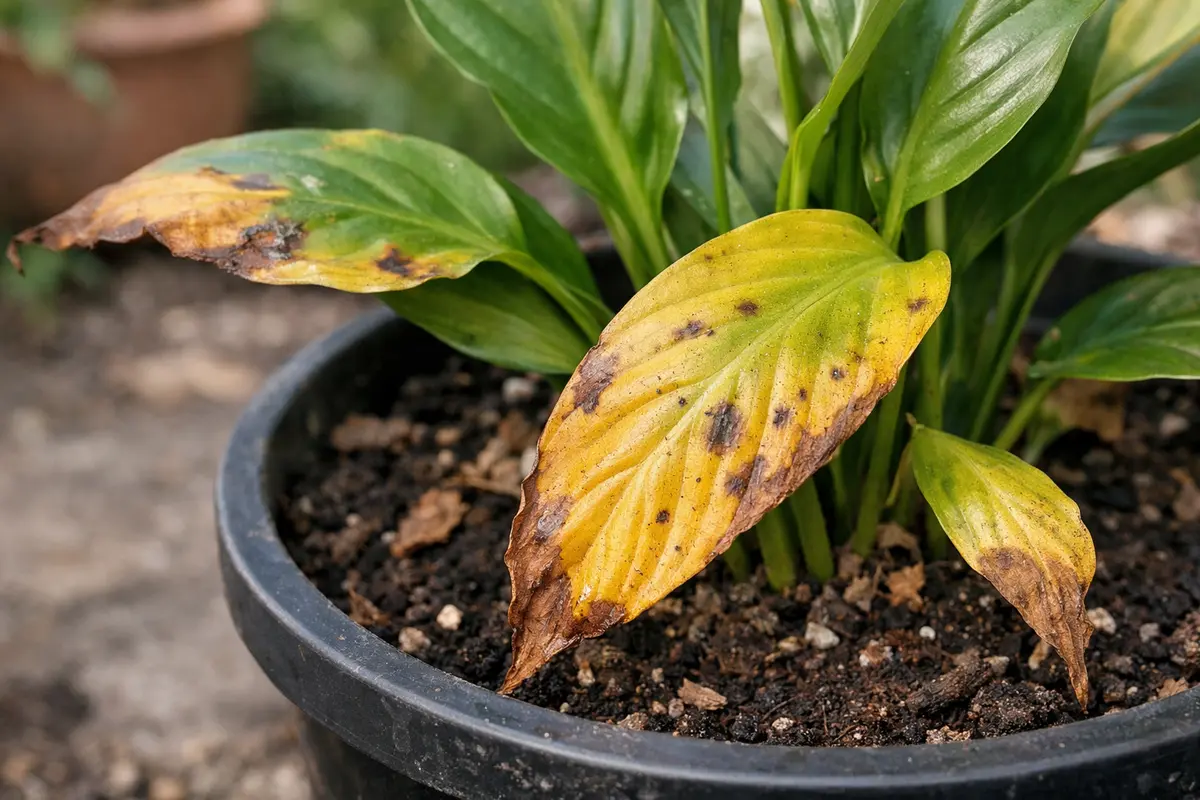
You may notice that your peace lily’s leaves are starting to turn yellow after repotting, which is a clear sign that you need to know what to do when your peace lily turns yellow after repotting. This yellowing is often caused by stress from transplanting, leading to wilting and reduced vitality. If ignored, the situation can worsen, ultimately weakening the plant and making it harder to fix, but you can improve its health by adjusting care practices and monitoring water levels closely. Taking immediate action can mitigate long-term damage and ensure your peace lily thrives in its renewed environment.
Step 1 – Trim Yellow Leaves on Peace Lily
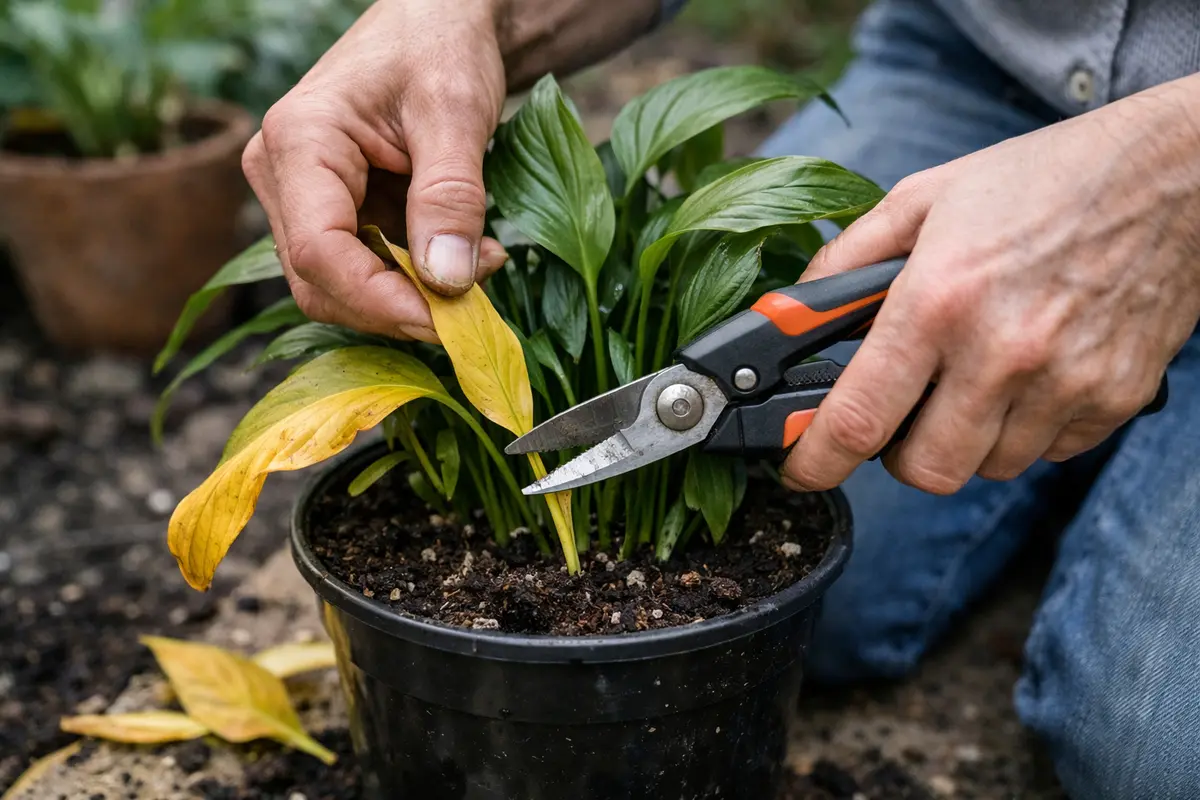
Start by cutting away any yellow leaves on your peace lily immediately. You will see a cleaner appearance with less stress on the healthy leaves that remain. This action reduces the plant’s energy expenditure on unproductive tissues, allowing it to focus on recovery. Aim to cut close to the stem without damaging surrounding healthy foliage; leave about half an inch of the stem to prevent tearing and further stress to the plant.
While trimming, inspect the cut stems for any signs of disease or rot, using clean, sharp scissors to prevent the spread of pathogens. If the stems are mushy or decaying, that indicates potential root rot requiring urgent attention. Conversely, if the stems feel firm, it suggests that the yellowing is an effect of recent conditions rather than severe root damage. If multiple stems are affected, it might indicate systemic issues, demanding a more thorough assessment of the peace lily’s current care regimen.
This immediate action limits the further spread of decline since yellow leaves can drain resources from healthier parts of the plant. Without timely removal, these leaves contribute to ongoing stress and impede the peace lily’s recovery, complicating the situation further. If yellow leaves persist after trimming, it signifies underlying issues that need addressing. After trimming, check the moisture levels in the soil carefully. If the soil feels overly wet and the roots appear healthy, this is a sign that you may need to adjust your watering habits. If the soil is dry, that might be causing stress leading to yellowing leaves.
Rush to act, as peace lilies are especially vulnerable after repotting; a small misstep in care can exacerbate problems. Thus, if you notice yellowing despite trimming, reassess the light exposure your plant receives. Insufficient light can lead to poor nutrient uptake, which is another potential cause of yellow leaves. If your peace lily continues to show signs of yellowing, examine the light source; if it needs more indirect light, gradually move it to a brighter location, avoiding direct sunlight, which can further stress the plant.
Step 2 – Diagnose Overwatering in Peace Lily
Start by inspecting the moisture level in your peace lily’s soil. If it feels overly damp or soggy, yellowing leaves will stop worsening once the plant dries out properly. Allow the surface of the soil to dry down about an inch before testing further depth, as surface moisture can sometimes be misleading early in the hydration cycle.
This happens because excess water in the soil restricts oxygen from reaching the roots, leading to root rot and subsequent yellowing as a stress response. In contrast, if the leaves are curling and crispy, this indicates underwatering and calls for a different care approach. For those dealing with overwatering, remember to examine drainage holes to ensure they are not blocked with roots or soil; clogged drainage prevents water from escaping, exacerbating root-related issues.
If the soil emits a sour smell or has a mushy texture, repot the peace lily in fresh, well-draining soil immediately to prevent root rot from progressing. If the soil appears dry, yet you still see yellowing, check for pests or signs of nutrient deficiency, as both can cause leaf discoloration. Implement a gentle touch while handling the roots during repotting to avoid further trauma; if you notice blackened roots, use clean scissors to remove the affected parts to promote healthy growth.
Peace lilies thrive in well-draining soil and require careful watering; overwatering disrupts oxygen supply, suffocating the roots and leading to rot. Early detection of excessive moisture will help confirm if it’s the cause of your plant’s distress. Look for specific signs such as a musty odor or blackened roots—both indicate root rot is developing and demands prompt action to avoid severe damage. If you detect a sour smell from the soil or find mushy roots, act swiftly to address the problem.
If the soil seems dry, water lightly to restore moisture balance; however, if the soil remains consistently wet, reduce watering frequency and allow it to dry slightly between waterings. Since peace lilies flourish in humidity, consider misting the leaves instead of overwatering, as they prefer moisture in the air. Use a moisture meter for exact soil readings—if the numbers exceed 5 on a scale of 1-10, it’s time to cut back on watering. Remember that adjustments shouldn’t be drastic; gradual changes within a week will yield optimal results and prevent further stress on the plant.
Step 3 – Provide Nutrients for Peace Lily Recovery
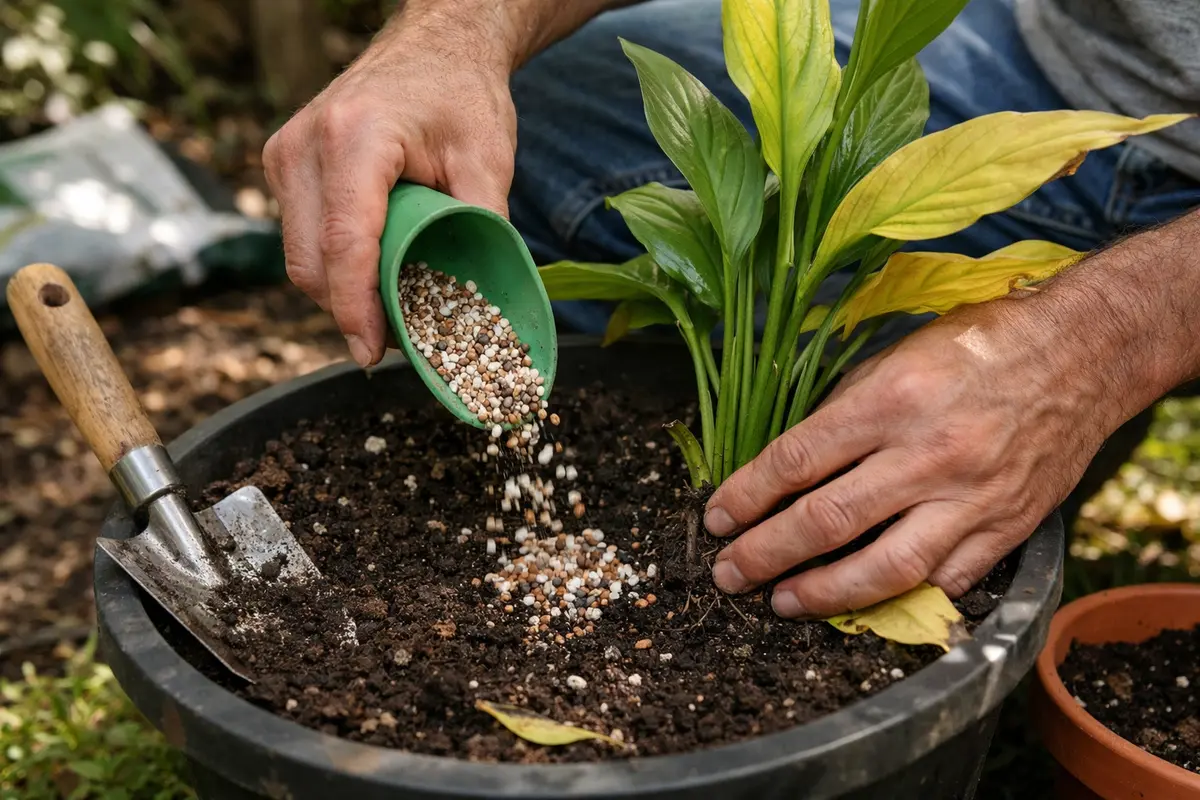
Apply a balanced liquid fertilizer to your peace lily after removing the yellowing leaves. You should see new growth emerging within a couple of weeks as signs of recovery start to appear. Follow this by mixing a solution at 50% dilution to minimize the risk of fertilizer burn, which can exacerbate yellowing. Utilize the instructions on the fertilizer package for precise measurements, typically around half a teaspoon per quart of water.
To further support recovery, you can boost the nutrient levels of the soil, especially after repotting when resources may be quickly used up. If the plant’s nutrient intake is suboptimal, you might observe a loss of leaf color and reduced bloom production. Pay attention to the color and firmness of the foliage; as the peace lily heals, leaves will become more vibrant and sturdier. Check for progress weekly; if leaf margins remain yellow and softness persists, re-evaluate soil nutrient composition and consider switching fertilizers.
Maintain a careful fertilizing schedule—generally every 4-6 weeks during the growing season is ideal. Observe any emerging new growths, as healthy foliage should shift back to a rich green; if yellowing persists despite fertilizing, check the soil pH; an imbalance could impede nutrient uptake and require additional adjustments. If you suspect pH issues, consider using a pH meter or soil testing kit; ideally, a soil pH of 5.5 to 7 is acceptable for peace lilies. Remember to avoid fertilizing during winter dormancy, as the plant will be less responsive. When the season changes, adjust your feeding schedule to reflect these seasonal shifts.
Step 4 – Avoid Overcrowding for Peace Lily Health
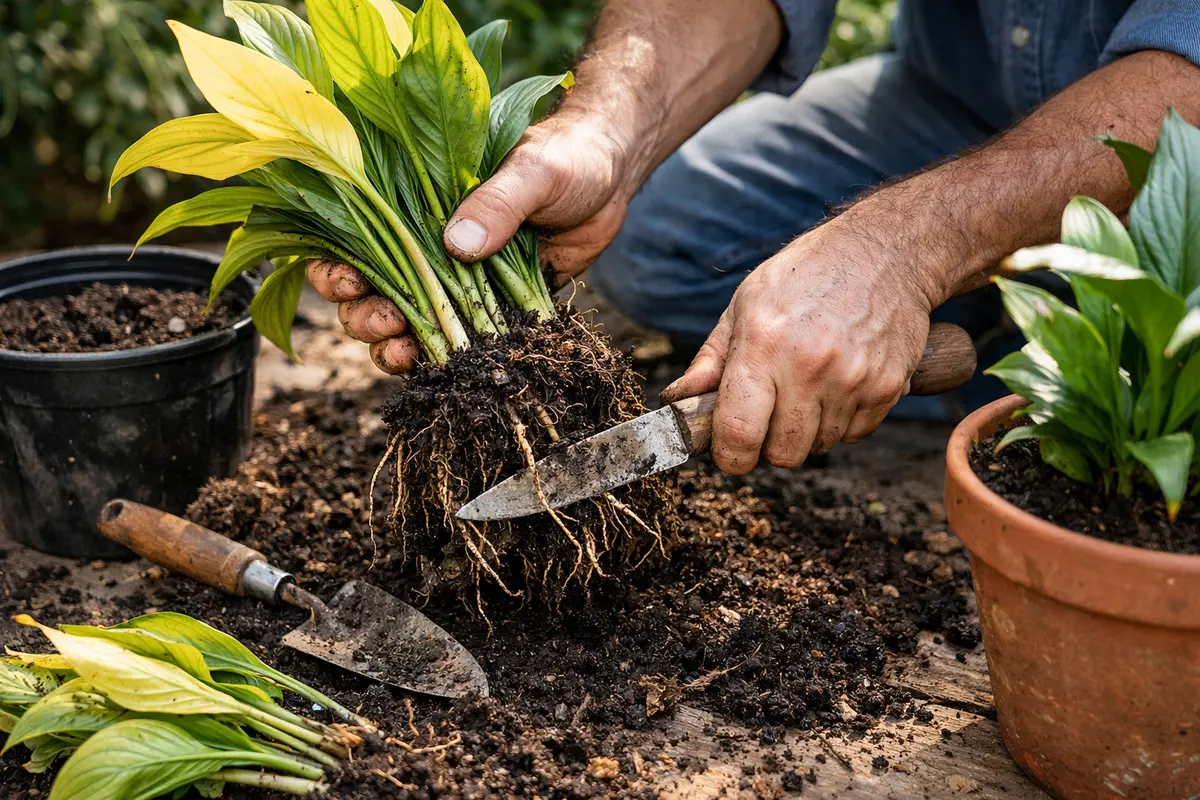
Begin by spacing your peace lily appropriately in its pot to improve air circulation around the leaves and roots. With adequate space, you’ll notice improved leaf health and a decrease in stress-related symptoms. To maintain optimal conditions, make it a habit to check your peace lily every 3 to 6 months for signs of overcrowding. If you see roots protruding out of the drainage holes or tightly bound roots circling the pot’s edges, it’s time to repot.
- Each time you water, inspect the root system: if you see any roots pushing out of the pot, plan to repot next week.
- During the growing season, look for new offsets every month: if they reach at least a third of the parent plant’s size, separate them into their own pots.
- When repotting, always choose a pot that is only 1-2 inches wider in diameter to prevent excessive space that might lead to moisture retention.
- Keep a log of when you last repotted; if it’s been over a year, consider doing so again before the next growing season starts.
If you notice that one peace lily is thriving while another is struggling, check if the weaker plant is overcrowded compared to its neighbor. This can help you identify plants that need more space and resources; often, plants in smaller pots can exhibit symptoms sooner than those that are well-focused on their growth. Always ensure your new pot has adequate drainage holes to manage excess water and prevent root rot. Be attentive during short periods of growth; a rapid growth phase may necessitate extra care to maintain proper spacing and nutrient sharing.
Step 5 – Inspect Peace Lily for New Yellowing Weekly
Monitor your peace lily weekly for any signs of returning yellowing or new damage. By closely observing the leaves and overall plant health, you will spot issues early and can take prompt action. Maintain a recheck schedule to ensure the plant remains healthy and thriving. Pay special attention to new foliage; any yellowing in fresh leaves may indicate persistent issues with water or nutrient acquisition. If you start noticing any curling or browning leaf tips in addition to yellowing, this points to underwatering that requires immediate watering.
A fully revived peace lily should exhibit signs of new foliage emerging and leaves firming up, indicating successful recovery. Observe the color; healthy leaves will shift back to a rich green hue. If yellowing resurfaces, the underlying causes may need re-evaluating, especially concerning watering or light conditions. Regular checks should also include evaluating light exposure; inadequate sunlight can be as detrimental as overwatering. Use a light meter if necessary to confirm adequate light levels; peace lilies prefer indirect sunlight but can also tolerate some direct morning sun.
If symptoms return despite following these steps, reassess your environment and care practices. You may need to check for additional stressors, like changes in humidity or temperature; fluctuations in either could directly impact your peace lily’s well-being. If issues persist, consulting an expert nursery or local plant support group can provide valuable insight and support for your plant’s recovery journey. You might also consider placing the plant in a more humid environment, such as a bathroom or kitchen, where moisture levels are often higher. Maintaining a balanced microenvironment tailored to the specific needs of the peace lily can facilitate ongoing health and flowering.
FAQ
How long does it take for my peace lily to recover from yellowing?
Recovery can take between 1 to 3 weeks, depending on the extent of the damage and environmental conditions. Consistent care and monitoring will speed up recovery, particularly observing for new growth. If the yellowing was due to overwatering, keep an eye on the moisture levels moving forward to avoid another setback. Additionally, the first signs of recovery often appear as fresh, new leaves unfurling without any hint of yellowing.
Can overwatering spread to other plants?
Yes, if the roots of your peace lily exhibit rot and the soil is not treated, it can lead to problems for nearby plants by spreading pathogens. Ensuring good drainage and removing diseased roots promptly can help manage the situation. After treatment, consider isolating affected plants for a period to minimize the risk of spread until you can confirm their health is restored. If neighboring plants show similar symptoms, it may indicate a broader issue with care practices in their environment.
Should I remove all yellow leaves immediately?
Only remove those that are severely yellowed or damaged, as healthy leaves can still support the plant. Gradually trim away dying leaves to stimulate new growth without causing shock to the plant, but ensure each cut leaf is assessed closely. Immediate removal of all yellowing leaves can sometimes stress the plant further, particularly if it wasn’t already experiencing vigorous growth. Assess the condition of each leaf to make responsible pruning decisions; if the plant is still stressed, consider a balanced approach to trimming.