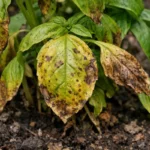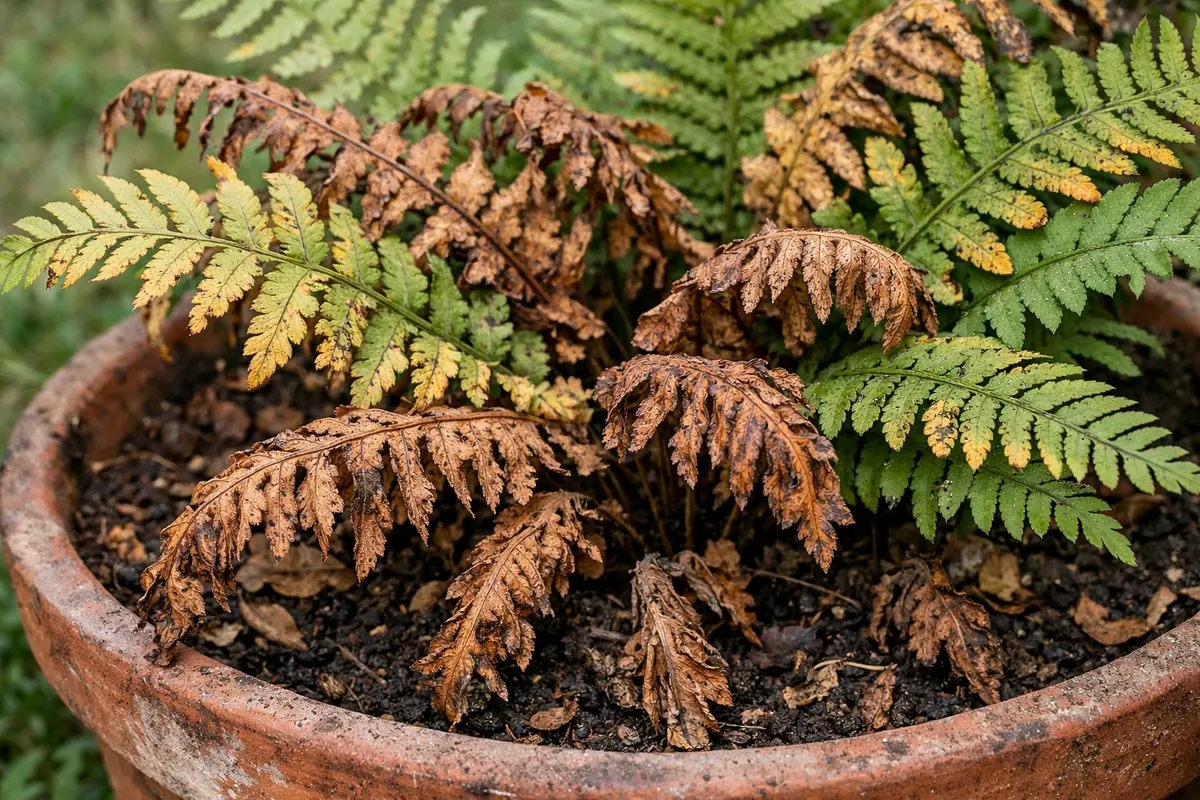
You may notice that your ferns are starting to turn brown during the heat of summer, which is why you need to know why are my potted ferns turning brown in summer. This browning often signals stress in the plant, caused by factors such as insufficient humidity or overexposure to direct sunlight, leading to wilting leaves and eventual leaf drop. If left unaddressed, the problem worsens, weakening the plant and making it harder to fix, but you can improve the situation by checking your watering routine and adjusting their placement for optimal light and humidity.
Step 1 – Water Ferns Immediately If Drying Out
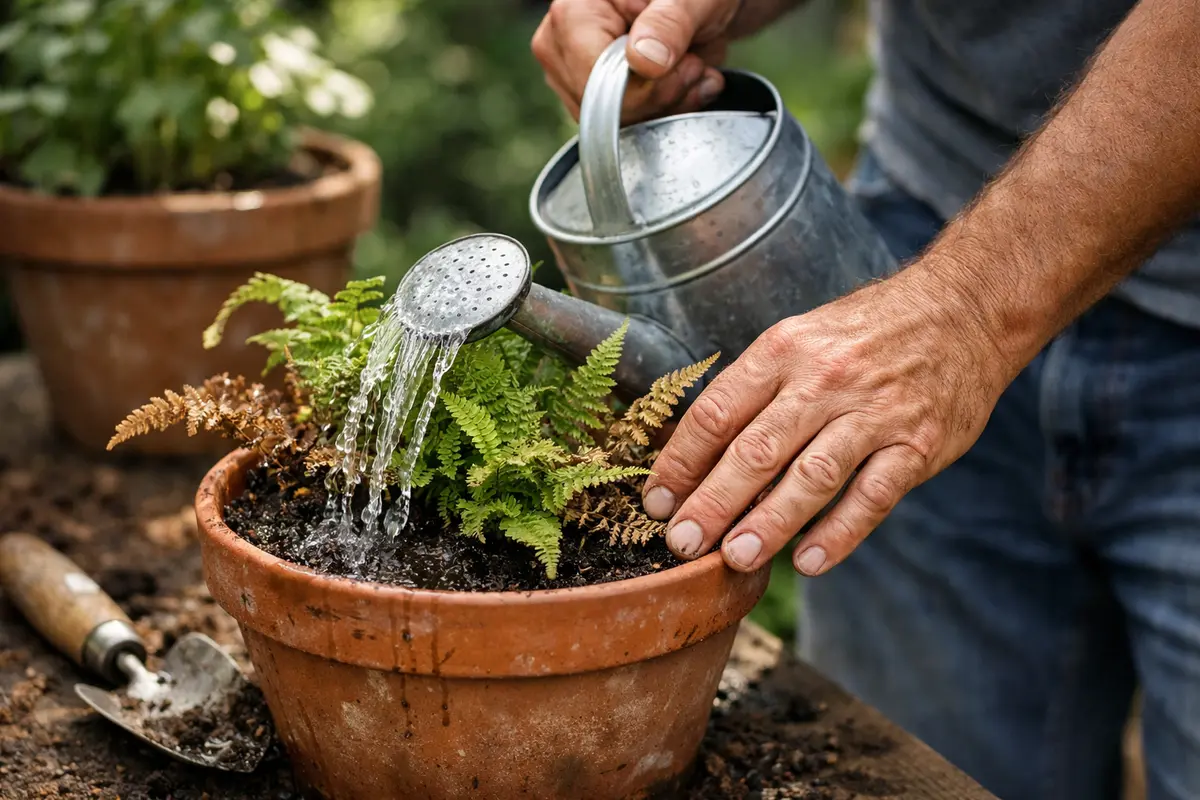
Water your ferns deeply, ensuring the soil is saturated. You will notice the top layer of the soil turning darker as moisture penetrates, revitalizing the roots. This immediate action helps prevent further dehydration and browning from lack of moisture. Aim to saturate the soil until you see water beginning to drain from the bottom of the pot, which can take about 5 to 10 minutes. If you see water pooling on the surface without draining, it may indicate that the soil is compacted and requires aeration. An immediate check of the drainage holes is advisable, as blocked holes can impede proper watering.
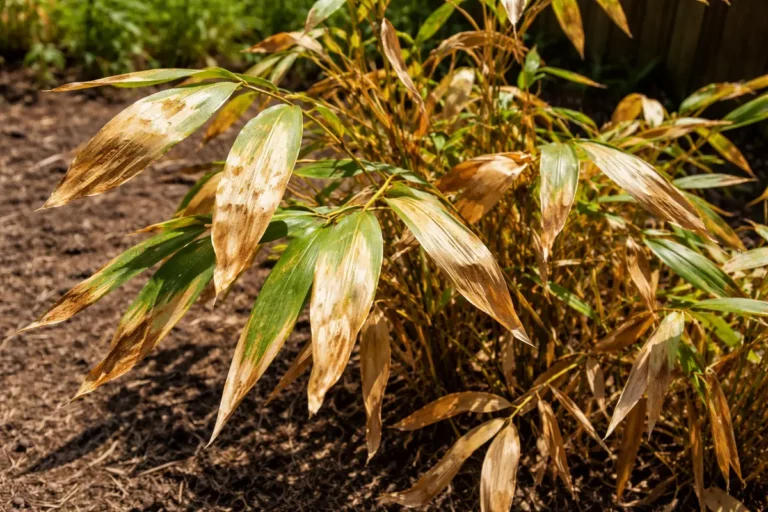
Ferns require consistent moisture to thrive, especially in hot weather. When the soil dries out too much, it compromises the plant’s ability to absorb nutrients effectively. Neglecting to water promptly can result in brown, crispy leaves as the plant struggles to survive. If your ferns appear flattened or the leaves have started to curl, this is often a clear sign that watering is urgently needed. Notice how the leaves may feel crunchy or brittle if they lack hydration, which makes them more prone to browning. Assessing plant behavior after a few days without water is often revealing; they may droop distinctly, displaying a clear visual cue of distress.
A common mistake at this stage is to wait for the plant to recover on its own. Many gardeners underestimate how quickly ferns can dry out, especially in containers. If you notice your fern is already drooping, it’s crucial to act fast and not delay watering, as the damage will only escalate further if ignored. Additionally, if you check the soil and find that it’s still dry one or two days after watering, consider whether your pots have adequate drainage holes, as poor drainage could be contributing to root distress. In conditions of high heat, aim to check moisture levels every day or two to prevent issues. If you note persistent dryness despite watering, consider testing the soil porosity by digging a finger deep into the pot—if it feels dry even an inch down, further reevaluation of moisture-holding materials may be needed.
Step 2 – Diagnose Overexposure to Direct Sunlight
Check for direct sunlight exposure and move the ferns to a shadier area if needed. By doing this, you should see a reduction in leaf scorching within a week as the plant experiences less stress from the harsh light. If leaves are still sunburned, they may not recover, but preventing further exposure can help protect healthy growth. Take note of the sunlight patterns throughout the day; ideally, ferns should receive dappled sunlight rather than direct afternoon rays. If the leaves are showing faded patches, this can indicate excessive light exposure and may warrant immediate action. Look for signs such as curling edges or yellowing, which can identify particularly stressed areas.
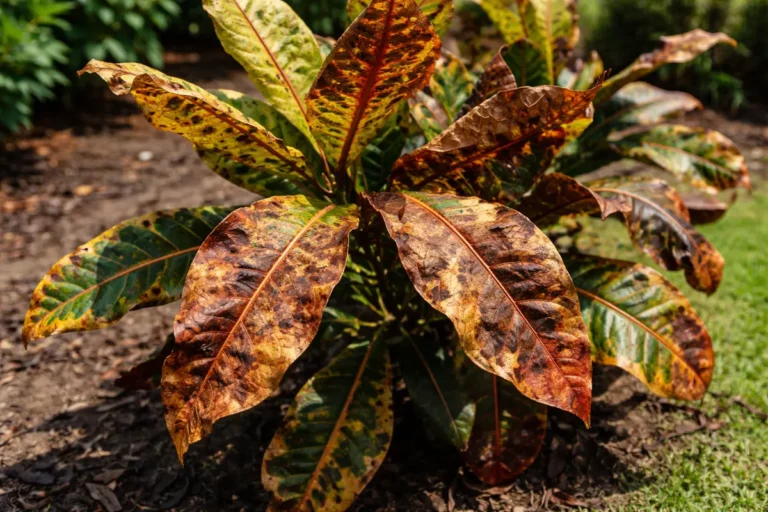
Excessive direct sunlight causes leaves to scorch and turn brown, particularly at the tips and edges. Ferns, by nature, thrive in shaded environments, and prolonged sun exposure will desiccate their leaves and inhibit photosynthesis. Understanding their light requirements can drastically improve the health of your ferns. If you notice that browning is more pronounced on one side, this often indicates that the plant is receiving uneven light, suggesting a need for rotation or relocation. In shaded areas, observe how ferns seem to keep a richer green shade, a clear indication of proper light balance and health. Contrast this with areas exposed to midday sun where fronds may appear crispy.
If you notice browning and scorching despite proper watering, this likely indicates high sun exposure as the root cause. If shifting the ferns doesn’t yield improvements, check if your ferns have any competing plants nearby that may be absorbing more light, contributing to lighter leaves on your ferns. Additionally, consider the color of the pot and surrounding surfaces—lighter colors reflect more sunlight and heat, potentially exacerbating the problem. If heat absorption becomes a chronic issue, consider relocating your ferns to a spot that receives morning sunlight only. If you observe your ferns beginning to lean away from light, this phototropic behavior might indicate more severe light stress, guiding your relocation efforts.
Step 3 – Mist Leaves to Revitalize Browned Ferns
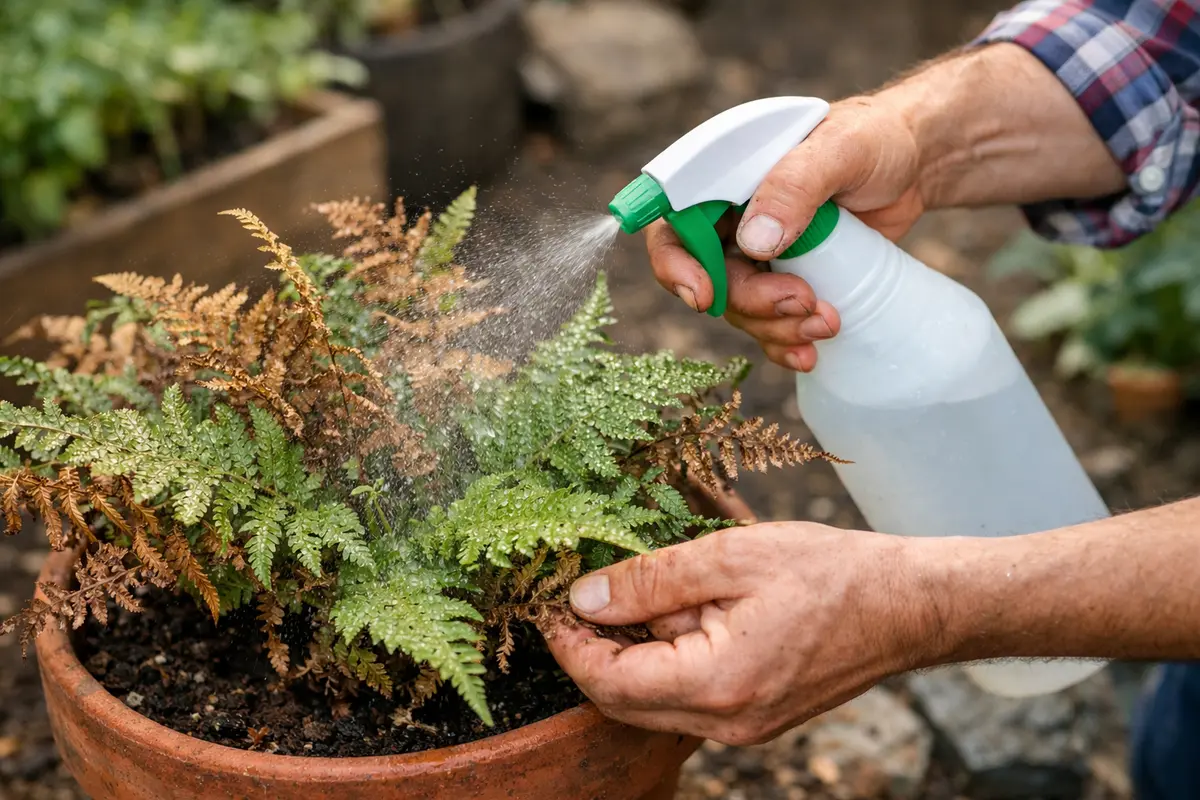
Start misting the leaves of your ferns several times a week to increase humidity. As you do this, you should observe the leaves becoming more vibrant and resilient, showing a marked improvement in their color and turgor within a few days. Aim to mist in the morning when the temperature is cooler, allowing moisture to evaporate by evening. This adjustment in humidity levels helps mimic their natural tropical environment. Over time, poorly misted ferns may not recover fully, so consistency is essential. Monitor leaf responses to humidity changes closely, as reduced pliability can indicate further moisture deficit.
Increasing humidity through misting replenishes the moisture that ferns need, especially during hot summer days. Spraying provides a direct moisture source, allowing the leaves to rehydrate, crucial for maintaining their lush appearance. Healthy leaves exhibit a rich green appearance, which can improve as you adjust their care regimen. Examine the leaf texture; if they feel brittle or dry to the touch, misting is particularly crucial at this stage. It’s also important to ensure that misting reaches both sides of the leaves for even coverage—undersides are often where leaf transpiration and absorption occur.
A common pitfall in misting is overcompensation, where gardeners excessively mist in hopes of quicker recovery. This can lead to water pooling and promoting potential fungal diseases. It’s essential to maintain a balance; misting should enhance growth without creating a breeding ground for unwanted pests or mold. If you find mold on the soil surface or leaves that develop spots, reduce the misting frequency and ensure proper air circulation around the plants, as increased humidity can sometimes lead to fungal issues. Additionally, if you observe that mold has started to form on moist surfaces near the ferns, adjust both the misting schedule and airflow in the vicinity. Consider using a small fan to maintain consistent air movement, which can assist in evaporation and reduce stagnant moisture problems.
Step 4 – Shield Ferns from Intense Summer Heat
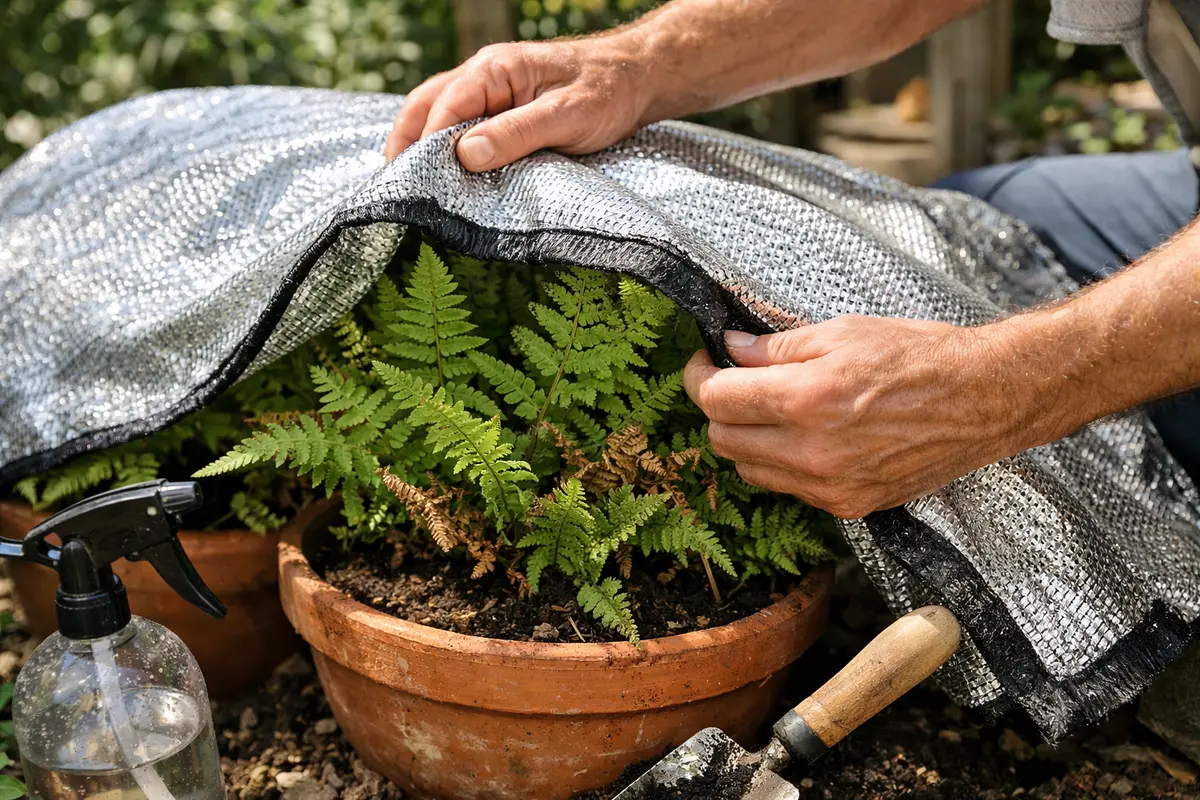
Start by relocating your potted ferns to a spot with indirect sunlight and consistent humidity. By doing so, you will notice an immediate improvement in foliage color and vitality, as these conditions mimic their natural habitat. Create barriers against heat by placing them in locations where they receive filtered light, allowing them to avoid harsh sun exposure.
In summer, excessive direct sunlight and low humidity levels trigger browning leaves in ferns, leading to stress and desiccation. When you adjust the location to avoid direct sun and provide regular misting, you address this root cause, allowing the plant to regain moisture and thrive instead of languishing in unfavorable conditions. Consider also adding shading cloths during the hottest part of the day, as these textiles can mitigate sun exposure effectively.
As the weather warms, add a layer of mulch at the base of the pots to help retain soil moisture and regulate temperature. If you notice browning still occurring despite this, check for signs of pests or root rot, which can also contribute to stress in the ferns. Use organic mulch like shredded bark to provide both insulation and moisture retention, but ensure it is not piled against the stems which can cause rot from excess moisture.
Fern leaves can easily suffer from heat damage when temperatures soar, leading to irreparable browning if not shielded. Creating a protective environment resonates with their need for shaded habitats—this habit lends itself to healthier growth and helps maintain ideal moisture levels. By controlling the temperature and sun exposure, you foster a resilient plant. Remember that just because a day is not exceedingly hot doesn’t mean the direct sun isn’t harmful; shading should be used as a consistent practice. If the forecast predicts unusually high temperatures, enhance protection to ensure your ferns remain cool and hydrated. During heat spikes, consider adjusting your watering routine to include more frequent, lighter applications to keep the soil moist without over-saturating.
When implementing shading techniques, note the differences that may appear based on varying temperatures and exposure lengths. Your approach during a heatwave may differ from mild summer days—an increased shade coverage might be necessary on exceptionally hot days. For instance, if temperatures rise above 90°F, consider placing additional barriers that can block sun exposure entirely. Observe the soil moisture closely during these hot periods; parched soil can indicate the need for both shade and enhanced watering. Being adaptive is crucial to maintaining your ferns’ health, thus avoiding seasonal stresses that can lead to severe browning.
Step 5 – Inspect Soil Moisture Weekly for Signs of Stress
Start by checking your potted ferns every few days for moisture levels in the soil. Ensure the top inch of the soil feels damp, as over or underwatering can cause browning. During this monitoring period, observe the fronds for any signs of green returning, indicating recovery, or new growth forming as an encouraging sign of improvement.
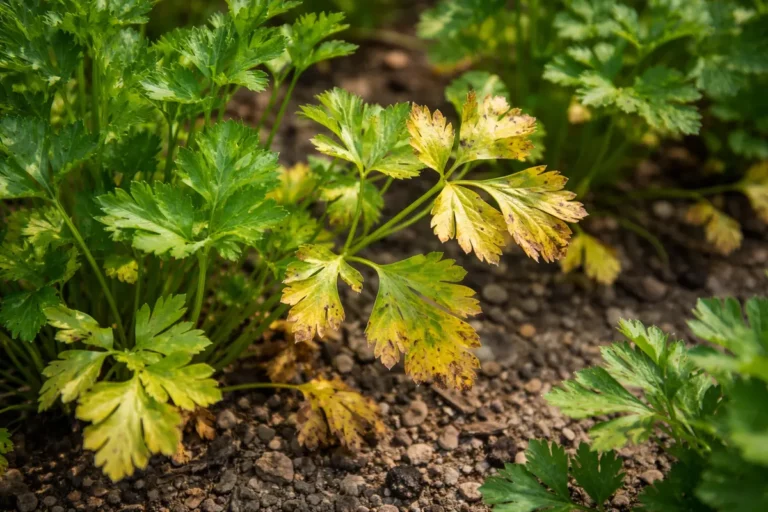
A fully recovered fern will display vibrant, lush green fronds that feel fresh and supple to the touch. In contrast, early signs of the problem returning include fronds that become crispy along the edges or develop yellow patches, indicating stress from environmental conditions. If the texture of the leaves begins to feel unusually dry or brittle, it signals the need for immediate attention if not this → check that the soil is consistently moist but not soggy.
If browning persists despite following these monitoring steps, consider reducing direct sunlight exposure or increasing humidity around the plant. You can also use a desiccant to draw moisture from the air. If problems continue, escalate to repotting the fern in fresh soil to ensure proper drainage and nutrients.
A well-maintained moisture level is vital to the health of potted ferns, as they can easily suffer from stress-related symptoms if the soil is too dry or overly saturated. Observing the soil’s texture allows you to gauge its moisture—damp soil should feel cool and have a spongy consistency. Properly recovered plants will exhibit vibrant colors and perky leaves; on the other hand, if you notice that the leaves are wilting despite moist soil, this could indicate root issues or poor drainage. Consider using a moisture meter if you find it difficult to judge soil conditions accurately—these devices can provide a clear indicator of moisture levels throughout the soil profile.
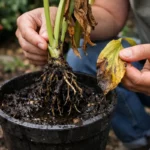
If you find that one area of soil dries out faster than others, consider repotting or amending the soil to enhance drainage. Regularly assessing moisture levels can help preempt severe issues before they occur. If drooping occurs despite proper watering, check the roots for signs of rot, as more drastic measures might be required. Additionally, consider the pot size; if the pot is too small, roots may be crowded, which can also lead to moisture stress. Regular repotting every couple of years can encourage fuller, healthier growth, enabling roots to spread freely. Be wary of frequent repotting too, as moving a plant too many times can lead to additional stress—balance is key.
FAQ
Why are my potted ferns turning brown in summer despite regular watering?
Browning can indicate exposure to too much direct sunlight, even if watering isn’t an issue. Ensure your ferns are positioned in the appropriate light, as excessive sun can scorch leaves, leading to browning despite adequate moisture. Regularly reassess their placement, especially during peak summer months, and adjust as needed to optimize their environment. Keep a close eye on nearby structures or plants that may affect light levels, as shifts in sun angles can change growing conditions quickly.
How long will it take for my brown ferns to recover after misting?
You should see improvements in leaf firmness and color within a few days. If the environment remains humid and proper care is followed, new growth may emerge within two to four weeks. Monitor conditions closely, as recovery may vary depending on each plant’s individual resilience and overall health prior to treatment. Continued care is crucial; observe any additional stress factors that might impede recovery, such as inadequate light or nutrient deficiencies.
Should I remove the brown leaves from my ferns?
Yes, removing severely affected leaves can help the plant focus its energy on healthy growth. However, do this carefully and avoid removing too many leaves at once, as they are vital for photosynthesis. If in doubt, trim only the most damaged areas and allow some healthy foliage to remain to support growth. If browning persists despite trimming, consider evaluating other stressors that might be contributing to the ongoing decline. Always use clean tools to make cuts, as this avoids introducing disease and promotes better healing for any remaining tissue.