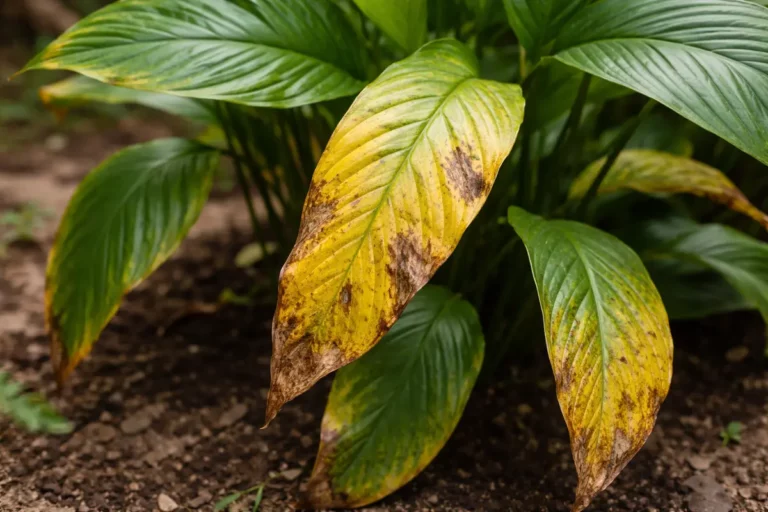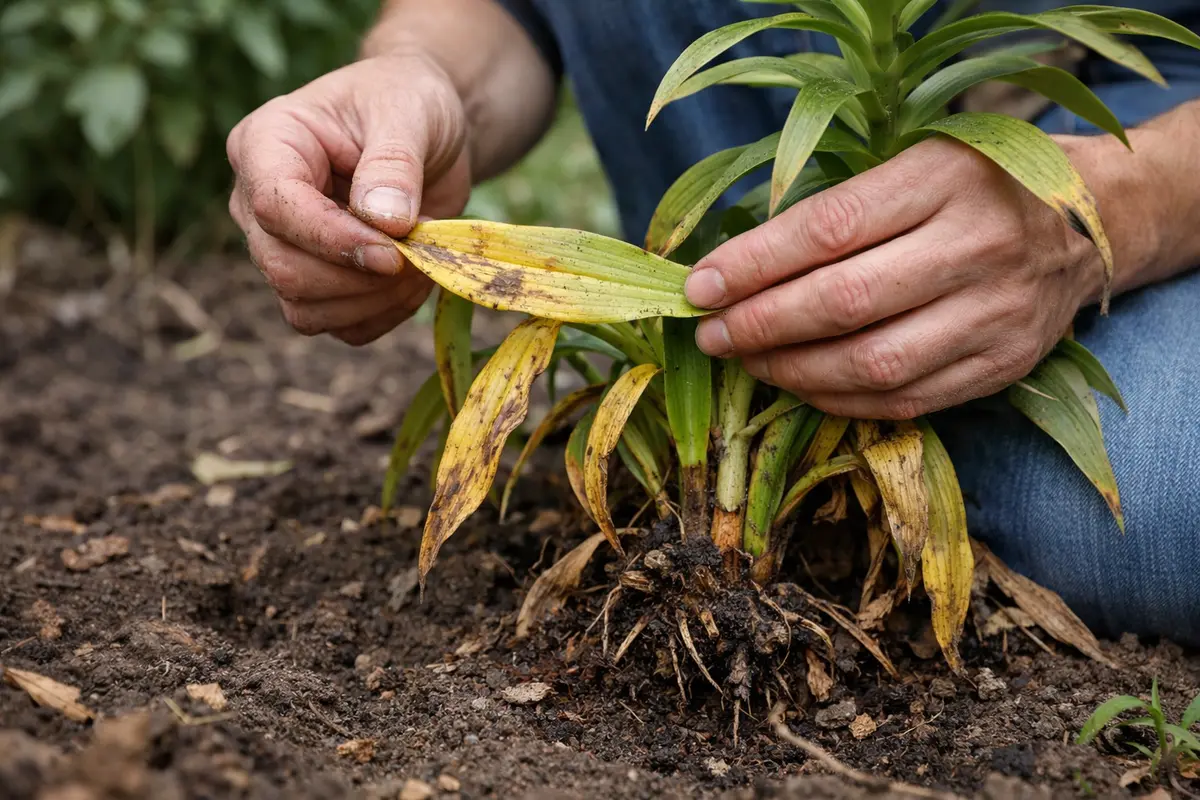
You may notice your lily bulbs experiencing yellowing leaves shortly after transplanting, which is why you need to know about Treating yellowing leaves on lily bulbs after transplanting. This discoloration typically occurs due to stress from the transplanting process, often resulting in yellowing that signals a potential problem with the plant’s roots or nutrient uptake. If left unaddressed, this condition can spread and weaken the plant, ultimately leading to insufficient growth or even death. Immediate action can make a significant difference—start by inspecting the soil conditions and adjusting your watering routine accordingly for optimal recovery.
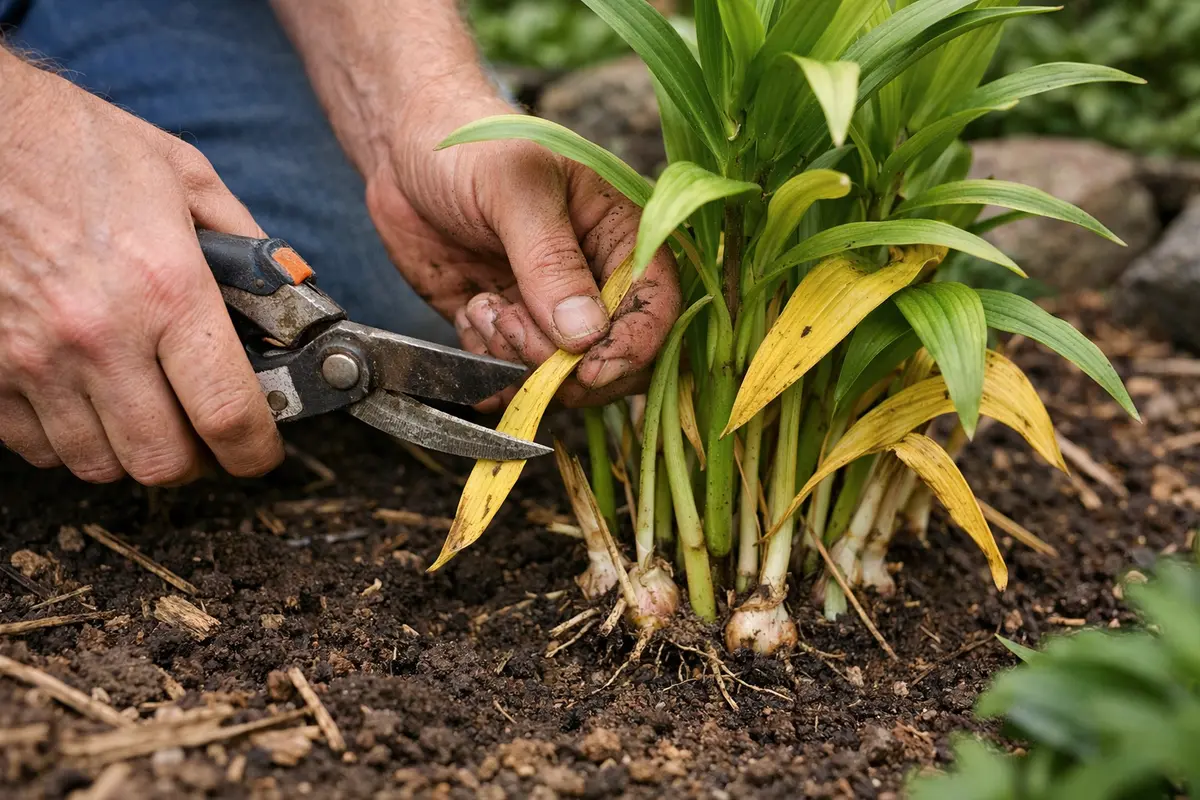
Step 1 – Trim Yellowing Leaves on Lily Bulbs
Start by checking the soil moisture around the lily bulbs. If it’s too dry, water the area thoroughly to a depth of at least 6 inches, ensuring that the water reaches the root zone. Within a few hours, the leaves should start to perk up, displaying a slight reduction in their yellowing appearance as the plant begins to rehydrate.
Acting quickly is crucial because lily bulbs rely on consistent moisture levels to support their recovery and growth processes. When moisture is inadequate, the bulbs can experience stress, leading to further yellowing and even wilting of the leaves. If left unaddressed, the roots may struggle to absorb nutrients, compounding the plant’s distress and reducing its ability to thrive in the next growing season.
For instance, a gardener who waited a week to water discovered his lilies were not only yellowing but also developing soft spots on the bulbs, indicating rot. In contrast, another gardener who promptly addressed moisture levels saw a swift turnaround in their plants’ health. If you notice the bulbs are still yellowing despite adequate watering, check for signs of root rot caused by overly saturated soil.
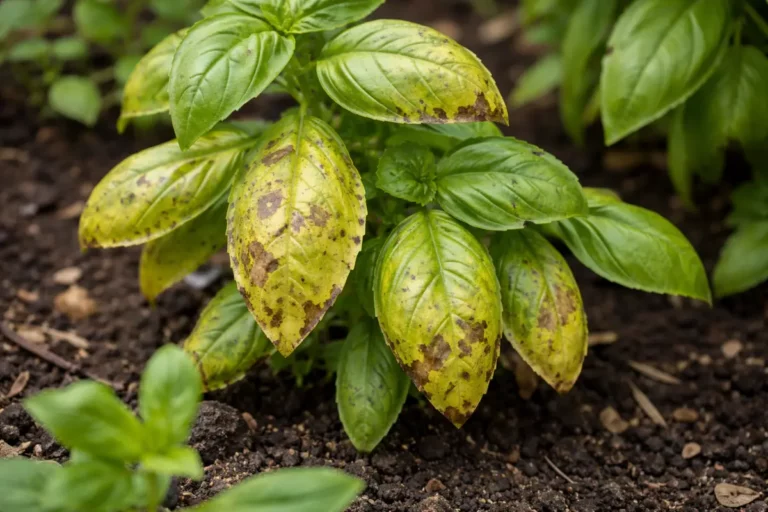
Acting quickly to remove unhealthy foliage not only helps the plant focus on recovery but also limits the potential spread of any underlying issues, such as disease or pests. Yellowing often signifies stress from transplant shock or poor nutrient absorption. If these leaves are not cut away, the plant can become overwhelmed, leading to more extensive damage over time. For instance, you might notice a sticky residue on the leaves, possibly indicating the presence of pests like aphids; keeping a close watch on your plants after transplanting is vital during this critical week for identifying this type of stress.
A common mistake gardeners make is waiting too long to remove yellowing foliage, thinking that the plant will bounce back on its own. In many cases, this assumption prolongs the recovery period and leads to further complications, such as root rot or pests taking hold. Waiting can allow pathogens to enter through compromised leaf surfaces, worsening the plant’s condition. Regularly check your plants to catch any emerging signs of stress. Maintain a diligent approach by looking for changes every day during this critical recovery phase—particularly right after transplanting when symptoms are most pronounced, fostering a healthier recovery environment. Remember, the sooner you begin actions to correct stress, the better the outcome for your plants.
Step 2 – Diagnose Causes of Yellowing Leaves
Inspect the soil conditions and moisture levels around the lily bulbs to identify the cause of yellowing leaves. Begin by feeling the soil—if it feels waterlogged or excessively dry, you’ve found a likely culprit. Overwatering and underwatering can both lead to nutrient deficiencies. A moisture meter can be a reliable tool for accurate readings, guiding your watering practices. If you consistently observe moisture readings above 50% for weekends at a time without drying, drainage improvements may be necessary to prevent root suffocation, which is critical in the initial weeks after transplanting.
Yellowing leaves often arise from both overwatering and underwatering. Each condition hampers the plant’s ability to absorb essential nutrients, leading to visible stress in the leaves. For example, if the soil lacks drainage, the roots may suffocate, causing a nutrient imbalance that presents as yellowing. In contrast, if the soil is too dry, the plant cannot efficiently uptake nutrients, starving it despite the presence of nutrients in the soil. This contrast can lead to confusion; many believe yellowing only occurs from dry soil, neglecting the signs of overwatering, such as drooping leaves and mushy roots. To differentiate, take a close look at the roots: healthy roots should be firm and white, while rotten roots will appear dark and mushy.
If you detect a sour smell emanating from the soil, this is a severe indicator of root rot, necessitating immediate action to improve drainage. Instead of maintaining the same watering pattern, consider switching to more frequent but lighter applications to allow the roots to breathe. You can also improve drainage by checking that the pots have adequate drain holes. Persistent yellowing, despite stable watering, might suggest a need for addressing other issues such as soil compaction or inadequate amendments. Keep in mind that seasonal variations affect moisture requirements; for instance, transitioning from fall to winter generally requires less frequent watering due to cooler weather, which means adjusting your monitoring effort based on the time of year.
Step 3 – Fertilize Lily Bulbs for Green Recovery
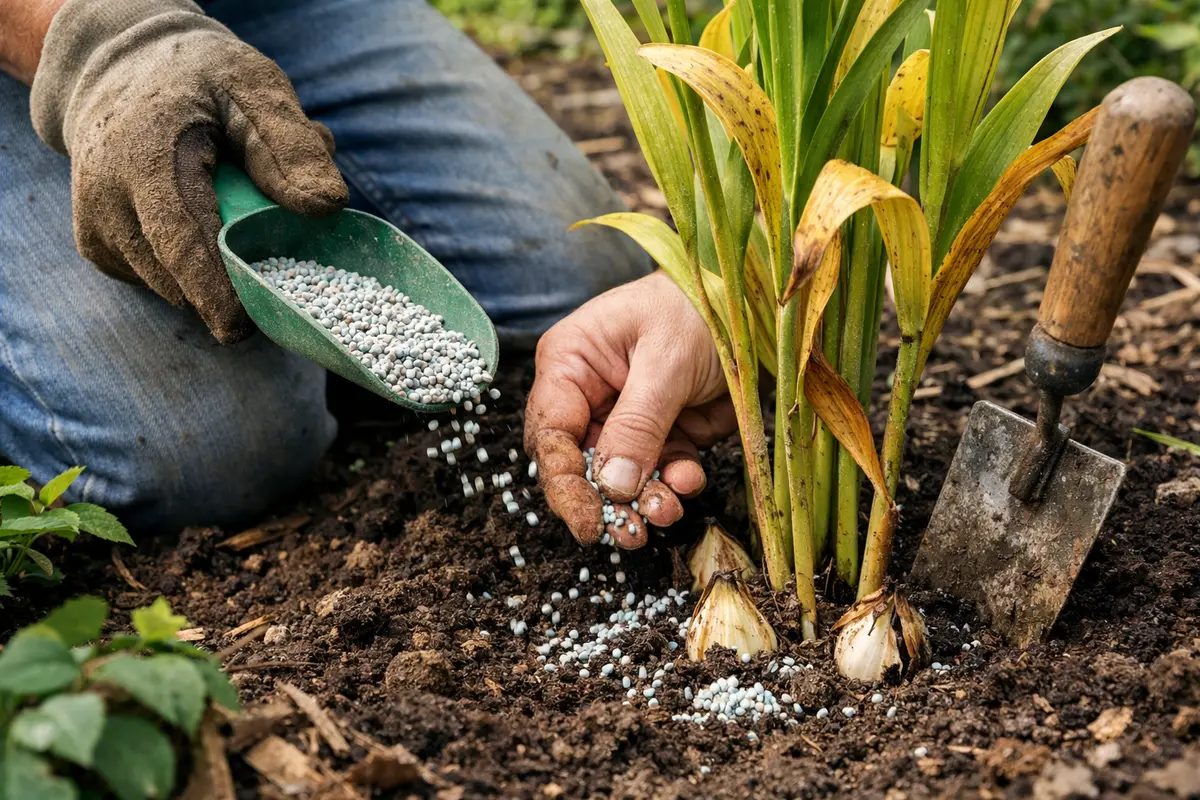
Apply a balanced fertilizer to the soil surrounding the lily bulbs to support their recovery. Ideally, you should notice the remaining leaves beginning to gain their green color and vitality within about one week of fertilizing. Fertilizing helps replenish essential nutrients that might be lacking due to transplant shock, thereby rejuvenating the plant. It’s best to use a fertilizer that is high in nitrogen and potassium during this recovery period; a common ratio like 10-10-10 provides a well-rounded nutrient profile while targeting the plant’s immediate needs.
Nutrients such as nitrogen are vital for restoring chlorophyll levels in the leaves, which is key for photosynthesis. For instance, using a quick-release fertilizer may provide immediate nutrients but comes with the risk of nutrient burn if applied too heavily or at the wrong time. To ensure effectiveness, stick to a rate of approximately 1 tablespoon of fertilizer per square foot of soil, monitoring for any adverse reactions. Observe your plants closely in the days following application; if you notice any dramatic changes—like leaf discoloration or wilting—reduce the application rate immediately. Additionally, phosphorus helps support root development, ultimately leading to a healthier base for the plant and better absorption of future nutrients.
A common mistake during this phase is over-fertilizing, which can exacerbate stress on the plant. If burn marks appear on the leaves—often brown tips or edges—consider cutting back on fertilizer until the plant stabilizes. Alternatively, you could switch to a slow-release formulation to provide a steadier supply of nutrients without overwhelming the roots. Testing the soil every two weeks can also prevent nutrient excesses or deficiencies, ensuring optimal conditions for recovery. You might also check the pH level of your soil; plants often perform better when the pH falls within the range of 6 to 7, helping them access essential nutrients.
Step 4 – Inspect Bulbs for Signs of Stress
Start by regularly monitoring your lily bulbs for signs of improvement or deteriorating conditions. Examine the leaves every few days for any changes in color or texture; ideally, they should transition from yellow to a vivid green as the plant recovers. Reassess the moisture levels in the soil frequently to ensure it remains consistently moist yet not soggy; this ideal condition can take about a week after transplanting to establish. Note that yellowing leaves should ideally stop becoming a prevalent issue.
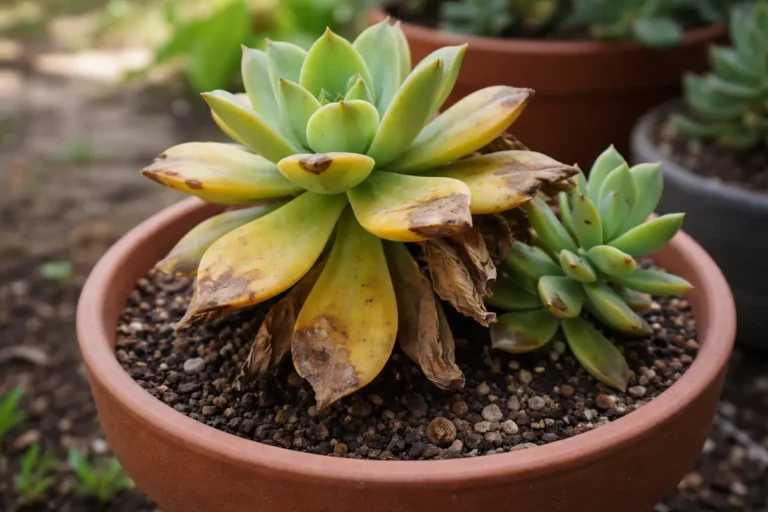
A fully recovered lily plant exhibits bright green leaves with firm texture, contrasting sharply with early signs of recurring distress, such as restarted yellowing or drooping leaves. Recognizing the difference between vibrant color and limpness is crucial; for instance, a healthy leaf will feel firm and lush, while a sickly leaf may feel withered or exhibit browning at the tips. Pay particular attention to other visual cues, such as speckled spots or wilting, which could indicate new issues like pest invasions; for instance, spider mites can lead to stippling on leaves due to their feeding habits.
If you observe yellowing returning after following these steps, consider revisiting your watering schedule or reapplying balanced fertilizer to boost nutrient levels in the soil. Additionally, if symptoms do not improve within a week, you might need to analyze the bulbs for signs of root rot or disease, as these issues may require consulting a gardening expert for targeted treatment. If water levels in the soil remain consistently low or high despite adjusting your schedule, that could indicate deeper drainage issues necessitating further exploration. Regular monitoring will also help identify the late-stage symptoms of nutrient deficiencies; for example, look for slower-than-usual growth or a lack of blooming, which may suggest inadequate fertilization.
After a successful recovery, your plants will show rich green leaves and robust stems, indicating they have absorbed nutrients effectively. In contrast, returning troubles include wilting leaves and a renewed onset of yellowing, suggesting ongoing struggles for hydration or nutrition. Keeping an eye on these indicators allows for timely intervention, optimizing overall plant health. Look out for additional symptoms like leaf spots, which could signal rising pest infestations or disease. A consistent watering and care schedule can prove vital in assisting recovery; thus, ensuring continuity in care practices is essential. Don’t hold off inspections; the longer you delay, the more entrenched pests or diseases can become.
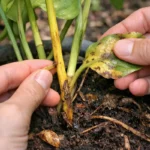
If you observe persistent or escalating yellowing, it may indicate underlying issues such as severe pest infestations or significant root rot. At this juncture, consider gently digging up the bulbs for further inspection. Make sure that the planting site offers proper drainage; inadequate drainage is a leading cause of root issues. If you encounter dark, mushy roots while inspecting, it’s advisable to prune the affected sections and replant the bulbs into fresh soil with improved drainage conditions. Swift action in addressing root-related worries is essential—failing to do so could lead to total plant loss, significantly harming your gardening goals and attempts.
FAQ
How long will it take for my lily bulbs to recover from yellowing leaves?
Recovery can take anywhere from a few days to up to three weeks, heavily influenced by the severity of the yellowing and the effectiveness of care measures implemented. Adequate watering, proper trimming, and balanced fertilizing work in concert to expedite the recovery process, often making the plant visibly healthier within just a few days. However, if critical issues like yellowing roots from underlying rot are an obstacle, recovery may require a more tailored approach and, in some cases, professional intervention.
Can yellowing leaves spread to other plants nearby?
Yes, if the yellowing is due to disease or pests, there is a realistic risk that these issues can proliferate to neighboring plants. Swift actions, such as systematically removing affected leaves and treating the soil, are essential to contain any potential problems. If adjacent plants start exhibiting similar signs of distress, targeted treatments may be necessary to ensure they recover without sustaining ongoing damage. Additionally, consider quarantining affected plants to prevent close contact until you confirm that they are free of pests.
Should I remove any bulbs that have yellowed leaves?
Only remove bulbs showing advanced signs of root rot or a decline that renders them beyond recovery. Leaf yellowing alone doesn’t usually necessitate a complete bulb removal as long as the plants can support healthy growth through corrective measures. However, if a bulb appears mushy or discolored alongside the yellowing leaves, it may be time to consider removal to prevent further complications in the planting area. The decision to remove should be based on visible signs of overall health such as the leaves and stems, alongside their capability for sustaining growth.