You’ve probably seen your radish roots struggling to grow, especially when temperatures drop during the night, which is why you need to know why are my radish roots stunted after cold nights. When exposed to cold conditions, the roots can suffer from stunted growth that leads to a mushy texture, preventing them from developing properly. If left unaddressed, this issue only gets worse, ultimately weakening the plant and stalling growth, but you can improve the situation by monitoring the temperature and adjusting your soil temperature.
Step 1 – Inspect Radish Roots for Frost Damage
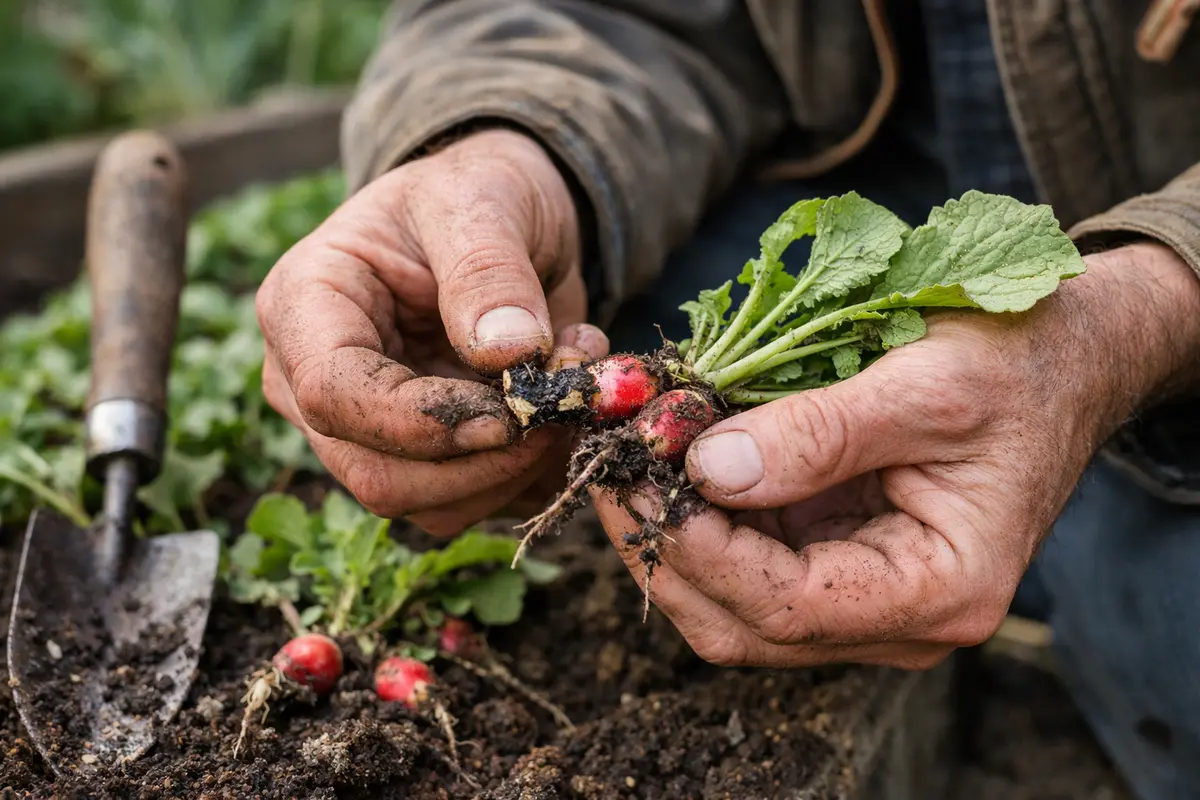
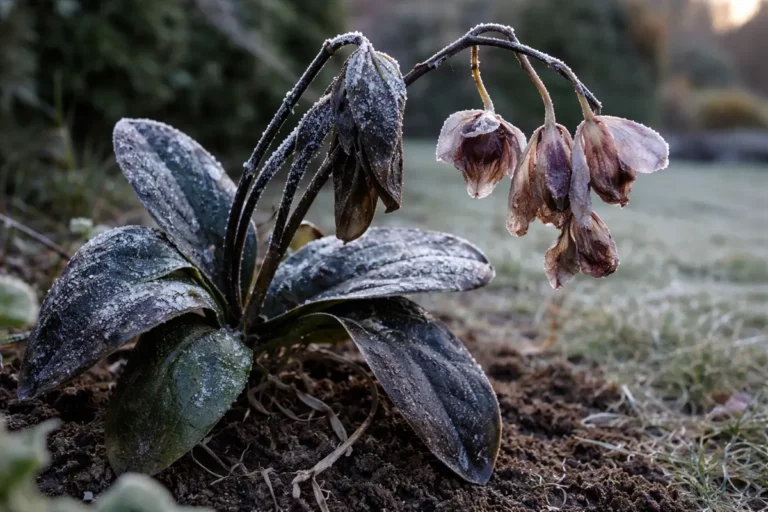
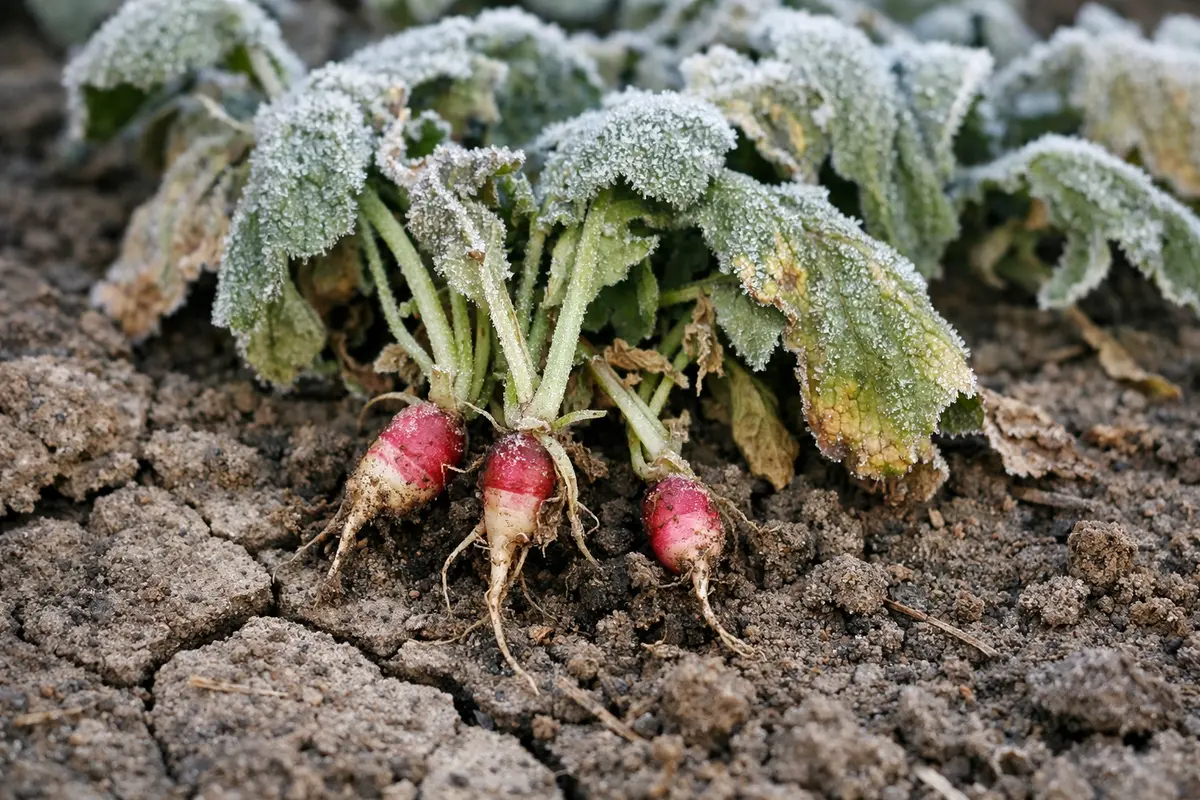
Begin by carefully unearthing the radish roots to inspect them for signs of frost damage. Look for characteristics such as mushiness, discoloration, or shriveling compared to healthy, firm roots. A quick inspection of the root system allows you to gauge the extent of damage caused by cold temperatures and acts as the first line of defense in recovery efforts. If any roots appear to have a gray or blackish hue, this might indicate severe frostbite or rot that could affect the entire plant’s health.
Cold soil temperatures, particularly below 10°C (50°F), can trigger cellular damage in radish roots, causing them to stunt. If frost penetrates the soil, the plant’s ability to absorb water and nutrients becomes severely hindered, leading to compromised growth. It is essential to act quickly; delayed interventions can result in increased root damage and reduced potential yield. If any roots feel spongy, it is a clear signal to address the issue immediately, as this damage limits further growth potential.
A common mistake gardeners make is neglecting to check the roots immediately after observing stunted growth. For instance, if a sudden cold snap follows a warm period, it is imperative to dig up the roots promptly. Roots that feel soft and mushy may be too damaged to recover effectively. If you find evidence of major frost damage, consider replanting healthier seedlings in an insulated area, as this allows for a fresh start away from the original source of stress. It’s critical to keep in mind that some frost-damaged roots may simply rot over time, leading to further decay in nearby healthy roots if left unchecked.
Step 2 – Diagnose Causes of Stunted Radish Growth
Next, assess the soil moisture levels to determine if overwatering or inadequate drainage is affecting the roots. During this check, observe if the soil feels overly soggy or excessively dry; healthy soil should have a slight moisture level that allows for proper drainage without waterlogging the roots. If the soil clumps together and feels heavy, it may retain too much water, which is detrimental to root health. In poor drainage conditions, plants may also develop wilting tulips after prolonged rain.
Overly saturated soil conditions often lead to root rot, while soil that is excessively dry restricts the necessary uptake of nutrients and can disrupt normal growth patterns. Radishes prefer well-draining soil that maintains some moisture without allowing the roots to become submerged in water. If roots sit in overly wet conditions, you may notice an unpleasant smell emerging from the soil, indicating root rot—a critical condition requiring immediate intervention.
If the soil smells sour, it indicates a high likelihood of rot; in this case, you may need to consider a more extensive drainage method, like amending with sand or vermiculite to improve airflow around the roots. Conversely, if the soil feels cracked and entirely dry, you should water the plants thoroughly to restore optimal moisture levels — aim for about one inch of water per week. Each of these actions targets specific conditions affecting root health; watching for any signs of nutrient deficiencies is also key if the radishes appear weak or pale. Ideally, checking the soil moisture content with a moisture meter can help give a more accurate reading as it greatly minimizes the guesswork involved. When feeding is off, expect signs such as if petunia plants turn yellow.
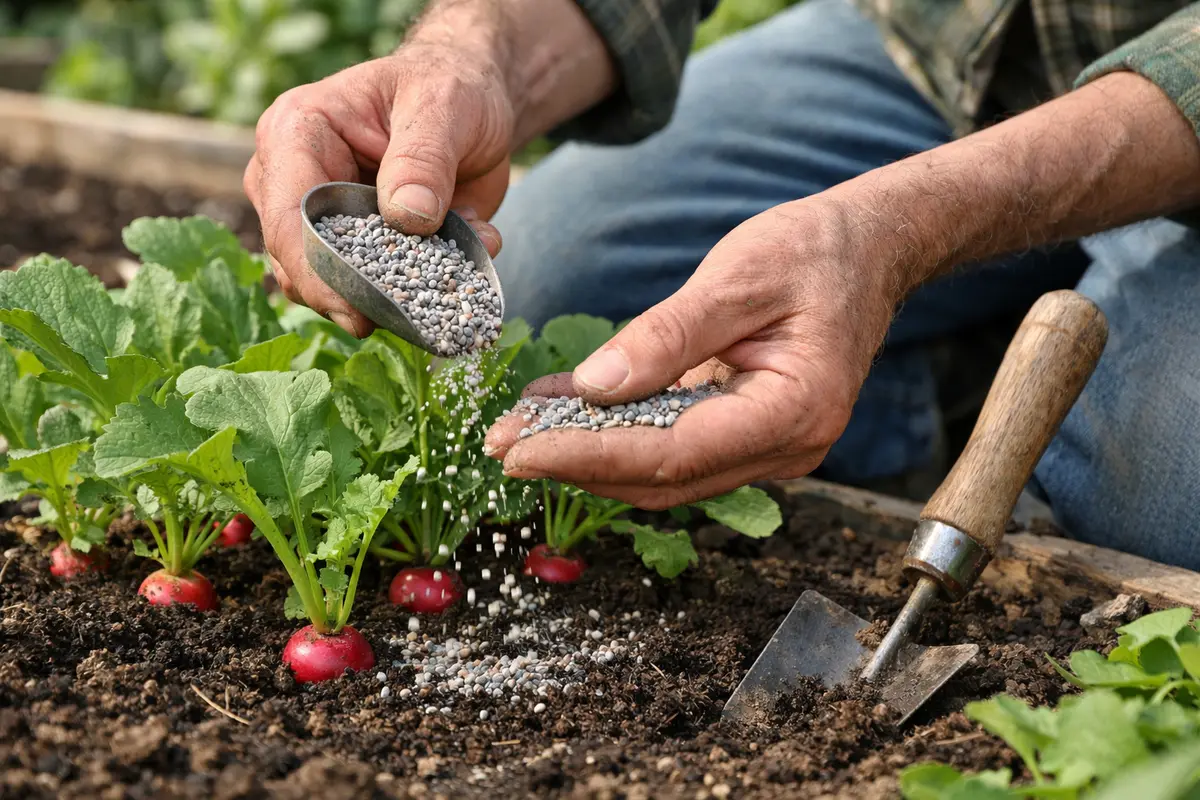
Step 3 – Fertilize Radishes to Encourage Root Development
Start by covering your radish plants with row covers or frost blankets during cold nights to maintain soil warmth. In a few days, you should notice your radish tops perk up, which usually indicates that the roots are beginning to stabilize and grow.
Recovery from stunted growth typically takes about one to two weeks, depending on the soil temperature and moisture levels. Healthy regrowth can be identified by vibrant green leaves and an increase in leaf size, signaling that the roots are finally gaining strength. If recovery is slow, ensure that temperatures remain consistently above freezing; if conditions worsen, consider checking for soil drainage issues.
Avoid overwatering your radishes during recovery as excess moisture can lead to root rot, which exacerbates stunted growth. Apply moderate, consistent watering if the soil appears dry. If you do not see improvement within a week, check for signs of pest damage that may also affect root development. In poor drainage conditions, plants may also develop jasmine droop after overwatering.
Incorporating fertilizer provides essential nutrients that may be lacking in your garden soil, such as nitrogen, potassium, and phosphorus. Particularly, nitrogen boosts leaf growth while potassium supports root development. Ignoring nutrient needs can lead direly to stunted roots and decreased crop yield; as the roots absorb sufficient nutrition, they will progressively recover and expand. Pay attention to the balance of nutrients; for instance, ongoing nitrogen application without balancing phosphorus or potassium can lead to excessively leafy growth at the expense of robust root formation.
It’s crucial to not overextend the fertilization process, as doing so can result in nutrient burn and toxic buildup. A common mishap is trying to rectify slow growth by doubling the fertilizer amount, which usually backfires. For optimal results, apply fertilizer judiciously every 4–6 weeks, ensuring plants have consistent but manageable nutrient supplies for successful recovery. Make sure to follow up with water after applying fertilizer to help it penetrate deeper into the soil, facilitating better absorption by the roots.
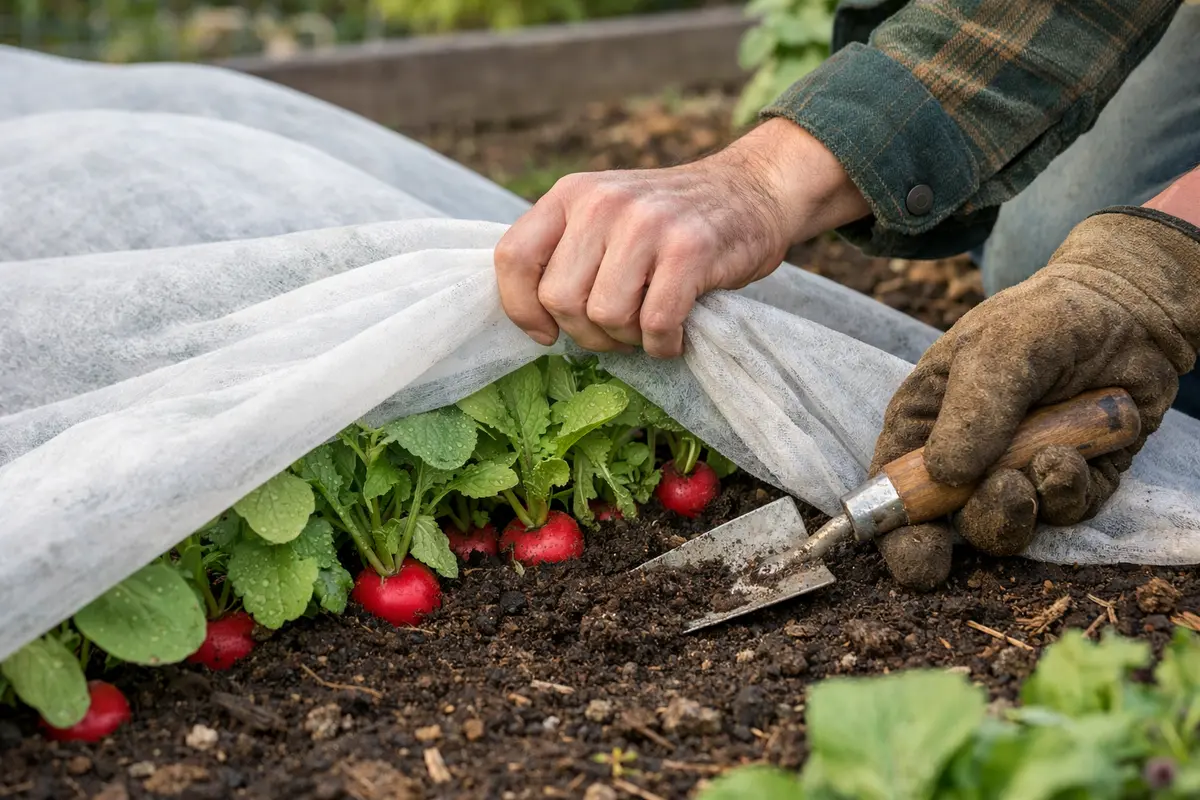
Step 4 – Protect Radishes from Cold Nights Ahead
Start by insulating your soil with a layer of mulch or straw around your radish plants after a cold night. This will help maintain a consistent soil temperature and promote proper root development, leading to healthy, robust radish roots.
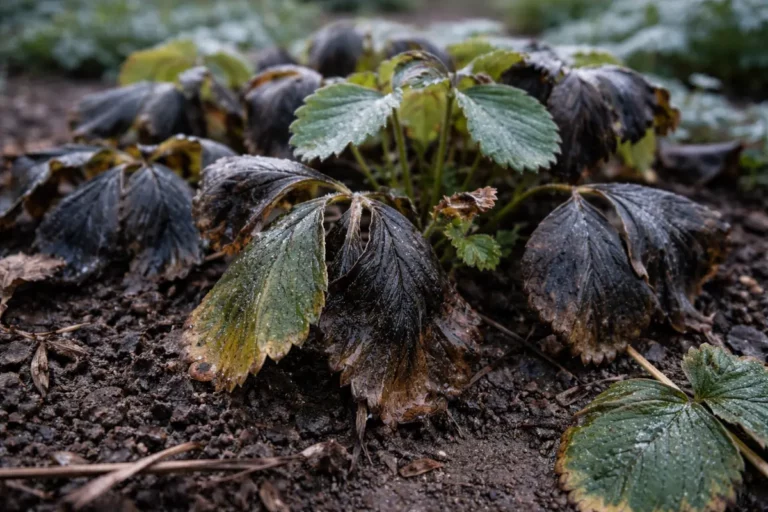
Cold nights can cause the soil temperature to drop significantly, which slows down root growth and leads to stunted development. By using mulch, you create a barrier that insulates the soil, keeping it warmer and more stable. If your radish greens appear vibrant but the roots remain small, the soil temperature may be fluctuating too much – in that case, ensure the mulch is thick enough to provide adequate insulation.
During particularly chilly spring nights, consider adding floating row covers on top of the mulch for extra protection. If freezing temperatures are forecast, this additional layer can help trap heat and prevent damage to your radish roots while also promoting better growth throughout the season. Under prolonged heat, the same plants may show cucumber plants wilting heatwave.
Using row covers traps heat and prevents frost from settling on the leaves and roots, essentially creating a barrier against cold snaps. It’s important to monitor these covers nightly, ensuring they are securely in place to maintain the protective barrier; any damages can expose plants to the elements again, risking further chill-related damage. For best results, anchor covers with stones or weights, ensuring they are not lifted by wind and leaving crops vulnerable to temperature drops.
Additionally, incorporating mulch around the base of the plants can further insulate them during colder months. Mulch not only aids in temperature stabilization but also retains soil moisture, protects roots from extreme fluctuations in temperature, and provides a secondary layer of insulation. In particularly chilly conditions, weigh down covers with stones to prevent them from blowing away, ensuring that your radishes remain adequately sheltered throughout the night. If plants begin to grow too large for covers, be vigilant about swapping them out for larger versions so that light and airflow are not hindered.
Step 5 – Check Radishes for Growth Improvement Weekly
Start by checking the soil temperature and moisture levels early in the morning after a cold night. Observe the radish leaves for signs of wilting or discoloration, indicating potential cold damage. Recheck these conditions daily to track any changes in the plant’s response, focusing particularly on the temperature and moisture balance that affects root development.
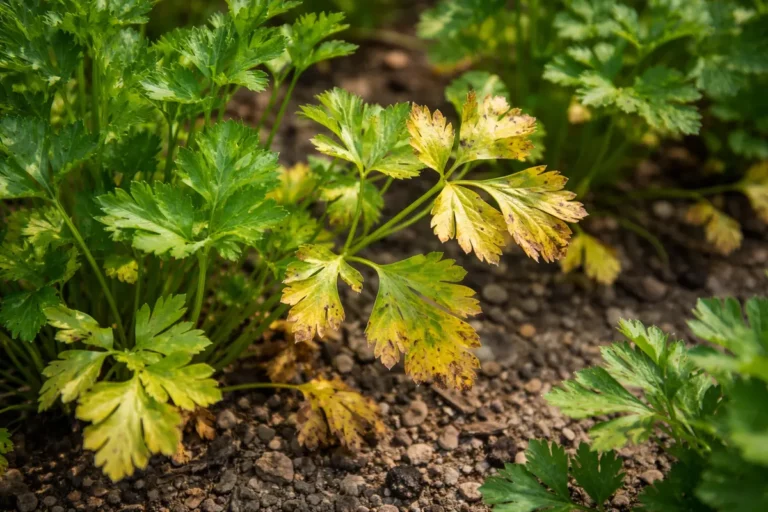
A fully recovered radish plant features vibrant green leaves and firm, well-formed roots, signaling proper growth conditions. In contrast, early signs of problem recurrence include yellowing leaves and roots that remain small and brittle. If the roots are mushy or show signs of rot, the environment may still be unfavorable for healthy development; if not this, check the water drainage and adjust accordingly.
If the stunted growth problem returns despite following these steps, consider using row covers to shield the plants from cold nights while enhancing soil warmth. Additionally, if issues persist, reevaluate irrigation practices to prevent overwatering and promote better drainage, as soggy conditions can hinder root growth. Excess moisture often leads to problems like succulent turning mushy heavy rainfall.
Healthier plants typically showcase dark green, lush leaves alongside firm roots, which are significant contrasts to the previous stunted growth observed before taking action. The emergence of these indicators suggests that your recovery strategies are bearing fruit. On the contrary, if you notice any leaves turning yellow again or if roots feel mushy, this is a signal that the original issue may have recurred, warranting immediate follow-up actions such as rechecking soil conditions or root health.
If issues persist despite your monitoring efforts, consider reassessing your entire approach based on findings from previous checks; one frequent oversight is placing too much reliance on a single method without adjusting for varying aspects such as soil health or climate conditions. If the roots remain unhealthy after two weeks of diligent monitoring, it may be wise to seek guidance from a local gardening expert who can provide tailored solutions specific to your geographic locale. Noting any peculiarities in growth patterns or newly appearing symptoms could be invaluable for effective troubleshooting.
FAQ
How long does it take for radishes to recover after frost damage?
Recovery can take about one to three weeks, depending on the severity of the frost damage and how well conditions are improved. If you’ve implemented appropriate measures, such as serious root inspection and addressing nutrient levels, you should begin seeing visible signs of new growth within this timeline. Continued attention is needed, as each day counts toward the eventual health of the plants.
Can frost damage spread to other plants in the garden?
Frost damage doesn’t spread in the traditional sense, but plants weakened by cold stress can become more susceptible to diseases and pests. By protecting nearby plants with similar precautions, you can prevent them from incurring comparable cold-related issues and maintain overall garden health. Regular monitoring can help catch problems before they escalate.
Should I remove damaged radish roots?
Yes, if the roots are severely compromised or completely rotten, it is advisable to remove them. Doing this allows healthy plants to focus their energy on rejuvenating new growth without the stress of competing with unhealthy roots. Removing affected roots promptly also helps in preventing potential spread of rot to other healthy parts of the plant.