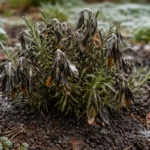
You may notice discolored patches and fine webbing on your houseplants during the hot summer months, a clear sign that you need to know how to stop spider mites from damaging houseplants in summer. These tiny pests suck the sap from leaves, leading to yellowing and stunted growth. If left unchecked, their infestation gets worse and can spread rapidly, making it harder to fix; however, you can still treat your plants now by regularly inspecting and removing affected areas.
Step 1 – Spray Affected Leaves with Neem Oil
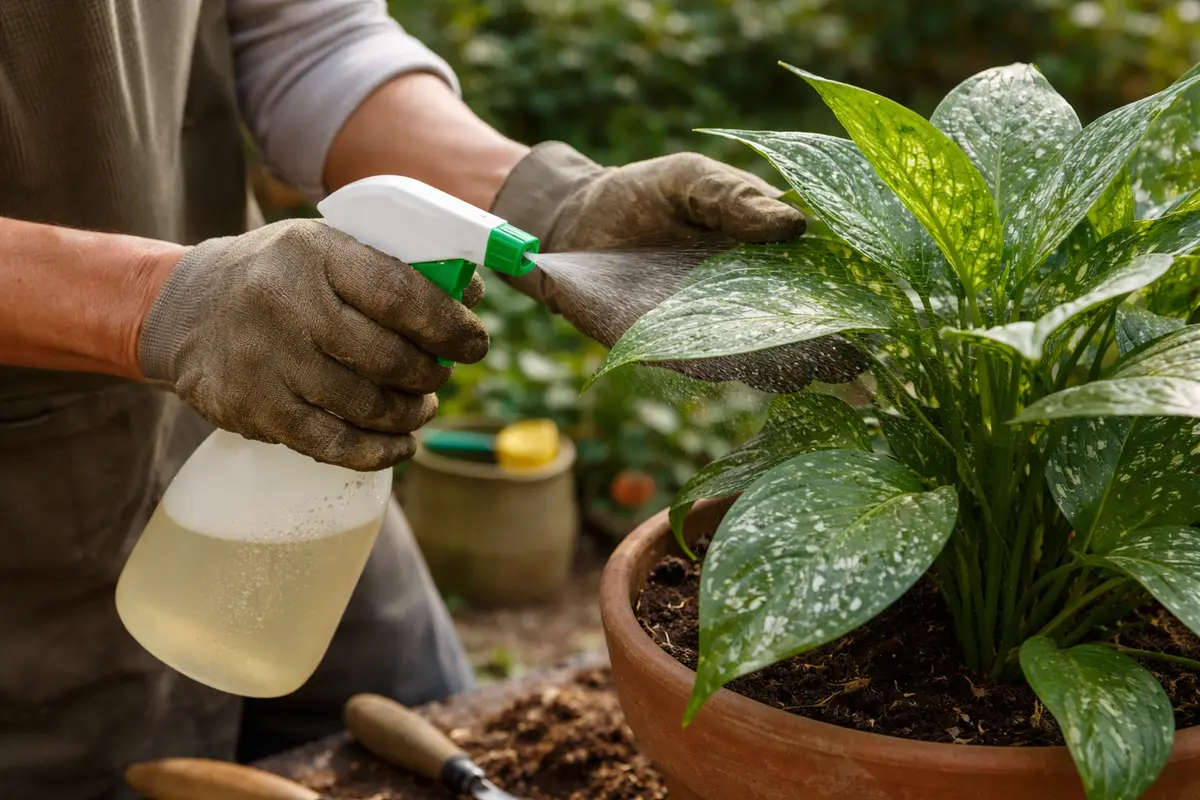
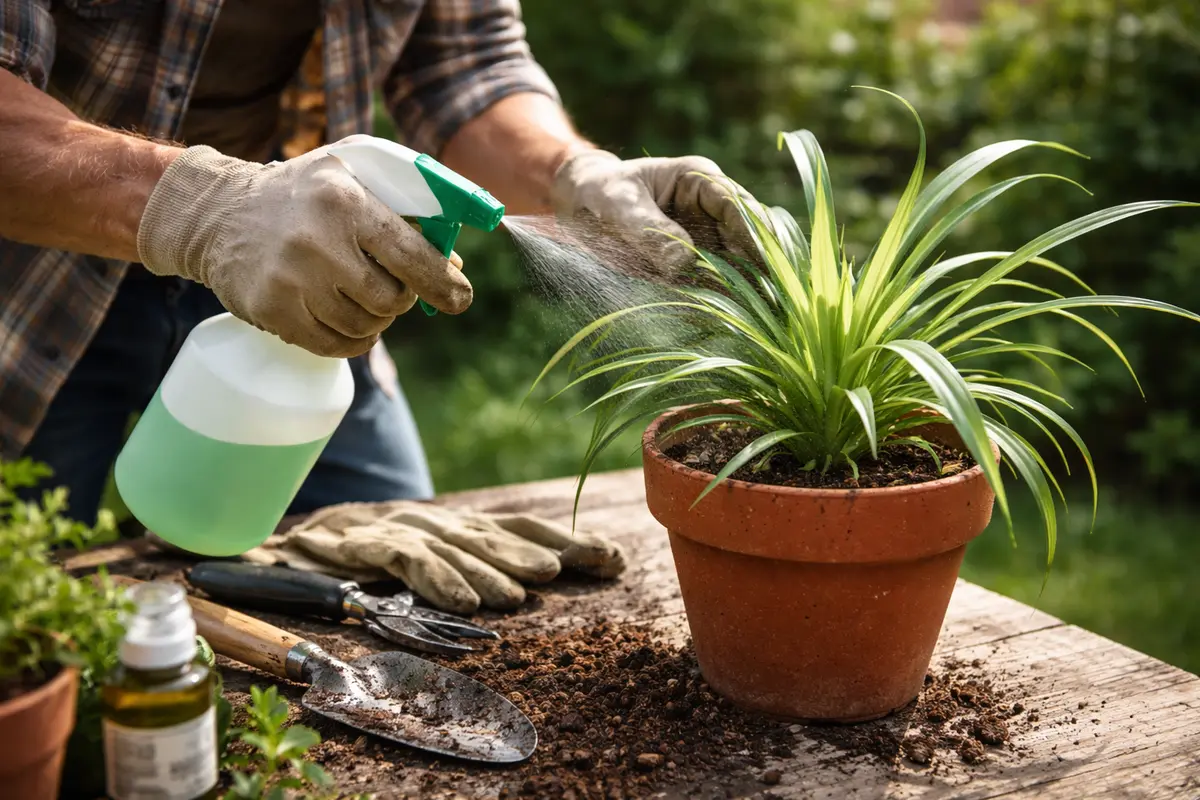
Start by applying neem oil to the leaves affected by spider mites. You will notice a reduction in webbing and pest activity within a few days, as the oil disrupts their feeding and reproductive cycles. To effectively apply neem oil, mix two tablespoons of neem oil with one gallon of water and spray thoroughly on the tops and undersides of the leaves. It is crucial to cover these areas well, as spider mites tend to hide underneath the leaves. Use a spray bottle with a fine mist to ensure even coverage and an effective application.
Neem oil works by coating the spider mites and suffocating them while also acting as a repellent for new mites trying to invade your plants. This action is critical since spider mites can reproduce rapidly, with their populations exploding during summer heat and dry conditions. If significant infestation occurs, the leaves may become covered in webbing—a clear sign that they need immediate treatment. Be diligent in checking back after 3-4 days; if you still see webbing or active mites, it may indicate a more severe infestation requiring further measures, such as a stronger pesticide or applying neem oil more frequently. It’s often recommended to repeat the application every 7-10 days for a persistent problem.
Timing is everything when dealing with spider mites. Many gardeners mistakenly wait too long to treat affected plants, thinking spider mite infestations will resolve themselves. If you delay applying neem oil, the damages can escalate quickly, leading to further yellowing, crispy leaves, and eventual leaf drop. Early action will give your plants the best chance of recovery. A common oversight is applying neem oil during bright, direct sunlight, as it can cause leaf burn. Always apply in the late afternoon or early evening to avoid this issue. If you notice increased leaf curl or crispy edges, it could be a sign of leaf burn from poorly timed application. Additionally, if you use neem oil in conjunction with other pesticides, be cautious as combining treatments can sometimes reduce effectiveness or even harm the plants. In many seasons, control pests on borage plants during tracks with visible chewing or stippling.
Step 2 – Assess Spider Mite Infestation Levels
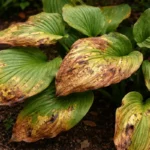
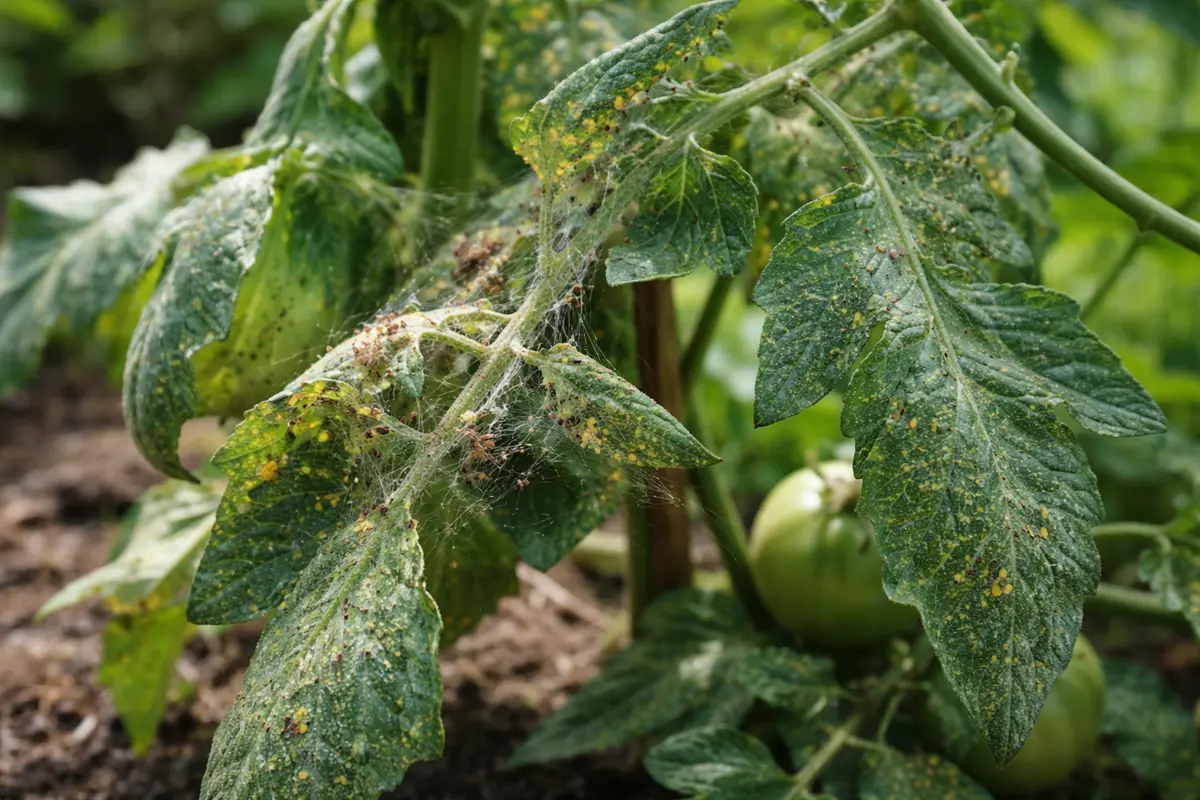
First, inspect your houseplants for signs of spider mites, such as tiny webs or stippling on leaves. Remove any infested leaves immediately and rinse the plants with a strong stream of water to dislodge the mites. If done correctly, you should notice fewer webs and healthier-looking foliage within a few days. Use a magnifying glass for a closer examination, as adult spider mites are often no larger than a pinhead.
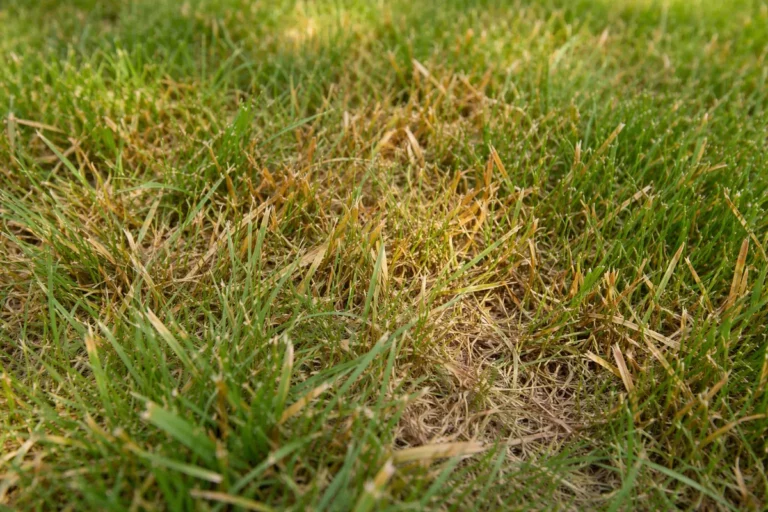
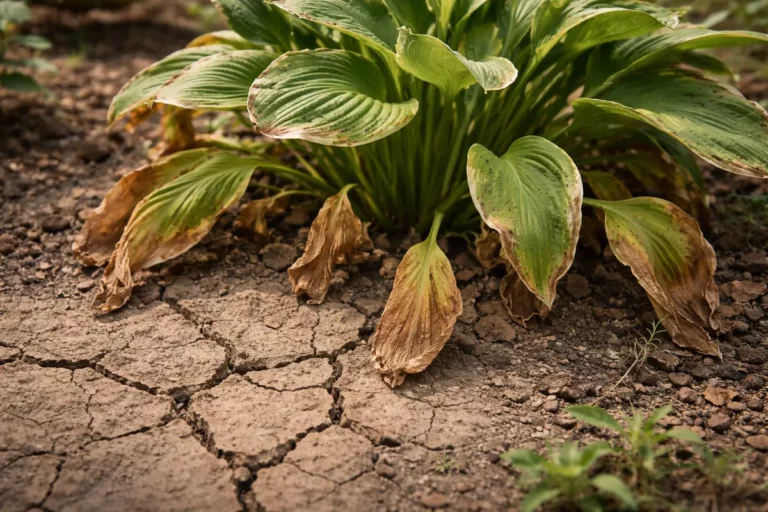
Spider mites thrive in dry, dusty conditions, leading to damage as they feed on plant sap and weaken the plant’s structure. When plants are stressed due to low humidity or poor soil quality, they become more susceptible to these pests, resulting in visible damage like yellowing or browning leaves. If you see this type of leaf damage, examine the soil moisture and humidity levels in your environment. It’s also helpful to look at the color of the leaves; a dull or faded green can indicate stress from spider mite feeding, which will contribute to overall plant decline.
If your soil smells sour, it indicates root rot, which attracts a different set of pests, including fungus gnats. In this case, remove the affected plant from the pot and allow the roots to dry out before repotting in fresh, well-draining soil. Conversely, if the leaves appear healthy but still show symptoms, check for pests beneath the foliage as an adjustment in your pest-control approach may be required. A systematic assessment enables you to identify how widespread the infestation is. Spider mites are often hidden beneath the leaves, making thorough inspections essential. If you notice only a few affected areas, prompt treatment will usually be sufficient; however, if several leaves are affected, indicating a broader issue, additional intervention might be required to eliminate the pests. Be wary of untreated areas; spider mites typically begin on older leaves and rapidly spread. Using bright natural light helps visibility, making it easier to notice any webs or changes in the leaf’s texture. Also, consider using sticky traps to monitor for adult spider mites that may be airborne, as this can provide valuable insight into infestation levels.
If you identify only a few spider mites but fail to treat them swiftly, the situation can worsen significantly. For instance, if your soil moisture is low and you notice strong webbing on one side of the plant, it might be time to reassess both the treatment plan and environmental conditions, such as humidity levels, to help combat this issue effectively. A common mistake is to treat and then neglect monitoring; without regular checks, unnoticed damage can quickly escalate into a severe infestation with substantial leaf loss. Check areas of high humidity or low airflow, as these can provide conducive environments for spider mites to thrive. If you observe any clustering of webs or a significant accumulation of dust, it is a definitive sign that immediate action is necessary to prevent further infestation.
Step 3 – Provide Humidity to Help Plant Recover
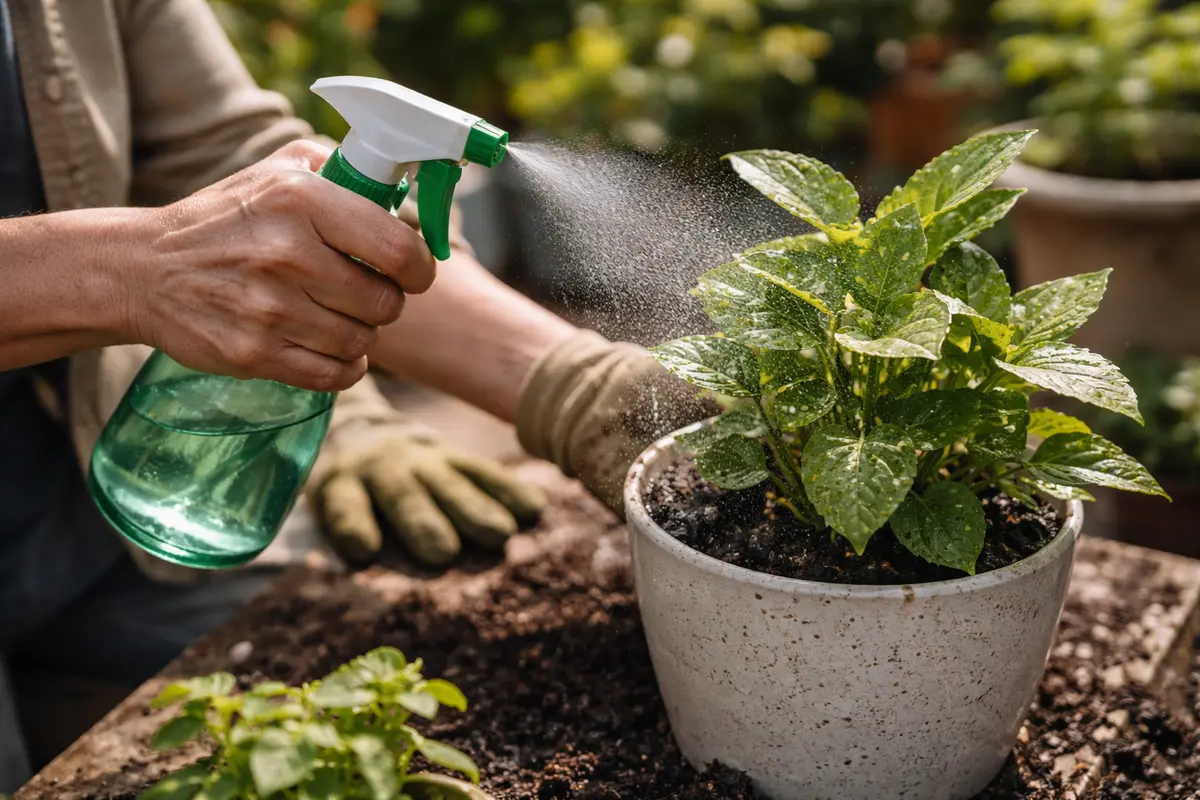
Increase humidity around your houseplants to stimulate recovery after treating for spider mites. You’ll likely see new growth appearing more robustly within a week as the plants respond positively to improved conditions. Aim for a humidity level of at least 60% to discourage spider mite survival; utilizing a hygrometer can help accurately measure this. In drier environments, consider misting your plants lightly twice a week, ensuring not to soak them excessively, which can lead to fungal issues.
Higher humidity levels mitigate spider mite infestations, as these pests prefer dry conditions. Plants such as ferns and tropical varieties notably thrive in heightened humidity and are much less likely to suffer significant stress when this is provided. You can increase humidity by adding a humidifier, using pebble trays filled with water under your plants, or grouping plants together, which can create a microclimate. Additionally, if you have space, you might consider temporarily creating an indoor greenhouse effect by covering plants with a plastic box to retain moisture. Watch the plants’ leaf appearance; if you see signs of wilting or curling, it often indicates they need more humidity or water. If the leaves feel crispy to the touch, this could indicate both low humidity and the need for increased water supply to the roots.
However, be cautious not to overwater your plants during this recovery phase. While humidity is beneficial, excessive moisture in the soil can lead to root rot. Maintain a balanced watering routine, ensuring that your plants receive adequate but not excessive watering while they recover. Use soil moisture meters to gauge when to water to prevent waterlogged conditions. If you see any yellowing leaves at the base, it may indicate root distress caused by overwatering, thus reflecting the pressing need for immediate drainage actions. Additionally, if your potting mix remains wet or smells sour, consider repotting with fresh soil to promote better aeration. If your plants are in decorative pots without drainage holes, consider transitioning them to nursery pots to ensure proper drainage and root health as they recover.
Step 4 – Secure Indoor Plants Away from Infestation
Move your affected plants to a less populated area to prevent spider mites from spreading to other plants. By doing this, you create a safer cluster where the plants can begin to thrive without the ongoing threat of infestation. Choose a location that still receives sufficient light to maintain plant health, as full isolation without sunlight can lead to different health issues, such as leggy growth. Be aware of nearby plants that may also be vulnerable; relocating them can provide a barrier against any pest migration.
By isolating infested plants, you will decrease the likelihood of spider mites jumping from one plant to another. Infestations typically occur in clusters, so keeping newly affected plants separated is vital for stopping the cycle. Ensure these areas allow for good airflow; poor air circulation provides ideal conditions for spider mites to flourish. The first few days after isolation are crucial; observe neighboring plants for unusual signs of stress or infestation to ensure effective spread prevention—if nearby plants begin to show similar webs, immediate isolation is required. If an infestation appears to be spreading to neighboring plants, consider implementing physical barriers such as cloth or trash bags to further contain the outbreak until the situation is resolved.
Consider moving plants outdoors to a shaded environment where humidity levels might be more effective at combating pests. Although outdoor conditions can benefit recovery, avoid direct sunlight exposure immediately after treatment, as this can stress the plants. When placing outside, increase your rotation of plant locations to keep spider mite populations disrupted; this will not only confuse potential invaders but will also prevent long-term settlement in any one area. Always leave room to monitor; if any other plants show signs of spider mites, respond swiftly to isolate those plants, too, ensuring you prevent return infestations throughout the growing season. If you observe other plant species in the vicinity starting to show signs of mite presence, integrating companion planting could help, as some species naturally repel spider mites.
Step 5 – Inspect New Growth for Spider Mite Presence
Inspect your plants every few days for any new growth exhibiting signs of spider mites. You should observe firm new leaves emerging without webs or stippling, signaling that your recovery efforts are effective. Assess the leaf texture and elasticity; healthy leaves should feel full and vibrant, without appearing weak or mushy. Your consistent monitoring helps catch any resurgence of spider mites early, facilitating timely interventions. Be diligent during this phase, as it often determines the overall recovery of your plants.
As new growth emerges, look for tell-tale signs, such as webbing or discoloration indicating that additional control measures might need to be reapplied. Healthy growth should appear vibrant and free from damage, serving as a reliable sign of successful treatment. Regular assessment during this phase allows you to identify early signs of distress; if you notice that new leaves are deformed or start displaying stippling, it’s crucial to act quickly. Alternatively, you can treat with insecticidal soap for a more immediate solution or even reapply neem oil as a deterrent while observing the effectiveness. If new growth begins to curl or show distinct spotting, the environment or treatments might need reconsideration.
If you notice new webs forming within a week or signs of stress returning in your plants, reassess your entire treatment strategy immediately. You may need to apply additional neem oil or consider integrating biological predators, such as ladybugs or predatory mites, which can help control spider mite populations without harming your plants. If opting for biological pest control, check your local gardening stores or online marketplaces; many provide beneficial insects tailored for the specific pest issues like spider mites. Reintroducing these pest deterrents can provide a sustainable method of keeping mite populations at bay. Monitor the effectiveness of these solutions closely; if they do not perform as expected, a return to systemic treatments may be warranted.
FAQ
How long does it take for neem oil to work against spider mites?
Neem oil typically starts affecting spider mites within a few hours of application by disrupting their feeding. However, full results may take a week or more, depending on the severity of the infestation. Regular monitoring should continue throughout this period for the best chance of complete eradication of the mites.
Can spider mites spread to other plants quickly?
Yes, spider mites can spread rapidly, especially in dry and hot conditions. It’s vital to isolate affected plants immediately to prevent a widespread infestation among your indoor garden. Proper ventilation and strategic separation can help mitigate the movement of these pests before they become a larger problem. Monitor surrounding plants, as they can sometimes show symptoms before the infested plants do.
Should I remove leaves that are severely infested?
Yes, removing heavily infested leaves can substantially help alleviate the issue and provide your plant with a better chance of recovery. Always ensure that you follow up with necessary treatments to prevent mites from returning. Leaving damaged leaves on the plant often exacerbates the problem by hindering its recovery efforts, so prompt action is necessary for restoring plant health. Be sure to dispose of these leaves responsibly to prevent contamination of nearby plants.