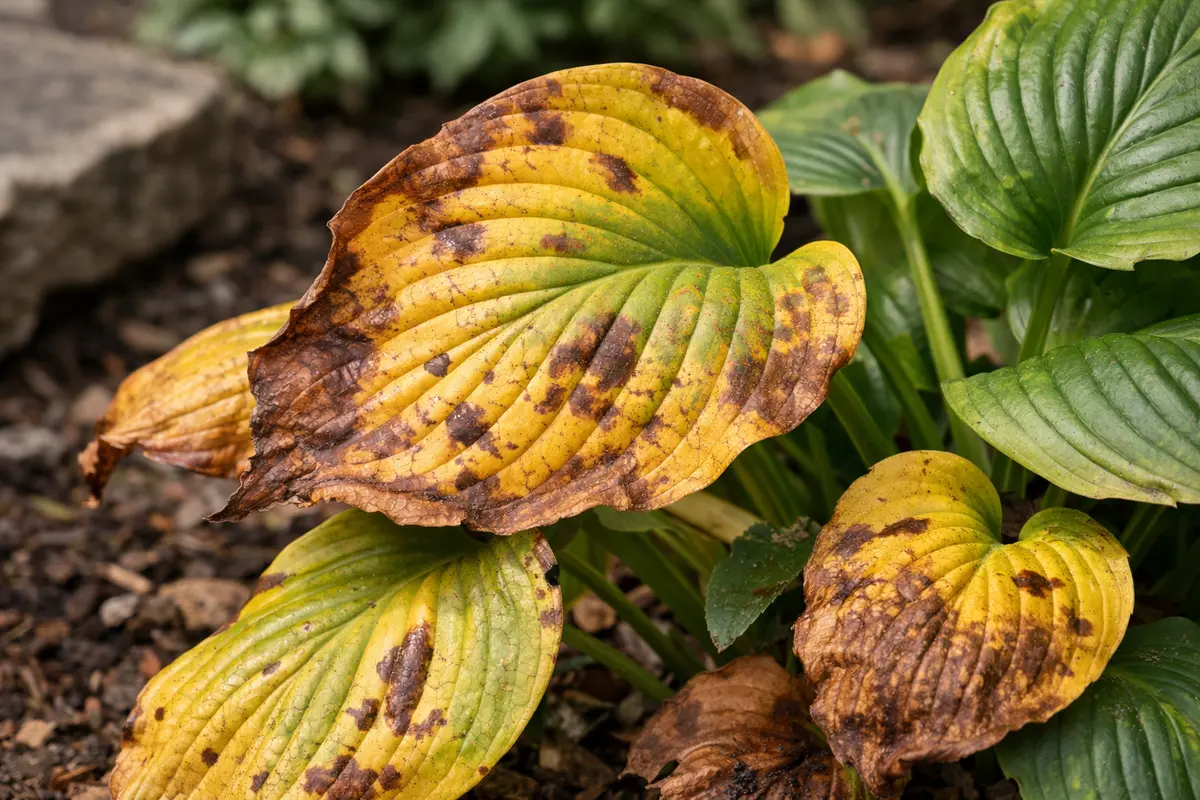
You may notice your hostas showing signs of distress during the hot summer months, which is why you need to know why do my hostas have yellow leaves during summer. This yellowing happens when the plant is stressed, often due to insufficient water or too much sun exposure, leading to drooping leaves. If left unaddressed, this issue can spread and weaken the plant, stalling its growth; however, fixing it is possible now by adjusting water levels and inspecting for adequate shade.
Step 1 – Inspect Hostas for Immediate Damage
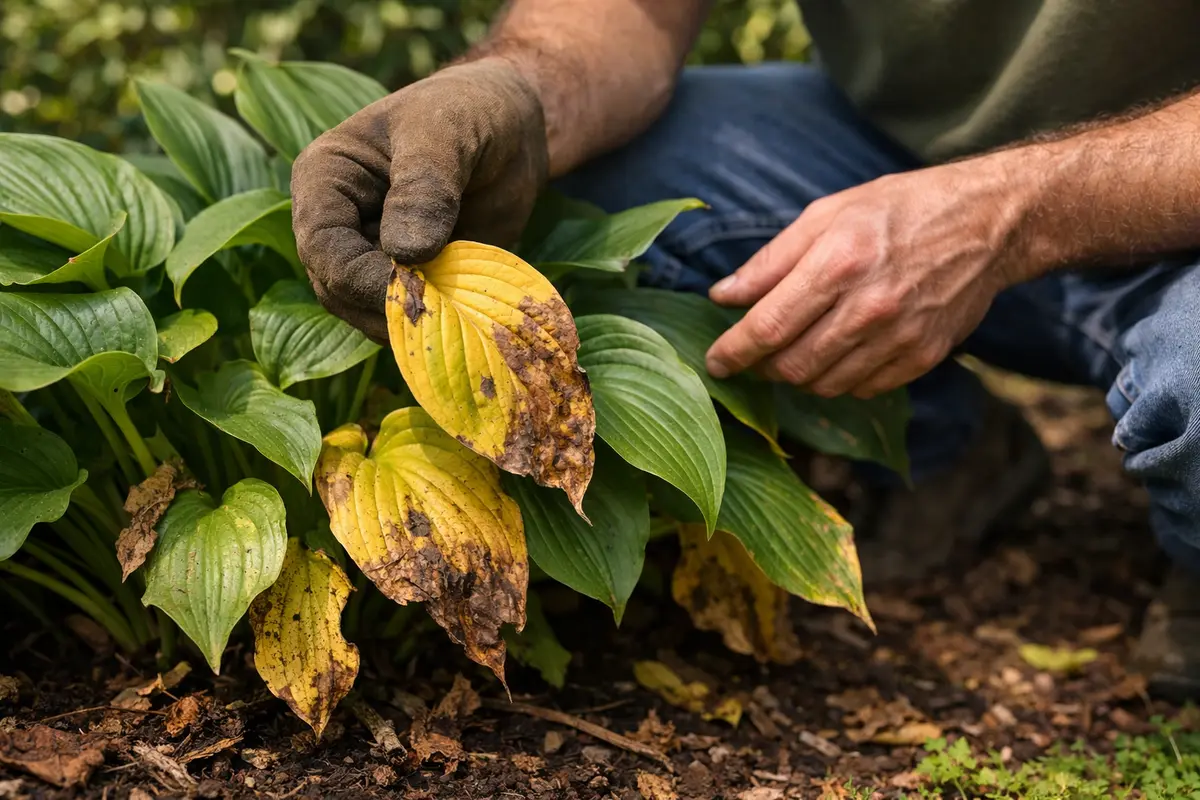
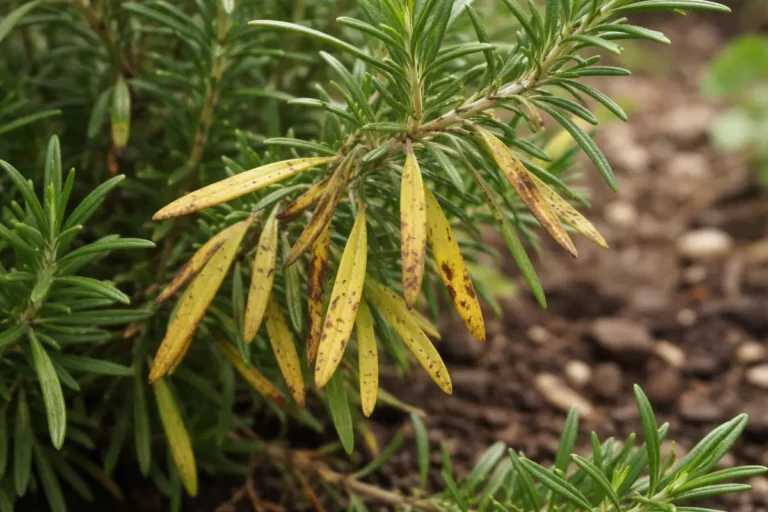
Start by examining the affected hostas closely. Look for signs of yellowing on the leaves, wilting, or any spots that appear on the surface. Check both the upper and lower leaf surfaces, as pests can sometimes hide there or create damage that isn’t immediately apparent. You should see a clearer picture of the damage or stress on the plants within a few minutes of your inspection.
Acting fast is crucial in this situation, as it helps prevent further damage and allows for quicker recovery. If there is significant yellowing, it may indicate underlying problems such as root rot or pest infestations, both of which require urgent attention. The longer you wait, the more pronounced the symptoms might become, leading to potential long-term damage to your hostas. Ensure you also check for drooping stems, which may accompany yellow leaves, signaling deeper issues.
Many gardeners mistakenly focus solely on cosmetic fixes, like trimming off yellow leaves, without first inspecting for deeper issues. For example, neglecting to check the soil moisture and condition can lead to overlooking root problems that could worsen over time. Identifying the root issue now can prevent a larger crisis later. If you observe any dark, mushy areas around the base of the plant, that’s a strong indicator of root rot and requires immediate intervention.
Step 2 – Diagnose Nutrient Deficiency in Hostas
First, check your hostas for signs of overwatering by inspecting the soil; if it’s consistently soggy, reduce watering immediately. You should notice the leaves starting to regain their green color within a week as stress is alleviated.
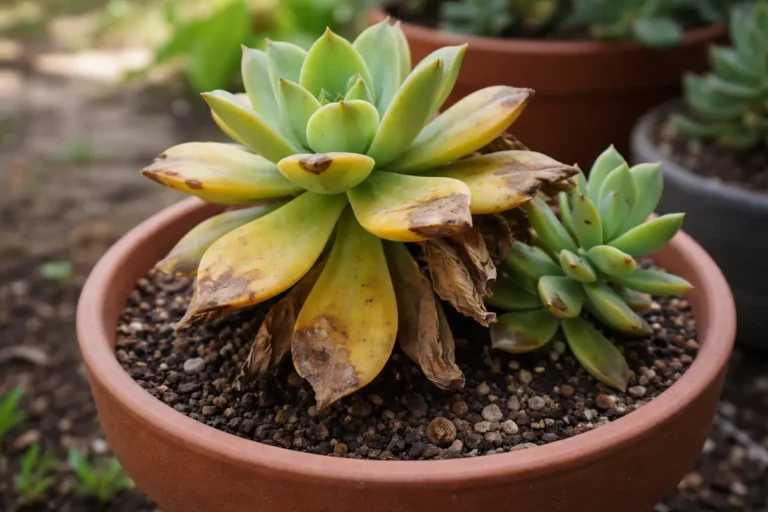
Overwatering leads to poor oxygen circulation in the soil, causing roots to become suffocated and begin to rot. This oxygen deprivation prevents the plant from effectively taking up essential nutrients, resulting in yellowing leaves. For example, if your hostas’ leaves are yellow and wilting, whereas a nearby plant with drier soil is thriving, the condition of your hostas points to waterlogged roots. In poor drainage conditions, plants may also develop root rot in potted cacti.
If the soil smells sour or has a mushy texture, it indicates root rot; in that case, improve drainage by amending the soil with perlite or sand. Alternatively, check for signs of sun scorch, which may create similar yellowing; if there are burnt edges on the leaves, consider relocating your hostas to a shaded area instead.
Nutrient deficiencies, particularly nitrogen, can lead to yellowing leaves, as leaves fail to produce sufficient chlorophyll. Generally, older leaves show these symptoms first if nitrogen is low. An imbalance in soil nutrients also affects the hostas’ ability to absorb moisture, exacerbating stress during the hot summer months. Identifying deficiencies accurately allows for targeted intervention to restore balance in the soil, essential for optimal growth.
If you discover that your soil has adequate nutrients but the leaves are still yellowing, it may indicate waterlogging or poor drainage instead. Assess the soil texture and drainage capabilities by checking for compacted soil or organic matter build-up. In such cases, consider amending the soil with organic matter to improve drainage. added compost or well-rotted manure to lighten heavier soils can be very effective. Be cautious when applying fertilizers, as over-fertilization can worsen the yellowing leaves, leading to additional issues in your garden, including nutrient burn or imbalances.
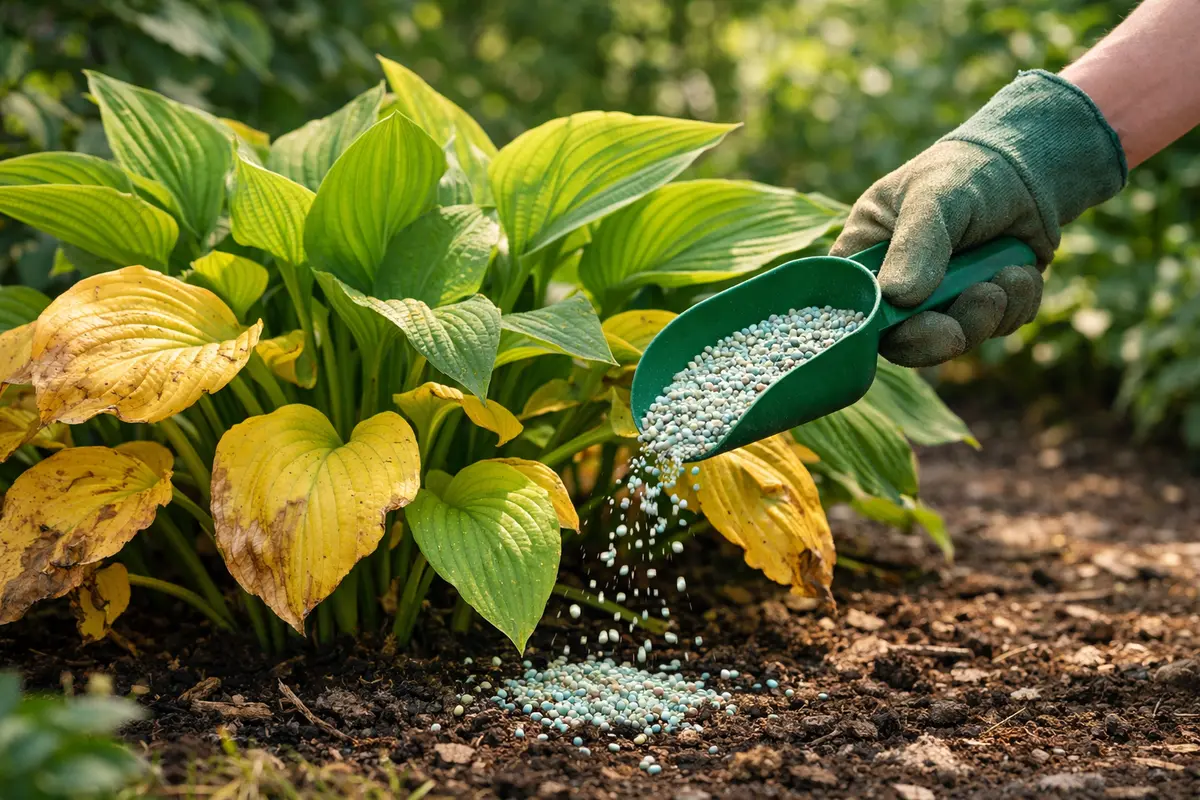
Step 3 – Revive Hostas with Balanced Fertilizer
Start by removing any yellowing or damaged leaves from your hostas to encourage new growth. As you trim back the affected foliage, look for signs of fresh green shoots appearing from the base, indicating that the plant is redirecting energy towards recovery.
As the summer progresses, expect to see new leaves sprout and fill in the gaps left by the yellowed ones, with healthy regrowth typically becoming visible within a few weeks. Adequate water and well-draining soil will speed up recovery, while extreme heat can hinder it, causing the plant to focus on survival rather than growth. If not getting adequate sunlight → check to ensure your hostas are receiving partial shade as they prefer.
Avoid over-fertilizing during this recovery phase, as too much nitrogen can lead to lush, weak foliage that is more susceptible to pests. Ensure you are watering consistently without drowning the roots; too much moisture can cause root rot and further yellowing. If your hostas are still yellowing after adjustments → consider if they are planted in overly compacted soil.
This targeted fertilization promotes healthy new growth as the hostas regain their strength following any deficiencies. Monitor your hostas closely after applying fertilizer; new green leaves will emerge, and existing yellowed leaves will start to show signs of improvement. The difference may be particularly visible in the first flush of new growth seen after fertilizer application. Over time, with consistent care, your hostas can return to their lush, vibrant state, spelling a clear success for your efforts.
A common error during this phase is overcompensating with fertilizers, which can lead to nutrient burn and further stress the plants. It’s crucial to follow the product instructions and not to apply fertilizers too liberally. Ensure you monitor your watering schedule as well, as increased nutrient levels could require adjustments in moisture delivery. Applying too much fertilizer too quickly could lead to leaf edges browning or tips burning, indicating that the plants are struggling. When feeding is off, expect signs such as if petunia plants turn yellow.
Step 4 – Water Hostas Consistently During Summer
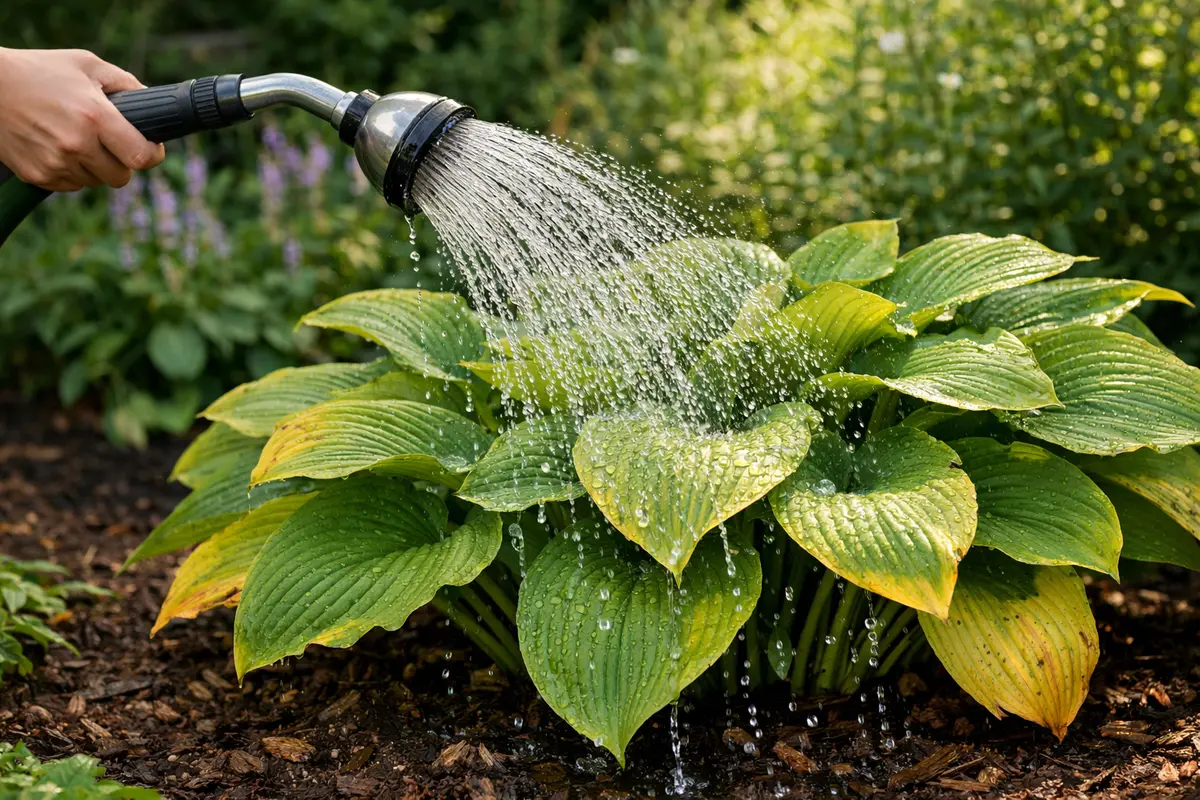
Start by ensuring your hostas are receiving consistent, adequate moisture throughout the summer months. When you maintain an even watering schedule, you will notice a significant reduction in yellow leaves, as the plants will have the hydration needed to thrive.
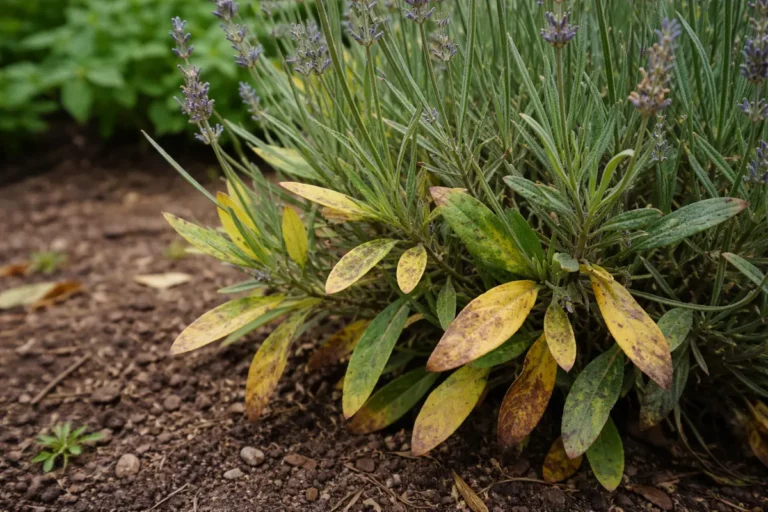
Hostas often develop yellow leaves when they experience drought or suffer from overexposure to direct sunlight, both of which can be exacerbated by inconsistent watering. By implementing a regular irrigation routine, the plants can better withstand stress, preventing yellowing. If your hostas were previously in a shaded area but were moved to full sun, monitor their watering closely to avoid further yellowing.
During particularly hot summer months, increase your watering frequency, especially if the soil appears dry just a couple of inches down. If you notice any leaf wilting despite consistent watering, check for signs of root rot, which can occur when the soil remains too soggy for extended periods. In poor drainage conditions, plants may also develop root rot in potato plants.
During summer, hostas are particularly sensitive to inconsistencies in water levels. Regular watering (ideally early morning or late evening) prevents wilting and promotes healthy growth. Shifting between overly dry and waterlogged conditions can lead to detrimental yellowing of the leaves, caused by a reaction to either extreme. Use your finger to check the top inch of soil; if it feels dry, it’s time to water. If you often find the surface dry, you may need to water three times a week during peak summer heat.
As temperatures rise, consider using mulch to help retain moisture in the soil around your hostas. Organic mulches like shredded bark or straw can facilitate moisture retention and also prevent weeds, which compete for nutrients and water. If you notice persistent yellowing despite consistent watering, this could indicate further issues like root compaction or soil structure problems. Adjustments in your watering technique can go a long way to ensure that your hostas stay hydrated and healthy. Always let the older, outer leaves die back naturally rather than forcing too much focus on them during summertime, as the plant needs to cycle its growth.
Step 5 – Check Hostas for Yellow Leaves Weekly
Start by checking the soil moisture levels around your hostas to ensure they are not over or under-watered. Observe the leaf texture closely; a resilient leaf should feel firm and smooth, while a limp or mushy leaf suggests distress. Recheck these conditions weekly, particularly after heavy rainfall or extended dry spells, noting any changes in leaf color or texture.
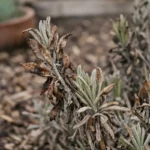
A fully recovered hosta displays vibrant green leaves that are thick and glossy, while early signs of the problem returning present as yellowing edges or a more prominent fading across leaves. If the leaves start developing brown spots or a mushy texture, that’s a signal that issues may be resurfacing. If not vibrant with a smooth texture, check for irregular watering patterns or pest activity.
If yellowing resumes despite proper care, consider applying a balanced fertilizer to provide missing nutrients or investigate for possible pest infestations. Additionally, reviewing your plant’s location for adequate shade can help mitigate stress from excessive sun exposure. If issues persist, consulting a local nursery or garden expert for targeted advice may be necessary.
A fully recovered hosta will exhibit vibrant, dark green leaves and robust new growth during subsequent weeks. Look for enlarged leaf sizes and vigorous leaf emergence from the plant’s base as signs of recovery, while remaining vigilant for yellowing or wilting that may indicate that the problem is returning. Documenting recovery and setbacks alike allows for better insights into when interventions may or may not be necessary in future seasons.
If yellowing reappears despite your best efforts, examine possible pest infestations or additional nutrient imbalances. Common pests to watch for include slugs or aphids, which can sap energy from your plant. It may be necessary to conduct a secondary soil test or consider specialized treatments to address any underlying issues that have not been resolved. Making note of unusual conditions in your garden, such as hose water quality or the proximity of other plants that may share pests, also helps maintain hosta health and vitality.
FAQ
What might cause yellow leaves on hostas after heavy rain?
Yellow leaves on hostas following heavy rain may indicate waterlogged soil, which suffocates the roots and disrupts nutrient absorption. If the soil remains consistently wet, it can lead to root rot or fungal issues that stress the plants. To improve drainage and aeration, consider implementing raised beds or amending soil quality to facilitate better water movement around the roots.
How long does it take for hostas to recover from yellow leaves?
Depending on the severity of the issue, it can take several weeks for hostas to show significant recovery from yellow leaves. After applying fertilizers and adjusting care practices, expect to see improvements within 1-2 weeks. Full recovery can take longer, however, with consistent care often spanning 4 to 6 weeks depending on the plant’s initial health and environmental factors.
Should I remove yellow leaves from my hostas?
Yes, you should remove any heavily yellowed or damaged leaves to encourage new growth and improve the plant’s overall appearance. Regular pruning helps remove potential disease sources and allows the plants to redirect energy toward healthier parts. Ensure to prune at the base of the leaf to promote future growth effectively, as this benefits the plant’s energy efficiency and overall health.