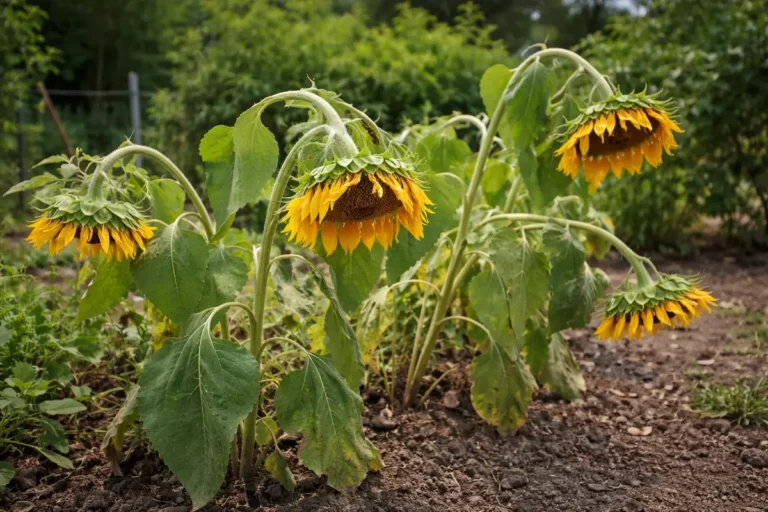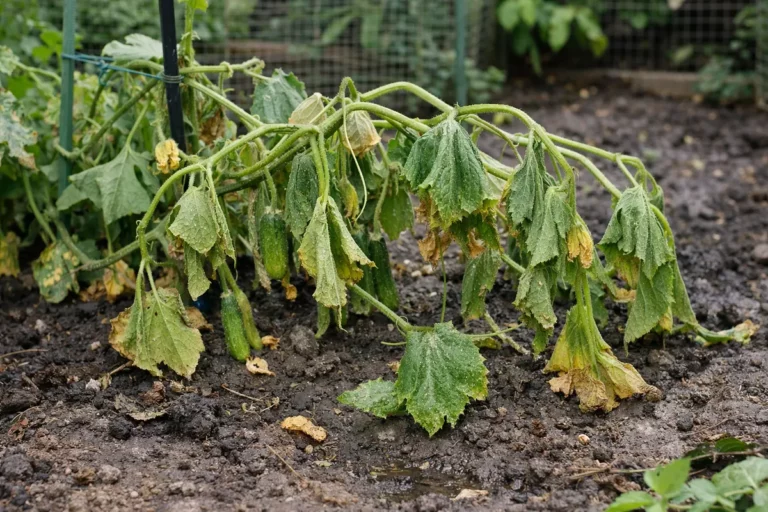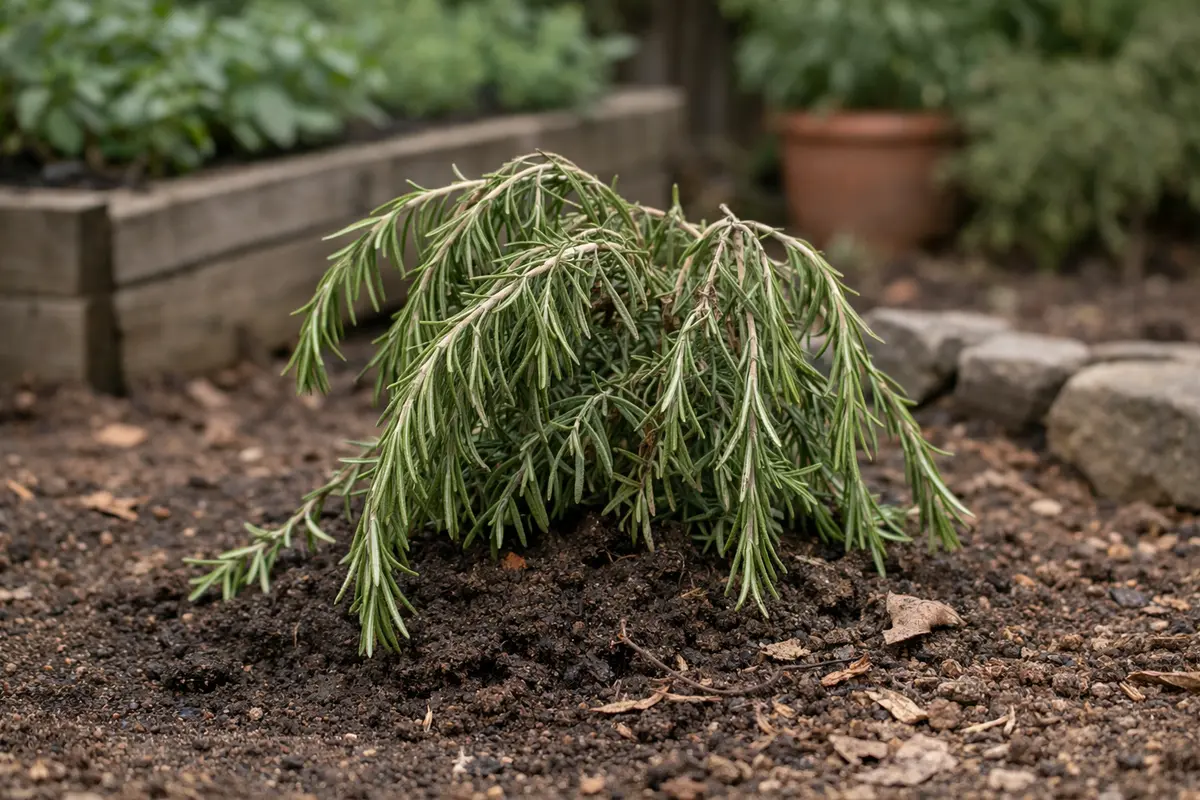
You may notice your rosemary droops after transplant, especially during the transition period when it’s adjusting to a new environment, which is why you need to know what to do when rosemary droops after transplant. This drooping usually occurs due to root stress and inadequate moisture, leading to wilting and overall decline. If left unaddressed, the condition gets worse and can weaken the plant; however, fixing it is possible now—just check the watering levels and inspect the roots to ensure they’re healthy.
Step 1 – Prune Wilted Rosemary Stems Immediately
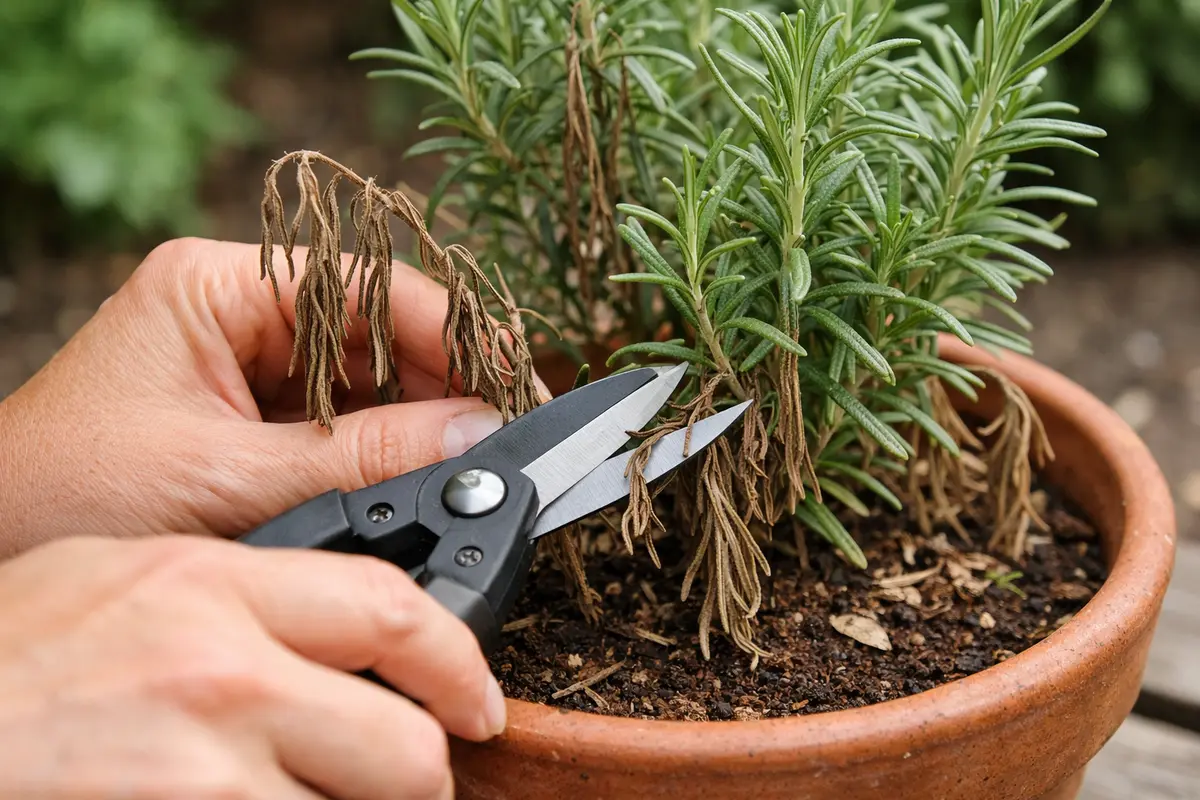
Start by pruning any visibly wilted stems from the rosemary plant. You will see that the remaining healthy stems appear more upright and lively within a few hours. This initial action sets the stage for recovery by eliminating parts of the plant that cannot recover effectively.
Pruning helps to remove unhealthy sections of the plant, allowing the rosemary to redirect energy and resources to healthier tissues. This is particularly important right after transplanting when the plant is under stress and struggling to establish itself in the new environment. If the plant has yellowing or browning leaves that are limp to the touch, those sections should be removed swiftly to prevent further decay. Without immediate pruning, rotten or wilted stems can serve as entry points for pathogens, worsening the plant’s condition. Stems with soft, discolored leaves should be removed promptly to prevent decay from spreading. If the wilting is extensive, focus on rebalancing the plant structure for optimal light absorption. Ensure cuts are made cleanly to avoid further stress on the plant.
Many gardeners mistakenly believe that retaining all stems will maintain plant fullness. This can crowd healthier parts and inhibit recovery. For instance, if you see soft, limp leaves, addressing them quickly by pruning prevents further decline. Moreover, if you are pruning in hot weather, doing so before the heat of the day can reduce additional stress on the wounded plant. Ensure you sanitize your pruning shears before and after use to avoid spreading diseases between plants during this cleanup. A good rule of thumb is to cut just above a node; this encourages bushier growth while ensuring the remaining stems have room to grow and flourish. If overgrown sections lead to a bushy appearance, thinning the areas can enhance overall stability and light access. Take note that too many cuts can shock the plant further, so careful assessment is key.
Step 2 – Check for Transplant Shock in Rosemary
Inspect the root zone for signs of transplant shock before proceeding further. You will notice the condition of the roots—whether they are intact or damaged—and the soil’s moisture level. This step is critical to understanding the underlying issues affecting your rosemary plant’s recovery.
Transplant shock occurs when the rosemary is disturbed during the transplanting process, leading to damage in the roots and disrupting the plant’s ability to absorb nutrients and water. A thorough examination must confirm if the roots are blackened or mushy, indicating rot due to excessive moisture, or if they are healthy and firm, which would suggest the plant is adjusting correctly. If the soil appears waterlogged and musty, it indicates the roots may be suffering from rot, which can significantly impair the plant’s prospects for recovery. Look for any foul odors coming from the soil; anaerobic conditions and root decay can often be detected by an unpleasant smell, indicating an urgent need to address root issues. Recently moved plants are also prone to yellowing leaves peace lily.
For instance, if the soil feels overly compact and dry yet the roots look healthy, this suggests a lack of adequate water absorption. Conversely, if the soil is too wet, consider reducing your watering frequency. This contrast is particularly pronounced in clay soils, which tend to retain moisture more than sandy soils, leading to root rot in conditions where rosemary prefers to have slightly drier conditions. A common mistake is to overlook the pot’s drainage holes; if they are blocked, it could trap moisture around the roots. In cases of severe root rot, consider repotting into dry, well-aerated soil to promote healing. This diagnostic approach establishes a clear connection between root health and the overall stability of the plant.
Step 3 – Water Rosemary Deeply for Quick Recovery

Water the rosemary deeply to support its recovery process. You will see the leaves begin to perk up within a day or two after soaking the soil thoroughly. Deep watering ensures that moisture penetrates deeply, stimulating roots to grow downwards and establish a solid connection with their environment. Aim to soak the soil until water begins to drain out of the pot’s bottom; this indicates that the entire root ball has been hydrated.
Deep watering promotes a strong root system essential for the rosemary’s survival after transplant. It allows the plant to maximize water absorption and encourages lateral root growth, preventing it from becoming reliant on surface moisture. Observe that rosemary’s affinity for slightly drier conditions rather than overly saturated ones remains essential; therefore, monitoring soil moisture becomes crucial. After soaking, the top inch of soil should feel moist but not soggy—indicating successful watering. Leaving the soil too wet after watering can lead to anaerobic conditions that stress the roots further. Pat dry excess moisture around the base, which can improve air circulation and avoid mold growth on the soil surface.
A common mistake is to overwater following a transplant. While ensuring hydration is necessary, too much water can lead to root rot. If, after a few days, the leaves are still drooping despite the deep watering, consider aerating the soil around the roots to improve drainage and aeration. Use a fork or a skewer carefully to create vents in the soil but avoid damaging the roots; if roots begin to surface, it may indicate that the pot is too small or the plant is pot-bound, requiring repotting. Additionally, consider environmental factors such as humidity and airflow, which could affect the plant’s overall condition. An increase in humidity can often stress rosemary further; adjusting the watering schedule based on the plant’s response becomes necessary to ensure its ongoing health. Recently moved plants are also prone to beefsteak tomato plants droop transplant.
Step 4 – Protect Rosemary Roots During Hot Days
Start by ensuring your rosemary is planted in well-draining soil and positioned in full sunlight. Water it deeply but infrequently, allowing the top inch of soil to dry out before the next watering, which will help prevent drooping and promote a sturdier plant structure.
Excess moisture can lead to root rot, while insufficient sunlight can cause the plant to become leggy and weak. Both conditions contribute to drooping; however, providing well-drained soil and consistent watering forms an effective routine that prevents these issues at their source.
During the rainy season, modify your watering schedule by reducing frequency, particularly if the soil retains moisture longer. If you notice excessive drooping despite these adjustments, check for waterlog conditions or excessive shade that could impact stem support.
Environmental stressors such as overwatering or prolonged periods of dryness can trigger the drooping of rosemary after transplantation. By establishing a balanced watering routine, you address these root causes; for instance, if overwatering is an issue, you will prevent root rot, while proper moisture levels during dry spells can maintain soil consistency and plant structural integrity. Another crucial aspect to investigate is sun exposure; rosemary prefers full sun but can suffer from intense heat when newly transplanted. In poor drainage conditions, plants may also develop lawn yellow spots overwatering.
During the hotter summer months, consider adjusting your watering frequency to handle increased evaporation rates. If you notice drooping during high temperatures, take extra care in monitoring the soil moisture level, ensuring it does not dry out too quickly; if it does, increase the frequency of your watering sessions to provide optimal hydration. You might also consider checking if the pot is made from a heat-absorbing material like dark plastic, which can exacerbate soil drying.
Excessive heat can exacerbate drooping and shock, especially as rosemary needs time to adjust to its new environment. By covering the plant with a breathable cloth or temporarily relocating it to a partially shaded area, you can help regulate temperature and moisture levels. This allows the rosemary to gradually acclimate while recovering from transplant shock without overwhelming it further. Avoid exposing the plant to intense sunlight, particularly during mid-afternoon, when temperatures peak and stress levels rise. Shade solutions like mesh cloths or neighbor’s tall plants can work well. In particularly extreme conditions, mist the leaves in the early morning to boost humidity. However, be cautious not to wet the foliage too late in the day, as this can lead to fungal issues. Recently moved plants are also prone to wilting salvia after transplant.
Consider covering the plant on days with forecasts of intense heat or prolonged sun exposure. Rosemary, despite its hardiness, can struggle without adequate shelter during heat waves. This method can be effective immediately following transplant; gradual reintroduction to sunlight should occur afterward. In providing filtered light, observe the leaf coloration to gauge recovery. If you notice signs of overheating, such as crisp leaf edges or further drooping, employ shade solutions to alleviate pressure on the root system and improve resilience. Should those signs continue, you may want to evaluate the microclimate of the planting location, as some areas might retain heat and hinder recovery more than others due to surface reflections or lack of airflow.
Step 5 – Inspect Rosemary Leaves for New Growth Weekly
Inspect your rosemary plant for new growth once a week. You should observe fresh leaves starting to emerge as a sign of recovery from transplant shock. This consistent monitoring plays a crucial role in tracking the plant’s progress and detecting any early symptoms of decline.
Regular monitoring allows you to notice changes and quickly intervene if symptoms return or worsen. Healthy rosemary plants will exhibit vibrant green shoots emerging from the top, while signs of stress will fade, improving leaf firmness and color. This visible growth is a positive indicator of successful transplanting. If you don’t see any new growth or if the symptoms persist within two weeks, further intervention may be necessary. It may warrant checking soil conditions again to confirm adequate drainage and moisture levels, or reassessing the amount of sunlight exposure, especially if the plant continues to droop despite watered adjustments. Recently moved plants are also prone to fern plants droop transplanting.
If new growth does not appear after a couple of weeks, consider reassessing the soil drainage and sunlight exposure. Persistent issues may indicate that watering habits aren’t consistent or that the plant is experiencing unfavorable conditions. Instead of sticking to a fixed schedule, make adjustments based on the visible plant response to climate changes. For instance, increasing water intake during particularly dry spells or moving the plant to a sunnier yet well-ventilated spot can influence recovery positively. Additionally, consider that rosemary can often suffer from root confinement if extensively pot-bound; this may warrant a pot upgrade for more substantial growth potential. Regular checks are essential for ensuring long-term health and optimal growth, and taking action when needed can fundamentally alter recovery trajectories.
FAQ
How long does it take for rosemary to recover after transplanting?
Typically, rosemary can require anywhere from a few days to several weeks to show signs of recovery after transplanting. Factors such as environmental conditions, soil quality, initial root health, and care routines greatly influence this timeline. Close observation and timely interventions can significantly accelerate recovery. If new growth appears consistently, this can be a strong positive indicator of health.
Can drooping spread to other plants?
Drooping itself isn’t contagious; however, the underlying issues—such as pests, diseases, or environmental stressors—can potentially spread to other plants in proximity. Regularly checking for signs of pests or rot, and maintaining overall garden health, can prevent further problems among your plants. Keeping plants well-spaced can also ensure good airflow, which lowers disease risk. If you notice drooping across multiple plants in close proximity, evaluate environmental factors that may affect all plants, such as shared watering schedules or light conditions.
Should I remove affected leaves from my rosemary?
Yes, removing the severely affected leaves is advisable as it redirects the plant’s energy towards new, healthy growth. This action also reduces the risk of disease spread if the affected leaves were due to rot or pest damage, thereby improving the chances of full recovery. Monitor any cuts for signs of chlorosis or decay, as this may indicate more serious systemic issues requiring attention. If you notice a rapid regression in overall health after pruning, it may signal a deeper problem, warranting further investigation into root conditions.