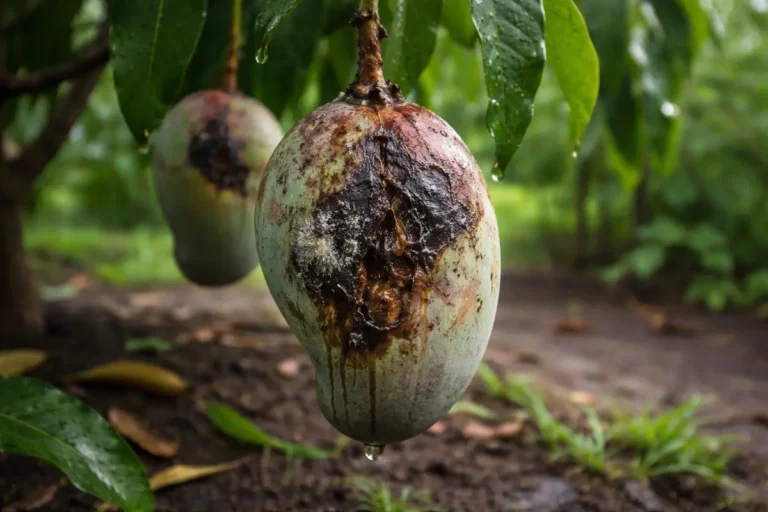
You may notice your melons developing brown, mushy spots after heavy rain, which is why you need to know how to treat fruit rot on melons after heavy rain. This issue occurs when excess moisture leads to fungal infections that cause rotting and damage to the fruit. If left unaddressed, the problem not only gets worse but can spread to healthy melons, weakening the plant and stalling growth, though fixing it is possible now. To address this, you should inspect your plants closely and remove any affected fruits while improving air circulation around them.
Step 1 – Prune Affected Melons After Rain
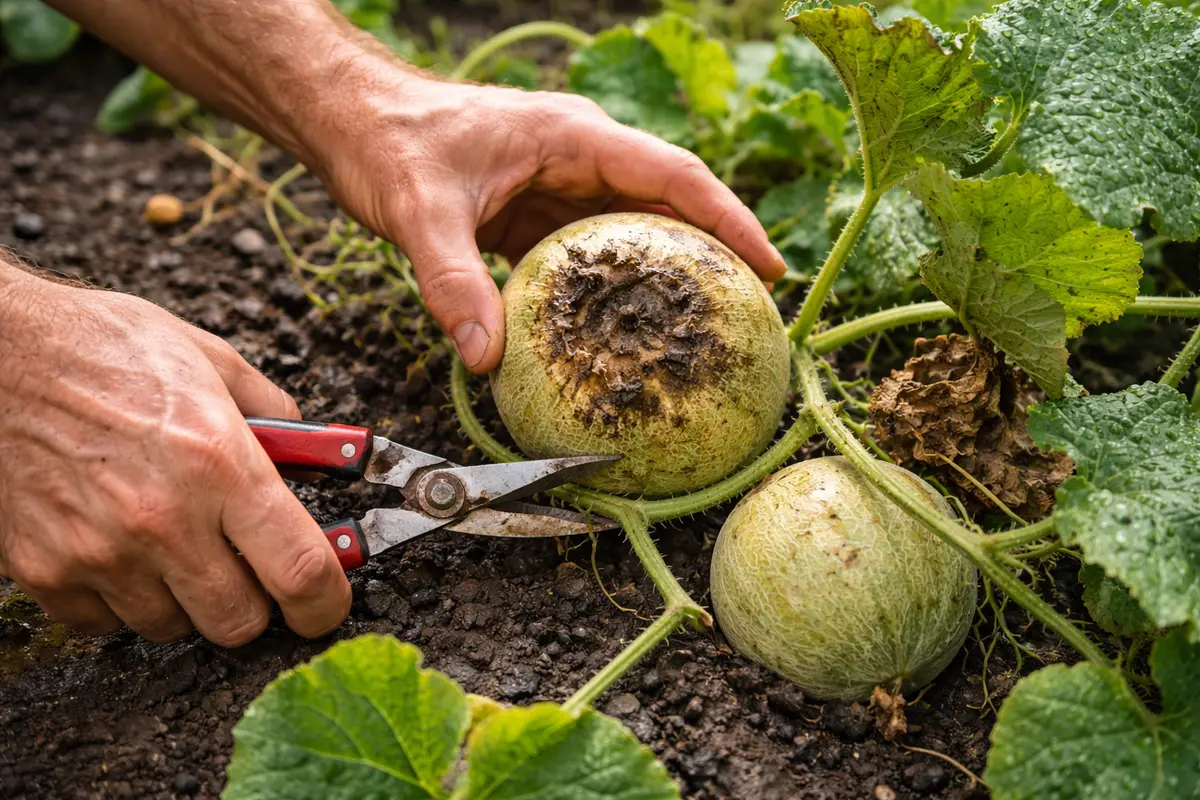
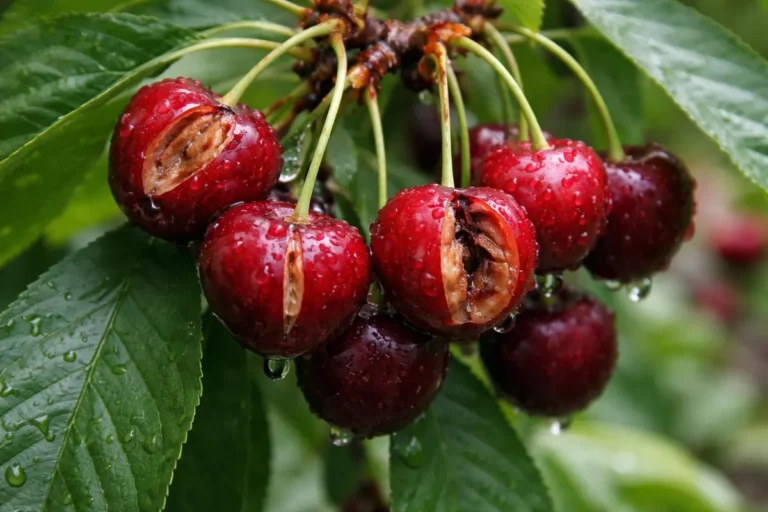
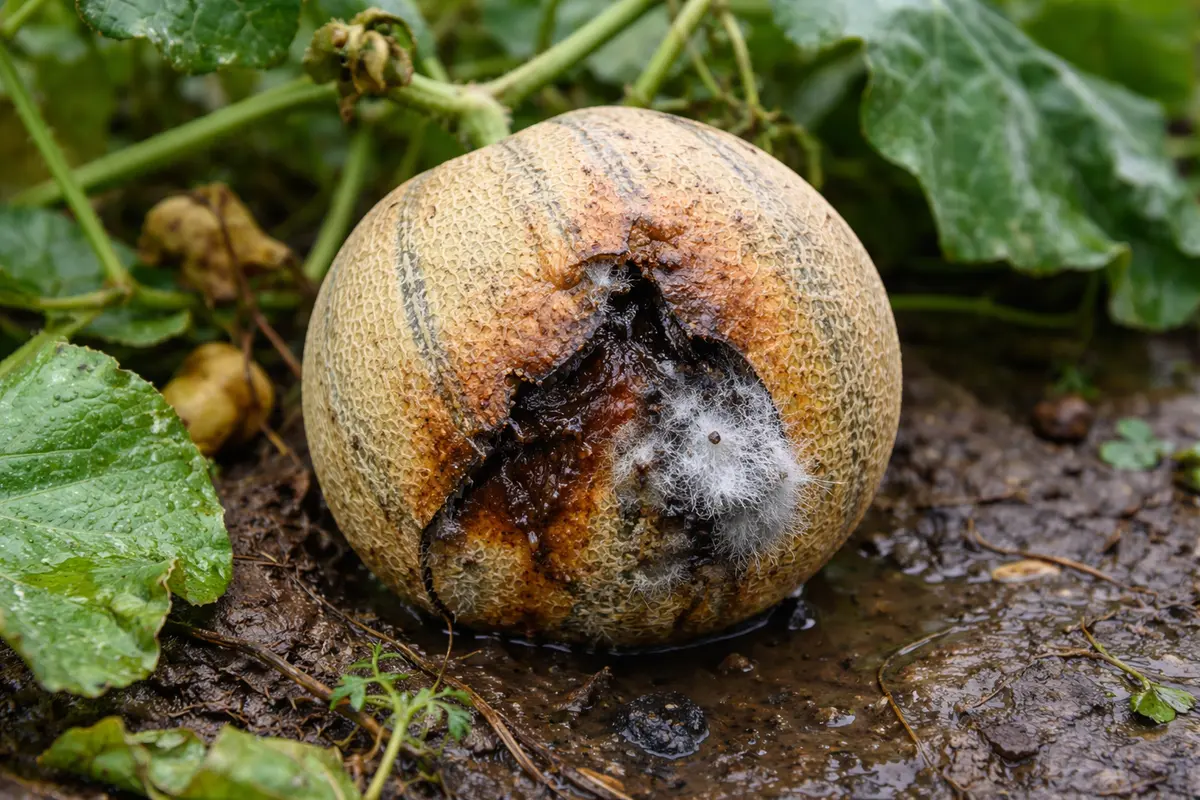
First, remove any visibly affected fruit and inspect the remaining melons for signs of rot or decay. Look for soft spots, discoloration, or mold on the surface of the melons. After this immediate action, the remaining melons should have a firmer texture, as the compromised fruits will no longer sap nutrients or moisture from healthy ones.
Acting quickly is crucial because trapped moisture creates a breeding ground for pathogens that can cause further rot and disease. If rot is not addressed, these pathogens can proliferate rapidly, leading to a systemic issue in the plant that may result in loss of healthy fruit. If you spot yellowing leaves and stunted growth soon after heavy rain, that indicates a more widespread impact — if not treated, this could lead to irreversible damage.
In one case, a gardener mitigated fruit rot by promptly removing affected melons and noticed a stark difference within a week, with healthy fruits on the vine thriving despite earlier concerns. Conversely, a common mistake is neglecting to act, which can exacerbate rot and result in a total crop loss; if you find your melons turning mushy, check for signs of mold rather than assuming it’s just excess moisture.
This immediate action helps limit the spread of rot, which can quickly affect neighboring healthy melons. Each day that you delay, the damaged fruit emits spores into the surrounding area, increasing the prevalence of fungal pathogens. For instance, within 48 hours, even a small, rotting melon can release spores that can infect upwards of five nearby melons in humid conditions. The removal of spoiled melons ensures that the plant can allocate its resources towards healing rather than sustaining damaged fruit. If you delay this removal, you risk having other melons begin to exhibit signs of rot, compounding your problems in the garden, particularly since waterlogged conditions can persist after rain.
When pruning, be careful not to damage the healthy fruit or branches. A common mistake gardeners make is only removing the most obvious signs without conducting a thorough inspection, leading to unnoticed rot spreading from hidden parts of the plant. Use clean, sharp shears to make precise cuts; tearing can introduce more pathogens to the healthy areas. Always disinfect your pruning tools between cuts to avoid cross-contamination; soaking them in a solution of one part bleach to nine parts water can drastically reduce the spread of pathogens that thrive in moist conditions. After each cut, consider wiping your tools with a clean cloth to further minimize the risk of introducing harmful organisms.
Step 2 – Diagnose Causes of Fruit Rot
Next, inspect the surrounding soil and plants to identify drainage issues contributing to fruit rot. If you find pooling water around your plants, these conditions should improve significantly as excess water recedes after your intervention. Assess the drainage in your garden by digging a small hole; if it retains water for more than 30 minutes, you’re likely facing a drainage problem that must be remedied to prevent a recurrence of rot. Watch for soil that remains muddy or has a sour smell, as these are signs of stale or anaerobic conditions that promote rot.
Fruit rot often stems from stagnant water in the soil, which leads to root suffocation and fungal infections. When melons sit in overly saturated soil, they fail to absorb oxygen. As the roots begin to suffocate, spots of decay can appear on the fruit, often starting near the stem end where moisture pools. The presence of anaerobic conditions invites pathogens that can compound the damage if not addressed immediately. Identifying the root cause allows you to correct these issues by adjusting irrigation schedules, ensuring that watering occurs only when soil moisture levels drop significantly. A simple soil moisture meter can help guide when to water and how much.
If you find that the soil smells sour or feels overly compacted, consider amending it with organic matter, such as compost, to improve aeration and structure. Clay-heavy soils, particularly prone to retaining moisture, may require the installation of French drains to redirect excess water away from the melons. Additionally, mulching around your plants can help absorb excess water and stabilize moisture levels. After heavy rains, verify your mulch’s integrity; it may need replenishing (a layer of about two to four inches) to support moisture management effectively without suffocating the roots. Addressing drainage issues right away is crucial; otherwise, the soil conditions can worsen, inviting pests or diseases that further jeopardize your melons.
Step 3 – Fertilize Melons to Encourage Recovery
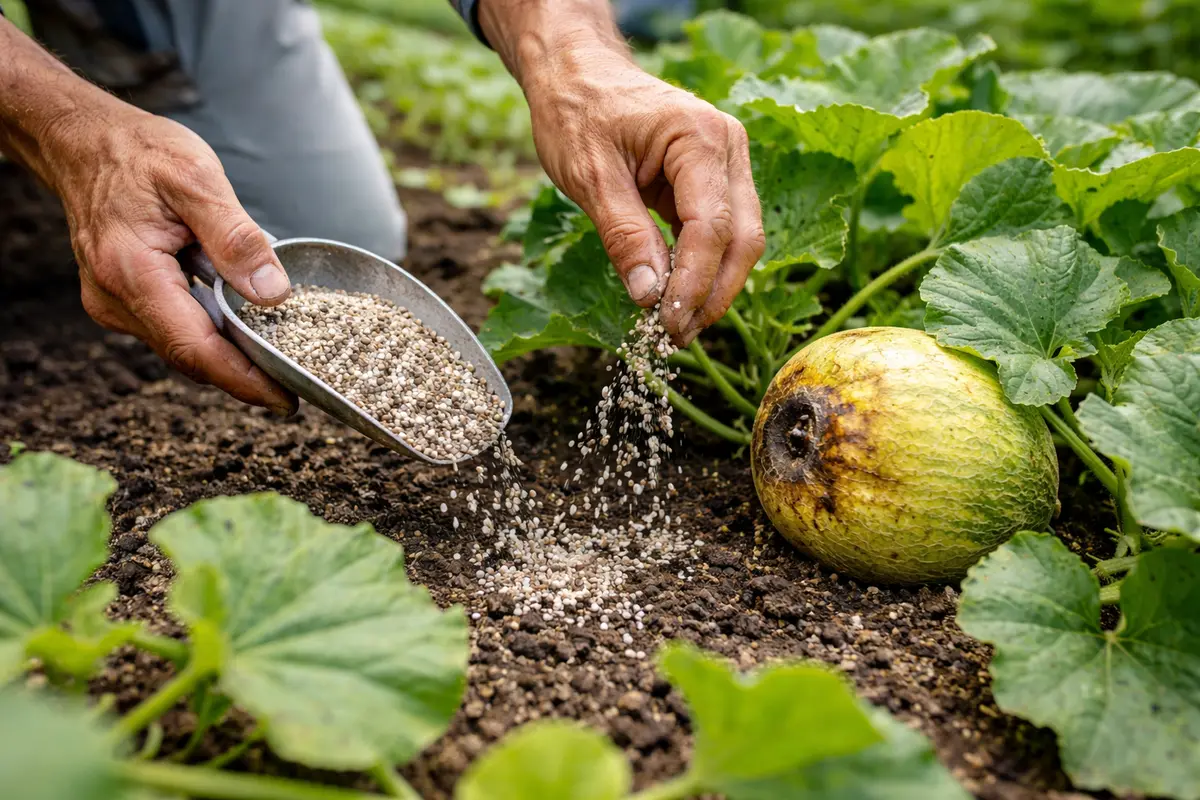
Apply a balanced fertilizer to the base of your melons to boost recovery efforts. You should observe new green shoots and healthier fruit developing within a week of application. Make sure that the fertilizer includes equal parts nitrogen, phosphorus, and potassium, such as a 10-10-10 formulation, which are vital for recovery and growth during this vulnerable period. This balanced nutrient supply encourages the plant to divert energy from repairing damage to active growth. If you use a granular fertilizer, consider incorporating it into the top 1-2 inches of soil and providing adequate watering to facilitate nutrient uptake.
Nutrients in fertilizers aid in regrowth after the stress caused by rot, providing the plant with the vigor it needs to bounce back. In fact, for every 100 square feet of planting space, using about 1-2 pounds of balanced fertilizer can significantly enhance nutrient availability to the recovering plants. However, be attentive to the moisture levels when fertilizing; if the soil remains too wet, nutrients might not be effectively absorbed, thereby undermining recovery efforts. A test you can do is to dig around the root zone to observe whether the moisture is still excessive or if it has normalized after the heavy rains.
A mistake to avoid during this time is over-fertilizing, which can burn the roots and lead to further issues that diminish recovery efforts. Fertilizers should be applied according to the manufacturer’s guidelines, typically focusing the application around the base of the plant where roots can easily absorb nutrients. Additionally, if you notice a spike in leaf yellowing or wilting post-fertilization, reevaluate your application rates as these could signal nutrient overloads or environmental stress. Pay attention to any signs of fertilization shock, which could manifest as curled leaves or a decrease in new growth, prompting an immediate reassessment of your feeding schedule.
Step 4 – Mulch Around Melons to Prevent Rot

Spread a 2-3 inch layer of mulch around your melons to enhance soil moisture retention and suppress weed growth. This action creates a more stable environment, reducing the likelihood of water pooling around the roots during heavy rains. Some effective materials include straw, grass clippings, or wood chips—all of which can contribute to improved soil health over time. Properly spread mulch can also help mitigate soil temperature fluctuations, essentially serving as a barrier against extreme conditions.
Mulching keeps moisture levels consistent while maintaining a cooler root zone that can alleviate plant stress. This practice also serves to regulate soil temperature, allowing melons to fend off adverse conditions during fluctuating weather. Ensure to periodically check the mulch layer; heavy rains may compact or wash away some of the material, necessitating renewal. Typically, reapplication is needed every 4-6 weeks during the growing season, especially after significant precipitation events. A well-maintained mulch layer can significantly improve overall garden resilience against rot.
During the rainy season, consider using an additional layer of mulch for even better moisture control while protecting the melons from potential rot. If you live in an area prone to frequent rains, take special note of the mulch’s condition and effectiveness, aiming for a replenished layer whenever erosion is evident. However, ensure that when mulching, you do not pile the material against the stems of the melons, as this may encourage rot at the base—a common error that can negate the benefits of using mulch. Maintaining at least two inches of space around the stem ensures adequate airflow and helps in avoiding localized moisture buildup that can advocate rot’s return.
Step 5 – Check Melon Skin for Soft Spots Daily
Inspect the skin of your melons every day for signs of softening or new rot. Regular checks will reveal the early signs of recovery—such as firm skin and vibrant color—or the potential return of rot, which requires immediate action to prevent further damage. A hands-on inspection allows you to make quick assessments about the health of your remaining melons. During these inspections, any unexpected softness can swiftly signal that further intervention is needed. A general rule is that fresh, healthy melon fruit should feel firm and yield slightly to a gentle squeeze, while a mushy texture indicates rotting.
Look for firm skin, a vibrant color, and a smooth texture as indicators of health; these characteristics signal that the melons are on a path to recovery. If the melons appear to harden and retain their structure, that’s a positive sign of resilience in the wake of the initial rot. However, have in mind that even mild signs of decay can rapidly progress into more severe rot; inspecting and acting promptly is key. Conversely, if you notice new soft spots or discolored areas appearing, this may indicate a lingering issue that the prior steps failed to address, necessitating further interventions. Pay close attention to the areas near the crown or where the fruit meets the vine, as these hotspots can often signal deeper issues.
If the problem persists and you continue to find softening areas on the melons after the initial treatment, it may be necessary to reassess your watering practices to ensure you’re not inadvertently over-saturating the soil. Utilize a moisture meter in your soil to monitor levels accurately; testing the top two inches can give you insight into whether you’re maintaining proper moisture levels. Achieving a balance that adequately addresses soil moisture can be pivotal, especially after rains. If observing consistent signs of rot regardless of your interventions, it may indicate a more pervasive disease or exaggerated environmental conditions requiring additional strategies. No matter how diligent your care, persistent rot might warrant contacting a local agricultural specialist for further investigation.
FAQ
How long does it take for melons to recover from fruit rot?
Recovery from fruit rot typically takes about one to three weeks, depending on the severity of the damage and your care routine. With proper pruning, nutrition, and vigilance, melons can show visible improvement within a week, enabling them to regain vigor and resist further infection. However, total recovery time may stretch longer if the initial rot was extensive or if subsequent conditions remain conducive to rot. If care measures are delayed, fungal colonies can proliferate, prolonging recovery or leading to total crop loss.
Can fruit rot spread to other plants?
Yes, fruit rot can spread to nearby plants if conditions remain overly moist and unsanitary. To mitigate this risk, promptly remove affected fruit, ensuring to check the surrounding plants for early signs of infection each time you enter the garden to inspect. Also, ensure proper spacing between plants to facilitate good airflow. Additionally, practicing crop rotation in subsequent seasons can reduce the persistence of rot pathogens in the garden. Placing younger plants in a different area where previous infections have not occurred can aid in breaking the cycle of disease.
Should I remove the entire melon plant if rot is present?
No, you don’t need to remove the entire plant unless the rot is widespread and affects the structural integrity of the plant. Focus on removing affected fruit and improving soil drainage to help the plant recover, allowing healthy melons a chance to mature and thrive despite a localized issue. If you notice stunted growth or multiple signs of decay, it may be wise to consider the general health of the plant, including excess moisture conditions that could exacerbate the situation. In cases of extensive damage, consider replanting with more resistant varieties if the disease recurs. Contact local agricultural experts for suitable replacements that work well in your growing environment.