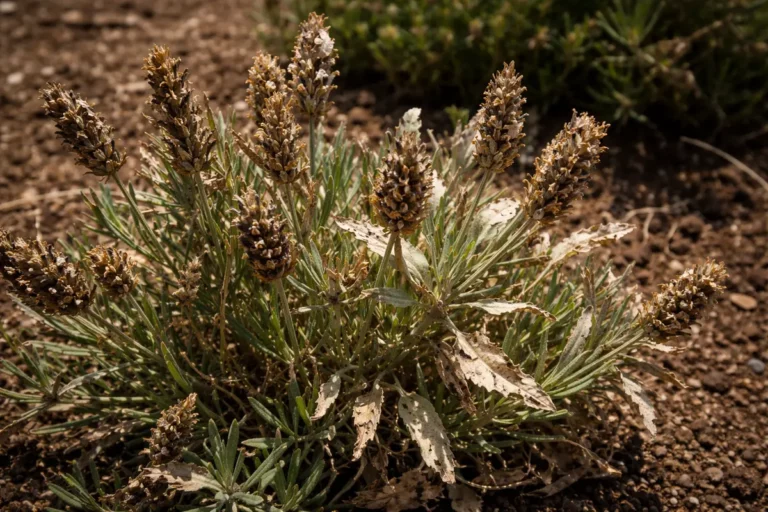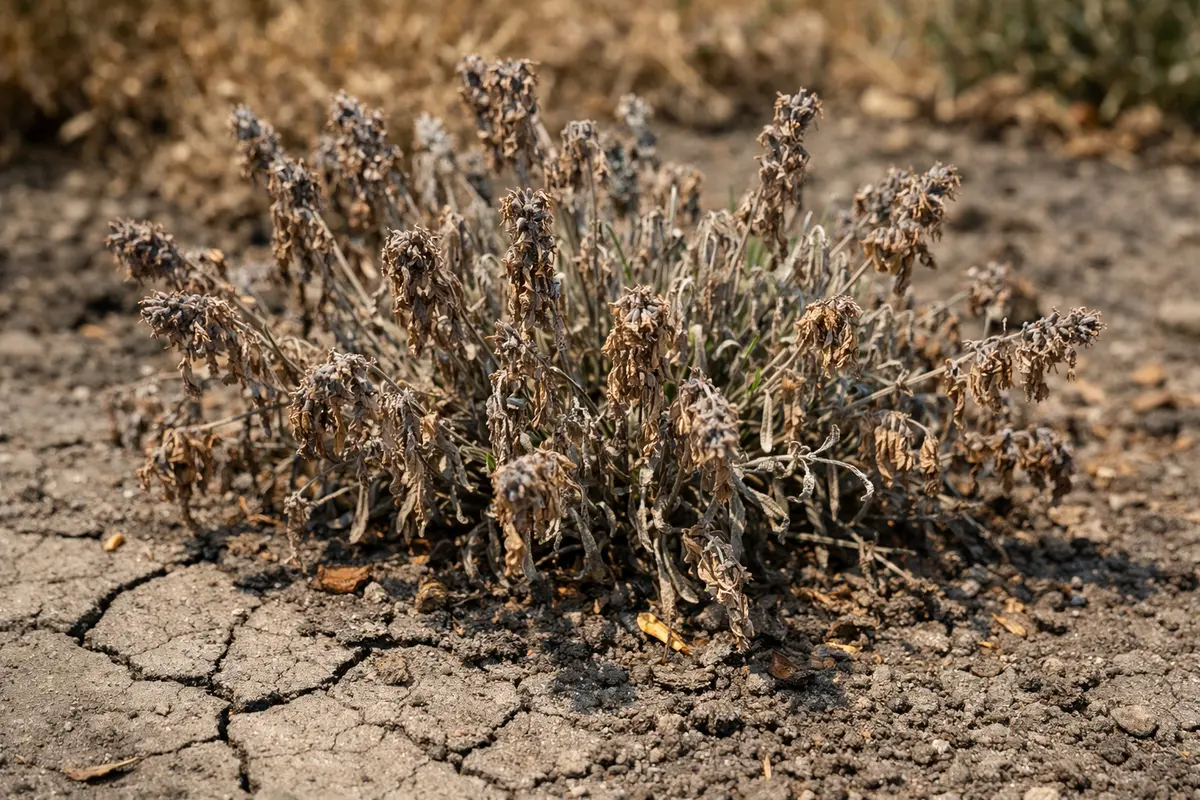
You may notice that your lavender has turned brown after an intense heat wave, which is a clear sign that you need to know what to do if lavender turns brown after a heat wave. This discoloration often results from heat stress, leading to wilting and leaf drop that can compromise the health of the plant. If left unaddressed, this issue can worsen, making it harder to fix, but taking action now to inspect and adjust your care routine can promote recovery.
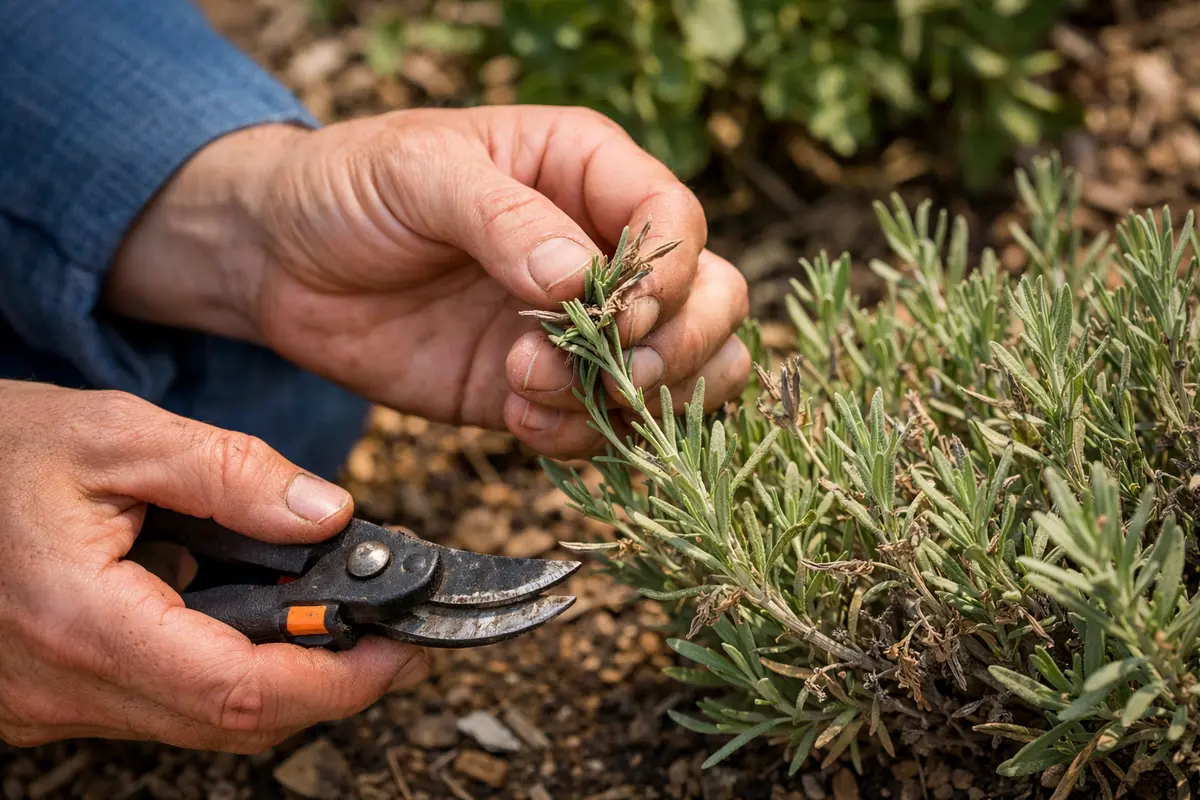
Step 1 – Prune Brown Lavender Stems Immediately
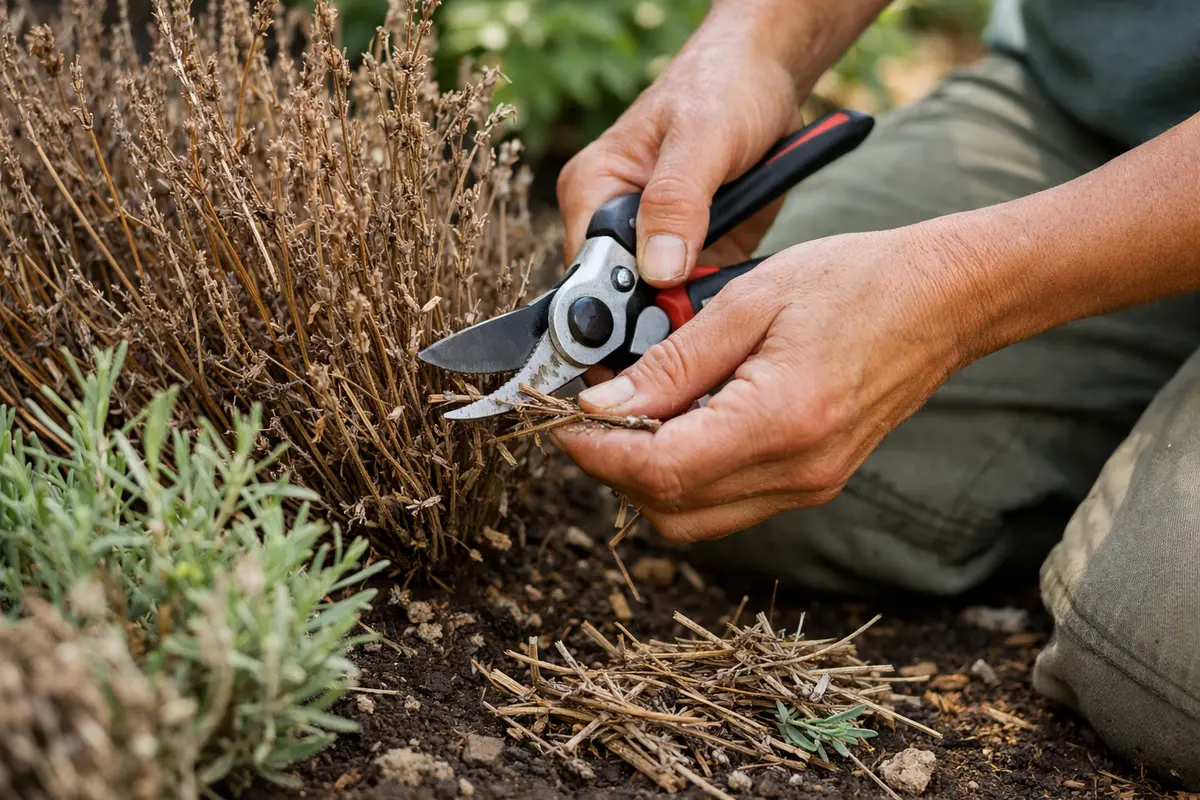
Start by inspecting your lavender plants for signs of damage; remove any visibly dead or brown stems to limit further stress. After trimming, you’ll notice a clearer view of the healthier green foliage, helping you identify other areas that may need attention.
Acting quickly matters for lavender since it can suffer from root rot if overly stressed. By removing dead parts promptly, you allow the plant to redirect energy to healthy stems. If you delay, the damaged parts may decay more, spreading pathogens like fungi, especially if roots remain saturated from recent watering.
A gardener who delayed trimming saw their lavender develop root rot and lose the entire plant, while another who acted immediately saved theirs and promoted new growth. A common pitfall is assuming that waiting will help revive brown stems—if no new growth appears in a week after trimming, check the roots for signs of rot.
Acting quickly is crucial for lavender after a heatwave because prolonged exposure to heat stress interrupts photosynthesis, leading to cellular damage. If left unattended, the plant may suffer irreversible damage, resulting in stunted growth and reduced blooming potential. If you notice leaves turning brown and crispy, it indicates immediate distress, whereas healthy leaves will remain plump and fragrant.
A gardener once faced a heatwave that severely affected their lavender, but they pruned the dead material immediately. As a result, the plant rebounded quickly and produced an exceptional bloom the following season. Conversely, another gardener delayed action, leading to complete dieback of their lavender; they should have addressed the issue sooner by ensuring adequate watering during heat stress.
This prompt action is critical because it prevents further energy depletion from the plant. Lavender, being a perennial, allocates energy toward damaged parts that no longer contribute to its health; thus, pruning helps redirect that energy where it’s needed most. After pruning, look for visible new growth in the following weeks, indicating that the plant is recovering.
A common misconception among gardeners is to wait it out, thinking the plant will recover on its own. This often worsens the situation as affected areas may start to rot, affecting nearby healthy parts. For instance, if the tips of the remaining green stems begin to droop, it signals that the plant is still in distress. Swift action is key in this phase, so getting out the pruning shears promptly can make all the difference in recovery outcomes. Remember, effective pruning consists of cutting back to healthy branches if they exist, rather than removing everything haphazardly.
Step 2 – Test Soil Drainage Around Lavender Plants
Check the soil around your lavender plants immediately. You should observe whether excess water drains properly, allowing the plants to breathe and maintain root health. Dig a small hole about 6 inches deep and fill it with water; if it doesn’t drain within an hour, drainage issues may need to be addressed.
Healthy lavender thrives in well-draining soil; if the soil retains too much moisture, roots may suffocate or rot, causing browning and wilting leaves. Testing the drainage helps you assess any underlying issues that could contribute to the stress your plant is experiencing. After watering, the ideal situation is that the soil feels moist around the roots but not soggy. This balance is crucial for lavender’s health—too much moisture leads to root rot, while too little causes dehydration.
If the soil feels soggy or smells sour, it might indicate root rot or that the drainage needs addressing. In that case, amending the soil with sand or perlite can enhance drainage significantly; applying a mixture of 30% perlite to 70% garden soil can yield improved results. If you find yourself continuously fighting drainage issues, consider relocating the lavender to a higher bed or pot to facilitate better water flow. Keep in mind that if you have heavy clay soil, even cultivating the ground can help improve drainage, but it may not always be sufficient during heavy rains. Regularly checking soil drainage can save your plants from recurrent stress.
Step 3 – Confirm Heat Stress as the Culprit
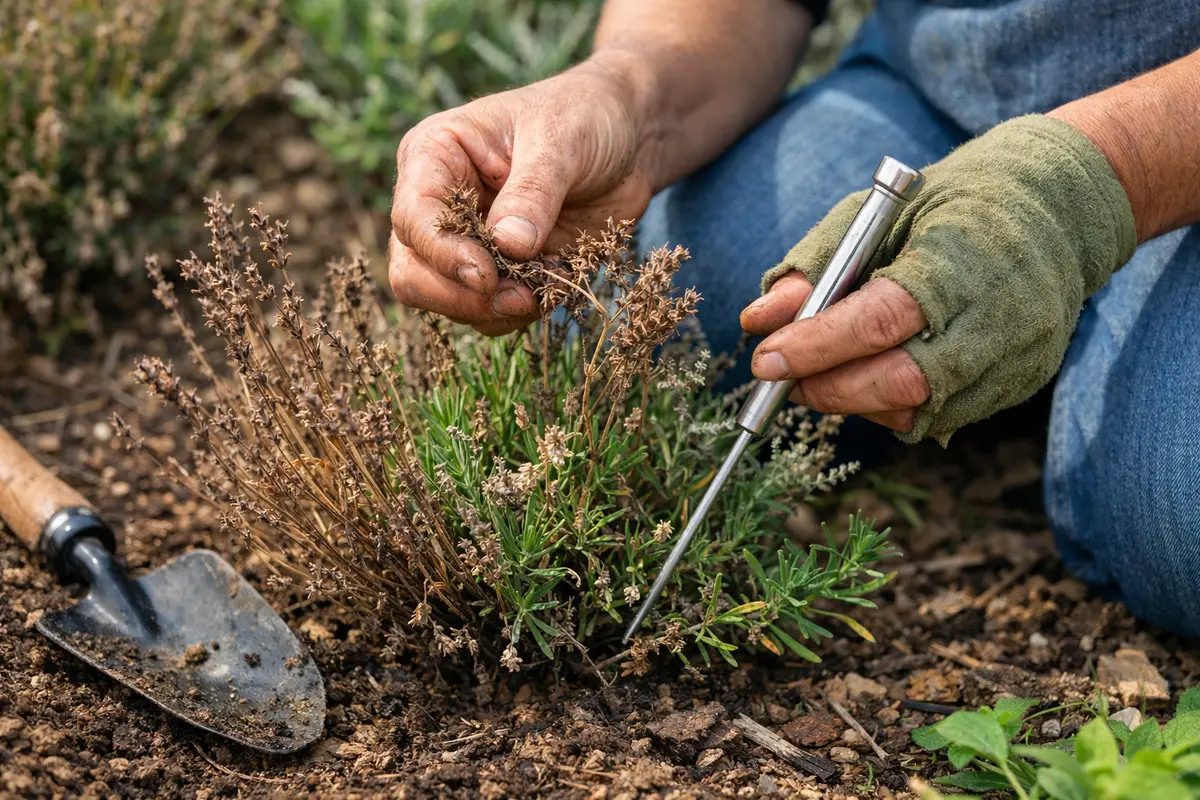
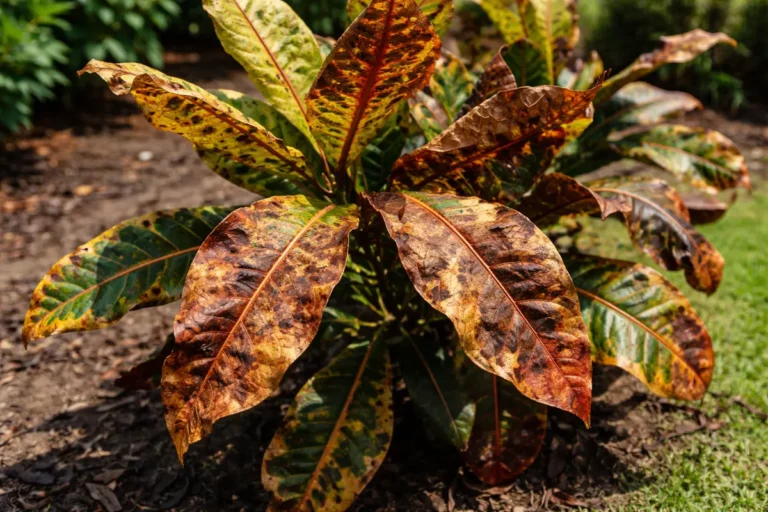
First, inspect your lavender plants for signs of browning leaves or stems. Look closely for dry, crispy texture on the foliage, which indicates damage from prolonged heat exposure. Ensure you’re checking both the top and undersides of the leaves, as well as the tips and stems, for visual confirmation of the problem.
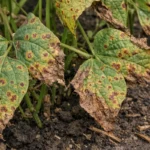
Brown leaves can also be confused with signs of disease like root rot or powdery mildew. In the case of root rot, affected plants exhibit an overall wilting effect alongside darkened roots that feel mushy. Conversely, powdery mildew leads to a white, powdery coating, mainly visible on upper surfaces of leaves. If leaves are brown and dry but feel brittle and not mushy, you’re likely facing heat damage instead of disease.
If the diagnosis remains uncertain, observe your plants over a week for any changes in leaf texture or color. Consider conducting a simple tug test on the stems; if they are soft and easily come off, root problems may be present. If no changes occur, check soil drainage and watering practices before proceeding with recovery measures.
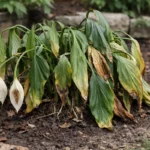
Other issues, like root rot or fungal infections, may also cause browning, but they usually present with soft, mushy textures on the stems and a bad smell from the roots. In contrast, heat stress typically affects only the foliage with crispy leaves, while root rot will involve a change in the plant’s base and possibly blackened roots. If you observe wilting accompanied by blackened roots, it is likely the latter.
If the diagnosis remains uncertain, assess the soil moisture levels and wait for new growth signs before acting to recover the plant. Withhold water if root rot is suspected, or provide partial shade for stressed plants to see if new foliage appears. Adjust your treatment based on these observations, as time can reveal further details on the plant’s condition.
If the browning is confined to just the tips, it could also indicate underwatering, as plants may show a similar browning effect due to lack of moisture. In contrast, if the leaves appear fully brown and crispy throughout, this suggests irreversible damage from excessive heat. If you notice brittle leaves easily breaking when touched, it’s a clear sign of severe heat impact, whereas soft, wilted leaves that feel mushy could indicate root rot from overwatering.
If you remain unsure about the diagnosis, observe the plants over the next couple of weeks for any signs of new growth or further decline. Water moderately to avoid additional stress, and monitor soil conditions closely. If there’s no improvement, consider taking a cutting from a healthy part of the plant to propagate and start fresh.
When lavender experiences heat stress, you may notice crisp edges around the leaves and a droopy appearance. Identifying that the browning results from heat rather than disease helps direct your recovery strategy. If you spot discolored patches primarily facing the sun, it further validates heat exposure as the culprit. Signs like leaf curling, wilting prior to browning, or crispy, dry spots are also typical indicators of heat impact.
If uncertainty arises, monitor the plants for a few days before proceeding. Watching for fresh growth or any signs of further degradation will help clarify whether environmental factors are at play or if other ailments need addressing. If browning spreads from the tips toward the base over a few days, it may indicate a more serious underlying issue or continued dehydration. Quick action may stop heat impact in its tracks, but knowing the signs can lead to better preventive measures in future hot spells. If the plants do not recover within two weeks of adjusting conditions, a more thorough investigation into pests or diseases might be necessary.
Step 4 – Water Lavender Deeply to Encourage Recovery
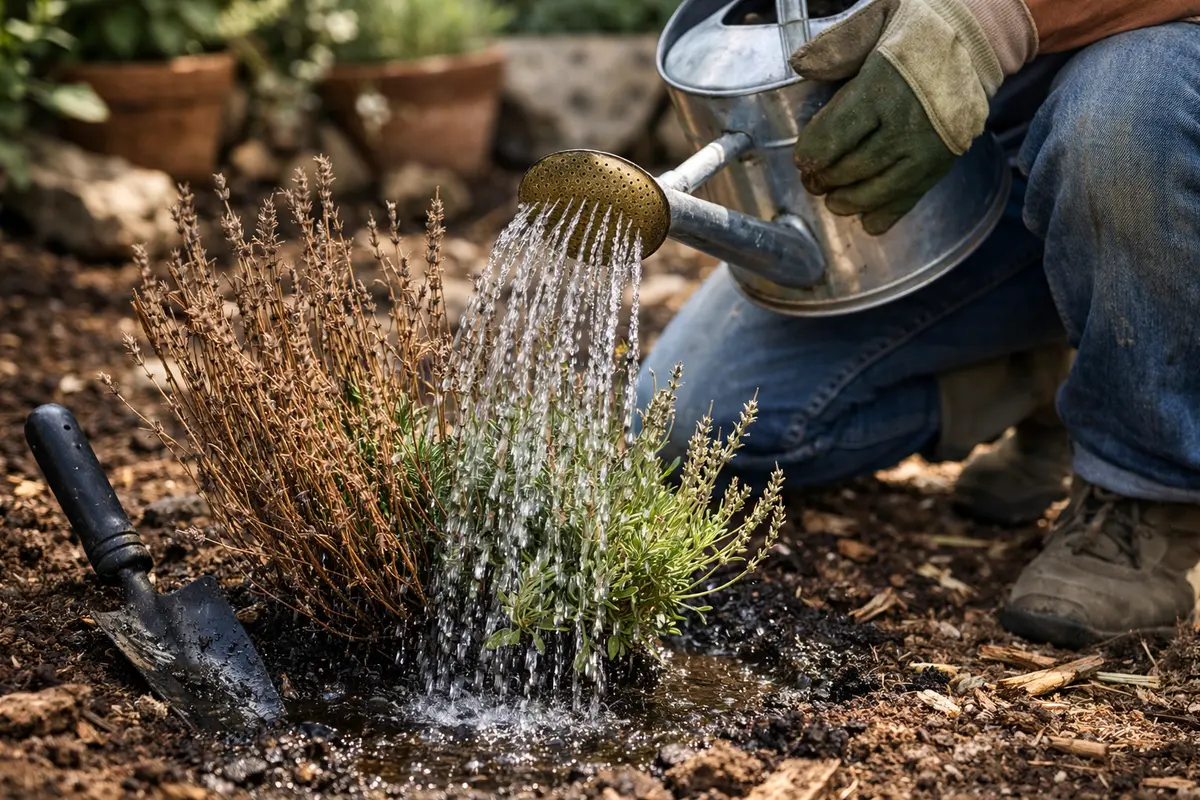
Start by watering your lavender deeply and evenly, ensuring the soil around the roots is moist but not soggy. In a few days, look for signs of green returning to the stems or new shoots breaking through the soil, indicating recovery is underway.
Healthy regrowth typically takes about 2 to 4 weeks, depending on conditions like soil quality and temperature. A thriving lavender plant will begin to show new growth in the form of vibrant green leaves and sturdy stems, while slow recovery often results in brittle or yellowed leaves. If your plant remains unnaturally brown after two weeks, check for inadequate drainage or overly compacted soil.
Avoid overcompensating by applying excessive water or fertilizer, as this can lead to root rot and further damage. Timing is also crucial; lavender thrives with minimal nutrient input, so fertilizing too soon can inhibit natural recovery. If the soil feels soggy, reduce watering frequency until the top inch of soil dries out.
Deep watering encourages roots to grow deeper into the soil, ensuring they can reach moisture even during dry spells. When properly hydrated, lavender can resume its active growth cycle, allowing for the formation of new shoots and healthy foliage. Aim to provide a thorough watering that penetrates at least 12 inches into the soil; using a soaker hose can be particularly effective for achieving this depth. This phase is crucial because it can dictate how quickly the plant recovers from the stress it just endured.
A common mistake during this recovery phase is overwatering the plants in an attempt to compensate for the previous dryness. This can lead to new problems such as root rot, thus nullifying any efforts made. Watch for signs of overwatering, like yellowing leaves or an unpleasant odor from the soil. Balance is always key; water deeply but ensure that the soil dries out somewhat between intervals to avoid waterlogging once more. Testing the top layer of soil a couple of inches down for moisture can help dictate when to water again. Ideally, you should wait until the soil feels just slightly dry to the touch before the next watering.
Step 5 – Water Lavender Appropriately During Heatwaves
Start by adjusting your watering schedule to ensure that your lavender receives deep soaking once a week rather than frequent light sprays. This change will encourage deeper root growth and prevent the browning caused by dehydration following a heat wave.
Heat waves can lead to rapid water evaporation from soil, often leaving lavender thirsty and stressed. Ensuring that your lavender roots have consistent access to moisture mitigates the risk of moisture loss, so healthy green foliage becomes the norm rather than the exception. If you notice wilting alongside browning, check your watering frequency and soil drainage to address the issue.
As summer temperatures rise, consider adding mulch around your lavender plants for additional insulation to retain moisture. Alternatively, during unexpected cold spells in late spring, pull that mulch back to allow warmth to penetrate the soil, which fosters optimal root health. This dual-layer approach accounts for both intense heat and unexpected temperature drops.
Understanding when your lavender requires water is crucial for its long-term health. Establishing a routine allows you to monitor soil moisture levels more accurately, ensuring that the plants get adequate hydration without oversaturation. Establishing a schedule that includes early morning or late evening watering can yield better moisture retention while minimizing evaporation; watering at these times can also help protect against stress during the hottest hours of the day.
In particularly hot periods, consider adding a layer of mulch around the base of the lavender to retain moisture and reduce root temperature. Mulching not only conserves moisture but also stabilizes soil temperature, preventing swift temperature fluctuations that can harm roots. Adapt your watering strategy to match seasonal changes, increasing frequency during peak heat but reducing it during cooler months to prevent excess moisture and possible root death. Observe how much water your specific soil type retains; sandy soils will require more frequent watering than clay soils, which tend to hold moisture longer.
Step 6 – Inspect Lavender Leaves for New Signs of Browning
Check your lavender plants every few days for new signs of browning. It’s essential to observe any fresh damage or signs that the plant is returning to a state of distress. Feel the leaves; a healthy lavender leaf should feel resilient and slightly firm, as opposed to limp or mushy, which may indicate underlying problems.
After implementing your care routine, healthy lavender should show signs of recovery through vibrant green leaves and new shoots. If browning appears once again, assessing your care routine and making necessary adjustments will be vital. The goal is to establish a balance where the plant thrives and does not regress due to inconsistent care. Take note of any leaves that begin to curl again; this might indicate that either heat stress has returned or that other underlying problems persist.
If you notice browning returning despite diligent care, consider reevaluating the conditions surrounding your lavender, including sun exposure and soil drainage. Examine the direction and intensity of sunlight; if the plant is in a location with overwhelming midday sun, consider providing filtered light to prevent future stress. Tightening up your watering schedule and improving soil composition can add significant support to fine-tune your growth strategies moving forward. If persistent browning continues for several weeks despite these interventions, it may be necessary to consult a local horticulturist for advice specific to your climate and soil conditions.
FAQ
How long will it take for my lavender to recover?
It typically takes a few weeks for lavender to show signs of recovery after addressing heat stress. You should begin to notice new growth and vibrant color returning once the plant adjusts to proper hydration and environmental conditions. However, if browning lingers longer than two weeks, it could indicate ongoing stress or a need for deeper inspection of drainage or nutrients.
Should I remove brown leaves from my lavender?
Yes, pruning off the brown leaves helps redirect the plant’s energy to healthier parts. This encourages new growth and can help improve the overall appearance of your lavender. Additionally, removing brown leaves reduces the likelihood of fungal infections, as damaged foliage can become a breeding ground for pathogens.
Will my lavender come back after turning brown?
Yes, lavender often rebounds from heat-induced browning if water and care routines are improved. Monitoring soil health and providing deep watering can significantly enhance recovery chances. If the recovery does not yield visible results after three weeks, consider reassessing soil health and potential pest issues that could complicate recovery.