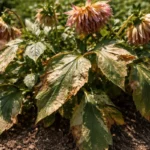
You may notice tiny insects clustering on the stems and leaves of your orchids during growth, which is why you need to know how to stop aphids on orchids during growth. These pests suck the sap from your plants, leading to yellowing leaves and overall plant damage. If left unchecked, the infestation gets worse and can spread to other plants, weakening the orchid’s health. Fortunately, fixing it is possible now if you inspect your plants regularly and remove any affected sections immediately.
Step 1 – Spray Neem Oil on Affected Orchids
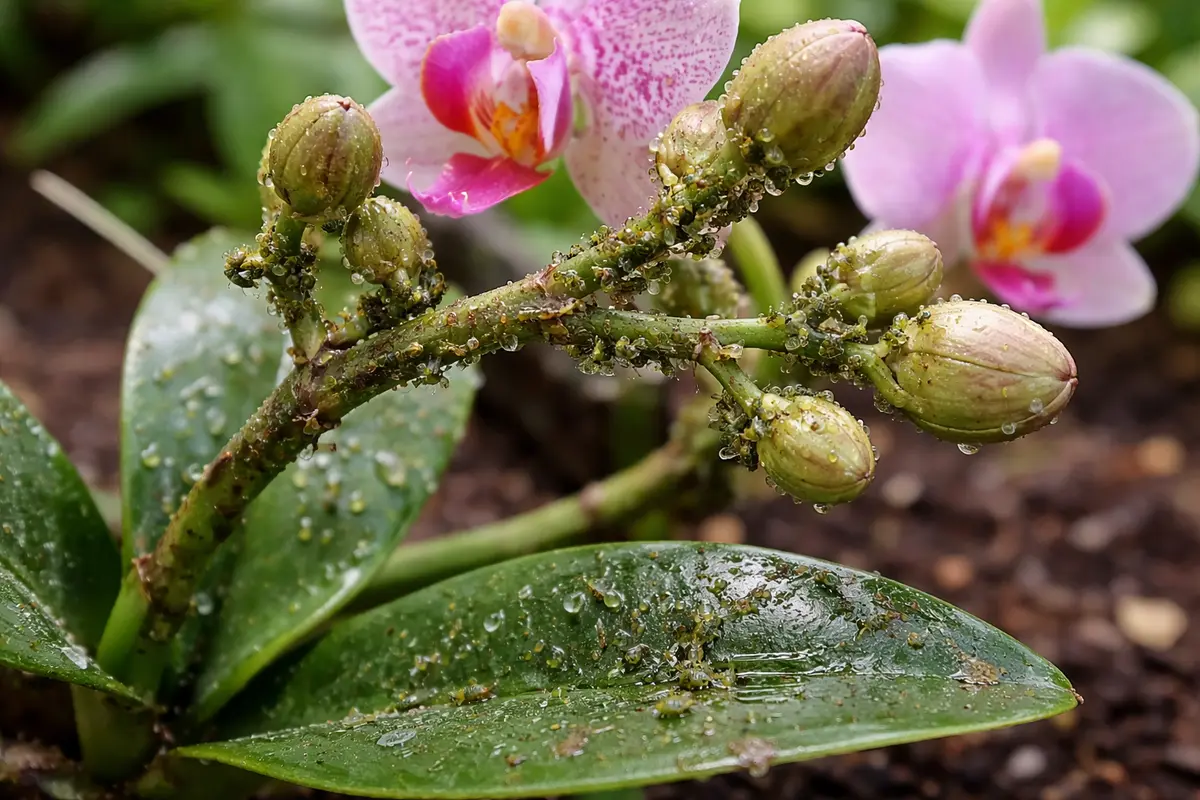
Spray neem oil directly onto the leaves and stems of your orchids immediately. You will see a noticeable reduction in the number of aphids within a couple of days as the oil disrupts their life cycle. It is best to apply the neem oil in the late afternoon when temperatures are lower to minimize evaporation. Keeping your surrounding environment under control, such as managing temperature and humidity, can further help enhance the treatment’s effectiveness.
Neem oil is effective due to its natural insecticidal properties, disrupting the life cycle of aphids at multiple stages. The oil penetrates plant tissues and prevents aphids from feeding, leading to their decline. Ensure you apply the neem oil every 7-14 days until you see a consistent decrease in aphid activity, paying attention to signs of re-infestation. You should look for changes such as a reduction in sticky residue or aphid clusters. The presence of favorable weather conditions, like humidity levels around 40-60%, can enhance the efficacy of the neem treatment, so consider these factors when planning applications.
A common mistake is using too diluted an oil mixture or not covering all affected areas thoroughly. If you miss leaves or stems, the remaining aphids can quickly rebound. Aim for a concentration of 2-3 teaspoons of neem oil per quart of water when mixing; proper measurements matter here. Make sure to apply it not just on the tops but especially on the undersides of leaves, where aphids are prone to hide. Also, inspect your orchids for any water droplets on the leaves post-application to ensure effective adhesion; if the oil is pooling, it might signify too much moisture is present. If your orchids are overly sensitive to oils, start with a patch test on a small, inconspicuous leaf area first. This step can help you avoid damage before full application.
Step 2 – Inspect for Underlying Aphid Infestation
Start by inspecting your orchids for signs of aphids, such as curled leaves or sticky residue on the stems. If you identify aphids, wash the affected plants with a gentle stream of water to dislodge them, and repeat this process every few days to observe a decrease in their population.
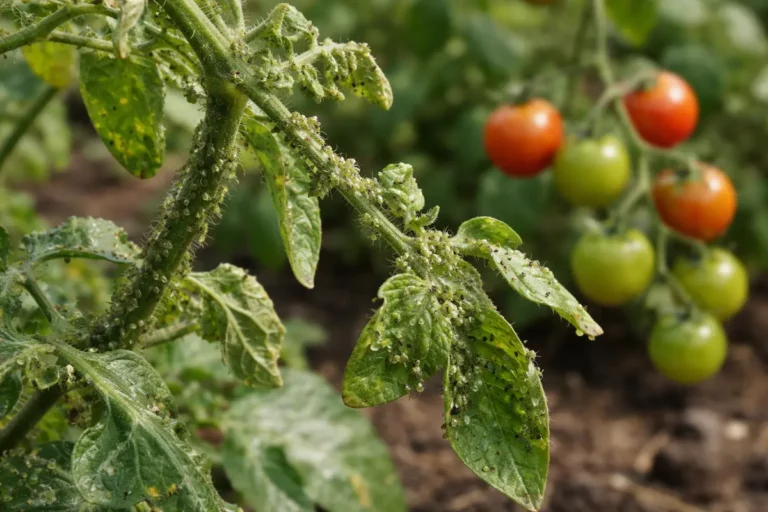
Aphids feed by inserting their needle-like mouthparts into the plant tissue, drawing out sap, which leads to symptoms like leaf curling or yellowing. This feeding disrupts the plant’s ability to produce energy, causing stunted growth, while the resulting honeydew can attract sooty mold, further inhibiting photosynthesis. If you notice leaf curling but no sticky residue, check for other pests like spider mites that can cause similar issues. In many seasons, control pests on borage plants during tracks with visible chewing or stippling.
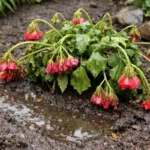
If the soil smells sour, it indicates root rot likely caused by overwatering, which can weaken the plant’s defenses against pests, making it susceptible to aphid infestations. Instead, ensure proper drainage and adjust your watering schedule to allow the top inch of soil to dry before the next watering. If leaves appear discolored yet firm, investigate nutrient deficiency as another possible contributor to weakened plant health.
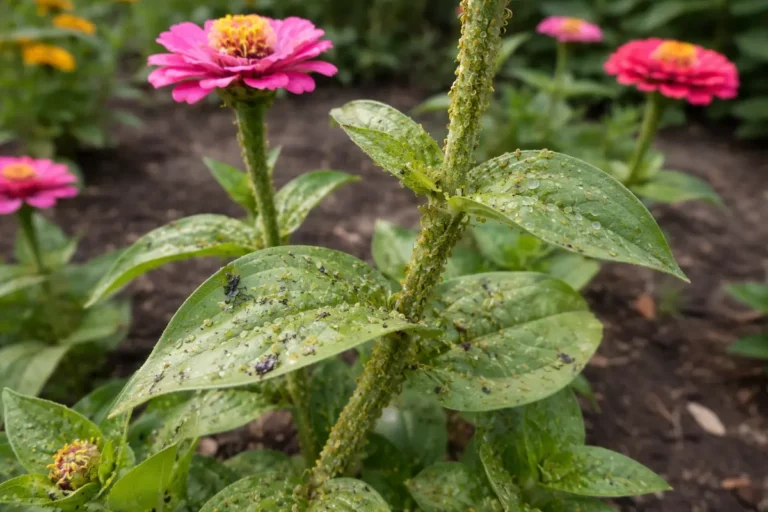
Aphids tend to collect where leaves emerge from stems, as they prefer soft, new growth. The damage from these pests occurs as they suck the sap from the plant, leading to discolored or curled leaves. Understanding their hiding spots is essential for effective pest control, as finding their nests will initiate a more successful removal strategy. Additionally, the presence of ants near your orchids can signal aphid colonies, as ants often protect aphids for the honeydew they produce, so keep an eye on pest activity. If you see black, sticky residue or a shine on leaves, it’s a telltale sign that you may be dealing with aphids.
If you notice sticky residue or “honeydew” on the leaves, this indicates a heavier infestation. In that case, focus on both neem oil treatment and gentle hand removal with a wet cloth for the most visible clusters. It’s crucial to combine both tactics to curtail the aphid population swiftly. Also, check for signs of sooty mold on the leaves, as this can develop from aphid excretion and can hinder photosynthesis if allowed to accumulate. In such cases, hone in on leaf surfaces with sticky residue for a thorough clean; consider using a dilute soapy solution to remove both honeydew and mold effectively. If honeydew or sooty mold appears, clean it gently with soapy water to help your orchids regain their health. Take the time to eliminate all residues; even partial cleaning may allow lingering pests to thrive.
Step 3 – Revitalize Orchids with Nutrient Boosters
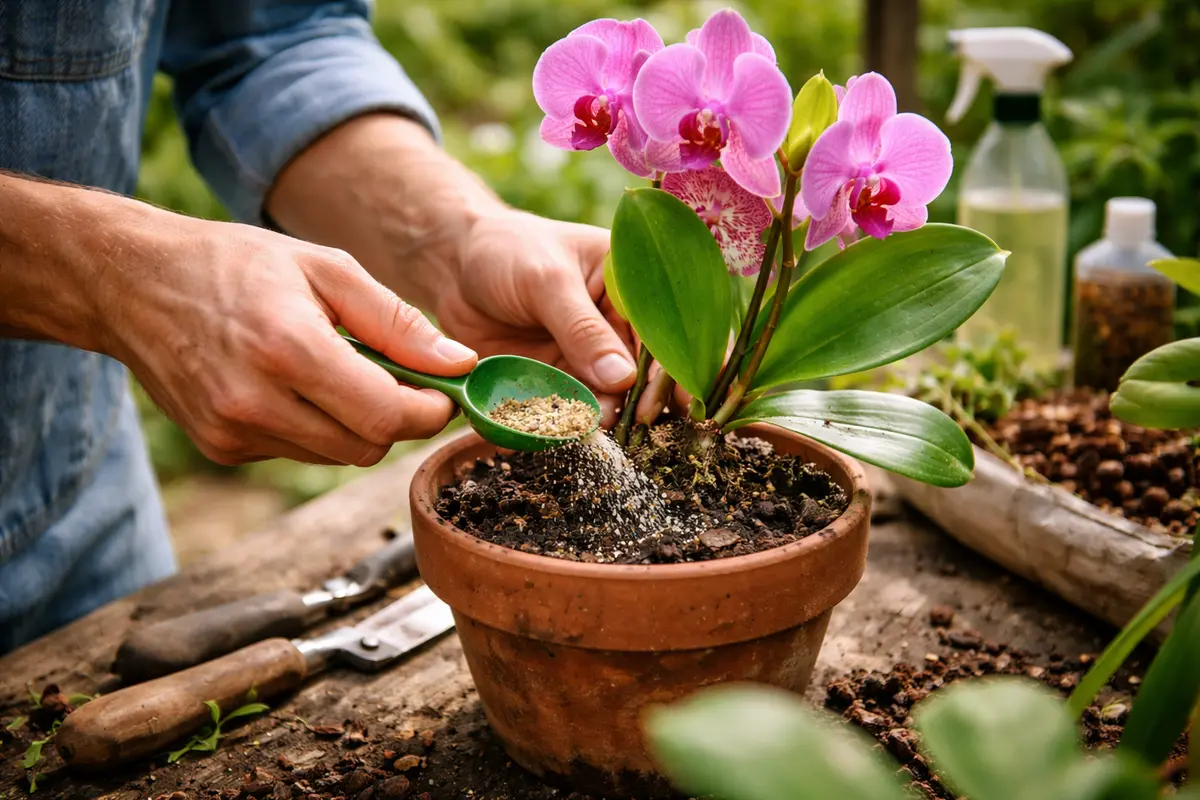
Apply insecticidal soap directly to the affected areas of your orchid, focusing on the undersides of leaves where aphids often congregate. Within a few days, you should observe a decline in aphid populations and healthier new growth emerging as the orchids recover from the infestation.
The recovery timeline can vary, but typically, signs of improvement should appear within one to two weeks after treatment. Healthy regrowth manifests as vibrant green leaves unfurling and new flower buds forming, indicating the plant is regaining strength. Adequate sunlight and moderate humidity can expedite this recovery, while excessive drought or low light may hinder it, leading to stunted growth and persistent aphid problems.
Avoid overwatering your orchids during recovery, as excessive moisture can create conditions conducive to root rot. If your orchid exhibits wilting despite adequate watering, check the root system for signs of damage. Adjusting your watering schedule can help ensure optimal regrowth without causing further stress to the plant.
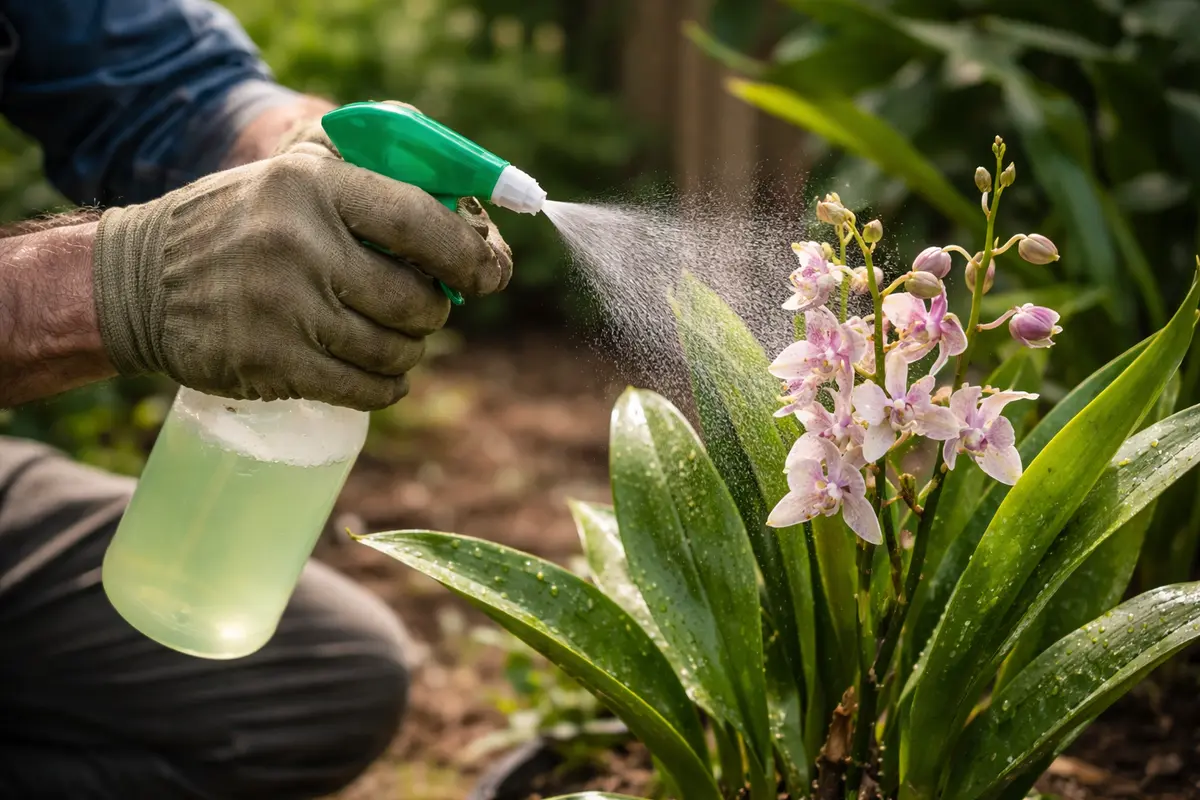
After combating the aphids, giving your orchids a nutrient boost helps restore their vigor and aids in rapid leaf recovery. Healthy roots strongly support the plant, enabling them to produce new growth effectively. Monitoring your orchids’ health is essential, allowing you to ensure they thrive post-treatment and reflects positively through vibrant foliage. For optimal results, consider fertilizing bi-weekly until you observe consistent growth, then transition to a monthly schedule for maintenance to avoid overwhelming the roots.
Be cautious not to over-fertilize; doing so can lead to nutrient burn, which presents itself as browning leaf edges. Use a diluted fertilizer solution at one-quarter strength if necessary until you gauge the plant’s recovery. It is crucial to monitor the plant for signs of nutrient deficiency—yellowing leaves or stunted growth after the initial recovery boost may indicate additional nutrient needs. Furthermore, consider the growing conditions during each application since light and temperature can affect how plants absorb nutrients. If visible roots start showing signs of brown tips, consider cutting back on feeding for a while until the plant stabilizes. Pay attention to water and light variations, as these can also affect nutrient uptake.
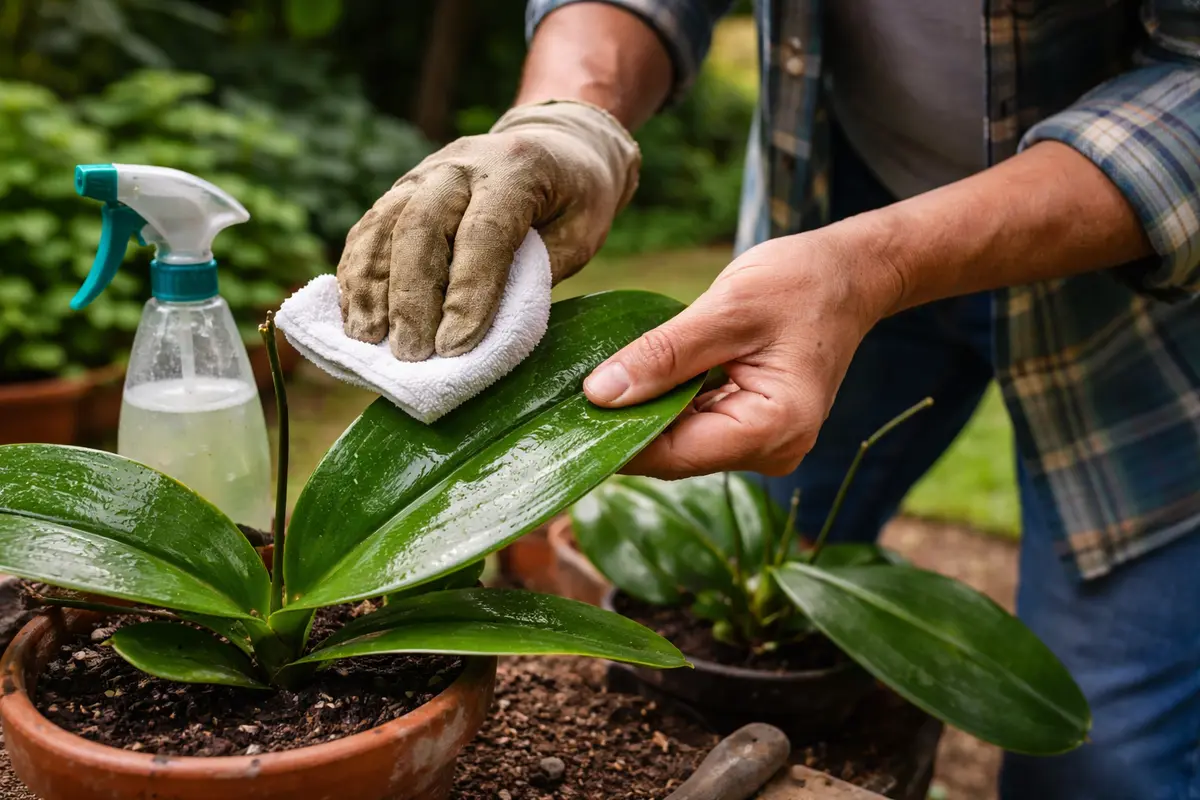
Step 4 – Clean Leaves to Deter Future Aphid Attacks
Start by maintaining a consistent schedule of inspecting your orchids weekly for signs of aphids and applying a diluted neem oil solution if any are found. You should notice a significant reduction in aphid populations as their presence is actively disrupted.
High humidity levels and warm temperatures can create an ideal environment for aphids to thrive, often leading to a rapid resurgence if not adequately managed. By establishing regular checks and applying neem oil as a preventive measure, the conditions that support aphid reproduction are countered, leading to a healthier growing environment for your orchids. If you don’t spot aphids, check for sticky leaves or a decline in leaf vigor for additional signs of stress.
During the warmer months, particularly in spring and early summer, increase the frequency of your inspection to bi-weekly to catch any outbreaks early. Additionally, consider introducing beneficial insects like ladybugs, which can serve as a secondary layer of prevention by naturally preying on aphids.
Regular leaf cleaning improves photosynthesis and deters pests by leaving fewer hiding places. Aphids thrive in dusty conditions where they can hide, and maintaining cleanliness helps reduce their chances of re-infestation. Keeping the leaves glossy and clean also enhances air circulation, as stagnant air around leaves can attract pests. Wipe down both the tops and undersides of the leaves to ensure thorough removal of dust and potential pest habitats. If dust builds up, dampen your cloth slightly; however, do not soak the leaves, as excessive moisture can lead to mold.
Consider cleaning your orchids once a week, especially during peak growing seasons when conditions are favorable for both plant growth and aphid proliferation. Changes in environmental conditions, such as increased humidity or strong light, can influence aphid recurrence; therefore, continuous vigilance is crucial. Additionally, be mindful of leaf sensitivity; using overly rough materials can cause scratching or tearing, which may attract pests. If you notice an increase in pests despite cleaning efforts, it might be a good idea to reevaluate your orchid’s surroundings for any new potential pest attractants. This review should include inspecting neighboring plants that could be a source for aphids or other pests.
Step 5 – Check for New Aphids Weekly After Treatment
Start by monitoring your orchids at least every few days to check for active aphids or any new signs of damage. Observe the undersides of the leaves for tiny green or black insects and inspect the leaf tips for curling or discoloration, indicating an infestation. If you notice these signs, recheck weekly to assess recovery or any resurgence of the problem.
A fully recovered orchid will exhibit vibrant, firm leaves with no signs of curling or spots. Early signs of aphids returning include a sticky residue on the leaves, indicating honeydew secretion, and the presence of ants, which often tend aphids. If you see waxy, distorted leaf surfaces or shriveled flower buds, that suggests the aphids have returned. If leaf texture becomes uneven, check for clusters of aphids on the leaf undersides.
If the problem persists despite following these steps, apply a targeted insecticidal soap or neem oil, thoroughly coating affected areas every 5-7 days until the infestation is controlled. Alternatively, consider introducing beneficial insects like ladybugs if the aphid population is significant.
A successful recovery will be noticeable if leaves are growing firm and vibrant, signaling that the plant has fully recuperated from the aphid’s damage. Keep track of how your orchid responds over the course of several weeks after treatment; that way, you can quickly catch any early signs of re-infestation. New aphid growth tends to be subtle but can rapidly lead to a recurrence of problems if not addressed. Pay attention to any wilting leaves or changes in growth pattern, which may indicate issues. If the leaves remain droopy or yellow post-treatment, underlying problems may persist, requiring further inspection.
If you spot new aphids or sticky residue despite previous efforts, repeat the neem oil treatment or explore alternatives like insecticidal soap. Be prepared to adapt your strategy if multiple treatments do not yield results, since severe infestations may require systemic insecticides or professional help if the problem worsens. In cases of persistent aphid issues, consider isolating the affected orchids as a preventive measure to avoid their spread to healthy plants. Regular monitoring is key; if all strategies fail, consulting with a local horticulturist can provide further tailored assistance based on specific conditions in your growing environment.
FAQ
How long does it take for neem oil to work on aphids?
Neem oil typically begins to show effects within 48 hours after application, causing aphids to stop feeding and starting their decline. Full resolution may take several days, during which repeated treatments can enhance effectiveness. To track progress, check the plants regularly for any returning pests, and maintain your treatment schedule to ensure any late hatching isn’t overlooked.
Can aphids spread to other plants if not controlled?
Aphids can easily move to nearby plants, especially in a warm climate. Regular inspection of all plants within proximity is essential to prevent widespread infestations and ensure early treatment. If you discover an infestation, act promptly to avoid pests crossing over to healthier orchids. An immediate response can prevent broader damage across your indoor or outdoor landscape.
Should I remove affected leaves from my orchids?
Yes, removing heavily infested leaves can be beneficial to the overall health of the orchid. This action helps in stopping the spread and allows the plant to focus its energy on recovery. However, ensure to treat the remaining plant thoroughly and inspect other orchids in the vicinity for similar issues. Try to stay ahead of any issues; a good habit is to routinely check for pest signs, just to catch anything before it spreads.