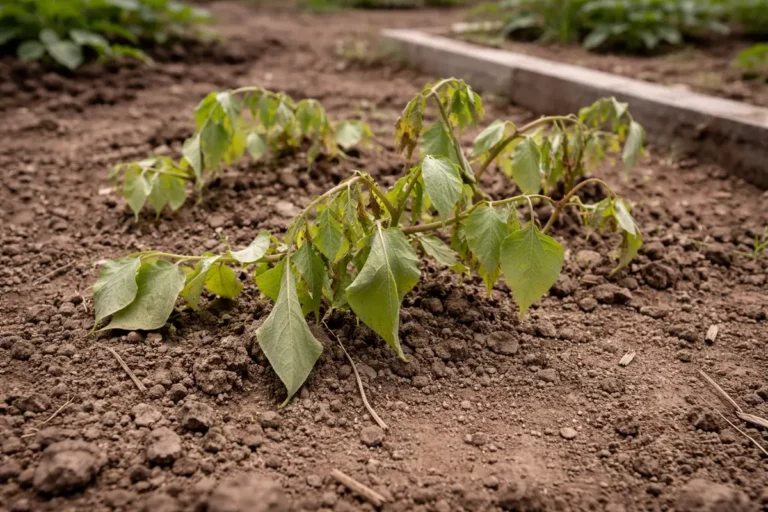
You may notice your spinach plants displaying yellowing leaves and stunted growth after a bout of excessive fertilization, which is why you need to know about Fixing stunted growth in spinach after over-fertilization. This condition often leads to wilting and leaf drop due to the nutrient imbalance caused by too much fertilizer. If left unaddressed, the situation can worsen and stall growth, making it harder to fix later on. However, by checking your soil’s nutrient levels and adjusting your watering routine, you can get your plants back on track.
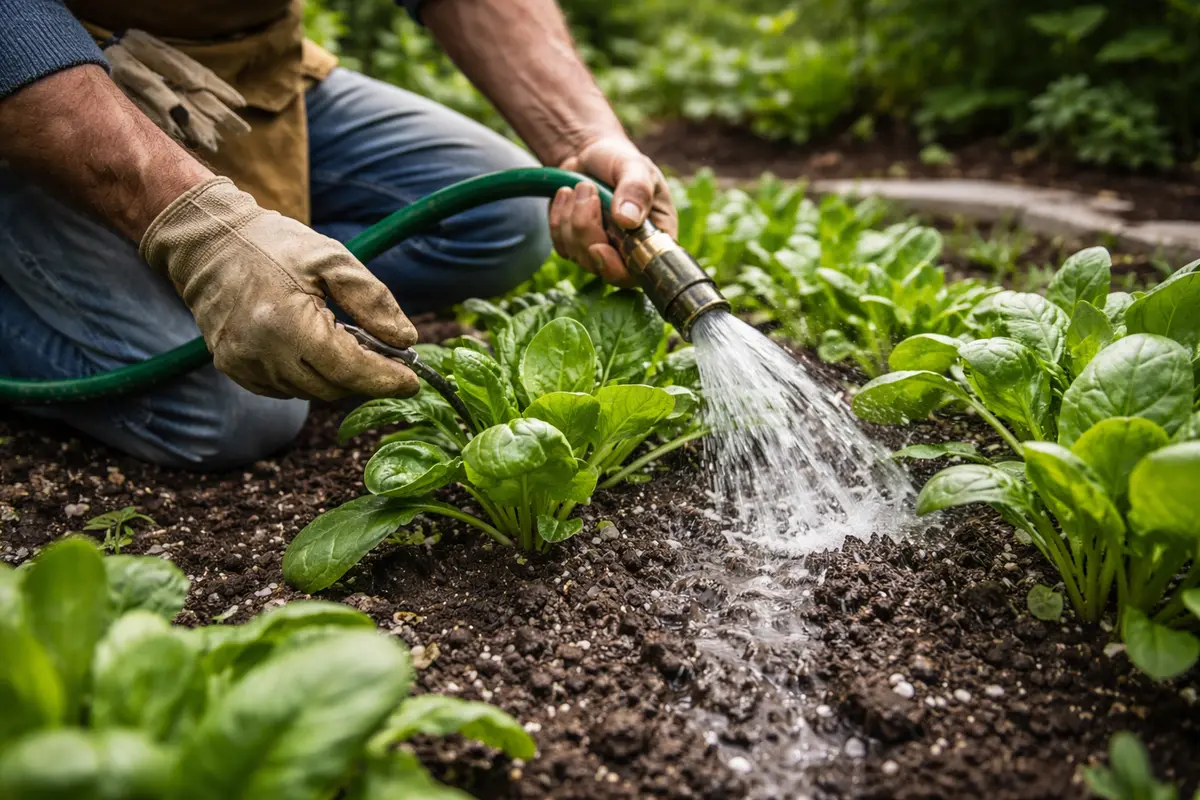
Step 1 – Flush Soil to Remove Excess Fertilizer

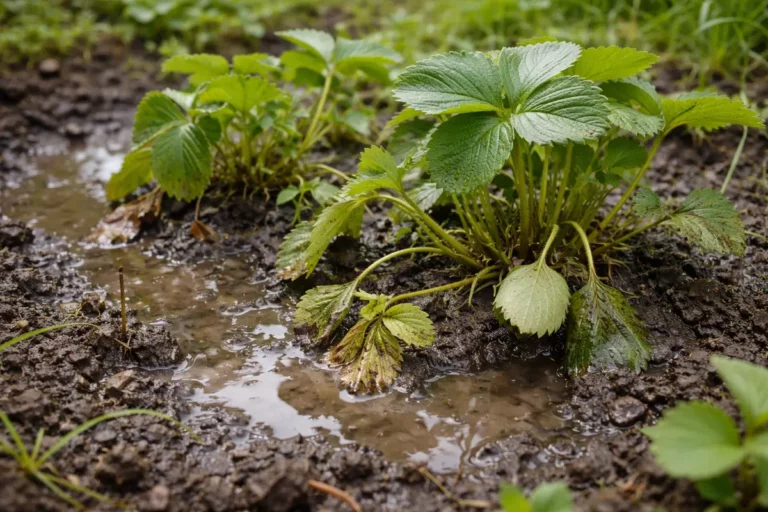
Start by thoroughly flushing the soil with water to remove excess nutrients. You will notice the soil feels saturated and can drain excess fertilizer out of the root zone. Aim to water until you see liquid seeping from the bottom of the pot or garden bed, indicating that the particles affecting root absorption are being washed away. Ideally, use around 1 to 2 gallons of water, depending on the size of your planting area, to ensure deep saturation. Aim for a few hours of moist soil, but avoid waterlogging, as prolonged saturation might lead to root rot.
Water flushing is vital because excess fertilizer can create a nutrient imbalance that may suffocate roots and lead to further wilting or yellowing of leaves. High concentrations of salts in over-fertilized soils can compromise the plant’s ability to absorb water, leading to drought-like symptoms in your spinach. If left uncorrected, this can kill beneficial microbes in the soil, which are crucial for nutrient cycling and plant health. You will typically notice a crusty layer forming on the soil surface if salt buildup occurs, which should prompt immediate flushing. This crust indicates the presence of non-absorbable compounds that can worsen imbalances.
A common mistake many gardeners make is to apply more fertilizer in an attempt to “fix” the problem. Instead, pushing nutrients deeper into already over-fertilized soil can exacerbate root stress. Immediate watering can set the stage for effective recovery, so time your flush during dry periods or when rainfall is anticipated to maximize absorption. Overwatering immediately after adding fertilizer can also lead to nutrient leaching, illustrated by browning edges on leaves indicating that roots have been overwhelmed. Remember, if the drainage system isn’t functioning properly, consider elevating the planting container or enhancing the drainage material to facilitate better runoff during this process.
Step 2 – Assess Nutrient Imbalance in Spinach
First, test your soil for excess nitrogen using a soil test kit, then reduce or eliminate nitrogen fertilizer for a few weeks. Observe the spinach leaves for signs of improvement, such as greener color and increased growth within a week as the plant adjusts to the nutrient levels. If nitrogen levels are too high, which often shows as dark green leaf color without new growth, that indicates a nitrogen-to-growth ratio that is unbalanced.
Over-fertilization, especially with nitrogen, can lead to excessive vegetative growth at the expense of root development, causing stunted growth. When nitrogen levels are too high, spinach plants may display dark green leaves but struggle to produce new growth, indicative of nutrient imbalance. If you notice dry, curled leaves, this points to a different issue with water stress rather than just nutrient overload. Look for these early indicators to avoid further stress on the plants.
If the soil smells sour when you test it, indicating anaerobic conditions, aerate the soil and reduce watering to improve drainage. Alternatively, if you find that your spinach is showing signs of yellowing along the leaf margins but no excess nitrogen, that could suggest potassium deficiency instead, which requires a different fertilization strategy. Always compare your soil test results, as they will tell you more about what macronutrients are high or low before adding anything new. If nitrogen is excessive, adjust your irrigation frequency to avoid exacerbating the condition.
Understanding the soil’s nutrient balance is crucial because it reveals how fertilizer may have impacted root uptake. Spinach thrives in soil with a pH between 6.0 and 7.0; too much fertilizer can drastically shift this balance, leading to nutrient lockout. A pH drop below 6.0 might indicate excess acidity, resulting in a deficiency of nutrients like calcium and magnesium, which are vital for spinach growth. Conversely, high pH readings can lead to locking out essential micronutrients, causing visible deficiencies over time. If testing indicates increased acidity, consider amendments such as crushed eggshell or dolomitic limestone, but only apply them based on the degree of pH imbalance.
Step 3 – Replenish Soil Nutrients for Spinach Recovery
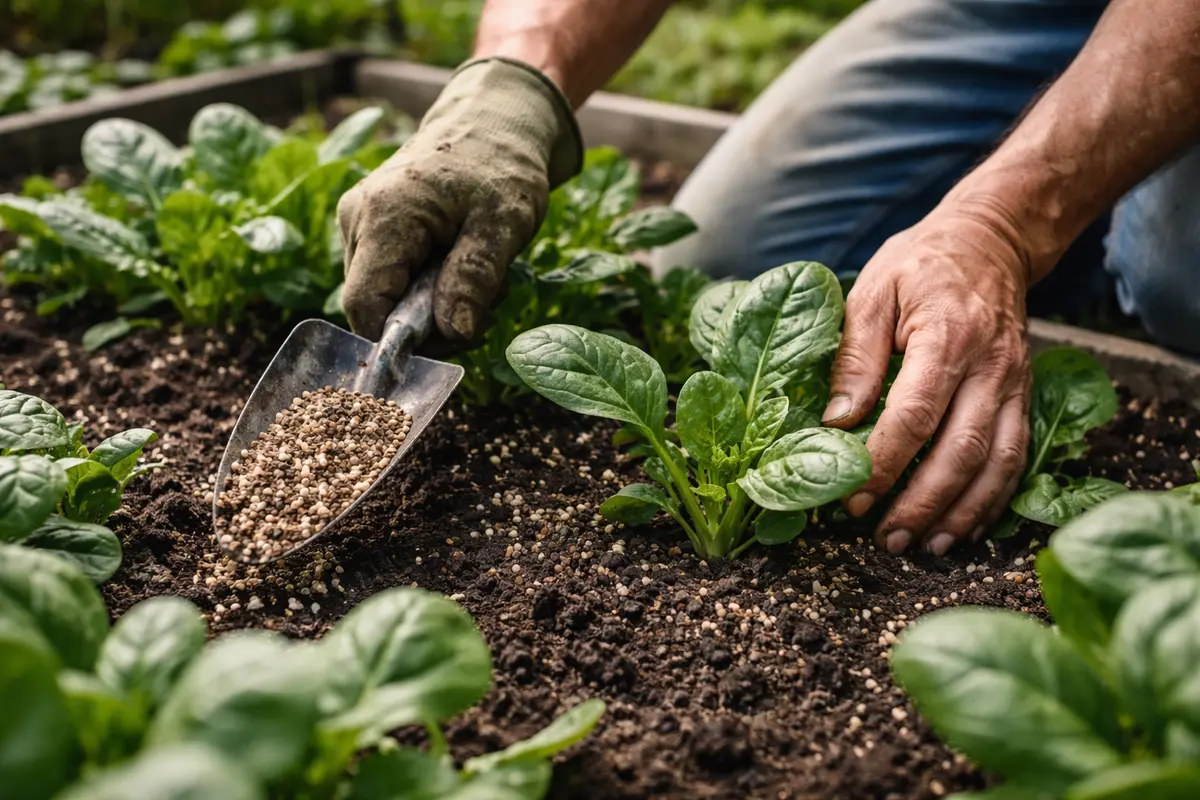
Apply a balanced fertilizer specifically for leafy greens to replenish essential nutrients. Within a week, you should start to notice improved coloration and firmness in leaves as they begin to return to their healthy state. Opt for a balanced NPK (nitrogen, phosphorus, potassium) mix with a ratio such as 10-10-10; this will help ensure your spinach receives a broad spectrum of nutrients. Gradually reintroducing nutrients helps ensure the plant can recover without overwhelming the roots once again, so apply at half the recommended rate initially to avoid further stress.
Replenishing nutrients is essential because it restores vital elements like nitrogen and potassium that spinach needs to grow strong and healthy. These nutrients enhance leaf color and texture, signaling to you that your plants are regaining vitality. Observing dark green colors returning to the leaves is a key indicator of recovery. However, without proper nourishment, plants may continue to decline even after correcting over-fertilization. Keep an eye out for slow growth or persistent leaf drop, which might indicate further nutritional deficiencies. If leaves remain limp, test again for other nutrient deficiencies or excesses using a soil kit.
One common mistake during recovery is over-fertilizing again, thinking that more nutrients will expedite healing. Instead, monitor your plants closely, and if recovery appears slow, ensure you’re feeding them at intervals rather than in excess. Adjust feeding frequency depending on growth stage; for example, seedlings require less frequent feeding compared to established plants. Additionally, be cautious with any fertilizers high in nitrogen as this can further worsen leaf burn if misapplied. As the plants respond positively, taper off additional fertilization after two to four weeks based on visual assessments of new leaves and overall plant resilience.
Step 4 – Shield Spinach from Over-Fertilization Risks
Start by reducing the amount of fertilizer you apply and switching to a slow-release option. By making this change now, you will notice more consistent growth in your spinach over the next few weeks as they begin to adjust to balanced nutrient levels. Monitoring their response within two weeks can provide insight into how well this adjustment is working.
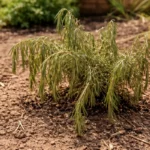
Over-fertilization often results in a nutrient imbalance, causing symptoms like chlorosis or stunting. The presence of excessive nitrogen can trigger rapid foliar growth at the expense of root and overall plant development; meanwhile, opting for slower nutrient release allows the plants to absorb what they need, promoting healthier root systems, which becomes apparent as they begin to show signs of new root growth at the container’s bottom. If you still observe yellowing leaves despite cutting back on fertilizer, check for water stress from improper irrigation, as overwatering can yield similar symptoms.
In spring, consider applying a layer of organic mulch to moderate soil temperature and retain moisture, as these factors can mitigate the effects of both over-fertilization and subsequent nutrient deficiencies. If you encounter prolonged dry spells, recheck your watering schedule to ensure your spinach plants receive adequate hydration. This proactive approach helps create an ideal growing environment since spinach is particularly responsive to nutrient inputs. Regular checks on soil nutrients and adherence to a fertilization schedule help gardeners avoid pitfalls associated with excess nutrients.
Set a reminder to check nutrient levels every few weeks during peak growth; inconsistencies in applications can lead to nutrient imbalances, severely affecting overall health and productivity. Environmental changes, such as unexpected rain or drought, should signal adjustments in your feeding plan. In areas where extreme weather hits regularly, consider applying protective grow covers to limit watering shocks while maintaining adequate drainage to avoid waterlogging.
Step 5 – Check Spinach Leaves for Growth Signs Regularly
Start by monitoring your spinach plants for signs of recovery following over-fertilization. Check the soil moisture every few days and observe leaf color; new growth should display a vibrant green hue. Recheck these indicators weekly to ensure the plants are on a positive trajectory.
A fully recovered spinach plant will feature broad, crisp leaves with a rich, bright green color, indicating vigorous growth and nutrient uptake. In contrast, if the leaves start appearing yellow and softening, it signals a potential return of stunted growth due to excess nutrients. If not firm and upright, check for moisture levels to avoid waterlogged conditions.
If signs of the problem return despite your monitoring efforts, reduce fertilization further and increase airflow around the plants by spacing them adequately. If the issue persists after making these adjustments, consider repotting or replacing affected plants to prevent spreading the issue in your garden.
A fully recovered spinach plant will exhibit vibrant green leaves that are smooth and firm, while early signs of the problem returning include a gradual yellowing of leaves combined with a mushy texture. If new growth continues to develop and remains healthy, the plants are likely stable; however, if the leaves start curling or browning at the edges again, over-fertilization may still persist. Regular growth assessment can help you identify and pivot sooner if problems occur again, potentially saving further degradation of crop health.
If the stunted growth recurs despite following these steps, reduce the frequency of watering and consider replacing the top layer of soil with fresh, nutrient-balanced compost or potting mix that enhances drainage. Escalate your efforts by removing some of the existing soil if necessary and ensure plants have adequate drainage to prevent nutrient buildup. When spinach is recovering fully, new growth should appear healthy and consistent in size and color, with old stress symptoms gradually diminishing.
Check for signs such as firm stems and a return to a deep green color as indicators of effective recovery. A decline in growth rates after fertilizer readjustments may indicate a need to re-evaluate your plan. Conversely, limp leaves or yellowing may indicate recurring nutrient issues that require recalibration of care techniques, such as confirming that your soil pH remains in the optimal range. If problems persist despite following the recovery routine, flush the soil again and reassess your nutrient balance.
FAQ
How long does it take for spinach to recover from over-fertilization?
Recovery time can vary, but you should expect to see signs of improvement within one to two weeks after implementing corrective actions. Growth rates may vary based on environmental conditions; for instance, increased temperatures and adequate moisture will typically facilitate faster recovery, while cooler environments or water stress may prolong the process. Keep a close eye on the plants during this time to encourage a healthy transition.
Can over-fertilization spread to other plants in the garden?
Yes, if excess fertilizer leaches into the surrounding soil, it can affect nearby plants by altering nutrient availability. If you notice that neighboring plants are also exhibiting yellow leaves or stunted growth, it is crucial to address the soil immediately. Be proactive about maintaining soil health properly to prevent nutrient imbalances that could harm other plants in close proximity, focusing on a balanced feeding regimen throughout the garden.
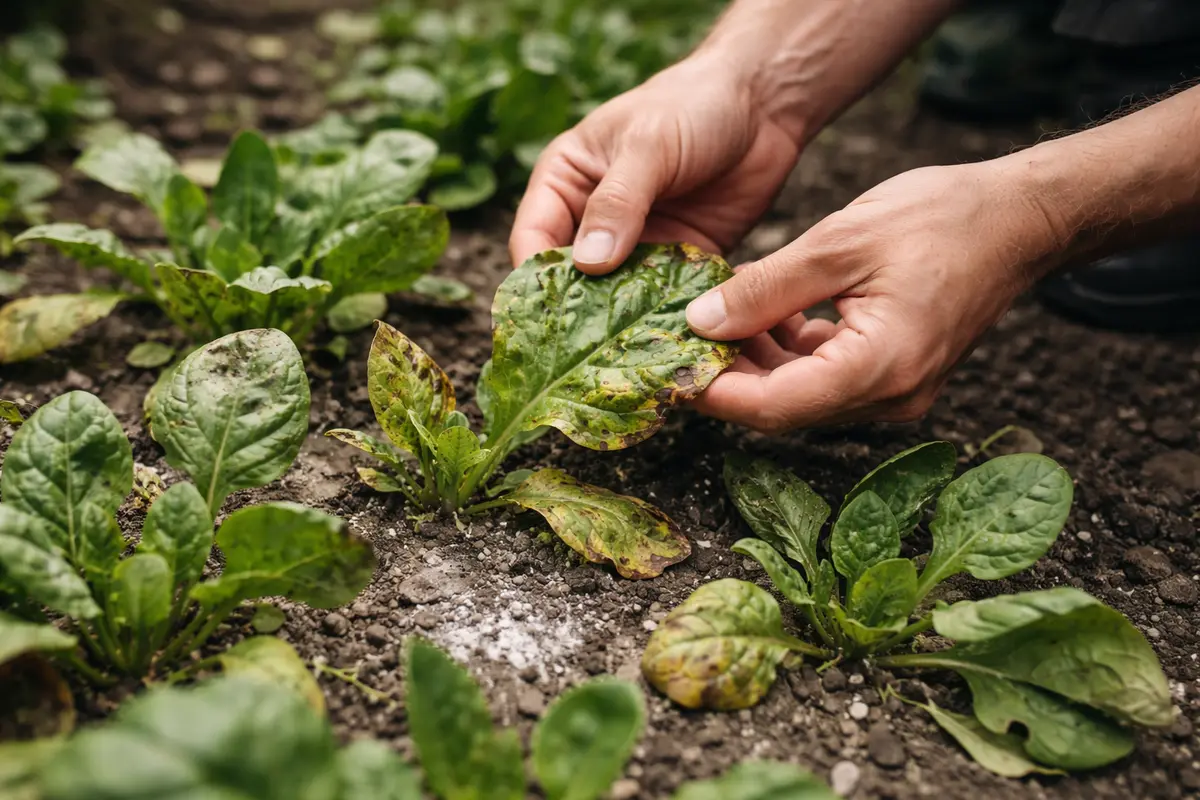
Should I remove yellowed leaves from my spinach plants?
Remove yellowed leaves if they are severely damaged and not contributing to photosynthesis. This action allows the plant to focus energy on healthier growth, which is crucial during recovery. However, do so cautiously to avoid removing too much foliage; ideally, only remove the most affected leaves, leaving healthy ones to continue their growth. A balanced approach in leaf management can often lead to better recovery outcomes.