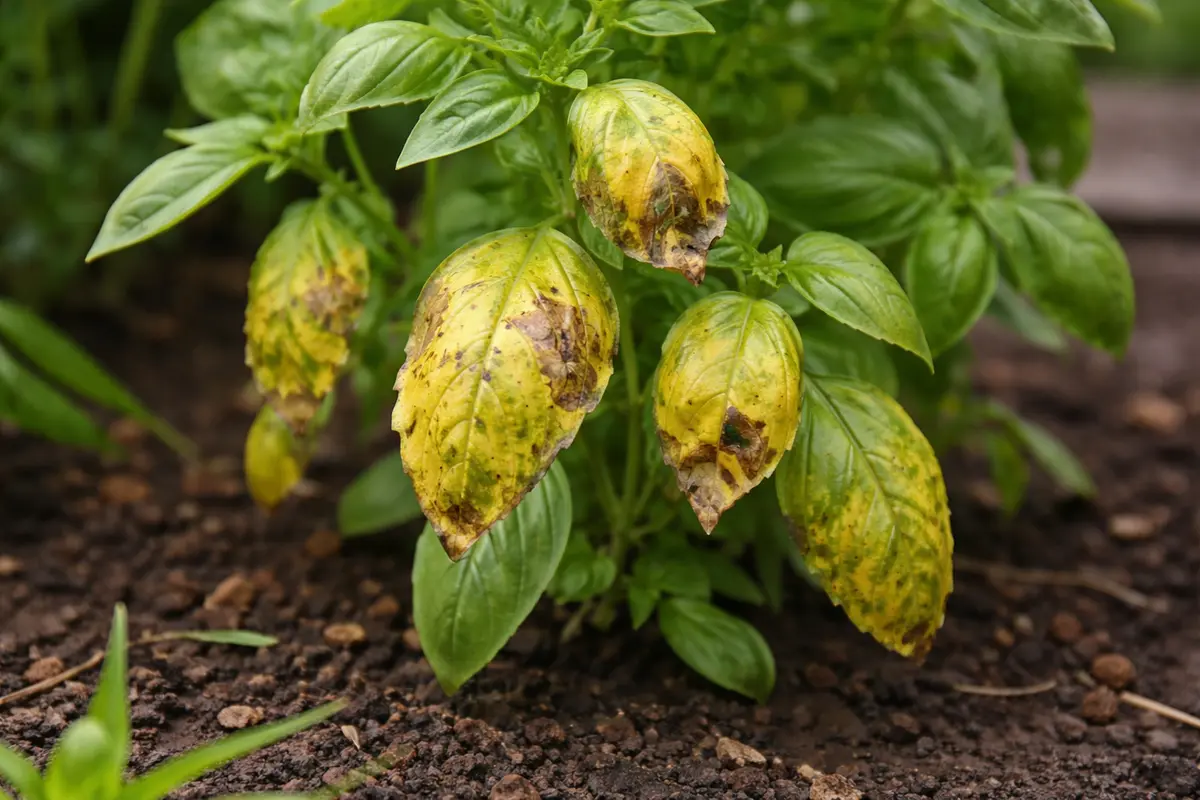
You’ve probably seen your vibrant herbs turned dull and yellow, especially during the warm summer months when you’ve recently fertilized, which is why you need to know how to fix yellowing leaves on herbs after fertilization. This yellowing often occurs due to over-fertilization or nutrient imbalances, leading to leaf damage and unsightly discoloration. Left unattended, this problem can spread and weaken the plant significantly, making it harder to fix later on; however, you can improve your herbs’ health by adjusting your fertilization techniques and monitoring their growth closely.
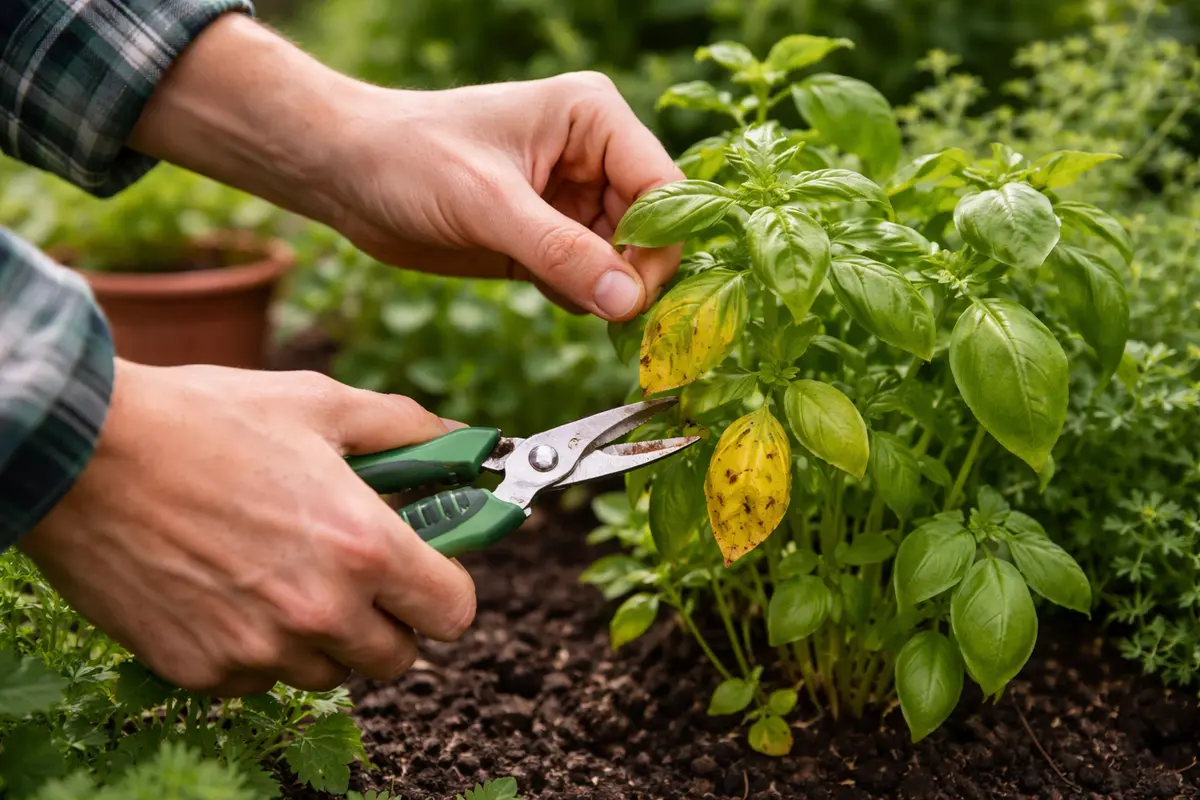
Step 1 – Prune Yellowing Herb Leaves Immediately
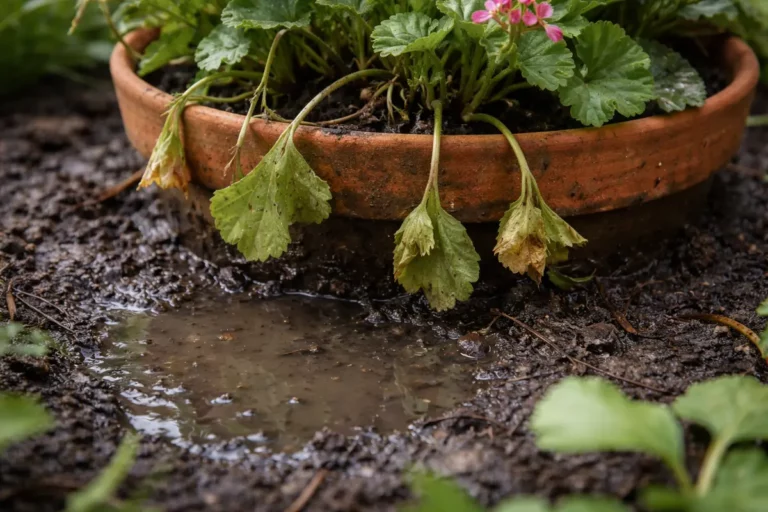
First, remove any excess fertilizer from the surface of the soil to prevent further nutrient burn, and then flush the soil with water to dilute the remaining fertilizer. You should notice the yellowing leaves begin to stabilize within a few days, as this reduces the risk of additional damage from nutrient overload.
Acting quickly is crucial because over-fertilization can lead to salt build-up, impairing the plants’ ability to absorb water and nutrients. If the yellowing progresses, the roots may suffer irreversible damage, causing the plant to wilt and potentially die. Unlike healthy leaves displaying vibrant color, overly fertilized leaves will exhibit a noticeable pale or yellow hue, signaling distress.
For example, a gardener who noticed yellowing leaves and promptly flushed the soil saw their herbs bounce back in a week, contrasting with a neighbor whose delayed response resulted in stunted growth. A frequent issue is overlooking the symptoms of over-fertilization and applying more nutrients instead; if you observe plants with yellow leaves, check the soil for signs of excessive fertilizer first.
Acting quickly is crucial because excess fertilizer can lead to nutrient burn, causing stress and discoloration. If you delay addressing the issue, your herbs may struggle to absorb essential nutrients, resulting in further yellowing leaves and potentially stunted growth. Plants that receive proper care show vibrant green foliage; they also demonstrate a resilience that aids in their recovery—unlike over-fertilized herbs, which can show a swift decline in vitality. For instance, if a basil plant starts showing yellow leaves within a week of fertilization, simply removing those leaves and cutting back on nutrients can lead to recovery.
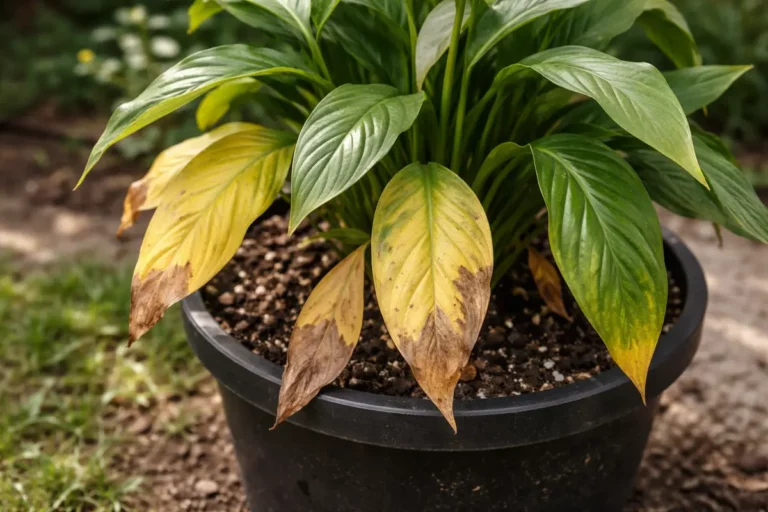
For example, a gardener who promptly reduced fertilizer levels successfully revived their basil plants, watching them return to lush greenery within days. Conversely, another gardener ignored the yellowing and continued to fertilize, ultimately losing half their crop to severe nutrient burn. If you notice dry, crispy edges alongside yellowing leaves, check your watering practices, as underwatering can exacerbate the symptoms. It’s essential to understand that the visible aspects of your herbs, such as yellowing leaves, can be early indicators of much larger issues like root stress or nutrient lockout.
Quick action is crucial because yellowing leaves diminish the plant’s ability to photosynthesize effectively, which is critical for their health and vigor. By pruning off the distressed leaves, you’re redirecting the plant’s energy toward the healthier parts, facilitating robust growth and vitality. You may notice that even two or three trimmed leaves can lighten the plant’s load, allowing it to focus its resources on recovery. This process becomes particularly important when you notice that multiple herbs in the same pot are exhibiting signs of distress; careful pruning helps reduce competition for limited resources, allowing remaining leaves to harness maximum light and nutrients.
A common mistake many gardeners make is leaving the yellowing leaves on the plant, hoping they will revive. For instance, delaying removal can lead to a cumulative stress response in the plant, causing the herb to stop producing new foliage entirely and possibly affecting nearby plants. If you observe leaves that are more than 50% yellow, the time to act is now; don’t wait for the plant to give additional signs of distress. Always assess the yellowing leaves promptly and trim them away to minimize stress and promote healthy development. Remember, plants inherently compete for nutrients, and your proactive care can significantly enhance overall plant health—each snip of a yellowed leaf can accelerate the revival process.
Step 2 – Check for Over-Fertilization Effects on Herbs
Inspect the soil and roots for any clear signs of over-fertilization. You should look for conditions where the soil is either extremely dry or overly saturated, indicating a potential rise in salt levels that can lead to root damage. Feel the soil; if it is crusty on the surface, that signifies salt buildup, which not only hampers absorption of water but also can begin to cook the roots if nutrients are too concentrated. This process can stress the plant further and lead to additional yellowing if not corrected quickly. Touching the soil should help assess if the texture is dense and gritty as opposed to soft and moist, which indicates a need for immediate corrective action.
Pinpointing the root cause of the yellowing leaves is integral for a lasting solution. Over-fertilization typically results in an excess of salts in the soil, inhibiting the roots’ ability to absorb water and essential nutrients. Consequently, your herbs might exhibit yellowing leaves as they struggle to take up the necessary moisture and nutrition for healthy growth. If you notice a salt crust on the surface or if the soil feels unusually gritty, take immediate action as your herbs will likely continue to suffer until this issue is fully addressed. Running a finger through the soil can help determine how compact it is; overly compact soil often leads to insufficient root aeration, contributing to further nutrient absorption failures.
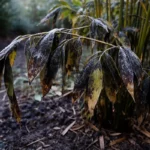
Examine the soil for signs like a sour smell or crusty surface, which indicate toxic nutrient buildup. If you encounter this, you must allow the soil to dry for a bit before flushing it thoroughly with water. This step is crucial; it helps dilute the salts and restore balance in the soil environment. However, if the roots are dark and mushy, this indicates root rot, necessitating immediate replanting into fresh, well-draining soil to salvage the herb. Be vigilant during this process; if this root damage goes unchecked, it can lead to further wilting and death of the plant. If the soil remains dry and the plant shows no signs of recovery after a day or two of watering, consider checking your watering techniques; over- or under-watering can create an equally detrimental environment. If the herb is in a pot, gently lifting the plant out can provide a clearer view of root health, allowing you to check for signs of vitality or deterioration.
Step 3 – Feed Herbs Nutrients for Recovery from Yellowing
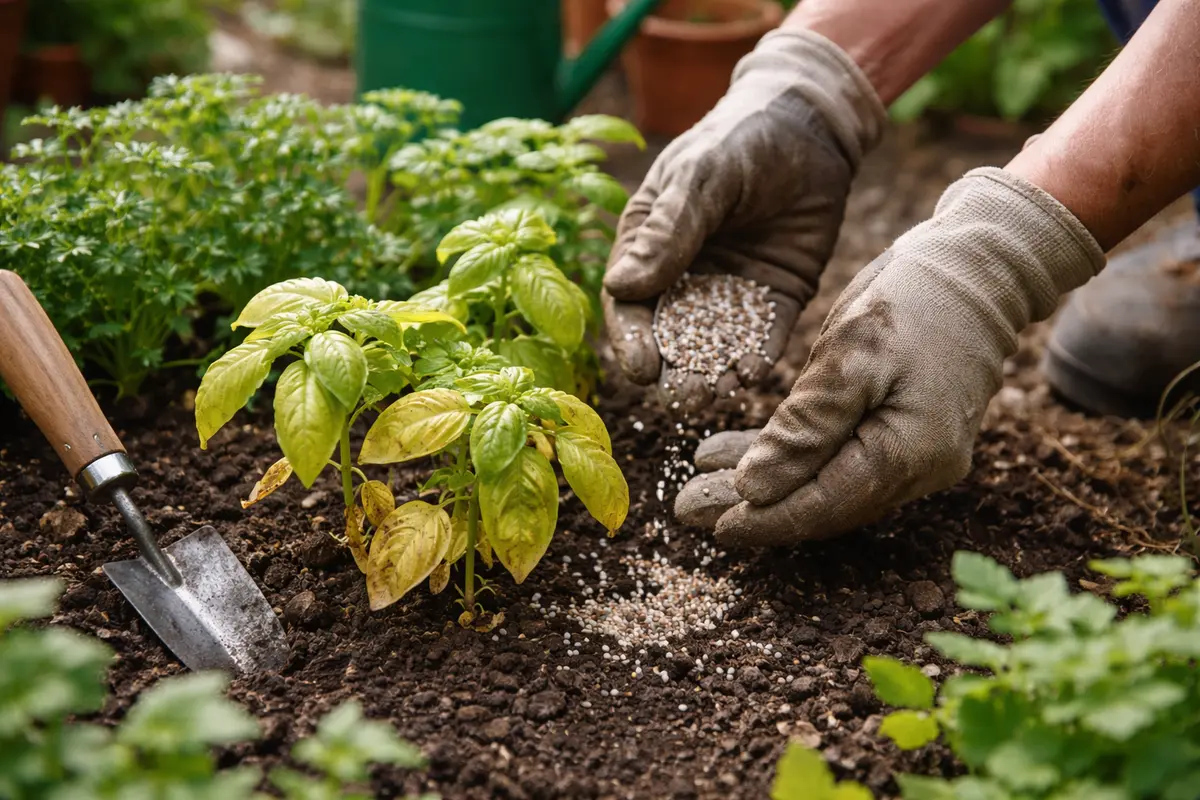
Apply a balanced compost or a diluted, herb-specific fertilizer to your plants. You should see visible improvements in leaf color and new growth starting within a week of application, particularly if the initial fertilizer dose was low. Start with a diluted mixture to prevent introducing any extra stress, and gradually increase it based on the plant’s receptiveness. A recommended initial ratio is a mixture of one part fertilizer to four parts water, especially if the herbs have been significantly stressed. This dilution prevents further nutrient lockout from occurring, creating an environment conducive to recovery.
Providing balanced nutrients is paramount for your herbs’ recovery, especially post-stress events like over-fertilization. After pruning the yellowing leaves, it’s essential to boost the plant’s health by supplying the necessary nutrients that promote cellular growth and help repair any damaged tissues. This nourishment can be observed visibly as new leaves and a return to brighter, more vibrant foliage—an indication that the plant is beginning to thrive once again. Moreover, during this recovery phase, integrate a balanced nutrient regimen providing nitrogen, phosphorus, and potassium for optimal health, considering a timely application every few weeks to enhance nutrient uptake. You may observe a leafy resurgence as your plants adapt and heal; healthy soil structure and compost can also improve drainage and aeration, further bolstering recovery.
During this restoration phase, be diligent about maintaining a consistent watering schedule while steering clear of over-fertilization. Overdoing it can exacerbate past problems; thus, opting for a lightweight, slow-release fertilizer is highly recommended. It’s easy to rush into a recovery mode where excess nutrients are added, mistakenly believing they will help. A common misconception is to hastily recover the plant by adding extra nutrients, leading to additional stress rather than a constructive outcome. Monitoring the plants closely during this period is crucial; if you notice new yellowing leaves after feeding, this could indicate nutrient lockout or pH imbalance, meaning immediate adjustments will be necessary. Always calibrate the water to ensure that not too much is applied, as this can wash away the nutrients essential for growth while adding more water-related problems.
Step 4 – Inspect Herb Leaves for Regrowth After Treatment
Next, monitor your herbs regularly after fertilization by checking the soil moisture level and the color of the leaves. Observe for signs of improvement, such as a shift from yellow back to green, approximately one to two weeks after adjusting watering and light conditions. If conditions remain stable and you see no change, recheck the situation every few days to assess progress. This regular assessment can help catch early missteps before they escalate.
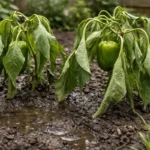
A fully recovered herb will display vibrant green leaves with a healthy sheen, while the early signs of the problem returning may include faded or pale yellowing, particularly at the leaf tips. If the leaves appear crispy or curled alongside yellowing, this indicates stress that needs addressing immediately rather than just monitoring water levels. Carefully observe the leaves, noting any shifting colors that might suggest deficiencies or excesses still present. Minor signs like these can guide you toward noticing larger trends; facilitating action before the plant’s condition deteriorates further is essential. If you notice that the newly grown leaves are still yellow, it may signal persistent nutrient imbalance, so check for irregular soil moisture or continued nutrient runoff issues.
If yellowing resumes despite proper care, consider reducing the fertilization frequency and switching to an organic fertilizer known for gentle release. If conditions worsen or signs of wilting occur, escalate your response by transplanting the herbs into fresh, nutrient-rich soil to help restore balance. Taking these steps can help ensure the long-term health of your herbs. Close examination of the leaves not only helps you diagnose but can also allow you to notice the surrounding environment, checking other potentials like infestation or disease that could be causing distress. Observing the overall health of the plant surrounding their environments can highlight other stress factors as well, such as overcrowding or shade issues.
After applying your nursing care, a fully recovered herb plant should reveal vibrant green leaves and noticeable new foliage, signifying successful nutrient uptake. If yellowing recurs, or if any leaves exhibit wilting or loss of color, this signals that underlying problems might still persist. Early detection of such signs can differentiate between a superficial fix and an authentic recovery process. Monitoring the leaf margins and stems for any dark spots or wilting can help in detecting other potential issues like pests or disease that may have coincidentally developed during stress periods. If your herbs do not appear to show any improvements or even show signs of decline after one week, check your current watering habits and fertilization techniques. Sometimes other stressors might be at play, such as inadequate sunlight—herbs like basil require at least 6-8 hours of indirect sunlight per day—or pest infestations, which may require your immediate attention. If after a week you still observe no positive changes with visible growth, consider repotting the herb into fresh soil and gently rinsing the roots under lukewarm water to eliminate any remaining salt buildup that could be hindering recovery. Always consider rotation; sometimes relocating herbs to a slightly shaded or brighter spot can promote recovery depending on their specific sunlight needs, especially after a period of being over-fertilized.
FAQ
How long will it take for my herbs to recover after treatment?
Herbs generally begin to show signs of recovery within a week if the treatment is applied correctly. Expect to observe new leaf growth and a return to greener foliage as the plant stabilizes from the earlier yellowing stress. However, it’s essential to note that recovery time can vary significantly based on the specific herb type, individual plant health, environmental conditions, and any pre-existing issues before treatment.
Can yellowing leaves on herbs spread to healthy leaves?
Yes, without addressing the core issue causing the yellowing, the problem is likely to extend to other healthy leaves. It is crucial to rectify the underlying cause to prevent further damage from spreading throughout the herbal plants. If neighboring plants exhibit early signs of yellowing or wilting, it may be time to implement the same corrective measures across those plants as well, ensuring no competitive advantage is maintained among unhealthy and healthy foliage. Immediate action can prevent the development of additional risky conditions.
Should I remove yellowing leaves if I see them appearing?
Yes, it is vital to promptly remove any yellowing leaves as you notice them. This proactive approach not only enhances the plant’s aesthetic appeal but also helps redirect its energy towards developing healthier foliage, encouraging more vigorous new growth. Likewise, maintaining this practice can assist in minimizing the spread of stress that can impact neighboring leaves. Regularly monitoring aids in maintaining a balanced environment, ensuring that the plant’s energy is utilized for growth rather than sustaining unhealthy foliage.