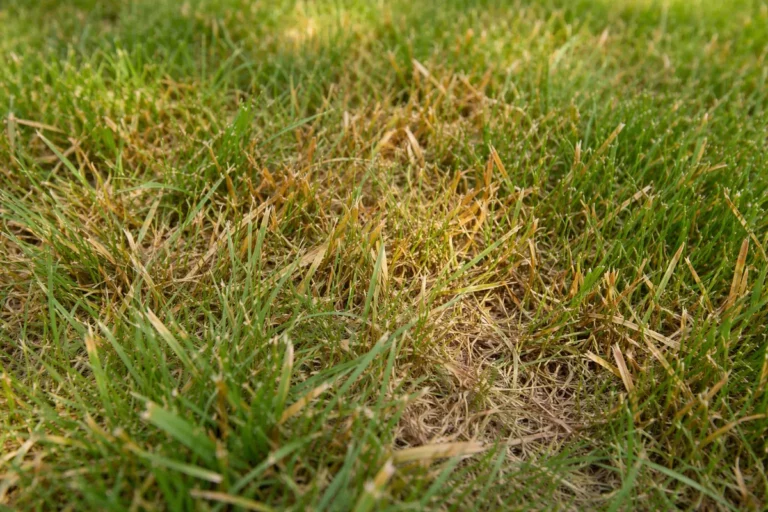
Brown patches on your cranberry plants often appear during dry spells, raising the question, “Why do my cranberries develop brown patches during growth?” These patches typically signify leaf scorch, which occurs when water stress limits the plant’s ability to uptake moisture. If not addressed, the damage can spread and severely impact fruit production. To tackle this issue, start by inspecting the soil moisture levels immediately and adjust your watering routine to ensure adequate hydration.
Step 1 – Trim Affected Cranberry Stems Quickly

Start by immediately cutting away any leaves or fruit that show brown patches. You should see a reduction in visible damage as the remaining healthy foliage is less likely to carry disease. This crucial action prevents the spread of fungal infections that can quickly overwhelm your cranberry plants.
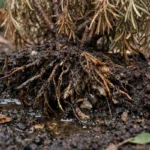
If the brown patches appear alongside wilting, this might indicate root disease, which requires urgent attention. Removing the affected material limits the potential spread of pathogens that could severely damage your crop over time. Remember, if you see rapid discoloration alongside wilting, check for root rot as a possible underlying issue.
For instance, a gardener who promptly cut back diseased leaves observed their plant starting to rebound in just a week, while another who hesitated faced a broader decay later. Immediate action is key; spotting brown patches after heavy rainfall could mean the start of a serious infection that needs rapid intervention.
By addressing the problem quickly, you can maintain a healthier plant than if you wait for the issue to resolve on its own, which could lead to stunted growth and poor fruiting. Additionally, if leaf curling accompanies the browning patches, inspect for aphids, as they contribute to overall plant stress and vulnerability.
A gardener once observed brown patches but delayed intervention, hoping the issue would mend itself. Two weeks later, the patches had spread significantly, harming the plant’s yield. This situation underscores the importance of prompt diagnosis and treatment—earlier cutting could have preserved the crop’s health.
By trimming affected areas immediately, you significantly reduce the risk of further spread of brown patches. This action aids your plant’s recovery by conserving energy otherwise drained by unhealthy portions. Quick action minimizes the potential for disease to migrate to other parts of your garden. If only partially trimming the affected stems, however, you risk leaving behind pathogens that may re-infect new growth and undo your efforts.
One common error gardeners make is waiting too long to perform this cutback, allowing the disease to escalate. For example, a friend who trimmed her cranberries at the first sign of damage achieved much better results compared to those who delayed intervention. Timely action stopped further spread and led to healthier leaves in subsequent weeks. Additionally, make your cuts at a 45-degree angle to promote healing and prevent accumulation of water on cut surfaces. If decay appears widespread, consider removing entire branches for the overall vitality of the plant.
Step 2 – Diagnose Brown Patches on Cranberries
Inspect the affected areas closely to identify the underlying cause of the brown patches. You will notice changes in the plants’ health as you target the root problem effectively. This happens because excessive moisture can lead to root rot, while dry, crumbly soil can cause insufficient watering, both of which affect nutrient uptake.
Check the moisture level of your soil: healthy roots require sufficient moisture to prevent wilting or good drainage to avoid rot. If the soil appears consistently soggy and your plants are wilting, you likely have root rot; conversely, if the surface is dry but deeper layers are wet, your watering may be too shallow. Use a soil moisture meter to obtain accurate readings, ensuring that your watering techniques deliver moisture deep into the root zone rather than just at the surface.
If you detect a sour smell from the soil, it indicates root rot. In this case, improve drainage by amending the soil with 2-4 inches of organic matter or compost within the planting area. If the soil feels dry, gradually increase your watering frequency to encourage moisture penetration down to the roots. After watering, the soil should feel damp but not soggy; if it stays excessively dry days afterward, reassess your irrigation strategy. Pay special attention to the needs of the plants during flowering seasons, as a lack of water then can worsen browning and negatively impact fruit set. If brown patches continue despite proper moisture management, check the soil pH—cranberries prefer acidic conditions, and any imbalance can hinder nutrient uptake.
Step 3 – Fertilize Cranberries to Encourage Growth
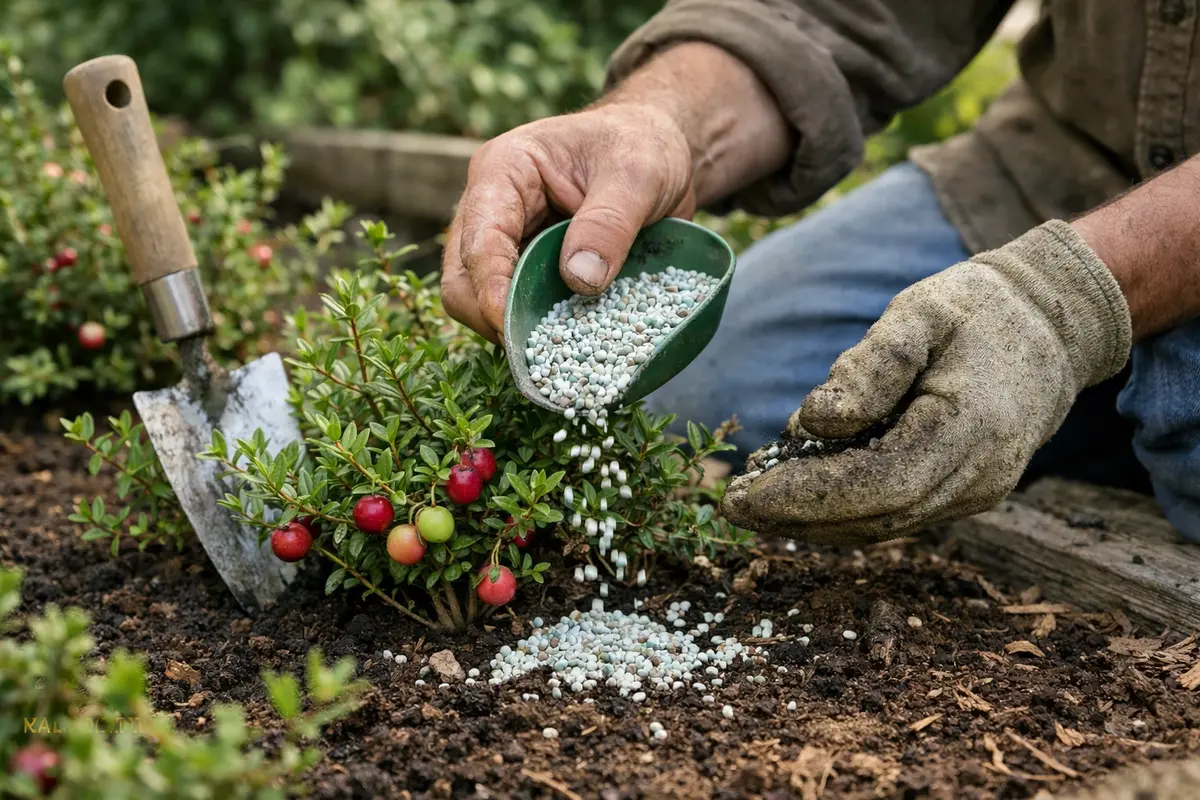
Start by applying a balanced organic fertilizer specifically formulated for fruit-bearing plants. Within one week, visible signs of recovery include new green growth emerging from the healthier areas of your plant. Follow the fertilizer instructions closely to ensure the right amount is used; an application of approximately one tablespoon per foot of plant height, evenly distributed around the root zone, is generally effective. Monitor the plant for changes, as proper fertilization will replenish essential nutrients that may have been depleted during stressful conditions.
Once your cranberries are fertilized, observe for improved leaf health and a reduction in browning. The fertilizer will replenish nitrogen, phosphorus, and potassium levels, all crucial for revitalizing growth and enhancing fruit development. A soil test prior to fertilization can help identify specific nutrient deficiencies and inform your approach in tailored fertilization. It’s best to fertilize before heavy rainstorms to avoid nutrient leaching; if this timing is not feasible, opt for slow-release formulations to ensure a consistent supply of nutrients while minimizing the chance of over-fertilization.
If your plants develop brown, crispy edges in the leaves after fertilization, this may indicate over-fertilization, leading to further stress on the plants. In this case, review your application process and adhere strictly to recommended amounts based on your soil’s previous analysis. If there’s no visible improvement after two applications, consider switching to a slow-release fertilizer or adding organic amendments. Watch for new healthy green foliage as a sign of progress. If deficiencies appear quickly, you may also incorporate a foliar feed for an immediate nutrient boost, supporting your cranberries during this recovery phase.
Step 4 – Water Cranberries Properly to Prevent Disease
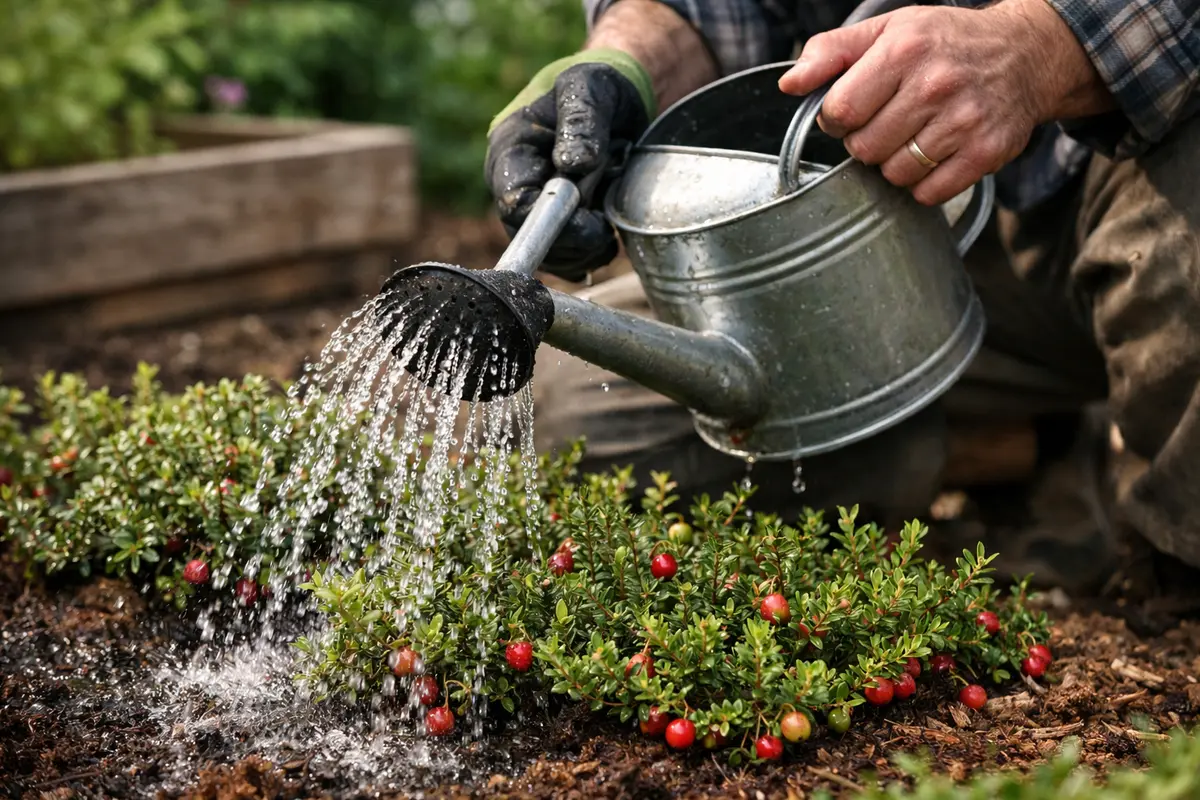
Start by establishing a consistent watering routine for your cranberries to prevent the development of brown patches during growth. As a result, you will notice healthier foliage and fewer signs of stress. Water cranberries deeply, applying one to two inches of water each week, adjusting for rainfall and soil moisture. If you notice wilted leaves or dry soil two inches below the surface, it’s time to water.
Maintain a regular schedule by watering at the same time each week, aiming to do it in the early morning or late afternoon. This consistency prevents the stress that causes browning and ensures the plants receive adequate moisture. After dry spells, soak the soil to a depth of 6-8 inches during your watering sessions; this aids in root development. If cranberry leaves appear yellow alongside brown patches, adjust the watering to be slightly more generous during high heat days.
During spring, begin mulching around your cranberry plants with organic material like wood chips or straw to conserve soil moisture. This helps mitigate the effects of drought; if not this, check moisture levels regularly to ensure efficient irrigation. Regularly monitor soil condition; if the soil feels dry, it’s essential to re-water. Conversely, if drainage is poor and soil remains consistently wet, revise your irrigation practices to prevent root rot.
Pay close attention to local weather patterns to help refine your watering approach. This practice mitigates drought stress and root rot risk by encouraging stable moisture levels, which is critical for nutrient uptake. Consider using rain gauges to track how much rain your cranberries collect naturally. If your area experiences prolonged dry spells, introduce a drip irrigation system for consistent moisture application. Lastly, update your watering frequency in response to seasonal temperature changes—increase watering in hotter months to counteract higher evaporation rates, while also remembering that mulch plays a key role in preserving soil moisture for mature plants.
Step 5 – Inspect Cranberry Foliage for Recurring Issues
Start by checking your cranberries at least once a week for signs of brown patches, particularly on the leaves and stems. Pay special attention to the underside of leaves, where pests or fungal spores may hide. If you spot any suspicious discoloration, recheck in three days to monitor changes and respond quickly. Consistent inspections allow for more proactive treatment of new issues, preventing larger infestations or infections from developing.
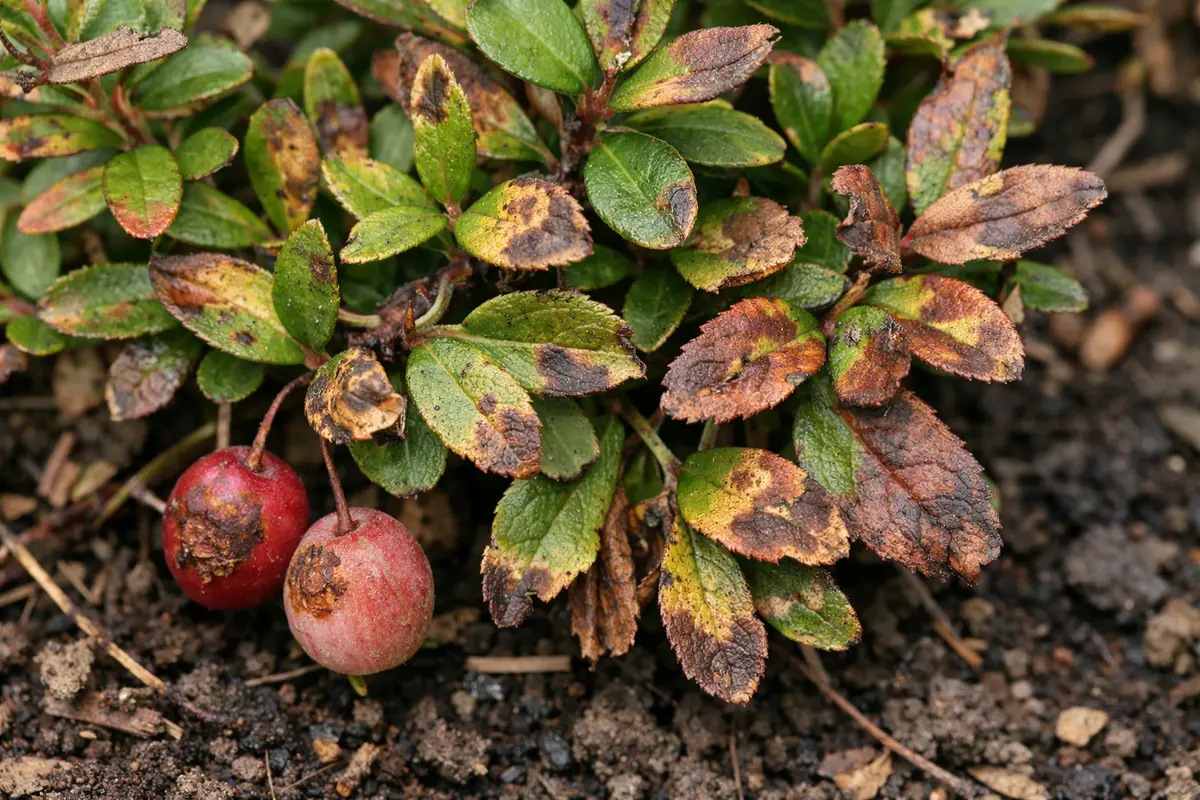
A fully recovered cranberry plant showcases vibrant, dark green leaves with a smooth texture, free from any browning. In contrast, returning early signs may appear as irregular brown spots that seem to spread over time, leading to crispy, dry edges on the affected leaves. If you notice a shimmering, unhealthy sheen on leaves along with these spots, this indicates stress from environmental factors or potentially pest damage, which necessitates immediate action to prevent further decline.
If the problem persists despite monitoring and addressing the initial signs, consider applying an organic fungicide or pesticide that targets the specific issue. If this does not resolve the problem, or if leaves begin to fall, check for nutrient deficiencies in the soil or explore drainage issues that could be impacting root health. Regular leaf inspection should reveal both improvements and any recurrent issues; hence record changes over time to ensure you act decisively at the first signs of stress. If necessary, set reminders to inspect your crops more frequently during pivotal growth periods, such as before flowering or fruiting, when stress can have a more significant impact on yield.
A fully recovered cranberry plant will display lush green foliage, firm stems, and healthy fruiting bodies, while early signs of returning problems might include wilting or renewed browning. Healthy growth spurred after your corrective actions indicates successful recovery, while fresh spots could signal the need for a reassessment of care. If you detect any new patches forming or recurring patterns in plant decline, seriously consider environmental stressors like insufficient light or poor nutrient availability as potential culprits. Troubleshoot these factors by evaluating light conditions and potential soil deficiencies, which may require adjusting your fertilizer program or addressing shading from nearby plants.
If you notice the return of brown patches, consider re-evaluating your watering or fertilization strategies, as a shift in conditions could trigger another wave of stress. Reassess your soil and moisture levels, and adjust your care to ensure your plants receive the support they need to thrive. If problems persist despite changes in care, it may be necessary to consult a local gardening expert to evaluate potential disease issues or pest pressures affecting your crop. By being diligent and proactive, you can catch issues early and make informed decisions to protect your cranberry harvest.
FAQ
How long does it take for cranberries to recover from brown patches?
The recovery timeline can vary, but you should typically see noticeable improvements within 1-2 weeks after implementing corrective actions like trimming and fertilization. Monitor for fresh growth as a sign of recovery, as healthy regrowth signals that the interventions are effective.
Can brown patches on cranberries spread to other plants?
Yes, if the brown patches are caused by diseases like root rot or fungal infections, they can spread to nearby plants if not treated promptly. It is crucial to manage and contain the spread through immediate action and proper sanitation; ensure any tools used for trimming are disinfected afterward to prevent further infection. Implementing a quarantine area for affected plants may also be helpful to limit disease spread until issues are resolved.
Should I remove all affected leaves when I see brown patches?
Yes, you should remove all visibly affected leaves to prevent any disease from spreading further into the plant. However, focus on the most severely impacted areas first, trimming back to healthy tissue. This allows the plant to channel its energy into recovery while preventing stress from excessive pruning at once. If you have a large area affected, consider a staggered trimming approach to minimize stress on the overall plant health.