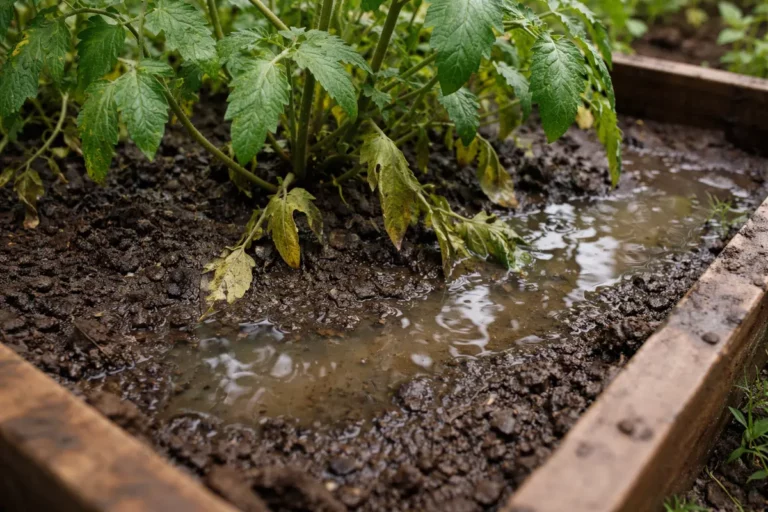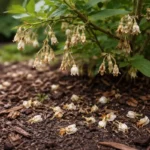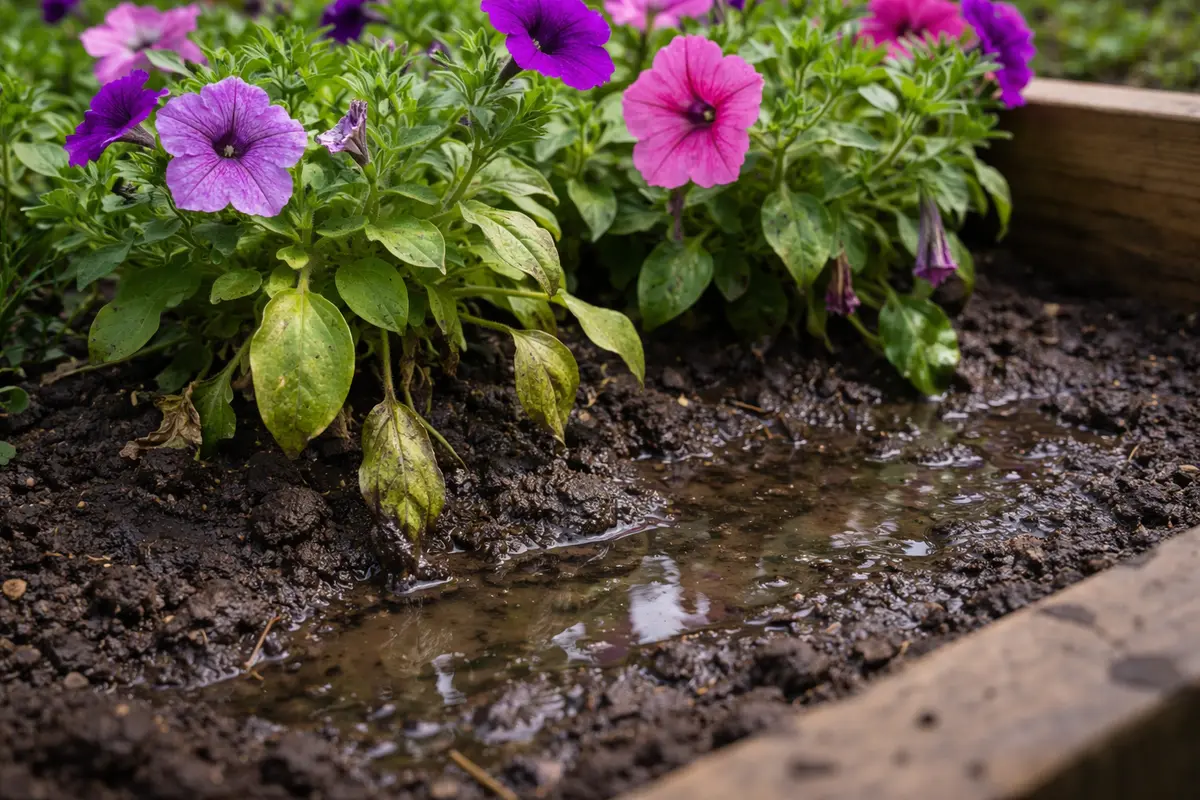
You may notice that your petunias start to droop and show signs of wilting after heavy rainfall or prolonged humid conditions, which is why you need to know how to fix poor drainage around petunias in raised beds. This wilting often results from excess water saturating the soil, leading to mushy roots that can damage the plants. If left unaddressed, the issue gets worse and can lead to more damage, stalling growth and weakening the plant. Fortunately, you can improve the drainage now by inspecting the bed, adjusting the soil composition, or adding appropriate amendments.
Step 1 – Dig Trenches to Redirect Water Away
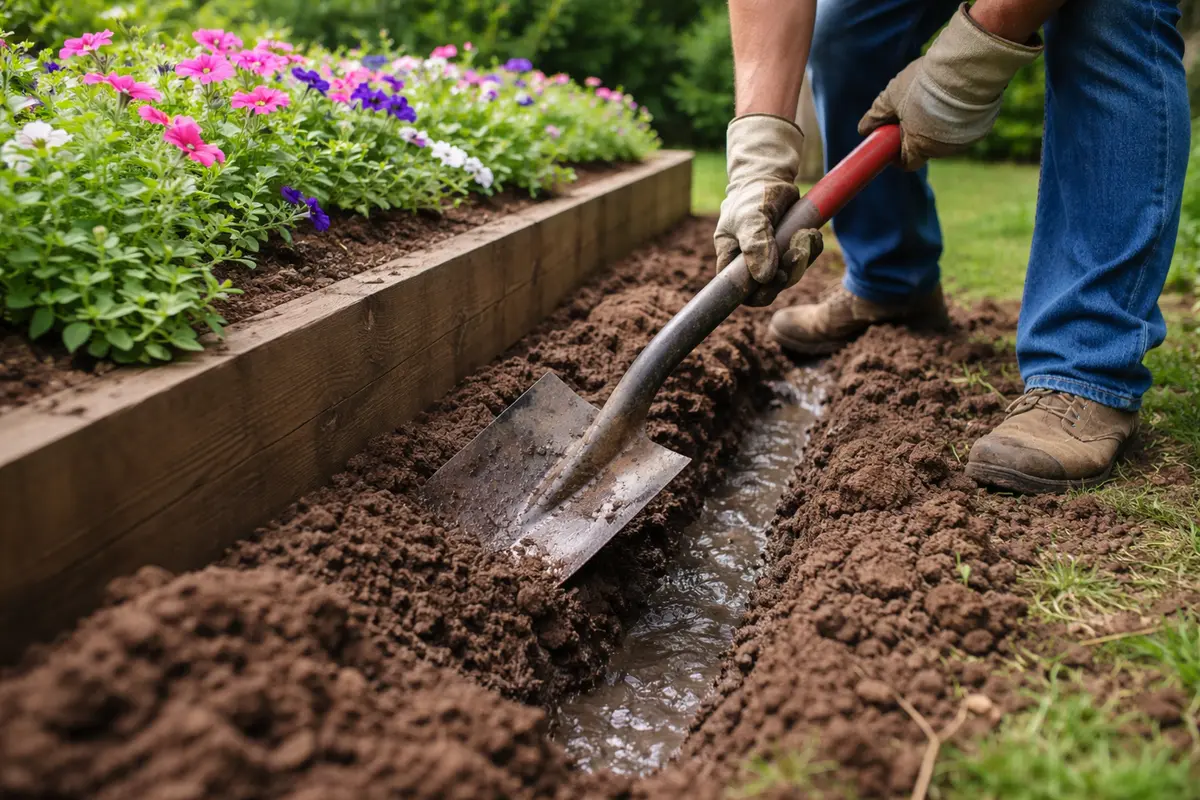
Start by digging shallow trenches around your raised beds to redirect excess water away from the petunias. These trenches should visibly alter the flow of water during rainfall, preventing water from pooling near the roots of your plants.
Acting quickly is essential because petunias are sensitive to prolonged waterlogging, which can lead to root rot. If the soil remains saturated, oxygen deprivation prevents roots from absorbing necessary nutrients, causing wilting and yellowing of leaves. A brief delay can escalate into severe decline in health as fungi proliferate in wet conditions while these flowers struggle to recover.
During this process, ensure the trenches slope away from the beds; otherwise, water may still accumulate. A gardener learned that waiting a few days to address drainage issues resulted in lost blooms and wasted efforts. Instead of intervening early when noticing wilting leaves, they left the conditions unaddressed and faced a root rot crisis. If your trenches do not improve drainage, check for signs of foul smell from the roots, indicating rot has begun.
Targeting this immediate action helps stabilize the environment for the petunias, preventing further damage. If left unaddressed, the roots may start to rot, causing irreversible damage that makes recovery much harder. The sooner drainage is improved, the better the chances of sustaining healthy plant functions.
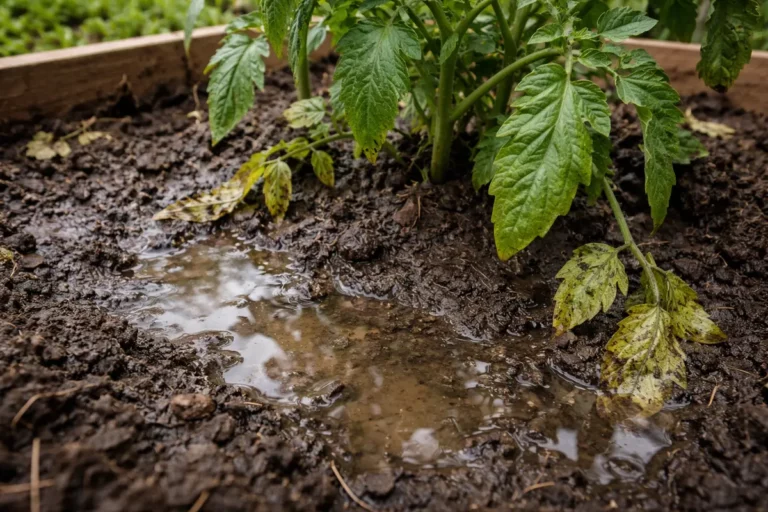
In contrast, wait too long to dig trenches, and you may find your plants exhibiting visible distress—pale leaves or halted growth—while healthy petunias show lush green foliage. If you notice discolored leaves, check for pooling water around the base; this indicates urgent drainage concerns that must be resolved quickly.
Once you’ve established the trenches, observe whether water continues to collect in undesired areas. If your petunias are drooping and the soil around them remains waterlogged, effective drainage can save your blooms from unnecessary stress. If you see pooling instead of a smooth flow away from the raised beds, assess the alignment of your trenches and adjust as needed. This proactive approach allows petunias to access the moisture they need without the risk of drowning.
A common mistake at this stage is to overlook how the water travels. If you find that the water still pools in certain areas, reassess the trench depth and direction. Uneven ground exacerbates drainage issues, and it’s vital to check for high spots nearby that may interfere with runoff. Consider fine-tuning the contour of the soil around the beds, ensuring that no areas create a dam effect. If pooling persists despite your trenches, you might need to dig additional lateral trenches connecting back into one main trench to facilitate better drainage. Testing these changes during the next rain will provide insight into whether the alterations are effective.
Step 2 – Assess Drainage Issues in Raised Beds
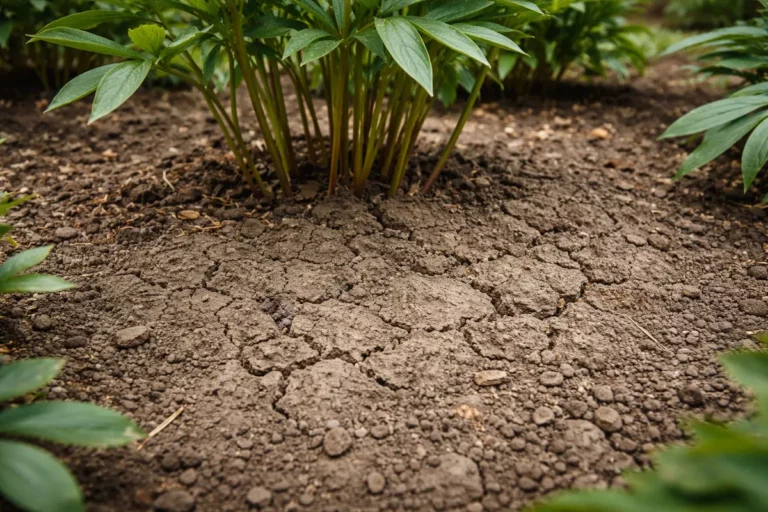
Start by inspecting the soil in your raised beds by digging down about 12 inches to evaluate its texture and moisture levels. You’ll notice a significant change in how quickly water drains if the soil is overly compacted or retains too much moisture. In poorly draining soil, water accumulates around petunia roots, which can lead to root rot and stunted growth.
This occurs because saturated soil creates an anaerobic environment detrimental to beneficial microorganisms, resulting in weakened plant tissue and yellowing leaves. If you observe drooping but no signs of root rot, it may indicate under-watering rather than excess moisture.
If the soil emits a sour odor, signaling anaerobic decomposition, immediately aerate the soil by turning it with a shovel and mixing in organic matter like compost to enhance its texture. However, if the bed appears dry while petunias are wilting, examine your watering schedule to ensure they receive adequate moisture without becoming waterlogged.
Recognizing your soil composition is crucial; clay-heavy soils tend to retain moisture, necessitating suitable amendments. A compacted layer restricts root growth and oxygen availability to the plants, potentially causing drooping and leaf discoloration. If the soil is dense and shiny, it likely holds excess water, suffocating the roots. To confirm consistent drainage issues, check multiple areas of the bed, as conditions can vary.
If the soil reveals a sour smell when disturbed, amend it with organic matter without delay. Adding 2-3 inches of compost into the top 6-12 inches can enhance microbial activity and improve soil structure. Should soil tests indicate high clay content after these amendments, blend sand and perlite in a 2:1 ratio for improved aeration. Regular testing will help track changes and confirm progress. If drainage issues persist, further amendments or the use of new, less compact soil in raised beds may be necessary.
Step 3 – Add Organic Matter for Petunia Recovery
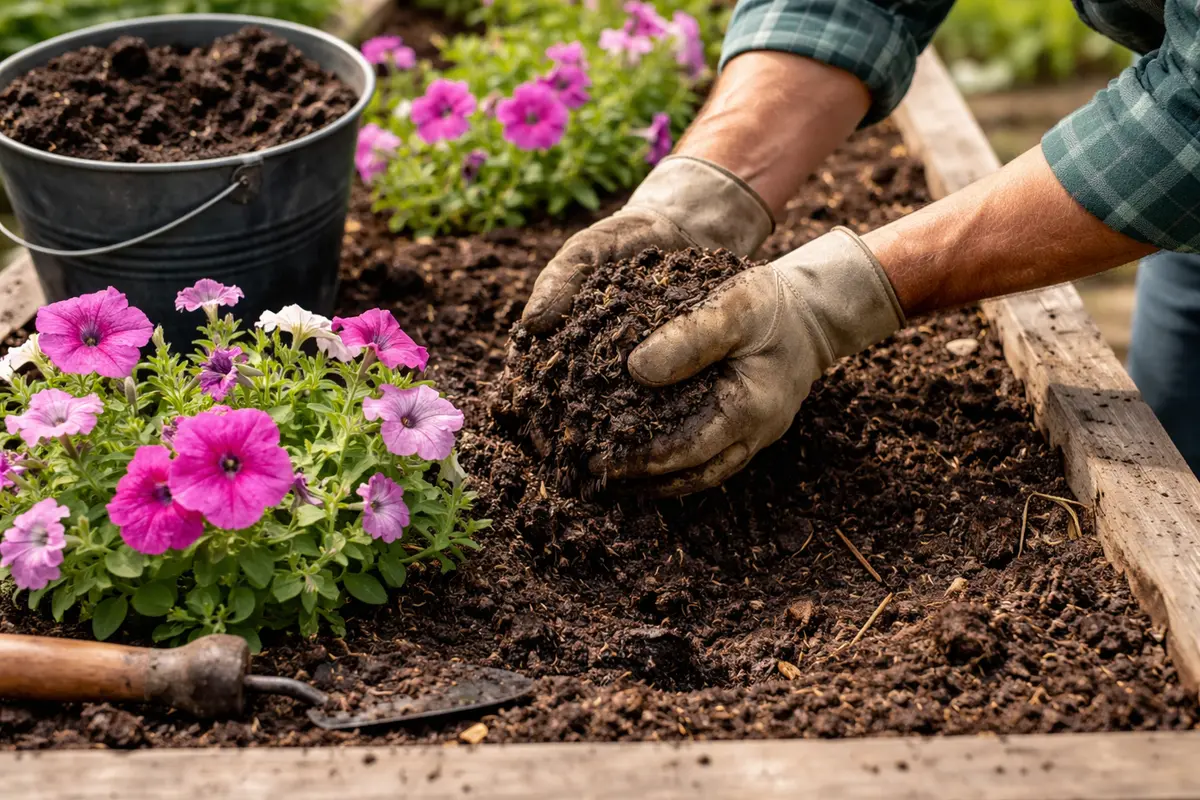
Begin by applying a layer of organic matter such as well-rotted compost or aged manure around the base of the petunias. New growth will emerge, and the overall vigor of the plants will visibly improve as they begin to recover.
Recovery typically unfolds over the next one to two weeks, during which you should observe brighter blooms and healthier foliage as signs of progress. If you still see yellowing leaves and droopy stems, assess the soil for compaction that could be retaining excess moisture.
During recovery, it is vital to maintain a stable watering routine; avoid the temptation to overwater as this could exacerbate root issues. Water only when the top inch of soil is dry, and monitor for signs of stress such as wilting. If the petunias appear to be wilting despite regular watering, it may indicate drainage problems that need addressing.
With the right conditions, such as warm temperatures and consistent moisture, recovery can be accelerated. Look for signs of new shoots and a green upturn in leaf color, which indicate that the plants are thriving again. Conversely, if leaves start curling or becoming yellow, reassess your watering habits and adjust accordingly.
Adding organic matter not only enriches the soil but also aids in aeration, fostering an environment conducive to root recovery. This process encourages beneficial microorganisms while limiting harmful pathogens that thrive when conditions are excessively moist. As the organic material breaks down, it further enhances nutrient availability, bolstering the plants’ health. Should you include a rapidly decomposing organic matter, remain vigilant to ensure it does not break down too quickly, as this can lead to unwanted moisture retention.
To avoid setbacks, refrain from overwatering during the recovery phase as this can lead to compounding drainage issues. If leaves begin to wilt, even when the soil feels adequately moist, check for potential drainage blockages before considering additional water. A soil moisture meter can provide precise measurements, helping you avoid the pitfalls of overwatering during recovery. Additionally, on days when humidity levels are high, skip watering entirely since the ambient moisture can often be sufficient.
Step 4 – Cover Soil with Mulch to Retain Moisture
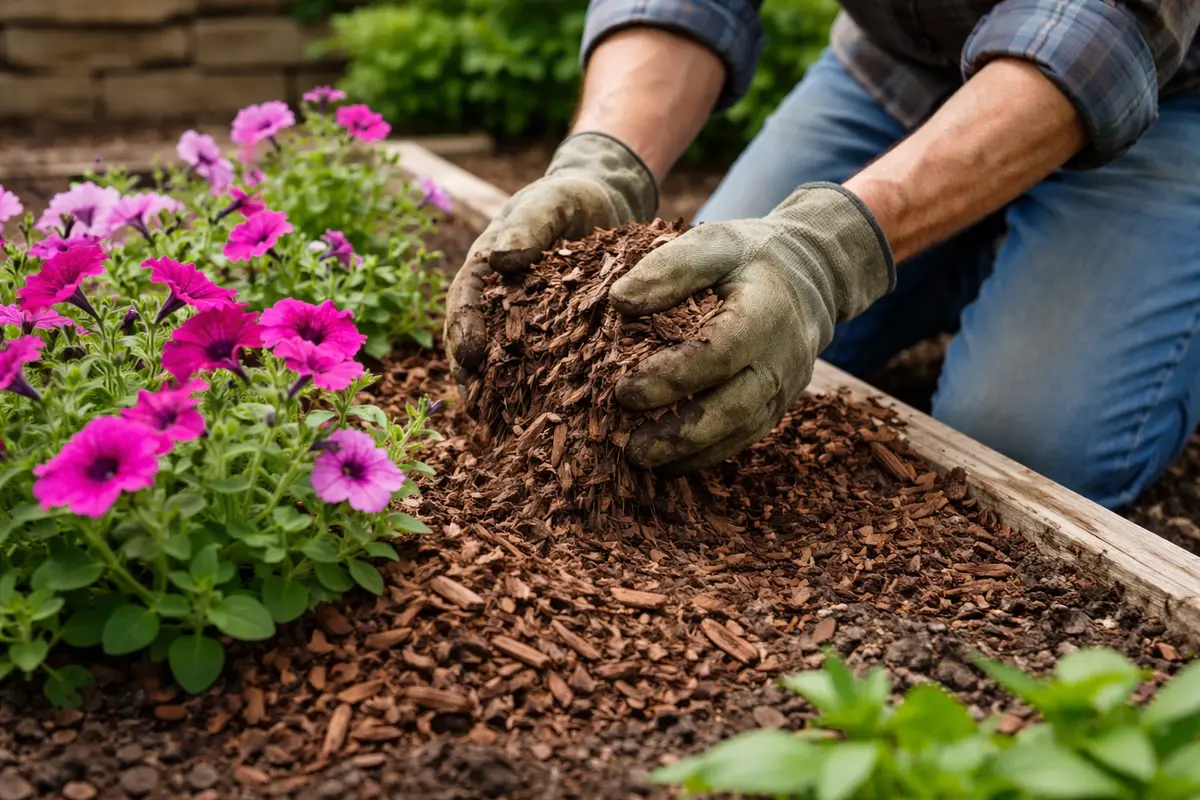
Apply a 2- to 3-inch layer of mulch around your petunias to effectively lock in moisture and maintain stable soil temperatures. Over time, you will notice enhanced growth and vigor in your plants as they thrive with reduced water interruptions. From here on, create a routine by refreshing the mulch every 4-6 weeks, particularly before the peak of summer heat.
Start by using organic mulches, such as straw or wood chips, as they decompose over time, enriching the soil and improving its structure. When applying mulch, spread it evenly around the base of the plants, ensuring it is a few inches away from the stems to prevent rot. This barrier reduces moisture evaporation and suppresses weeds that compete for nutrients. If the mulch compacts, visually confirm its thickness; a fresh layer is necessary if it appears less than 2 inches thick.
During seasonal changes, adjust the type of mulch accordingly; lighter mulches provide cooling in hotter months, while heavier options preserve warmth in colder ones. Always monitor the mulch’s interaction with rainfall; if water beads up instead of soaking in, it indicates that the mulch may be too dense. In this case, aerate the surface or replace it with a more porous option for better absorption. If you find persistent pooling, consider checking the drainage underneath.
Step 5 – Check Petunia Foliage for Wilting Over Time
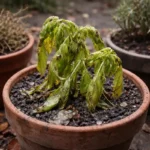
Begin by inspecting the petunia foliage every few days, particularly after heavy rainfall. Watch for signs of wilting leaves that appear limp or droopy, indicating that the plants may still be experiencing stress from poor drainage. Recheck the foliage after one week, paying attention to whether the leaves maintain their vibrancy or begin to wilt again.
A fully recovered petunia shows lush, erect foliage with a healthy color, suggesting that roots are thriving in well-drained soil. In contrast, if you observe any yellowing leaves or patches of browning edges, it may signal an issue returning. If the leaves feel mushy or you see wilting even though the plants look vibrant, check the root zone for excess moisture or hidden water retention.
If you find that wilting or yellowing issues persist, consider adding organic matter like compost to the raised bed to improve aeration and soil structure. If wilting continues after feeding, implement additional drainage methods, like perforated pipes, to redirect excess water away from the root zone.
A recovered petunia will exhibit firm, brightly colored leaves that stand upright. If leaf drooping or yellowing returns, it suggests that water management still requires adjustment, or further inspection of the roots is needed. Healthy roots should be white and firm; if they appear brown and mushy, that indicates decay. Monitor for new growth emerging at the base, which is a sign that the plants are recovering.
If issues with drainage persist despite these adjustments, reassess watering and drainage practices again. Heavy rain seasons may necessitate temporary measures, like trenches or barriers, to protect the raised beds. Should problems continue, a more robust drainage system or consulting a gardening expert for tailored advice may prove beneficial in identifying any underlying issues. Reacting promptly to these visuals can make the difference in maintaining healthy petunias.
FAQ
How long will it take for petunias to recover from poor drainage issues?
Petunias typically show signs of recovery within a week of addressing drainage problems with adequate amendments and care. Patience is key, as some plants may take a bit longer depending on the severity of the prior conditions. For issues that are chronic or have been left unaddressed for an extended time, a recovery period that extends beyond one week may be necessary. Ensuring they have the right conditions continually monitored will significantly enhance recovery times.
Can poor drainage around petunias spread to other plants in the bed?
Yes, poor drainage can affect surrounding plants in the bed, leading to root rot or fungal issues if left unaddressed. It’s advisable to improve the drainage for all affected plants to prevent widespread damage, potentially implementing the same solutions as outlined for the petunias. Regular monitoring of adjacent plants can also reveal if similar symptoms appear, allowing you to address the issue before it becomes serious. Identifying issues early on will aid not only your petunias but all flora within the vicinity.
Should I remove damaged leaves from my petunias?
Removing damaged leaves is usually beneficial, as it helps redirect the plant’s energy toward new growth. However, only remove leaves that exhibit signs of severe damage or infection to avoid stressing the plant further. If you notice multiple leaves showing damage, it may be best to prune them back while monitoring the watering schedule closely, as there may still be lingering drainage issues that require attention. This careful management of pruning will help ensure the plant prioritizes recovery without pushing it too hard.