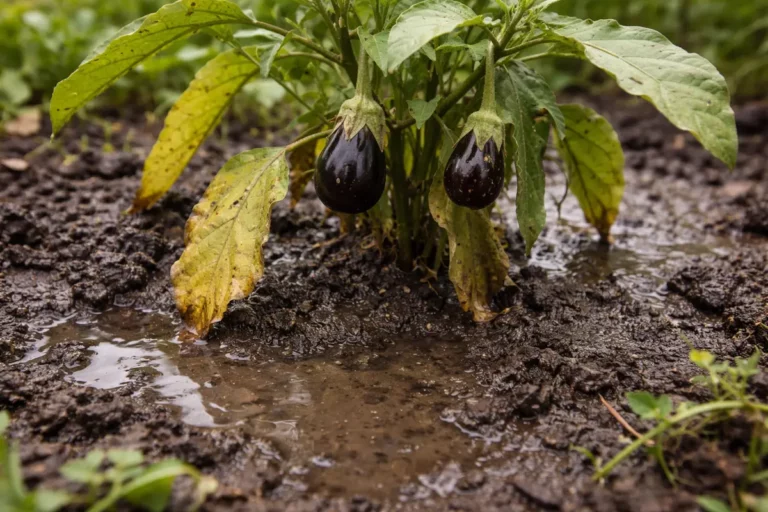
You may notice your indoor plants struggling to thrive when they’re watered during the summer, which is why you need to know how to fix root bound conditions in indoor plants. This often manifests as yellowing leaves and stunted growth, indicating that the roots have outgrown their containers and are competing for nutrients. If ignored, the problem gets worse, leading to more damage and making it harder to fix, but you can improve the situation now by inspecting the roots and adjusting their environment.
Step 1 – Trim Overgrown Roots ASAP on Indoor Plants
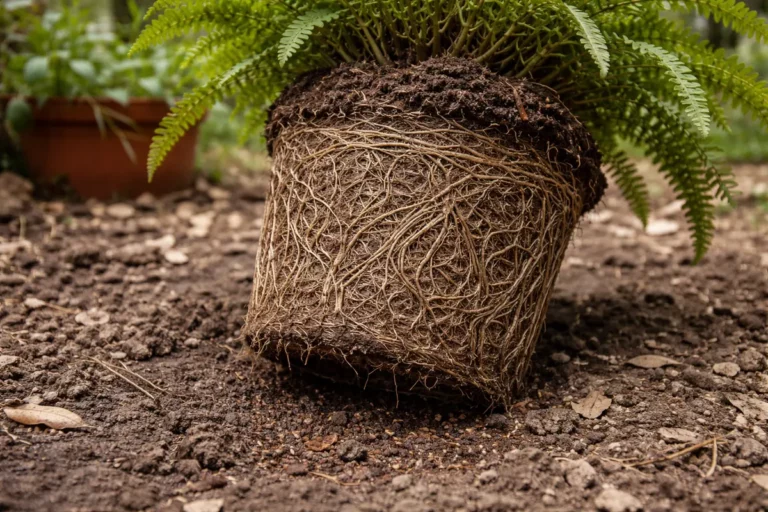
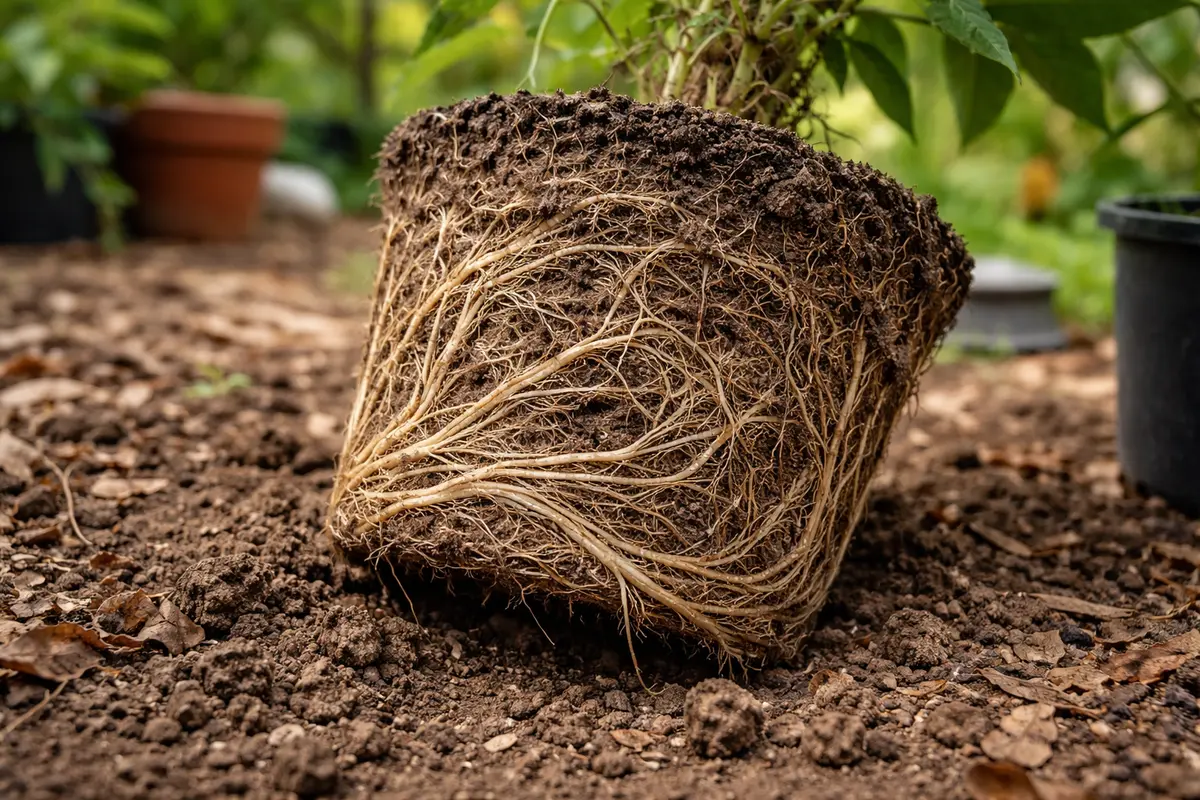
Begin by gently removing the plant from its pot and inspecting the root system. You will notice the roots are tightly wound and congested, which is a clear sign of root bound conditions. This step stabilizes the plant, reducing immediate stress and allowing better oxygen access to the roots. If you see roots that look dry or shriveled, this indicates the roots have been struggling for nutrients and water for some time. If the root system appears to be coiled or has begun circling around the bottom of the pot, it’s imperative to act swiftly by cutting those encircled roots to promote new growth.
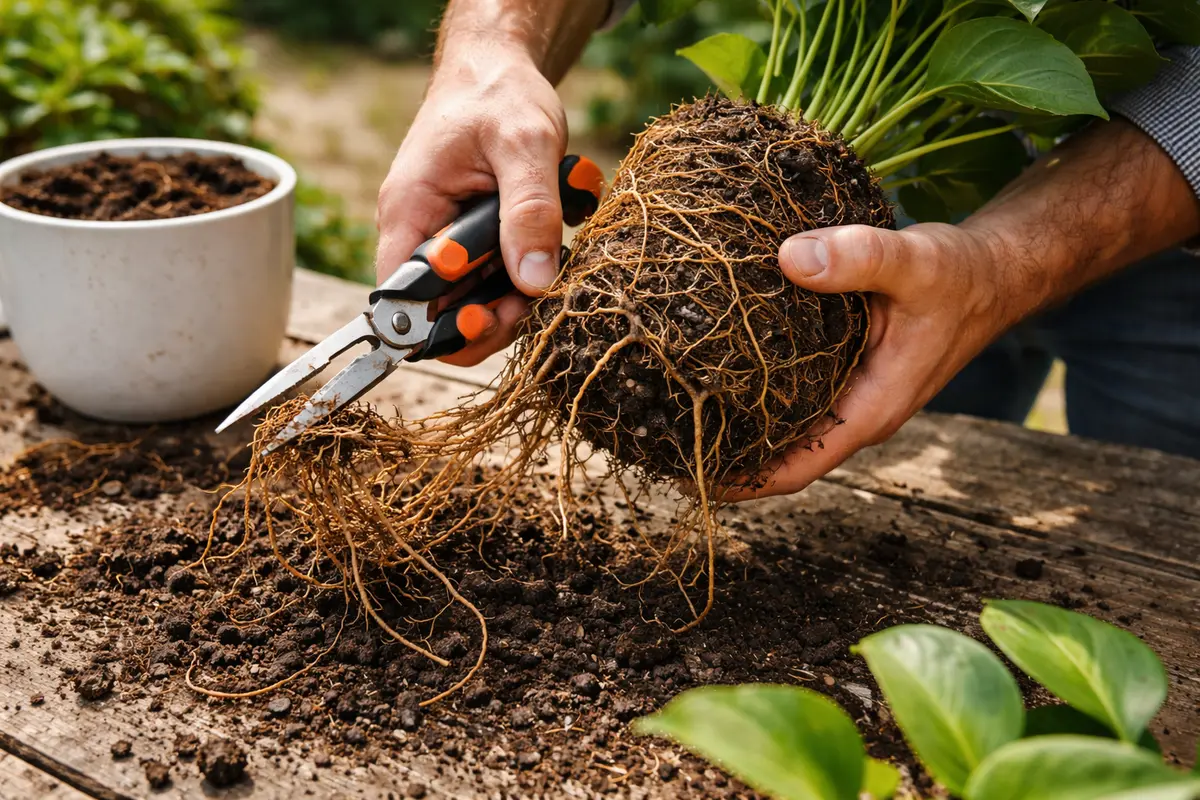
Acting swiftly to trim the roots prevents further stunting of growth. When plants are root bound, they struggle to absorb water and nutrients effectively, which causes visible symptoms like yellow leaves and wilting. Removing the outer tangled roots will foster new growth by enabling the remaining roots to spread more freely in the soil. It’s vital to aim for a balanced trim; if left unattended, twisted roots can lead to even more damage, restricting nutrient flow further. When trimming, if you notice a significant amount of brown or mushy roots, this likely indicates rot. Initially, trim these back to the point where the root is healthy—this is essential in reinstating the vitality of the plant.
A common mistake is to panic and excessively trim the roots. Instead, focus on trimming only the outer, overgrown sections while leaving the main root mass intact. This method helps retain some existing roots that are still functional. If you find the root ball appears mushy, indicating overwatering, check your drainage conditions before replanting. If there’s significant rot, you may need to cut out affected areas and allow them to dry out before repotting. Timing is key; ideally, trimming should occur during the plant’s active growth period, which typically follows the warmer months, enhancing the chances of recovery.
Step 2 – Assess Soil Quality Causing Root Binding
Inspect the soil quality and texture around the roots after trimming. You will find that heavily compacted or low-quality soil may contribute to root binding. This action will identify whether the existing substrate is contributing to the plant’s root health issues. Look for soil that clumps together without breaking apart easily; this thick consistency often indicates packed root systems. If the soil maintains a hard structure and does not crumble in your hands, it indicates that the roots are unlikely to penetrate and absorb necessary nutrients.
Soil that is dense and lacks organic matter can restrict root growth and impede drainage, effectively suffocating the roots. Poor soil conditions might lead to an inadequate supply of essential nutrients, negatively impacting plant health. Conduct a soil test to check pH levels and nutrient content, which will help in determining the right amendments needed. If the pH is too high or too low, it could exacerbate root health issues. For indoor plants, a pH range between 6.0 and 7.0 is generally ideal; exceeding these levels might require immediate amending with soil amendments like sulfur or lime to bring levels back into the desired range.
If the soil gives off a sour smell, you might instead look into completely replacing it with fresh potting mix to avoid rot. Not all indoor plants respond well to repotting, but if the existing soil is too compact, this may be your only option for recovery. If you notice excessive root binding again shortly after repotting, check your watering frequency to prevent future occurrences. Keeping organic matter—such as compost or peat moss—in the soil will promote better drainage, helping sustain healthy root systems. If the plant struggles again after repotting, consider if the new soil mix is still too compact—adjusting the mixture can lead to better long-term conditions.
Step 3 – Transplant to Larger Container for Recovery
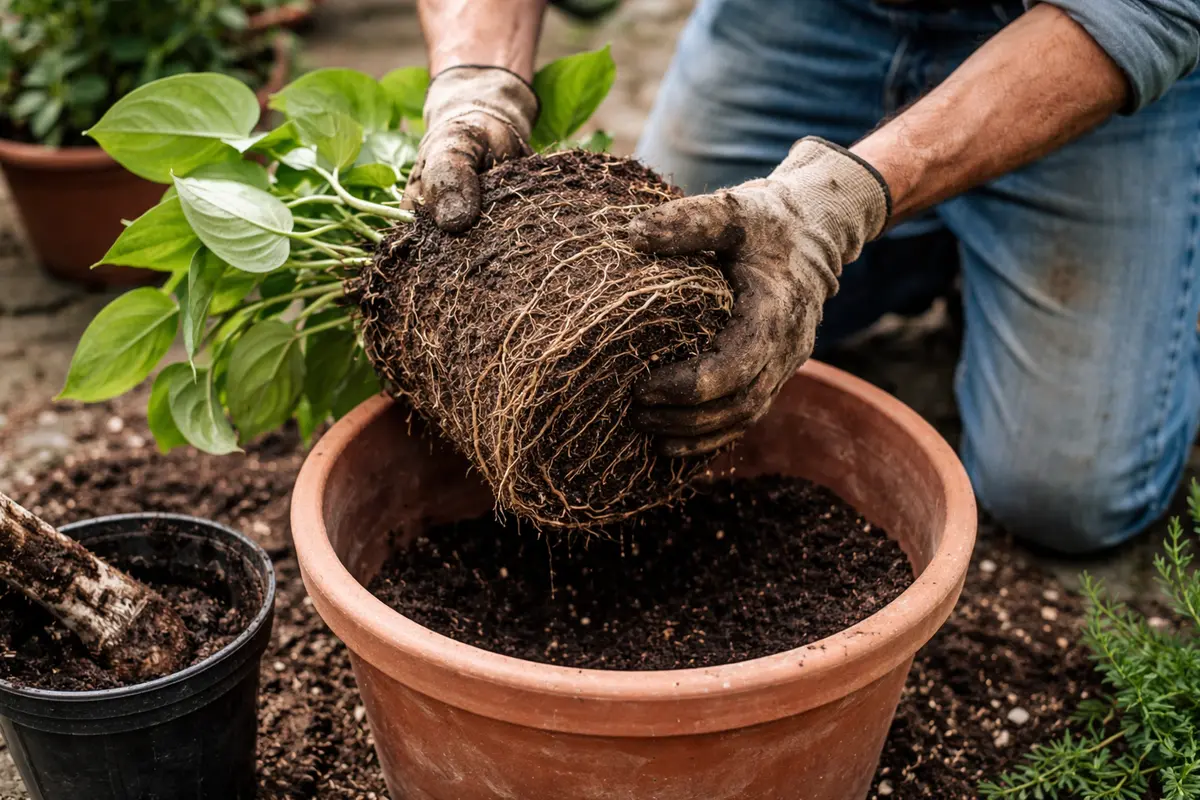
Start by repotting the plant into a pot that is at least 2 inches larger in diameter than the current one. Remove the root ball from its old pot, gently loosening any tightly bound roots, and place it in the new pot with fresh potting soil. Within a week, you should notice new growth emerging or the leaves becoming more vibrant as the plant begins to acclimate.
Recovery typically takes 2 to 6 weeks depending on the plant species and the care provided. Healthy regrowth will manifest as new leaves or sprouts appearing from the center, while stunted growth or droopy leaves signal an ongoing problem, such as lack of adequate light. If you observe yellowing leaves instead, check for root rot or excess moisture, as these conditions can slow recovery.
Avoid overcompensating with water or fertilizer, which can lead to additional stress on the roots. Particularly for plants like succulents, waiting too soon after repotting before watering can cause the roots to rot; if the potting mix feels soggy, check for proper drainage instead of increasing water input. Timing your fertilization is key; applying too soon can hinder the recovery phase.
Realistic recovery timelines can vary, but typically you may start to see new growth within three to four weeks. Healthy regrowth often includes robust leaf development and a more stable root structure, while signs of slow recovery could be yellowing leaves or stunted growth. If you notice these signs, check for proper drainage and avoid overwatering, which can impede the recovery process.
A key mistake to avoid during recovery is overcompensating with too much water or fertilizer, as this can stress the plant further. For example, if the leaves are drooping despite regular watering, investigate the soil moisture first; if it’s soggy, that’s a sign of overwatering. Stick to the nutrient schedule recommended for your specific plant species, adjusting only when you see active growth.
A newly transplanted plant often needs time to adjust to its environment. During this period, the roots will begin to explore their expanded space, leading to healthier foliage and enhanced overall vitality. The type of soil used, along with proper watering and light conditions, significantly influences recovery speed. A quality potting mix that retains some moisture while allowing excess to drain effectively is ideal. If you’ve used fresh and light mixes, be cautious; in the early recovery phase, overly porous mixes may dry out too quickly, leaving the roots exposed to stress rather than promoting growth.
Be cautious not to overwater in the early stages post-transplant. A common error is to assume that the new soil will retain moisture indefinitely, which can lead to fungal issues. Dedicate a few weeks to monitoring soil moisture without frequent disturbances; adjust your fertilization regime to stimulate beneficial root growth during this crucial period. Over-fertilizing during recovery can cause more root harm and lead to salt buildup that restricts growth. Use a well-balanced fertilizer at half strength, and gradually return to full-strength feeding once you see consistent signs of growth; this slow reintroduction helps the plant acclimate without overwhelming it.
Step 4 – Avoid Watering Too Frequently to Prevent Root Issues

Start by repotting your indoor plants into larger containers with fresh soil every 12 to 18 months to prevent root bound conditions. This process allows the roots to expand freely, which will result in more robust growth and a healthier, thriving plant.
Root bound conditions often occur when environmental factors like compacted soil or inadequate pot size restrict root growth. By proactively choosing the right pot size and using well-aerated soil, the plant roots can grow as they need, thus avoiding the stress associated with being tightly packed. If your plant’s roots push through the drainage holes, check the soil mix and pot size immediately to address root binding.
During the spring and summer months, consider adjusting your repotting schedule to account for rapid growth due to increased daylight and humidity. Additionally, if you notice excessive dryness or moisture retention in your current potting mix, switch to a more suitable blend to further prevent recurrence of root entrapment under various seasonal conditions.
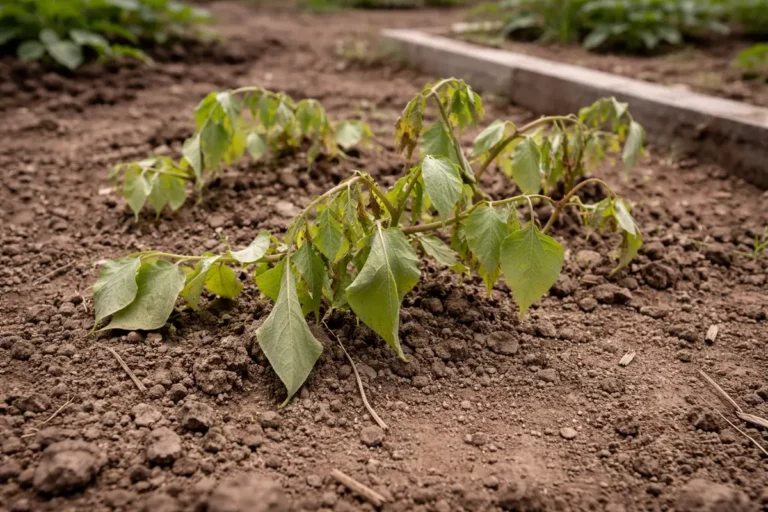
Overwatering is a leading cause of root problems in indoor plants. It leads to poor oxygen levels in the soil, fostering root rot and suffocation. By allowing the soil surface to dry out between watering sessions, you give the roots a chance to breathe and absorb essential nutrients more effectively. If you find your plant’s leaves are repeatedly yellowing despite normal watering patterns, consider evaluating drainage and humidity levels in your indoor environment. Adjust humidity levels when necessary—high humidity can lead to moisture retention in the soil for longer, which may compound root issues if not managed.
In the warmer months, you may need to check moisture levels once every 3-4 days, while during winter, you can reduce this frequency. If your indoor environment has high humidity, be particularly vigilant about measuring soil moisture as it can give misleading indicators of water needs. Using a moisture meter can simplify this process and help you develop a successful watering schedule. If moisture levels stay consistent despite reduced watering, double-check the drainage holes of the pot for blockages. If any holes are obstructed, consider unpotting the plant and re-draining the mix again to encourage better airflow and nutrient absorption.
Step 5 – Inspect for New Root Growth After Repotting
Check the root system for new growth three to four weeks after repotting. This inspection will reveal whether the transplant was successful in alleviating previous stress. Look for firm, white roots and generally more vigorous growth as signs of recovery. New root development signifies that the plant is adapting well to the new environment and indicates successful repotting. If you observe the roots starting to protrude from the drain holes of the new pot, it means they are enjoying the extra space, but be mindful that this is a signal to keep an eye on their water needs moving forward.
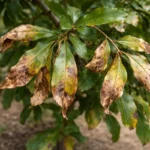
While observing new root development, watch for any signs of declining health, such as wilting leaves or visible decay. If these symptoms emerge, it may indicate that the plant is still struggling with root health and could require further intervention, such as adjusting environmental conditions or checking for pests. Monitoring for pests, particularly in a newly transplanted plant, is vital; certain pests can quickly stress roots during their vulnerable recovery phase. Implement an inspection routine every three to four days for the first month; catching any problems early can make a significant difference in the plant’s overall outcome.
If signs of decline recur, consider returning to your earlier steps, perhaps reassessing watering methods or soil conditions. A regular inspection schedule of every 2-3 days will help catch any issues early, ensuring that your indoor plant remains healthy and robust. Eventually, if problems persist, consider consulting a professional for a more thorough health check. Not every scenario can be managed through DIY troubleshooting, particularly in severe cases of root damage or stress. Understanding that chronic issues might require a new plant or an alternative environment can save frustration and resources.
FAQ
How long will it take for my indoor plants to recover from root bound conditions?
The recovery time varies but generally takes about 2 to 4 weeks after transplanting. You should start seeing new growth and healthier leaves within this time frame, provided the care routines are followed diligently. Initial improvements may include an uptick in leaf vibrance and a decrease in wilting, affirming that the roots are adjusting well to their new environment.
Can root binding conditions spread to other plants?
Root binding itself does not spread like a disease; however, neglecting proper care can lead other plants in similar conditions to develop comparable issues. Regular monitoring and maintaining ideal potting conditions are crucial to prevent this from happening. This vigilance includes paying attention to symptoms such as yellowing leaves and inadequate drainage, which can give insights into how widespread the issue may be in your indoor garden.
Should I remove all the old roots during the repotting process?
It’s advisable to only trim the outer roots that are overgrown or mushy. Removing too many roots can shock the plant and halt recovery, so focus on balancing root removal with root retention for optimal health. Preserving as many functional roots as possible will greatly improve the odds of successful transplant recovery. If in doubt, err on the side of caution and keep viable roots intact while removing problematic growth.