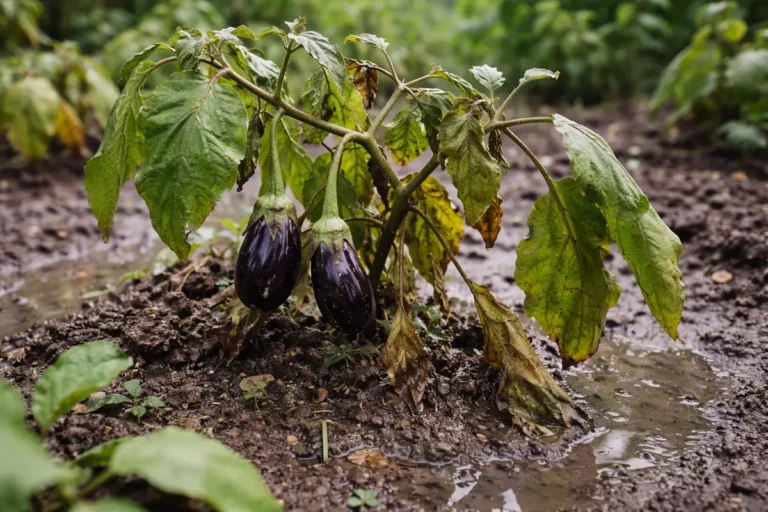
You may notice your eggplants struggling to thrive during the rainy season, which is why you need to know the answer to the question, “Why are my eggplants stunted after poor drainage?” The plant’s roots are likely waterlogged, leading to yellowing leaves and stunted growth due to the lack of oxygen. If left unaddressed, this issue worsens and can spread to cause more significant damage, but you can improve the situation now by checking the soil conditions and adjusting your watering habits.
Step 1 – Dig Deeply to Improve Eggplant Drainage
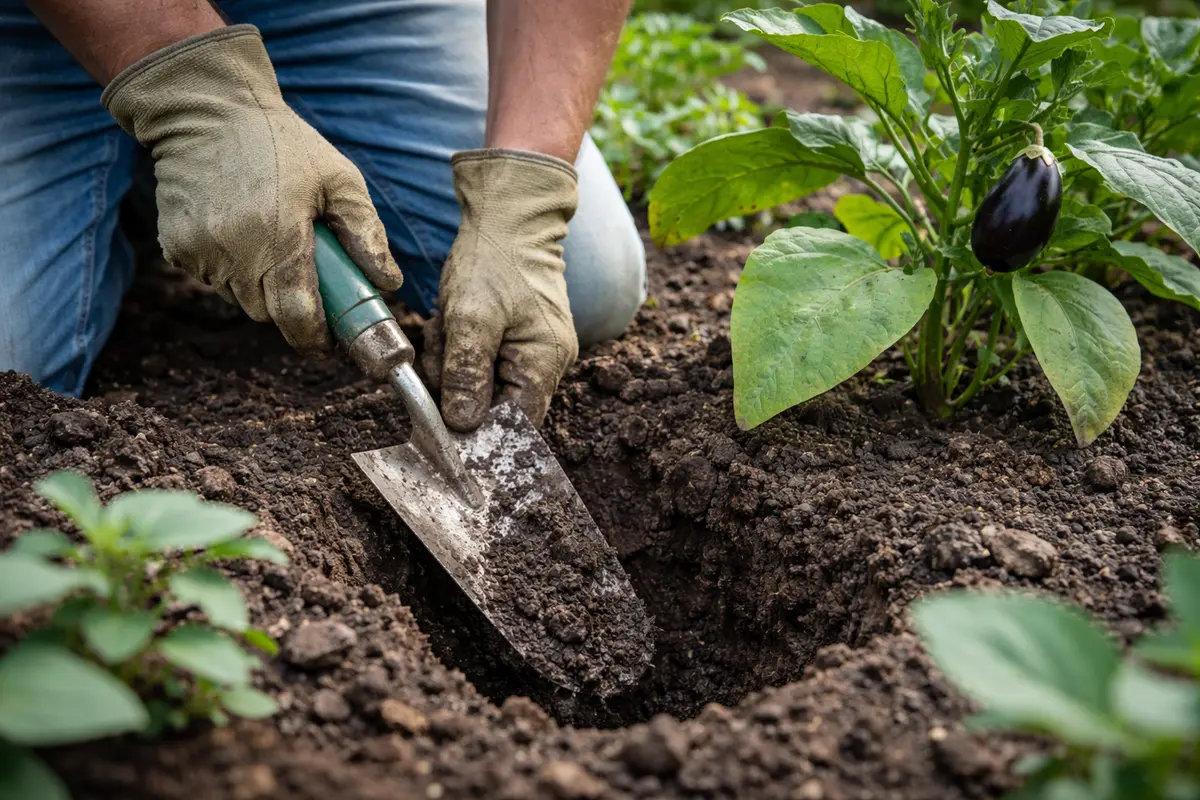
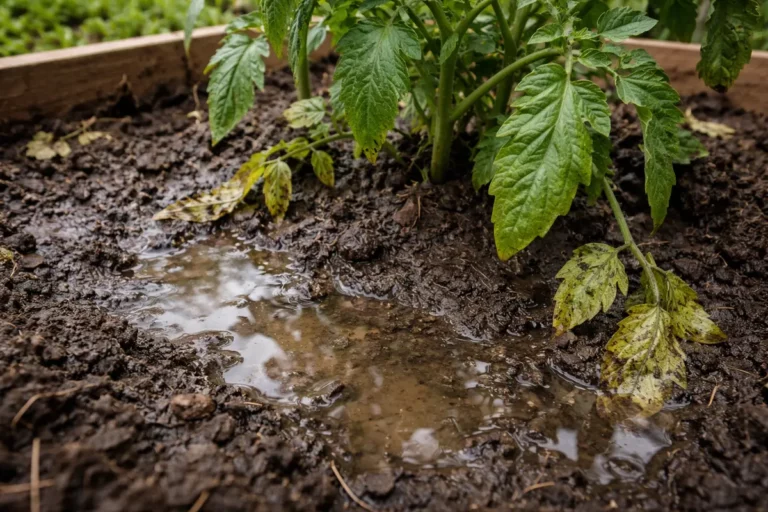
Start by inspecting the soil around your eggplants for signs of excessive moisture. You will see that the soil feels soggy and heavy, which indicates poor drainage is affecting your plants. This critical first step is essential to limit further damage and gives you a clear understanding of the soil condition. Stick your finger into the soil up to your second knuckle; if it’s still slick or waterlogged, it’s definitely time to act. If you find that the topsoil dries out quickly while deeper layers remain moist, this indicates compacted soil layers possibly restricting drainage.
Eggplants require well-drained soil to thrive; if the soil remains waterlogged, it will lead to root suffocation and limit nutrient absorption. When prolonged, this moisture can even promote root rot, characterized by dark, mushy roots that are unable to take up water or nutrients efficiently. Quick action prevents decay that sets in when roots are deprived of oxygen, which begins to manifest as yellowing leaves and wilting branches. If you see blackened spots developing on leaves or stems, this may indicate early stages of root rot.
Many gardeners overlook the importance of soil drainage. For example, if you recently experienced heavy rains or overwatering without ensuring adequate drainage, you could find yourself in a situation where the accumulation of water has caused your eggplants’ roots to start rotting. Always check your planting area for proper drainage before planting, especially in heavy clay soils, which are prone to holding water. If the eggplant is in a container, confirm that there are ample drainage holes at the bottom; if they’re blocked, clear them to restore mobility for water. Sometimes, simply raising the containers off the ground on small bricks or platforms allows excess water to exit more freely.
Step 2 – Diagnose Poor Drainage Issues Around Eggplants
Next, check the drainage holes in your pots or garden beds to ensure they are not blocked. You will notice that removing debris allows excess water to escape more freely, which will help improve the soil’s drainage capabilities. Diagnosing the cause of poor drainage is essential for your eggplants’ recovery. A quick inspection might involve visually examining the holes for mud or built-up soil and sticking your finger in to confirm that they’re entirely unobstructed. If muddy water seeps improperly, seek immediate remedies to prevent lasting damage.
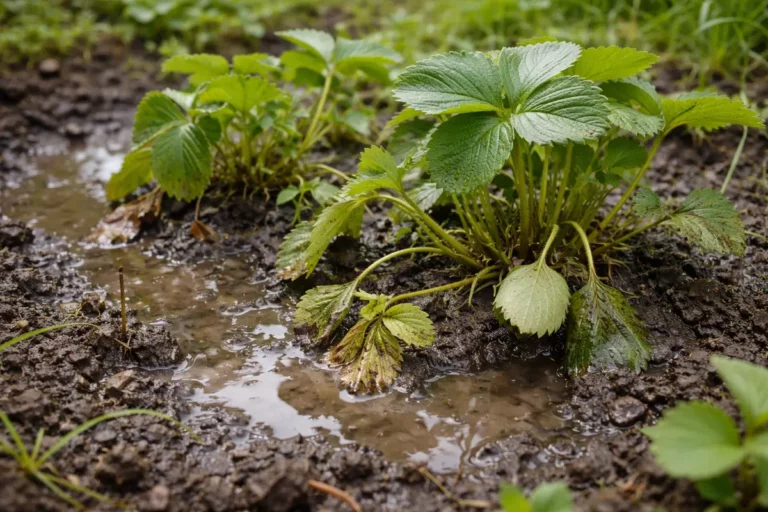
When water cannot drain properly, it leads to waterlogged conditions that restrict oxygen flow to the roots. In this environment, beneficial soil microbes can die off, further impairing nutrient uptake by your plants. This results in your eggplants appearing weak, with leaves that may yellow or drop prematurely. If possible, use a moisture meter; if the reading stays consistently high, it reinforces the dire need for drainage improvement. Do not rely solely on feeling the soil; moisture meters provide a reliable indication of hidden saturation.
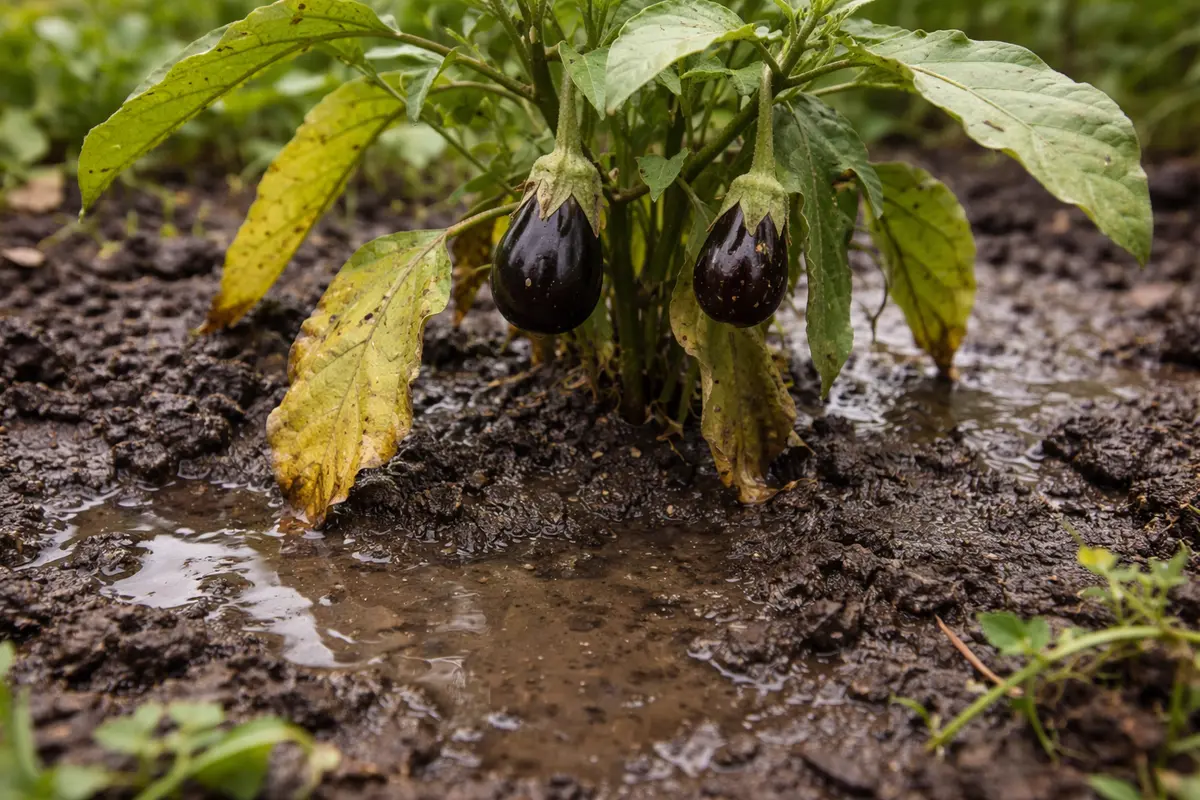
If the soil smells sour when you check, it indicates anaerobic conditions due to stagnant water. In this case, consider aerating the soil with a fork or trowel to improve pore space, allowing oxygen to penetrate and reach the roots more effectively. You can also lightly lift the soil around the base of the eggplants. If there’s resistance, it underscores the compressed, impenetrable conditions that require immediate action. Be cautious—rough handling can break roots; aim for gentle lifting to avoid damage while promoting aeration. This step can make a big difference in preventing further stunting of growth and promoting plant health. If the resistance persists or soil discolors, alternate digging methods that involve loosened topsoil can be beneficial.
Step 3 – Water Eggplants to Stimulate Growth Recovery
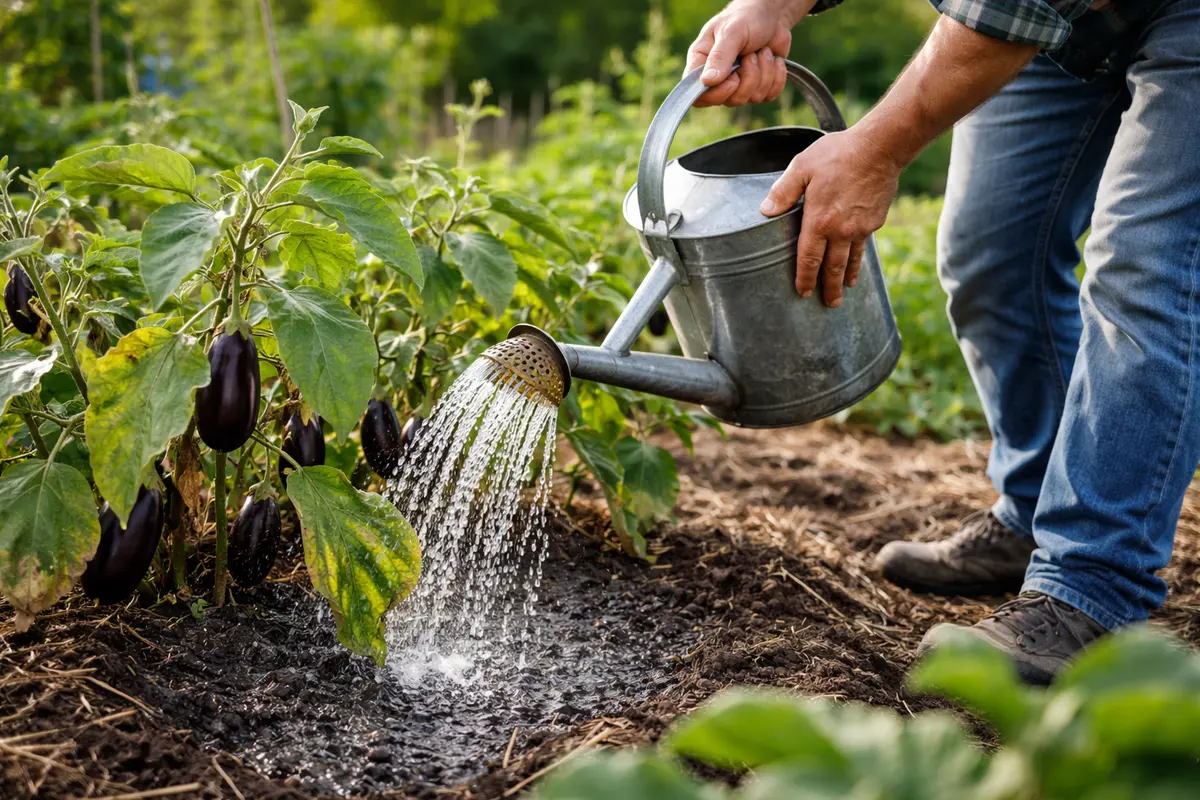
Water the soil adequately, ensuring it drains well but remains moist enough to encourage growth. You will observe that your plants might perk up as they receive the moisture they need to recover. Proper and mindful watering promotes healthy regrowth after correcting drainage issues. Allow the top inch of soil to dry before you water again to prevent re-watering into a still waterlogged area. Consider also using deep watering methods, which break through compacted layers, encouraging roots to grow deeper into the soil.
Eggplants thrive in moderately moist conditions, without being too wet. When they start taking in the right amount of water, you’ll see new leaf growth and the green color return to previously yellowing leaves. This revitalization indicates that your efforts are starting to pay off, but it may take several days to weeks for full recovery depending on the severity of the damage. Typically, healthy eggplants will develop a lush texture and vibrant hue under the right moisture levels. If you do not see signs of improvement within a week, re-evaluate your moisture levels and drainage conditions, as quick responses to any issues help avoid setbacks.
Be cautious about overwatering during this phase; some gardeners mistakenly think more water equals faster recovery. If you notice leaves wilting or turning brown again, it may be a sign of overwatering rather than dryness. Keep an eye on the weather; for instance, if there’s a forecast for rain, delay watering to avoid saturating the soil again. Monitoring your watering schedule alongside weather patterns ensures you do not inadvertently drown your plants. Evaluate soil moisture before every watering, and gauge whether it’s beneficial to soak more or allow drying. If you find that moisture is abundant yet visible roots remain unhealthy, revisit your earlier diagnosis to reevaluate potential drainage blockages still affecting your plants.
Step 4 – Create Well-Draining Beds for Future Eggplants
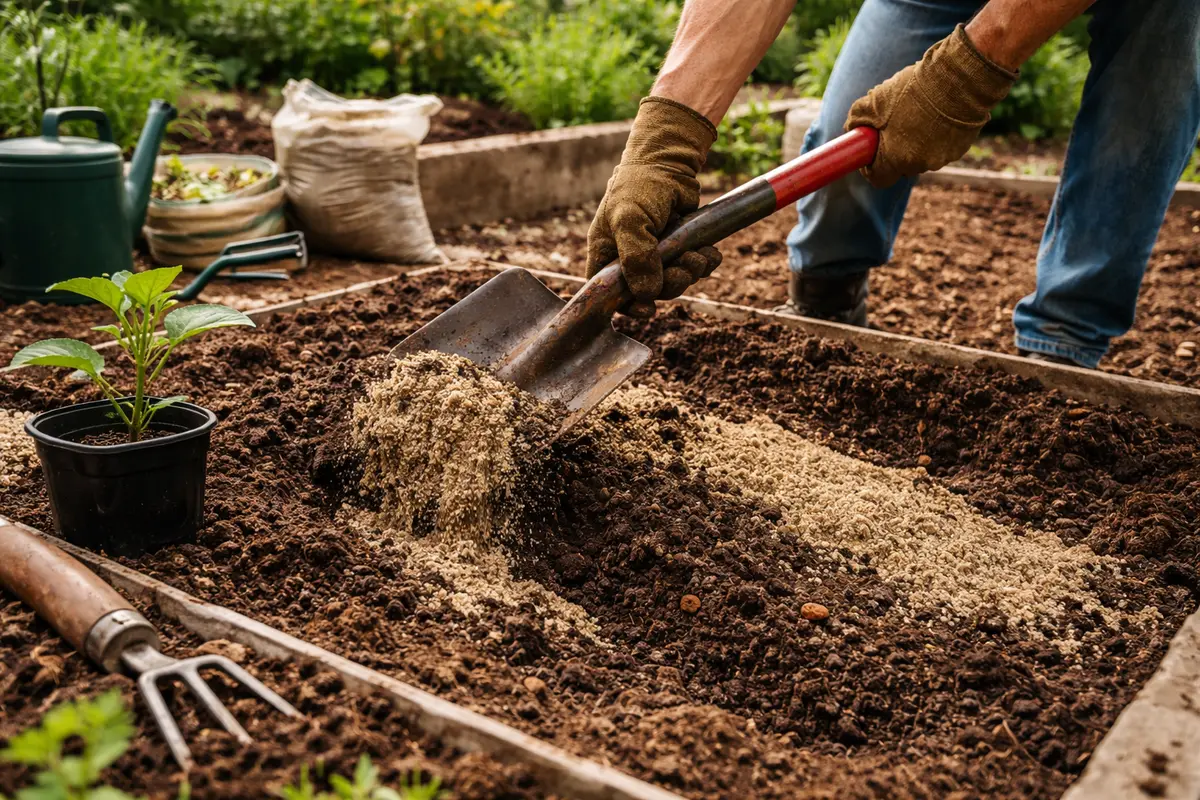
Begin amending your garden bed’s soil by incorporating organic matter like compost or peat moss to enhance its drainage capabilities. You will find that this will result in a looser soil structure that retains moisture while allowing excess water to flow away. This proactive step helps ensure future plantings are less likely to experience similar drainage issues. Mix one part compost with three parts existing soil to improve texture effectively. Testing the mixture after blending can be useful; consider grabbing a handful and squeezing to see how it crumbles, as it should hold together while being easily disturbed.
Well-draining soil supports healthy root systems and reduces the risk of disease. The inclusion of organic matter improves soil aeration and encourages beneficial microbes vital for nutrient cycling. After incorporating amendments, check your soil moisture levels by squeezing a handful; it should hold together but crumble when disturbed. Maintaining this balance is essential to prevent future stagnation that leads to stunted growth. If you notice water pooling on the surface after rain, the amendment ratio may need adjusting to promote ideal drainage.
Consider rotating eggplant beds each growing season, or plant in raised beds designed specifically for better drainage. For example, you could elevate your planting area by 6 to 12 inches, which can mitigate pooling water around roots. This method will help maintain optimal soil health; as planting the same crops repeatedly in the same soil can lead to nutrient depletion and increased disease pressure. By managing crop rotation and soil composition, you’ll ensure that your eggplants thrive in a healthy environment. Make notes on the previous locations and plant types; by documenting your garden’s shifts, you can track the inherent trends regarding what works best in specific locations over time. Such careful planning can significantly influence the success of your future planting endeavors.
Step 5 – Inspect Eggplants for Growth Progress Weekly
Check your eggplants weekly for any signs of growth and potential rebounding leaves. You should observe vibrant, fresh growth indicating recovery within the first few weeks after drainage issues have been addressed. Regular monitoring helps catch any signs of returning problems before they become widespread. Look closely for even small increases in height or new shoots developing from the base; these are strong indicators of recovery. Take note of their spacing and leaf health, as regrowth in both areas provides insight into soil and drainage conditions.
Healthy eggplants will usually show firm, erect leaves and flush out new blossoms or shoots at the right stage, promoting fruit development. If the plants still exhibit wilting or yellowing, recheck the soil moisture and aeration to ensure they haven’t slipped back into damp conditions. Take the opportunity to inspect the undersides of leaves for pests or diseases; early identification of problems can enable you to act swiftly. If foliage appears mottled or discolored aside from yellowing, consider potential nutrient deficiencies or pest infestations that require immediate attention, as neglecting these could stall recovery.
If the plants have not improved after several weeks, it may be time to evaluate again for underlying issues such as pest infestations that can affect the roots or nutrient deficiencies from earlier stress. If you spot an unusual number of aphids or other insects clustering on the plant, get ready to act, as their feeding can severely hinder growth. Look closely for pests like aphids, spider mites, or whiteflies on the leaves, as their presence can sabotage recovery efforts, prompting a new treatment protocol tailored to managing these external factors. You might need to consider organic insecticides or introduce beneficial insects to help manage these population spikes effectively.
FAQ
How long does it take for eggplants to recover from stunted growth?
Recovery from stunted growth usually takes about two to four weeks, depending on how quickly you address drainage issues and nutrient supply. Consistent watering and optimal soil conditions during this time can significantly enhance their rebound speed, which may manifest in increased leaf visibility and healthier growth. Observing the condition of your eggplants weekly provides vital feedback on whether your interventions yield the desired results or if further adjustments are necessary.
Can poor drainage conditions spread to neighboring plants?
Yes, for instance, if the conditions lead to root rot in one eggplant, that pathogen can spread via soil or water to adjacent plants, especially during watering. Ensuring proper drainage and hygiene can help mitigate this risk, as stagnant water can harbor pathogens that compromise the health of neighboring plants. Regularly checking for signs of disease in closely situated crops aids in early detection, allowing preventative steps to be taken if needed.
Should I remove stunted parts of my eggplant plant?
Removing stunted or yellowing growth is advisable, as this can allocate more energy to healthy parts of the plant. However, ensure that the roots are not damaged; cutting back too much can stress the plant further. Always prune back to a healthy node, which might allow the plant to redirect its energy into vigorous growth. Timing your pruning is crucial—pruning in the late evening can help reduce stress on the plant, as cooler temperatures and less sunlight exposure promote recovery after trimming.