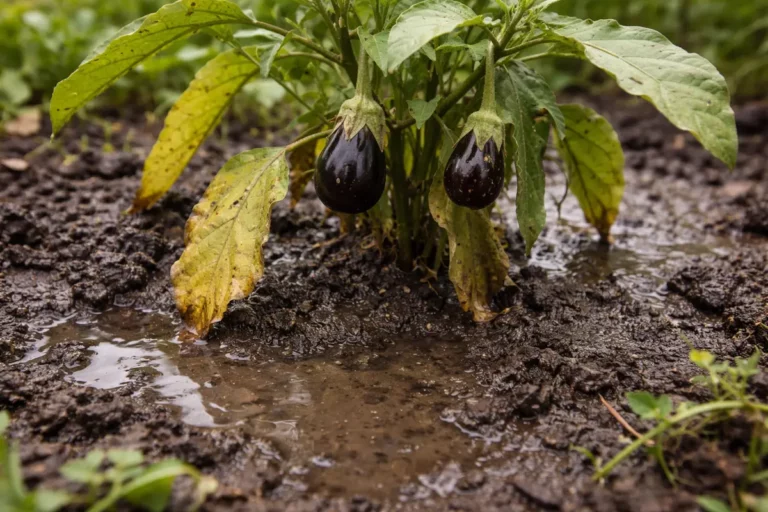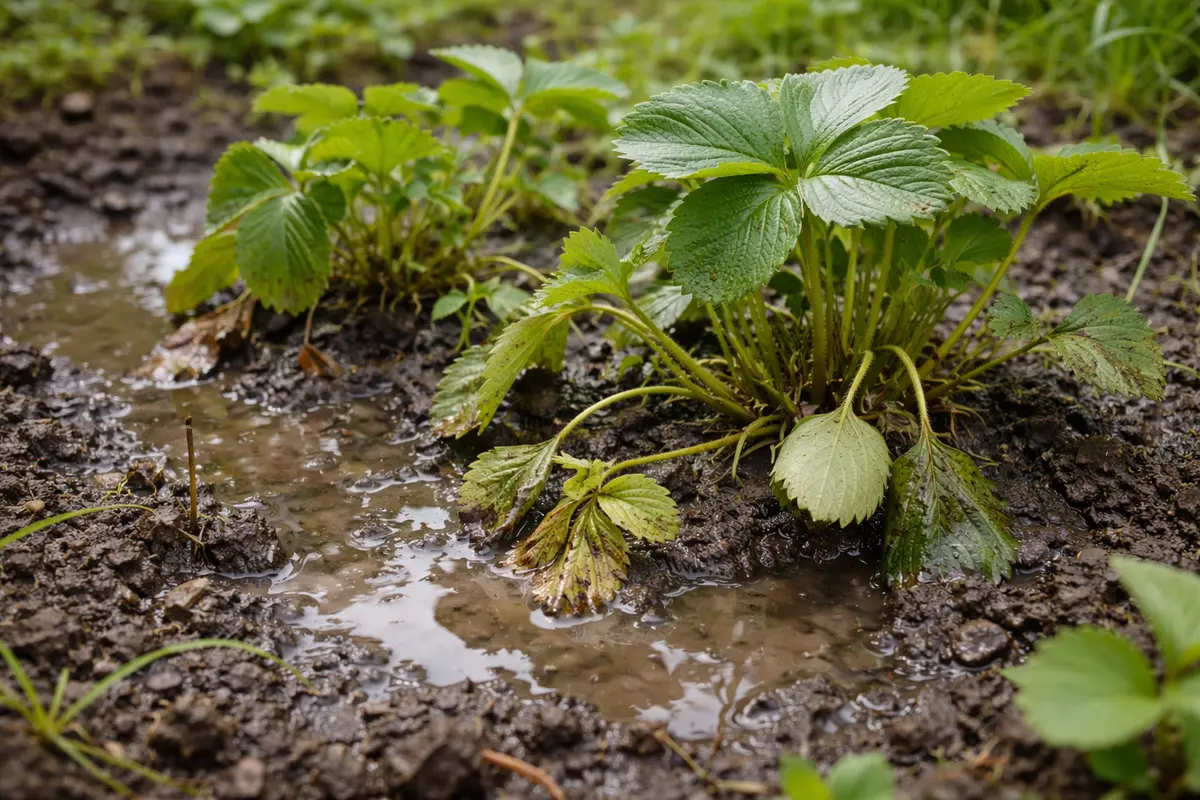
You may notice your strawberry plants struggling to flourish after heavy rainfall, which is why you need to know about Fixing stunted growth in strawberry plants from poor drainage. The plants exhibit signs of wilting and leaf drop due to excess water pooling around their roots, creating conditions that can damage their health. If left unaddressed, this issue only gets worse and weakens the plant, making it harder to fix, but you can improve the situation now by checking the soil, adjusting drainage, and monitoring moisture levels.
Step 1 – Dig Up Waterlogged Strawberry Plants
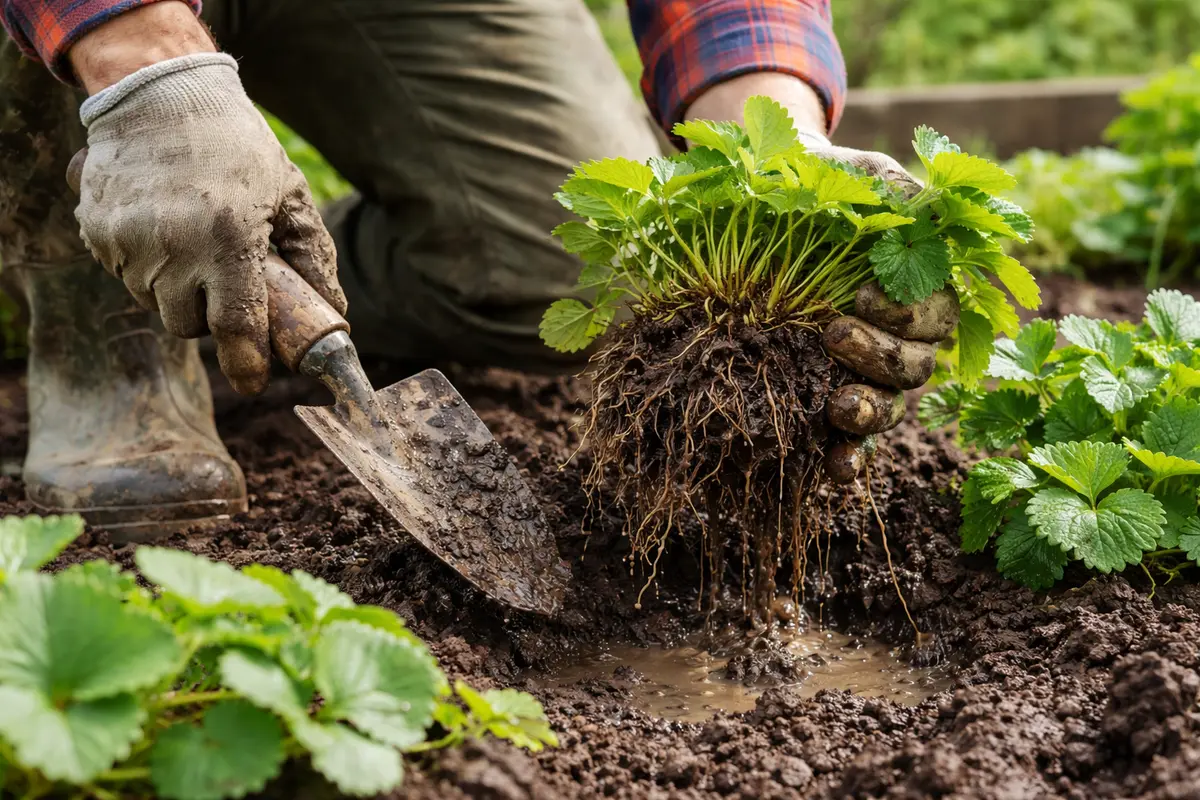
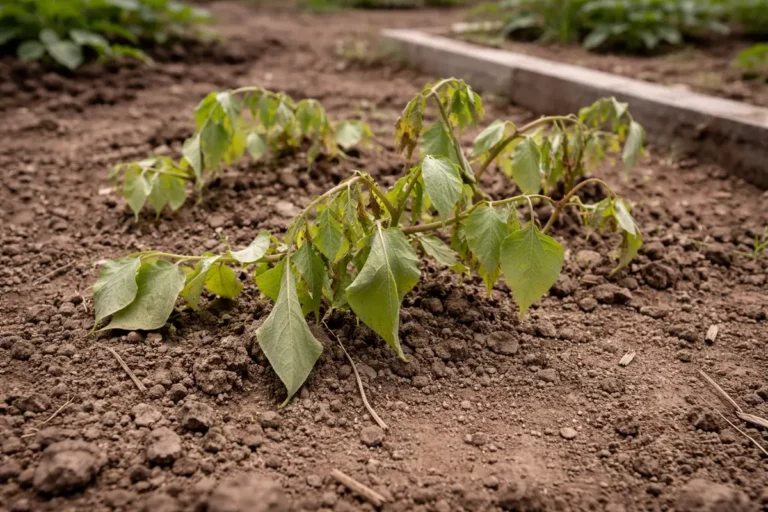
Start by carefully digging up the strawberry plants affected by excessive moisture. You will notice that the roots are waterlogged and potentially starting to rot within minutes of inspection. Digging should be done gently to avoid further damaging the roots, as even minor injuries can lead to more significant vulnerabilities and increase susceptibility to disease. Ensure that you are working in slightly drier conditions to avoid further compaction of the already saturated soil. If it rains again right after your initial digging, it may create additional waterlogging.
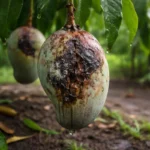
Removing the plants promptly helps limit further damage, as saturated roots quickly lose their ability to uptake oxygen and nutrients. When roots remain submerged for extended periods, they can develop root rot, leading to irreversible damage that stunts growth during critical growing phases. Strawberry plants thrive in well-drained soil, and each moment spent in saturated conditions exacerbates the decline of healthy roots. This also affects their ability to take up essential moisture during drier periods post-recovery. If water remains around the roots too long, roots can begin to smell rancid, a clear sign that a fungal invasion could also be taking hold, spreading beyond the damaged area. Observing brown or mushy roots upon inspection further confirms this deterioration.
A common mistake gardeners make is assuming that simply watering less will solve the problem. This can be misleading, especially if the roots are not inspected first. If you find a strong sour smell emanating from the soil, immediate actions must be taken to replace the affected area with fresh soil blends that promote better drainage. Plants left in overly wet conditions may rarely recover fully, depending on the extent of root damage, with death occurring if untreated. If the damaged area exhibits blackened roots, proceed with caution; these roots likely need to be pruned back to healthy tissue to encourage new root growth. Remember to sanitize pruning tools before and after use to avoid introducing any further pathogens into your plants; this minor step is crucial to prevent exacerbating an already dire situation.
Step 2 – Analyze Soil Drainage Issues in Beds
Next, assess the surrounding soil’s drainage by digging a small hole and filling it with water. Observe how long it takes the water to drain away; good drainage should see water gone within a few hours. If water remains for more than 24 hours, the soil has poor drainage. This test not only measures drainage efficiency but also gives insight into areas that might need corrective amendments. Documenting drainage times for multiple areas can help pinpoint specific problem zones, which can be critical for targeted intervention.
Strawberry plants require aerated soil that drains well to prevent rot and promote healthy root development. Soil compaction, clay-heavy textures, or inappropriate planting methods can all contribute to drainage issues. When water accumulates in the planting area, it limits oxygen and encourages conditions favorable for root rot and fungal diseases, which could easily spread through root contact with neighboring healthy plants. This may lead to the growth of pathogens, further impeding the health of your strawberry plants. Additionally, if you notice the soil becoming compacted after rainfall, this is a sign of a more systemic issue with the landscape’s overall drainage.
If the soil feels sticky, indicating a clay-like texture, consider amending it with organic matter such as compost to improve aeration. Mix in coarse sand or perlite to ensure that the soil doesn’t become too compacted, as too much organic material can lead to more water retention. However, if you find the surrounding soil too loose, avoid adding more organic material, which may worsen drainage for mature plants. Rather, consider vertical drainage solutions, such as creating raised beds, to prevent future waterlogging; this approach elevates root systems and keeps them above saturation levels. Implementing gravel layers under raised beds can also facilitate better drainage, directing excess water away from the roots. Finally, using a soil moisture meter periodically can help track progress; an ideal soil moisture reading for healthy strawberry roots hovers around 75% saturation without pooling.
Step 3 – Fertilize Underperforming Strawberry Crowns
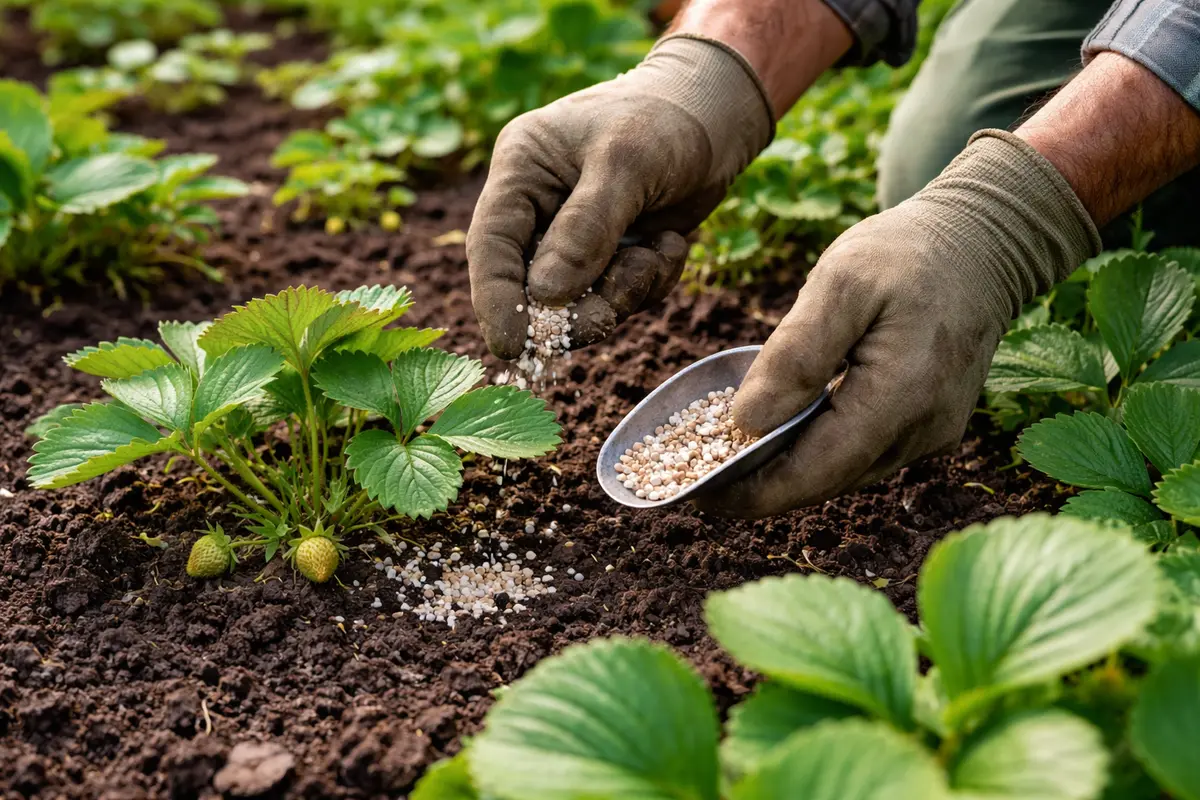
Apply a balanced, slow-release fertilizer around the base of the plants to facilitate recovery. Within days, you should see signs of growth as fresh leaves begin to sprout, signaling improved overall plant health. Optimal timing for fertilization is crucial; ideally, this should be accomplished in early spring when plants resume active growth functions. If applied too late or too early during the growing season, the recovery process can be severely hindered, preventing the plants from effectively utilizing the nutrients.
Fertilizing after addressing drainage issues ensures that your strawberry plants receive key nutrients while they recover. In the initial days following the recovery actions, the newly formed roots will begin to absorb nutrients, which will stimulate new leaf growth. Adequate nitrogen, phosphorus, and potassium ratios help in this transition and prepare the plants for productive fruiting seasons ahead. Monitor the nutrient application closely to verify that the plants begin restitution without excessive nutrient uptake, which may need immediate correction if leaf burn occurs, evident by browning leaf edges. If you notice plants rapidly developing weak or leggy growth, it may indicate nutrient overload.
Be cautious not to overdo the fertilizer application; too much can lead to nutrient burn, especially in reviving plants. A good approach is to monitor the new growth for vigorous leaves that signal health without expansion beyond 2-3 inches; stunted growth may indicate nutrient competition or toxicity. If you observe new growth emerging beyond this, but seeing it turn pale or droopy, consider scaling back the fertilizer amount and seek soil tests to find out nutrient balance and pH levels. This timing also typically aligns with spring’s warming conditions, which can further enhance plant recuperation. It is essential to periodically check pH levels as well, as strawberries generally prefer slightly acidic soil (pH 5.5 to 6.5) for optimal nutrient uptake. Conduct soil tests after fertilization and amend accordingly; discrepancies in pH can significantly limit nutrient availability, further complicating recovery efforts.
Step 4 – Use Mulch to Protect Against Waterlogging
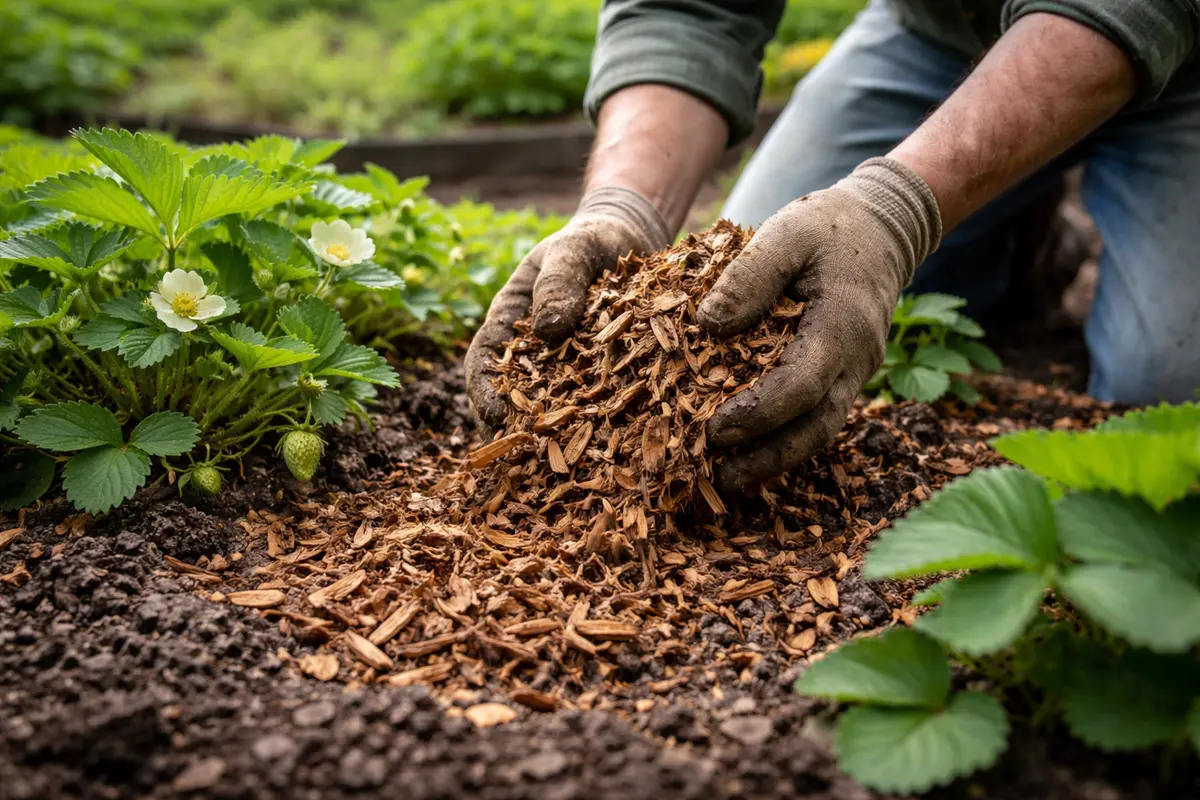
Apply a layer of organic mulch around the strawberry plants to shield them from excess moisture. You will see improved soil structure and moisture retention over time, creating a more balanced environment for your plants. A 2- to 3-inch layer of straw or wood chips is ideal; this prevents water from splashing onto plant crowns during rains and helps to deter disease. Additionally, mulch can help mitigate the risk of soil erosion during heavy downpours, which is crucial for maintaining the integrity of your planting beds.
Mulch acts as insulation against rapid temperature changes and moisture spikes, which can exacerbate drainage problems in strawberry beds. Inconsistent moisture levels can lead to stress, possibly reducing fruit quality and quantity. Using organic mulch also suppresses weed growth, which competes for water and nutrients. If weeds are persistent, adjust your mulch layer frequently, as this can also mobilize beneficial microbial activity within the soil, promoting healthy growth. Proper installation also involves leaving some space around the plant collar to avoid stem rot; if moisture collects against the stems, it can introduce pathogens.
In warmer seasons, adjust the depth of your mulch to maintain a balance between preventing evaporation and maintaining moisture. If rainfall is frequent, switch to a straw mulch, which offers better drainage properties compared to wood chips that can become matted and hold moisture, potentially leading to fungal growth. Regularly refreshing the mulch layer also helps to replace valuable nutrients lost during the growing season, usually every four to six weeks. Conduct checks to see if mold is forming under dark, damp layers — if this is the case, remove and replace those sections to maintain aeration and avoid detrimental fungal proliferation. Watch for insect activity as well; certain pests prefer damp environments and may take root in heavily mulched areas, stressing the strawberry plants further. This is why keeping an eye on insect populations is critical during the initial recovery phase after applying mulch.
Step 5 – Check Strawberry Leaves for New Growth Signs
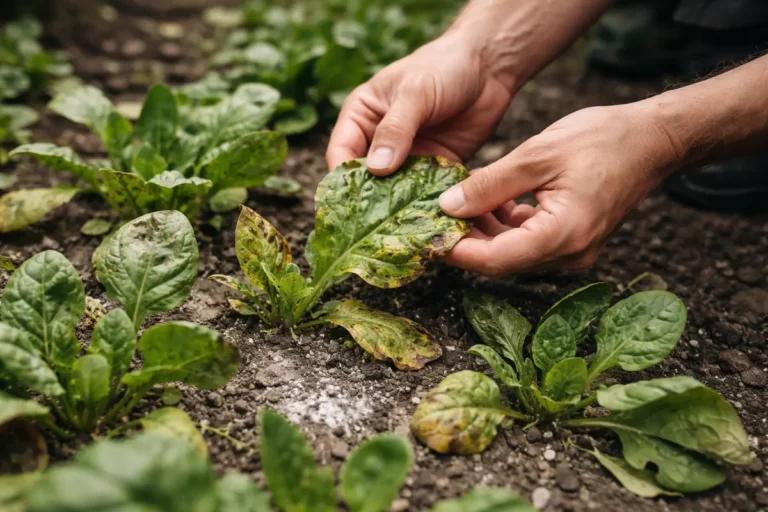
Monitor the strawberry plants daily to assess the health of the new growth. After a week, look for fresh vibrant leaves that indicate the plants are recovering from the previous stress caused by waterlogging. Make observations on soil conditions at this time as well; check for moisture levels and respond accordingly based on the plant’s needs. If you see satiny sheen on the new foliage, that may indicate improved health, while wilting suggests a need for further intervention and possibly more visible stressors.
A fully recovered strawberry plant should exhibit firm, green leaves and healthy-growing stems with no wilting signs. If the plants continue to display faded or yellowing leaves, further investigation into nutrient or moisture levels may be warranted. Recheck the soil drainage and listen for any persistent sour smells, which may indicate ongoing issues. Even if new growth appears, monitor for signs of lingering root problems by gently tugging on the plants; resistance should be felt if roots are healthy. If you detect root movement with light tension, that points to a vigorous root system; lack of resistance means more work is needed. Pay attention to whether the soil texture feels consistent throughout; uneven soil moisture can compromise overall health.
If no improvement occurs after two weeks, consider re-evaluating the soil composition and drainage techniques previously implemented. Take a close look at waterlogged areas, as consistent saturation can encourage acidity changes detrimental to root health. Some gardeners may need to escalate their efforts by installing additional drainage systems or entirely relocating the strawberry plants to adequately aerated environments. They can check local resources for appropriate material alternatives for better drainage solutions. This active monitoring ensures that any creeping problems can be caught in their early stages before becoming systemic. If subsequent assessments highlight standing water recurring, an investment in professional landscaping drainage may be warranted to achieve long-term solutions, especially if the landscape conditions are particularly hostile to strawberry growth.
FAQ
How long will it take for my strawberry plants to recover?
Recovery time for strawberry plants can vary based on initial damage and conditions. Generally, with proper care, noticeable improvement may be visible within one to two weeks, including new leaf growth. However, if the root system was severely compromised, it may require more time, and in some cases, two to four weeks may be necessary before substantial improvement is observed across the plant.
Can poor drainage spread to nearby plants?
Yes, poor drainage can lead to root rot that may spread to nearby plants, especially if they are in close proximity. If the original soil conditions create a favorable environment for pathogens, those issues can quickly affect neighboring plants. It is crucial to address drainage problems immediately to prevent an outbreak of disease throughout the garden bed.
Should I remove the affected strawberry plants?
Only remove the plants if they show severe signs of rot or are time-consuming to treat compared to recovery from planting new ones. If the roots are salvageable, strive to recover them instead with optimal care approaches; good choices include amending soil and improving drainage. Regularly assess their health and be prepared to intervene if they do not respond to recovery measures, including revisiting cultural practices to minimize future occurrences of poor drainage.