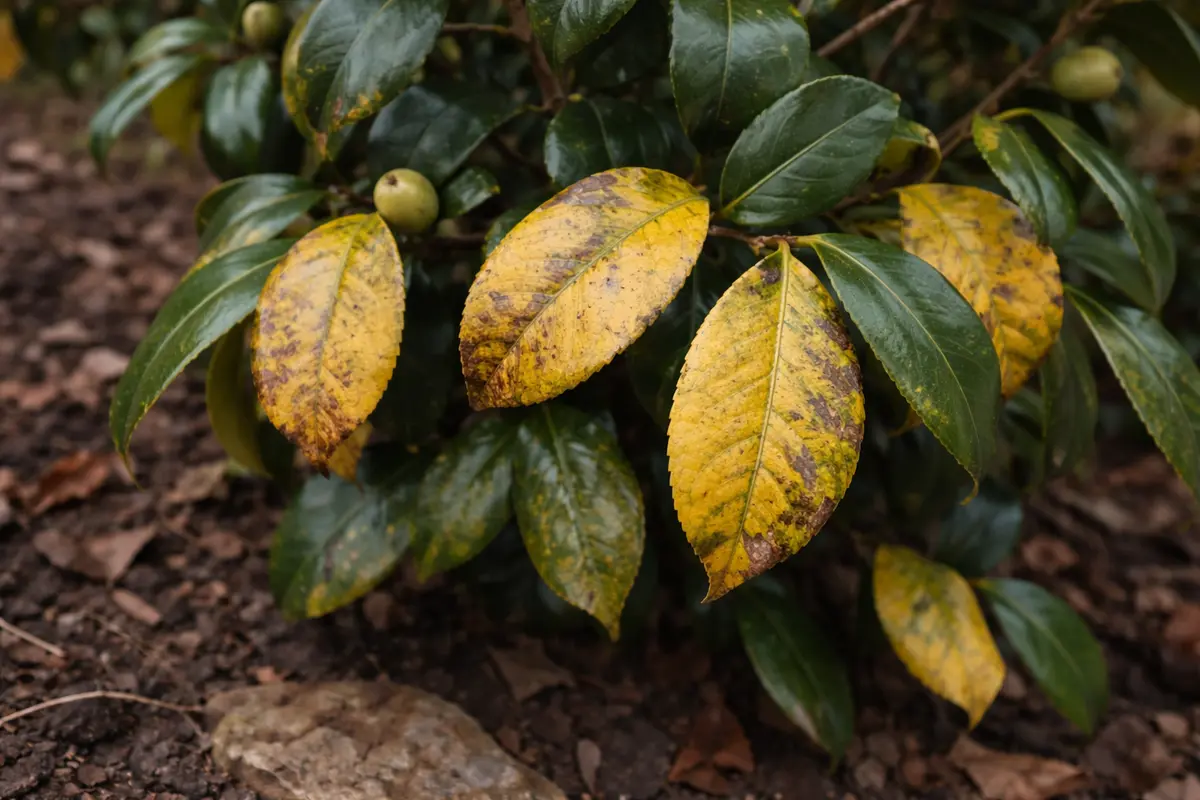
You may notice your camellia’s leaves turning a bright yellow during the cold winter months, which is why you need to know why do my camellia leaves turn yellow in cold weather. This yellowing often indicates stress caused by low temperatures, leading to problems like leaf drop and overall decline in health. Ignoring these signs can weaken the plant, making recovery harder, so it’s essential to check your camellias and adjust their care to improve their condition.
Step 1 – Check Camellia Roots for Cold Damage
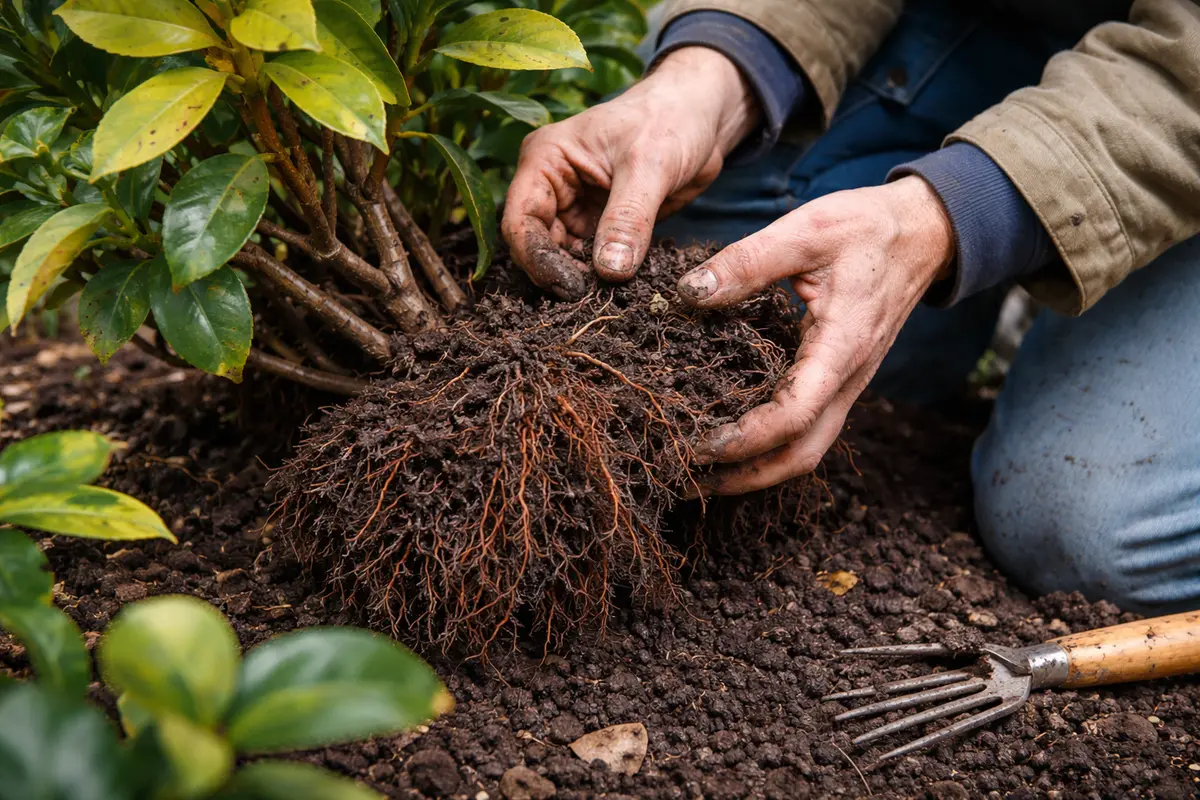
Inspect your camellia roots for any signs of cold damage. You will notice whether the roots are dark and mushy rather than firm and white; this indicates serious frost damage that needs addressing. Alternatively, healthy roots should feel firm and have a light tan or off-white color. If you find that the roots lack these characteristics, it’s crucial to take action. Pulling the plant from the pot gently will allow you to inspect root health while minimizing additional stress.
Cold weather can cause the roots to suffocate or sustain frost damage, impacting the plant’s ability to absorb nutrients and water. This impaired function leads to yellowing leaves, harming the longevity of your camellia. If you find any roots exhibiting distress, such as being soft or discolored, this indicates that the plant cannot support its foliage adequately, leading to stress signs like potential leaf drop. Timing is key; if you confirm the roots are compromised, immediate action can prevent further deterioration, ensuring the plant can stabilize before more severe stress develops.
A common mistake gardeners make is neglecting to inspect the roots until after the plant shows visible distress. For instance, if you water a camellia with damaged roots, the excess moisture can lead to root rot, compounding the issues already present. Always check under the surface before applying further care; it’s best practice, particularly in chilly weather when root health may be more susceptible. If you do identify root rot, this is your sign to immediately remove the plant from the soil, trim back the affected roots ensuring to cut just up to healthy tissue, and replant it in fresh, well-draining soil. Following this step, monitor the plant closely, as rejuvenated roots can still be vulnerable to further cold-related stress, which may again manifest as yellowing leaves.
Step 2 – Diagnose Nutrient Deficiency in Leaves
First, inspect your camellia for nutrient imbalances or salt buildup in the soil. Test the soil with a pH meter and perform a nutrient analysis if necessary; this will help you identify deficiencies or toxicities. After correcting any issues and providing appropriate fertilizers, you should observe improved leaf color and overall plant vitality within a few weeks. Look for specific signs, such as the shade of yellowing or interveinal chlorosis, which indicate different nutrient needs.
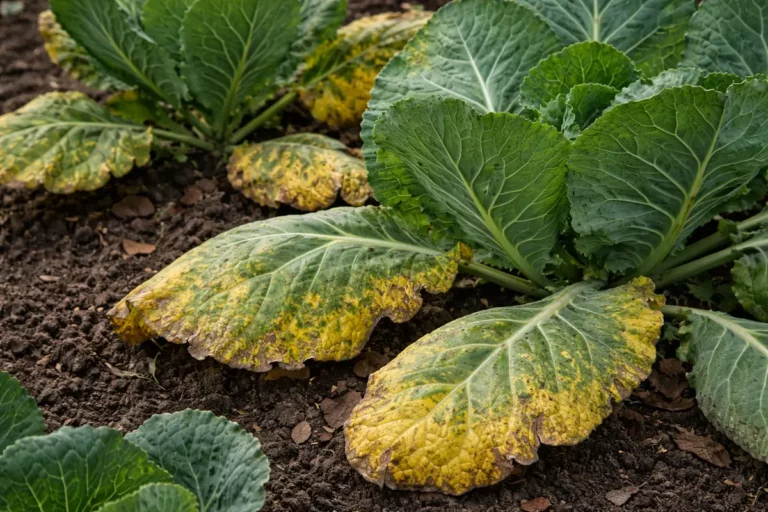
Yellowing leaves in camellias during cold weather often indicate a lack of essential nutrients like nitrogen or magnesium. When the soil temperature drops, nutrient uptake by the roots diminishes, leading to nutrient deficiencies that manifest as yellowing foliage. Healthy camellia plants in warm, nutrient-rich soil will display vibrant green leaves, contrasting with those suffering from cold-induced yellowing. If the leaves have a pale yellow or even a white hue, especially if the veins remain green, it signifies a possible magnesium deficiency.
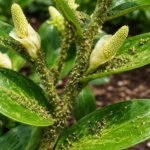
If you notice that the soil smells sour when testing, this is a sign of root rot, which requires immediate action such as improving drainage or repotting the plant. Alternatively, if the leaves are dropping in addition to yellowing, check for pests like aphids or spider mites that can cause similar symptoms but require entirely different treatments. Monitoring for physical pests should include shaking the leaves gently; if small insects fall off, a targeted insecticidal soap may be necessary to eliminate them before further stress occurs.
Nutrient deficiencies often arise from poor soil quality, where essential nutrients fail to reach the plant’s roots due to cold-induced malnutrition. If the soil is compact and lacks organic material, restoring its quality is vital — nutrient deficiencies like these impede the plant’s ability to produce chlorophyll, essential for photosynthesis, and lead to yellow leaves. Addressing nutrient deficiency directly improves your camellia’s overall health, making it more resilient to external stressors such as cold weather and disease. To test soil quality, grab a handful and check its texture; a healthy mix should crumble easily in your hand rather than clump together.
If the soil texture feels compact and dry, you’re likely dealing with a deficiency; amend it with organic matter to enhance nutrient absorption. In contrast, if the soil is overly wet and smells sour, you risk promoting root rot. Both scenarios illustrate different responses necessary for restoration. If the yellowing persists despite adding compost or a balanced fertilizer, consider performing a soil test to reveal specific nutrient levels and imbalances; this helps tailor your amendments and gets your camellia thriving once more. Note the addition of calcium or magnesium amendments like dolomite lime can help counteract acidity while supplying these crucial nutrients. You should also keep track of your watering schedule; excessive watering in nutrient-poor soil can lead to further nutrient leaching, worsening deficiencies.
Step 3 – Water Camellias Deeply for Recovery
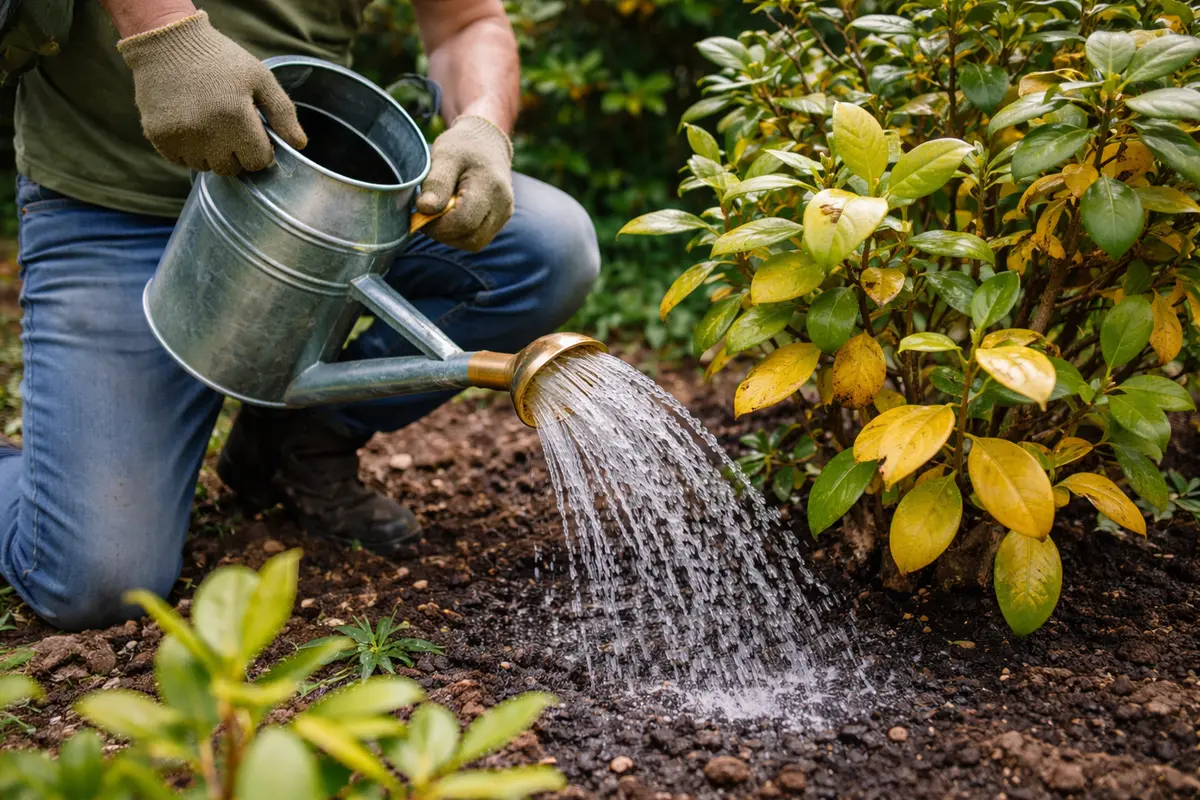
Water your camellias deeply to facilitate recovery from yellowing leaves. You will notice the leaves beginning to perk up within a matter of days as they respond positively to the improved moisture supply. Aim for about 1 to 1.5 inches of water per week and ensure the water seeps deep into the soil — this depth encourages robust root development. To measure effectively, consider using a rain gauge or simply timing how long you water until it begins to drip from the drainage holes.
This deep watering encourages roots to reach deeper into the soil for nutrients while revitalizing stressed tissues. Camellias typically thrive in slightly acidic conditions, absorbing moisture more effectively when the water penetrates thoroughly. Moreover, as the water seeps deep, it encourages healthy root development, making your camellias more resilient in future cold spells. Remember, waiting too long to hydrate your camellias might lead to more severe health issues, such as stunted growth or complete plant failure, so implementing a consistent watering routine is key to their recovery.
Avoid overdoing it; while deep watering is essential, it’s vital to let the soil dry out between waterings. Over-saturation can lead to root rot, which significantly harms the plant. Keep an eye on your camellias during recovery periods and adjust your watering schedule as they begin to regain their vigor. If you begin to notice soil remaining soggy for extended periods, it may be time to check your drainage system; consider adding perlite or sand to improve drainage where necessary, ensuring that the balance is just right for your camellias and their recovery. Additionally, avoid watering during the peak of cold nights; moisture that does not evaporate can freeze and further harm roots, causing more yellowing. Implementing a schedule where watering occurs early in the day allows for any excess moisture to evaporate before nightfall.
Step 4 – Protect Camellias from Frost Each Winter
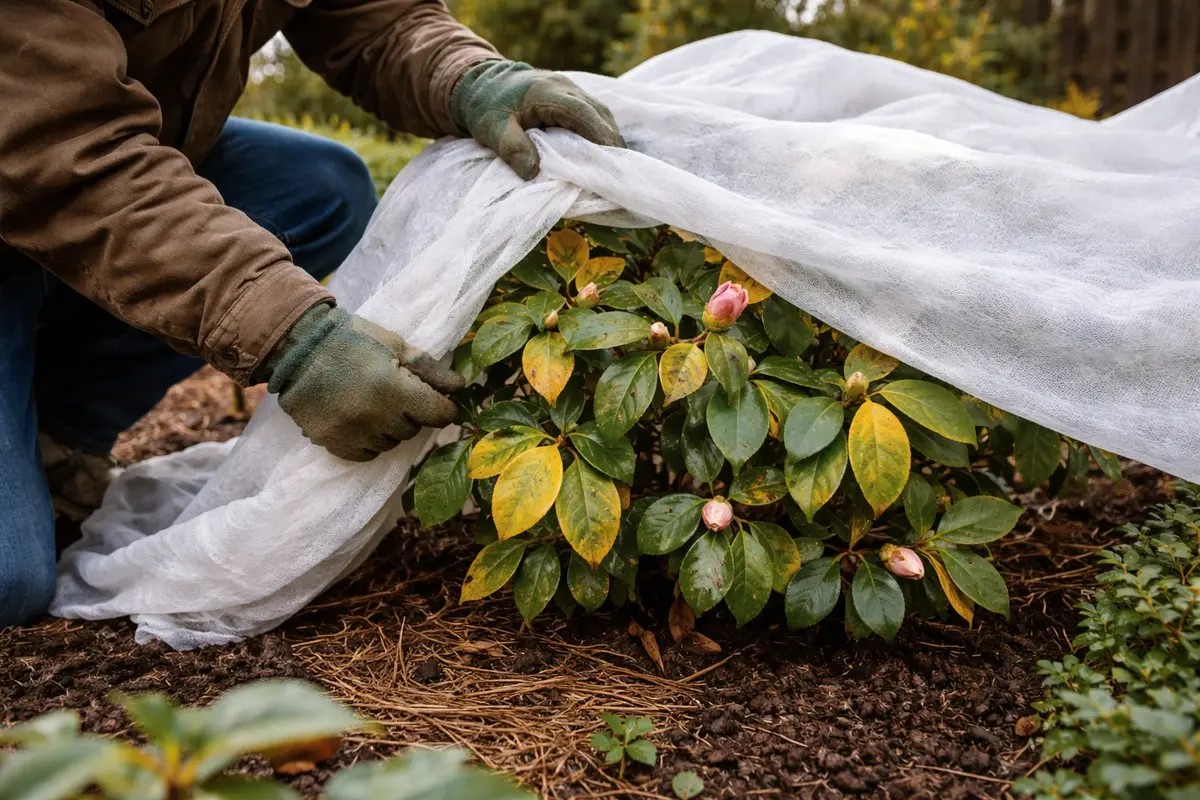
Cover your camellias with frost cloth or move potted camellias indoors during periods of extreme cold. You will see that this protective measure not only prevents damage but also encourages a more vigorous spring growth as your plant recovers. Each time temperatures dip below freezing, even a simple cover can buffer the plant from frost damage that often results in yellowing leaves. Ensure that these covers are anchored securely to prevent lifting winds from blowing them away.
Winter protection is essential as young foliage and newly formed buds are particularly susceptible to frost. By utilizing protective covers or moving vulnerable plants inside, you minimize cold exposure, therefore reducing stress, leaf drop, and the likelihood of developing yellow leaves in future cold snaps. Caution is necessary; applying covers too early or too late can trap moisture and promote decay if not managed properly, particularly if there are temperatures that fluctuate drastically. Practicing vigilance, you should remove covers during milder days to allow the plant to get sunlight while being prepared to replace them as temperatures drop again.
In milder climates, insulating mulch around the base can help, but it’s crucial to monitor soil moisture levels. Too much moisture under the mulch can create conditions ripe for rot, leading to the very issues we aim to prevent. Positioning pots in sheltered spots, like near a wall that absorbs heat during the day, can also help mitigate frost exposure while allowing enough sunlight to reach the plants. If you frequently encounter frost, consider investing in frost-resistant varieties or hybrids of camellia to improve your garden’s resilience to cold weather. Stay vigilant, as the timing of your protections directly impacts their effectiveness; in situations where late frosts are common, be prepared to reapply covers as needed.
Step 5 – Inspect Leaves for New Yellowing Next Month
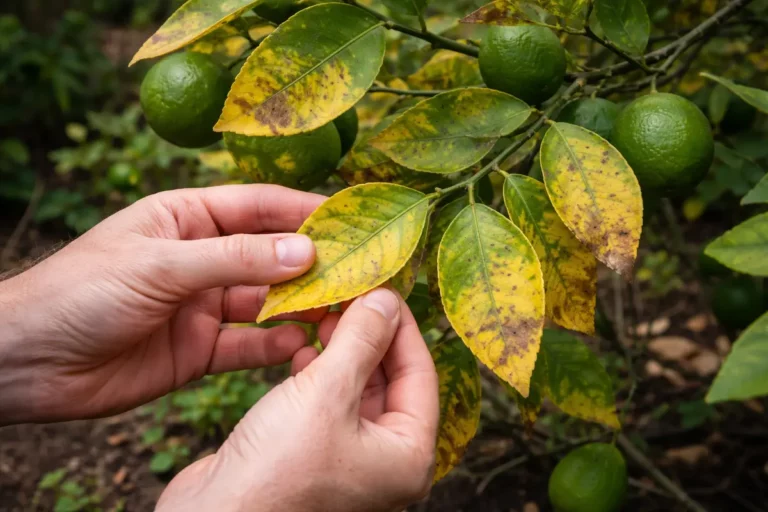
First, monitor your camellia plants for changes in leaf color as temperatures drop. Check the leaves closely for yellowing, which usually occurs at the base of the plant and may be accompanied by wilting. Recheck the leaves weekly to assess if the yellowing persists or worsens, giving you a clearer indication of the plant’s condition.
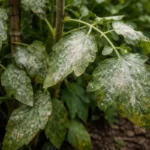
A fully recovered camellia will showcase deep green, glossy leaves that lie flat and firm against the stem, indicating vitality. In contrast, early signs of the problem returning may include a dull appearance or curling at the edges of the leaves. If you observe yellowing reemerging alongside a fuzzy texture on the leaf undersides, it may signal a pest issue.
If yellowing persists despite your efforts, increase organic mulch around the base to protect roots from fluctuating temperatures and retain moisture. Alternatively, evaluate the watering regime; if soil remains overly wet or dry, adjust accordingly to encourage optimal conditions for recovery.
A fully recovered camellia showcases deep green leaves with a glossy finish, showing no signs of yellowing. Early signs of the problem returning include a dull sheen on new growth and patches of yellowing, indicating stress. If your plant’s leaves appear wrinkled and brittle, this could signal that further monitoring is required to ensure it does not revert to a weakened state. Visual checks and comparisons can be instrumental here; if one branch shows distress while others thrive, it may indicate localized issues.
If yellowing returns despite following previous steps, take action by assessing soil moisture and drainage or adjusting your fertilizer routine. If the problem persists, consider consulting a local horticulturist for targeted advice or evaluating environmental factors that could be contributing to the stress. Implementing mulching strategies to retain soil moisture while protecting against temperature fluctuations is vital during this response period. Mark your calendar for routine weekly checks, as consistent observation helps catch issues before they escalate into significant problems.
A fully recovered camellia will exhibit shiny, firm leaves and robust overall growth, which stands in stark contrast to limp or yellowing foliage, thus emphasizing the effectiveness of your intervention. Over the next few weeks, take note of the overall leaf health and any signs of stress that could indicate a recurring problem with cold exposure, nutrient supply, or root health. Seeing the plant respond with new growth can be incredibly rewarding, signaling your effective intervention and understanding of the plant’s needs. If you notice any new yellowing despite taking these steps, it might indicate the need for further soil amendments or adjustments in watering practices. It’s beneficial to reevaluate your plant care strategy, ensuring environmental conditions remain favorable. Should you find them consistently struggling despite your best efforts, it may be time to consult an expert. This could involve seeking help from a local horticulturist to diagnose potential pests or diseases not detectable through casual observation, ensuring you maintain the health of your beloved camellias. Consider marking your calendar or keeping a gardening journal, to track your camellia’s response over time; this can help detect trends that might reveal underlying issues requiring attention.
FAQ
How long does it take for my camellia to recover from yellow leaves?
Recovery can typically take from two weeks to a month depending on the underlying cause. If the primary issue is addressed promptly and effectively, you should start to see improvement within days, with further improvement expected as the plant stabilizes. Regularly measuring your plant’s progress can provide insight into what additional tweaks might be necessary for optimal recovery.
Can yellow leaves on camellias spread to other plants?
Yes, yellowing leaves can indicate underlying problems like pests or diseases that might affect other nearby plants. Keeping a close watch on your garden will help you intervene before issues escalate; use a magnifying glass to inspect for tiny pests on the undersides of leaves, where they often hide. If infestations are detected early, controlling them becomes much easier and often limits the damage to just the affected area.
Should I remove yellow leaves from my camellia?
Yes, but only after confirming the main problem has been addressed. Removing affected leaves helps improve airflow around the plant and prevents pest attraction while allowing the camellia to focus energy on healthy foliage. However, avoid excessive pruning; targeting only the most affected areas will help maintain the plant’s overall shape. Implementing strategic cuts can also promote rejuvenation and redirect energy into healthier parts of the plant.