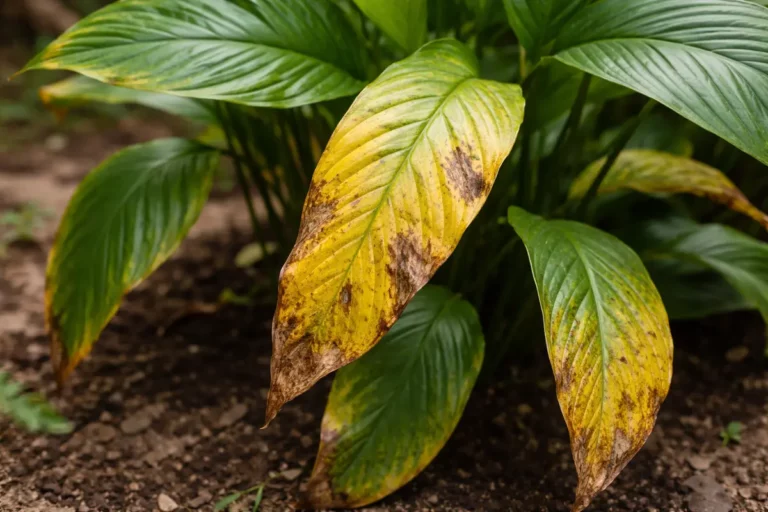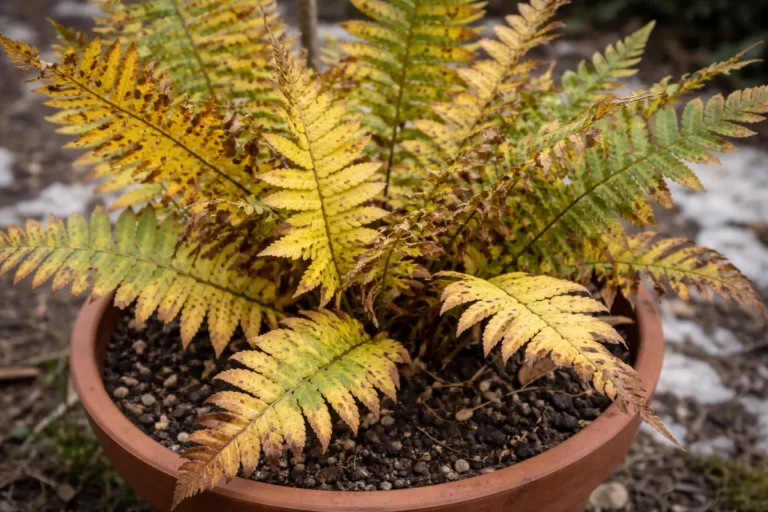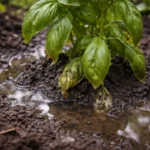
You may notice your indoor fern leaves curling during a particularly dry spell, which is why you need to know what to do when indoor fern leaves start curling. This curling often indicates inadequate humidity or overwatering, leading to wilting and potential damage to the foliage. If neglected, the problem can worsen, weakening the plant and ultimately setting back its growth, but fixing it is possible now if you check the moisture levels and adjust your watering schedule accordingly.
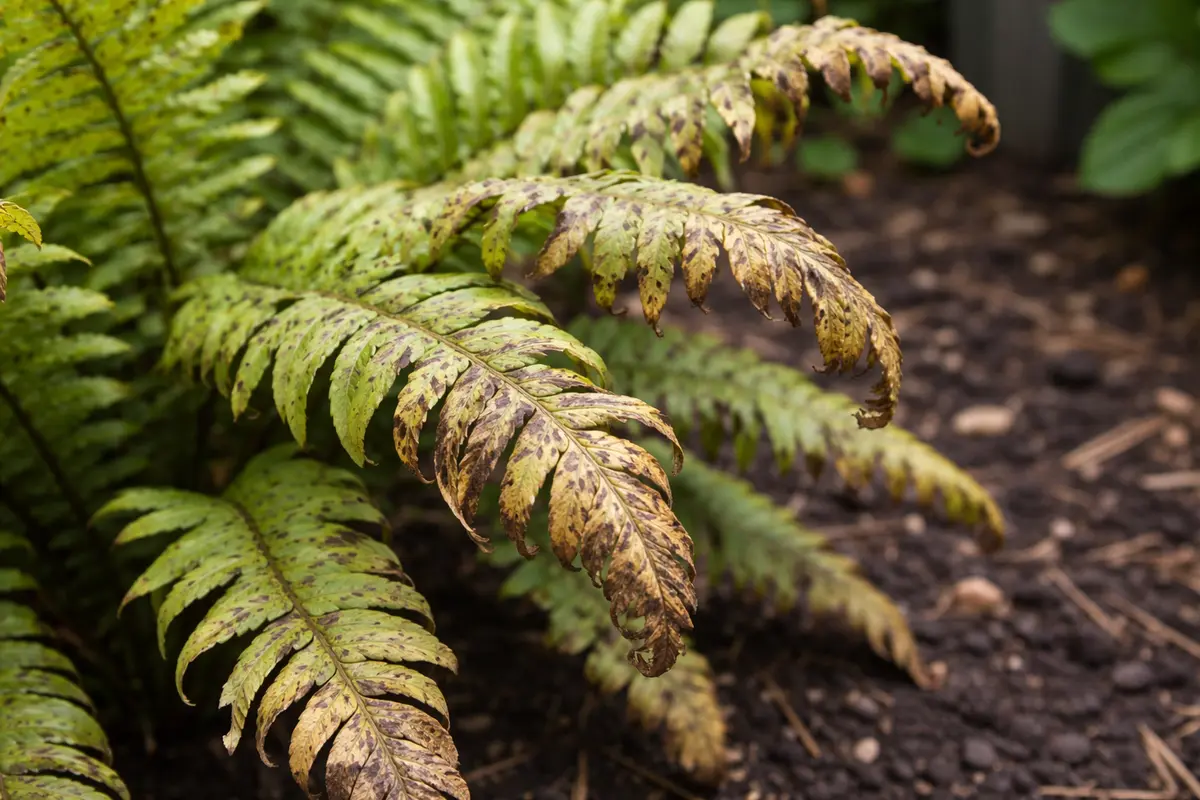
Step 1 – Trim Curling Fern Leaves Immediately
First, move your curling fern to a location with higher humidity and consistent indirect light. Ensure the soil is moist but not soggy; if the soil feels dry a few inches down, gently water it until it is evenly moist. You should notice the leaves start to unfurl and regain a bit of their turgor within a few days, responding positively to the improved conditions.
Acting quickly prevents further stress, which could lead to complete leaf drop or plant decay. When a fern’s environment becomes too dry, the leaves lose turgor pressure, causing them to curl inwards as a protective response. If left unchecked, this stress could escalate to cellular damage, making recovery much more difficult.
A gardener once faced severe leaf curling after ignoring the dryness for a week; despite initially having lush growth, the plant suffered significant leaf loss as humidity levels dropped. Meanwhile, another gardener routinely misted her ferns, which kept them flourishing without curling, showing how crucial timely intervention is. If not adequate humidity → check soil moisture.
Taking decisive action by removing damaged leaves helps improve airflow and redirects energy to healthier fronds. This is crucial, as the damaged leaves can drain the plant’s resources, exacerbating its decline. Removing leaves that exhibit significant curl or browning allows the fern to allocate nutrients effectively, enhancing its chances for recovery. A quick visual inspection of the plant’s overall structure can help identify leaves that are merely curled versus those that are brown and crispy, guiding your trimming effort to focus on critical areas that require immediate attention. In tall ferns, check the mid and lower portions of the plant, as curling often spreads downward when environmental stresses prevail.
A common mistake here is waiting too long to act. Many gardeners hesitate, thinking the leaves will recover, but this can worsen the problem. For instance, if the leaves are already brown or crispy at the tips, further delay will only hasten the plant’s decline. Thus, make your move quickly! In some instances, prompt trimming can lead to noticeable improvement in leaf health and overall vigor in as little as 48 hours, reinforcing the need for swift action. Observing the plant over the following days can verify whether the intervention was sufficient enough to trigger new growth. If you notice new green baby leaves beginning to emerge from the center in the following week, it’s a strong sign that the plant’s recovery is underway.
Step 2 – Diagnose Underwatering as Cause of Curling
Start by checking the moisture level of the soil; if it feels too dry, water the fern thoroughly until excess water drains from the bottom. Within a few hours, you should observe the leaves starting to unfurl and return to their original shape as the plant rehydrates. If leaf recovery doesn’t occur, then consider other potential causes.
When the soil is too dry, the roots struggle to absorb sufficient moisture, causing the leaves to curl as a protective response to retain water. This condition hampers nutrient uptake as the plant’s cells lose turgor pressure, leading to visible stress and curling leaves. If you see curling leaves in conjunction with brown leaf tips, this can indicate underwatering rather than overwatering. If symptoms persist, scrutinize these aspects: if leaves maintain a shiny appearance and a waxy texture, this suggests effective hydration, whereas dull-looking, wilting fronds are typically signs of distress.
If the soil smells sour or has a soggy texture, it may indicate overwatering, leading to root rot. In this case, stop watering immediately and check for blackened or mushy roots; if present, you’ll need to repot the fern in fresh soil. If the soil is dry but you don’t notice curling, inspect for pests, as certain infestations like spider mites can also cause leaves to curl. A visual inspection can confirm active pests; look for tiny webs or speckled leaf surfaces that indicate presence. Addressing these issues early is critical; minor infestations can escalate quickly, worsening the overall health of the fern.
Underwatering can lead to stressed roots, impeding nutrient absorption and causing leaves to curl as a defense mechanism. Ferns thrive in consistently moist environments, and failing to provide this can lead to physiological stress, resulting in curled foliage. Diagnosing underwatering enables you to restore proper care before severe damage occurs. Consider the placement of your fern: if it’s positioned in a bright location, the soil can dry out faster, necessitating more frequent checks on soil moisture. On particularly hot days, observe how the fern responds; if its fronds droop in the afternoon, it might signal the need for immediate watering or repositioning.
If the topsoil feels dry but the lower layers are wet, your issue may stem from inconsistent watering routines. This is especially common when temperatures rise, leading to quicker moisture evaporation in the upper soil layer. Conversely, if the bottom is soggy, overwatering might be the culprit, requiring a different approach. Observe if your fern is exhibiting signs of root rot, such as a foul smell or dark, mushy roots, which would suggest the need for immediate adjustment in your watering practices. Consider changing your watering strategy to include deep watering techniques, ensuring moisture reaches deeper root zones. A good rule of thumb is to water less frequently but more thoroughly, allowing the plant’s roots to adapt and access moisture deeper in the soil profile.
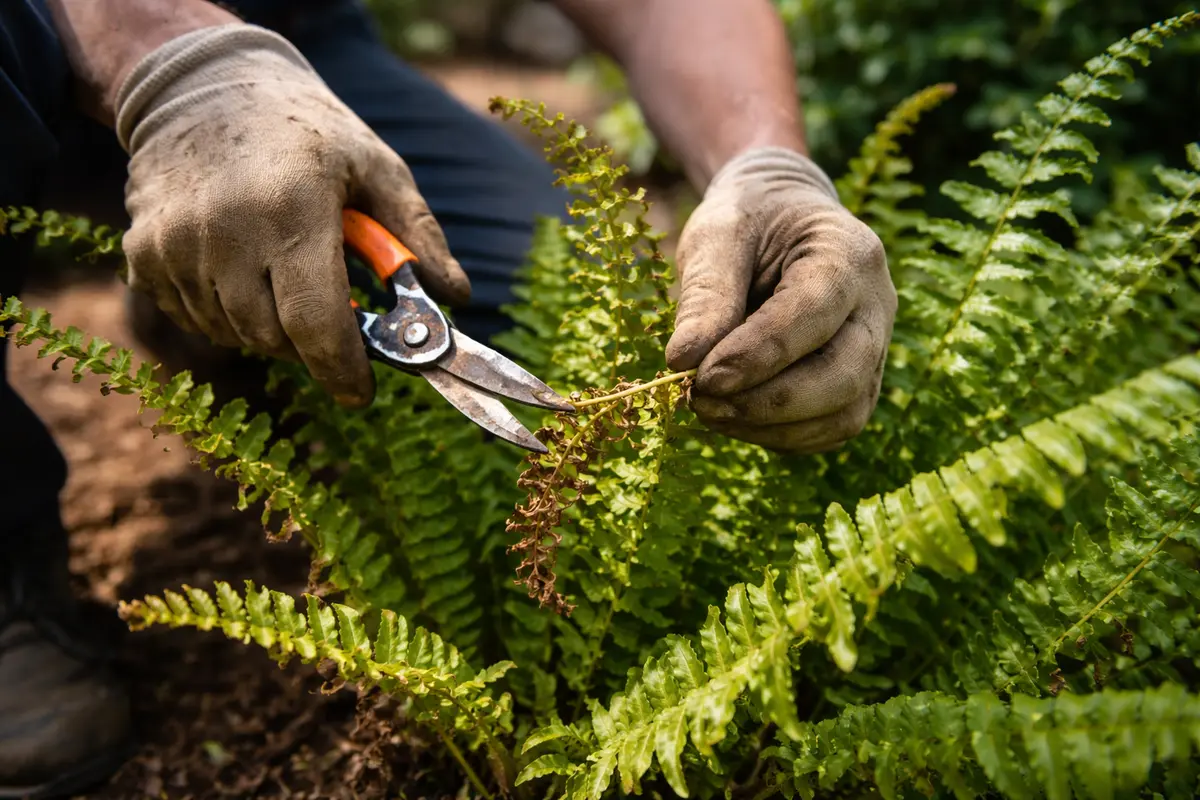
Step 3 – Mist Ferns to Aid Leaf Recovery
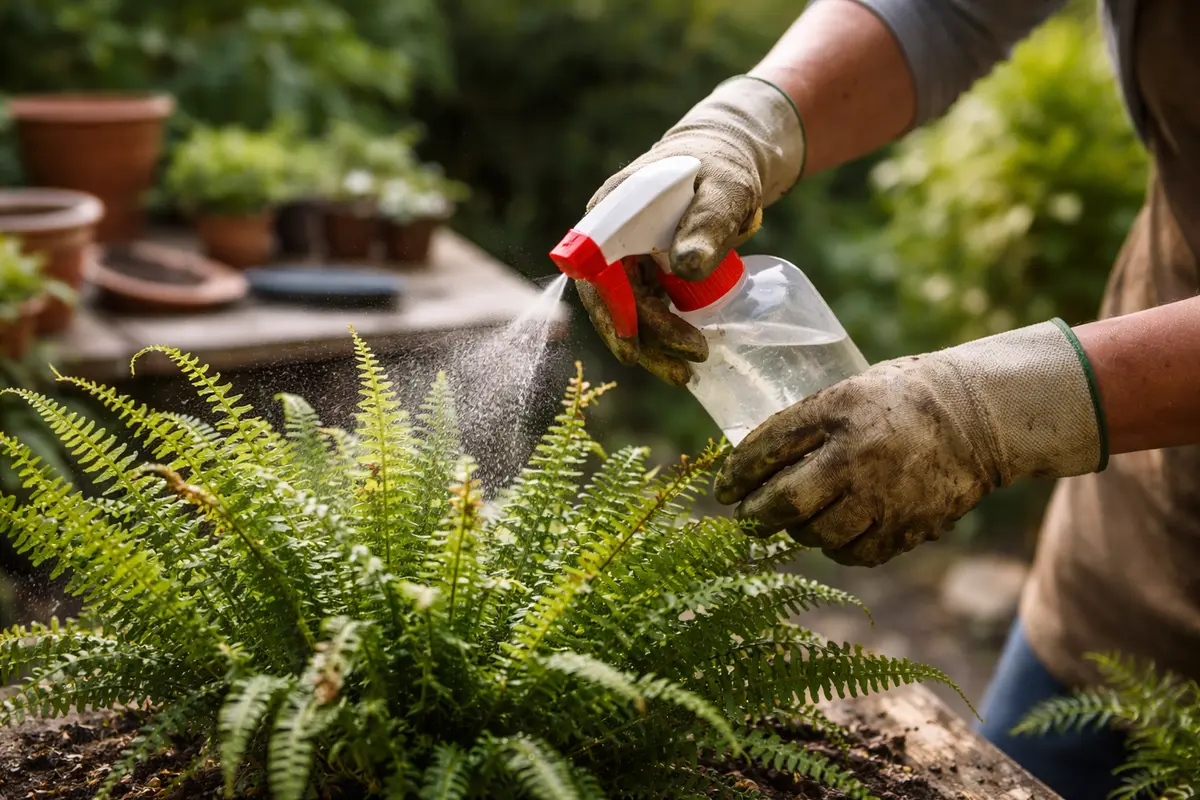
Begin misting the fern leaves with water to boost humidity around the plant. You should see the leaves start to uncurl and perk up within a few hours. Ideal misting conditions include early mornings and later afternoons when temperatures are cooler and evaporation rates are lower. This encouraging tactic helps maintain the moisture that the fern needs, especially in heated indoor environments. Frequent misting can create a small microclimate that allows the fern to regain its vigor, so consider intensifying this while your heating system is on in winter months.
Misting introduces moisture directly to the foliage, which can alleviate stress caused by low humidity. Ferns are native to tropical environments and prefer higher humidity levels, typically around 50% or more. This simple act can make a significant difference, especially in drier indoor conditions, where humidity often falls below ideal levels. Keep a humidity gauge nearby to monitor moisture levels; if it frequently dips below 40%, consider additional strategies to maintain humidity, like grouping plants together to increase local humidity. Particular types of ferns, such as Maidenhair, thrive under these tropical conditions and respond dramatically to increased humidity levels.
When misting, it’s crucial to avoid overdoing it; spraying excessively can lead to issues like fungal growth. Aim for a light mist rather than a soaking. For maximum effectiveness, use distilled water or rainwater instead of tap water, which may contain minerals that can leave residue on the leaves. Additionally, remember that this technique is most effective when temperatures are around or above room temperature; cooler water might shock the plant, reversing the benefits intended through misting. Consider using a spray bottle with a fine mist setting to achieve a more uniform application of moisture. After applying misting, check if the foliage appears uniformly wet without based water pooling, which can lead to mold or mildew problems.
Step 4 – Alter Watering Schedule to Prevent Curling
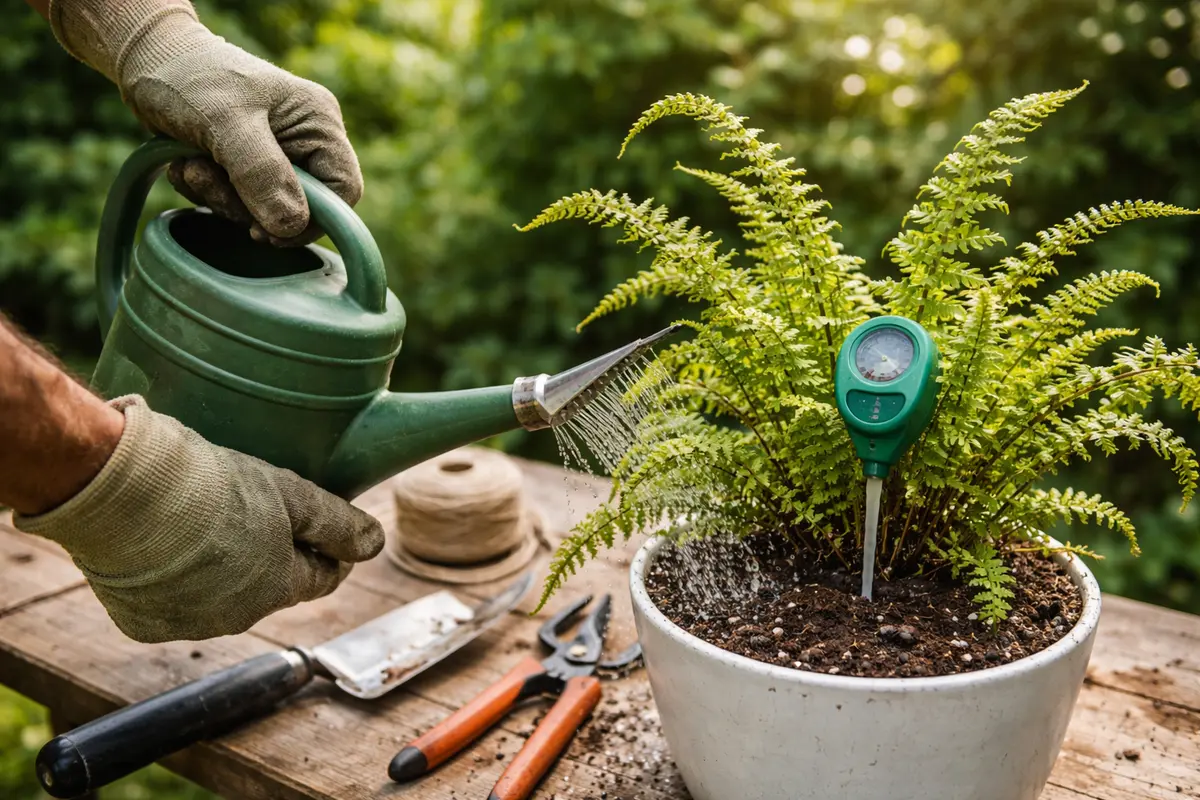
Adjust your watering schedule to ensure the fern receives consistent moisture weekly. This habit results in a stable environment that prevents curling leaves in the future. Use a moisture meter for accurate tracking, establishing a schedule based on the readings. If the meter indicates dry soil consistently at a depth of two inches, adjust both the frequency and volume of water accordingly. Make it a habit to check moisture levels every 5-7 days to establish a stronger routine that aligns with the plant’s needs as the seasons alter.
Regular, systematic watering helps maintain soil moisture and creates a consistently humid atmosphere, both critical for ferns. If the soil is allowed to dry out too much between watering, the plant’s leaves will curl again as a reaction to drought stress. Establishing a routine while keeping track of the humidity in the environment can significantly enhance plant health. Alternatively, if you notice that the top layer of soil dries quickly while the lower section retains moisture, shifting to a different potting mix designed for better moisture retention may be beneficial. A blend with increased organic matter could assist in the retention of necessary moisture levels.
Seasonal changes also impact your fern’s watering needs. For instance, during winter months, your fern’s water uptake may decrease due to lower light levels, allowing the soil to dry out faster. Increase humidity levels through misting or placing trays filled with water and pebbles nearby to help retain moisture in the air. Should you notice that the moisture content is still inconsistent, consider integrating a humidifier into your living space, especially during winter months. Keep in mind that, as temperatures fluctuate, the water requirements of your fern will vary, and adjustments will be vital in preventing the curling from returning. Watch out for signs of stress during these transitions, as faltering in care practices can lead to repeating issues.
Step 5 – Check for New Curling Leaves Weekly
Inspect the fern for new curling leaves every week to monitor recovery progress. You should observe any signs of improvement, like healthier, greener foliage. Take particular note of previous problem areas; if specific leaves appear healthier than others, your adjustments are likely having the desired effect. Tracking these changes not only provides insight into how well your fern is responding but can also bolster your confidence in your care routine. If new growth begins to instigate additional curling, it may indicate that you’ve missed an underlying issue.
A fully recovered fern demonstrates firm, vibrant leaves extended upwards without any curling. Healthy fronds indicate that the plant is reestablishing moisture balance and regaining vigor. If curling returns, early detection allows you to adjust your watering and humidity strategies swiftly. Record keeping, such as writing down observations in a gardening journal, aids in establishing patterns observed over time. Create a checklist of symptoms for future reference to help distinguish between different issues. You can also employ photography to visually track the changes over time, which can provide insights into growth trends.
If curling leaves reappear despite your adjustments, reassess your conditions. A sudden temperature drop or excess direct sunlight can stress your fern again, prompting those familiar leaves to curl. Over time, you may need to rotate pots to ensure balanced light exposure. Additionally, consider the spacing of other plants; overcrowded arrangements can lead to insufficient airflow, which directly contributes to moisture retention problems. Evaluating the overall environment of your fern is critical, as it can define the long-term health of the plant. Note the texture of the soil; if it feels tight and crumbly, a change in the potting soil formulation may also be necessary.
FAQ
How long does it take for curling fern leaves to recover?
Typically, you might notice improvements within several days to a week after implementing corrective measures. However, full recovery can take longer, depending on the plant’s initial health and the care adjustments you make. Regularly observing watering consistency and humidity can expedite this process significantly, allowing the plant to stabilize faster. Be patient, as some ferns might require more time for recovery than others, especially during extreme temperature changes.
Can underwatering cause curling leaves on ferns?
Yes, underwatering is a common cause of leaf curling in ferns. When the roots are too dry, they cannot absorb nutrients properly, leading to curled foliage as a stress response. Ensuring that the upper soil remains consistently moist in tandem with monitoring overall humidity levels will allow for healthier leaf development over time. Use visual cues such as frond color and texture to assess how well your fern is thriving.
Should I remove all curling leaves from my fern right away?
It’s advisable to trim only the most severely affected leaves initially. Removing all curling leaves at once can stress the plant further; instead, assess which leaves are beyond recovery before cutting. Leaving some healthier leaves retains energy for the plant to recover, minimizing the shock impact of heavy pruning. Removing the severely affected leaves promotes healthy growth while maintaining a stable environment for the fern, allowing it time to stabilize and regroup before undergoing further changes.