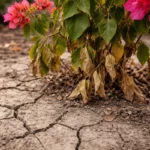
You may notice your okra plants showing signs of distress during a prolonged drought, which is why you need to know how to prevent stunted growth in okra during drought. The heat can cause wilting and drooping leaves as the plants struggle to retain moisture and nutrients. If left unaddressed, these symptoms get worse, ultimately weakening the plant and stalling growth, but you can improve the situation by inspecting your watering practices and adjusting the soil conditions now.
Step 1 – Water Okra Deeply to Avoid Stress
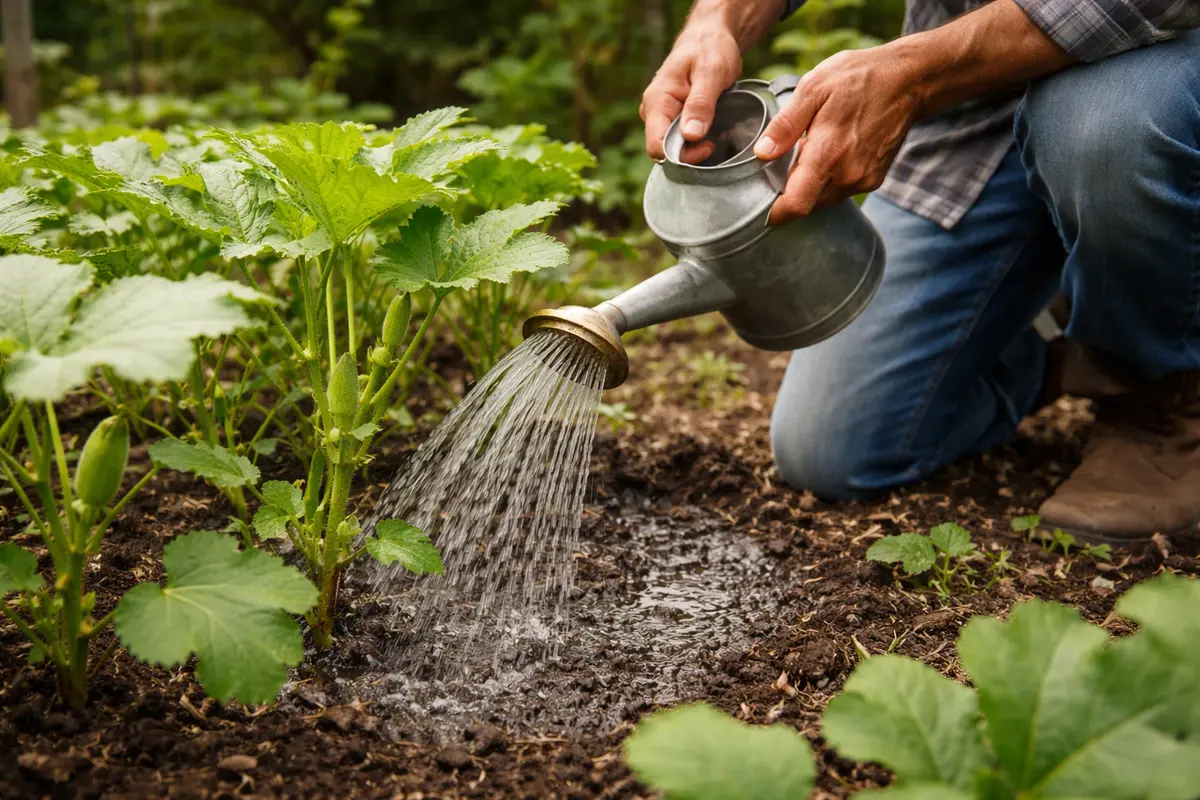
Water the okra plants deeply, ensuring moisture penetrates at least 6 inches into the soil. You will notice the leaves start to perk up within a couple of hours as the roots absorb the much-needed moisture. If the okra starts to regain a green hue, that indicates hydration is returning. Monitoring moisture after watering is crucial: after about 30 minutes, if you can still dig in easily without resistance, the moisture level is appropriate; if not, try again after a few hours.
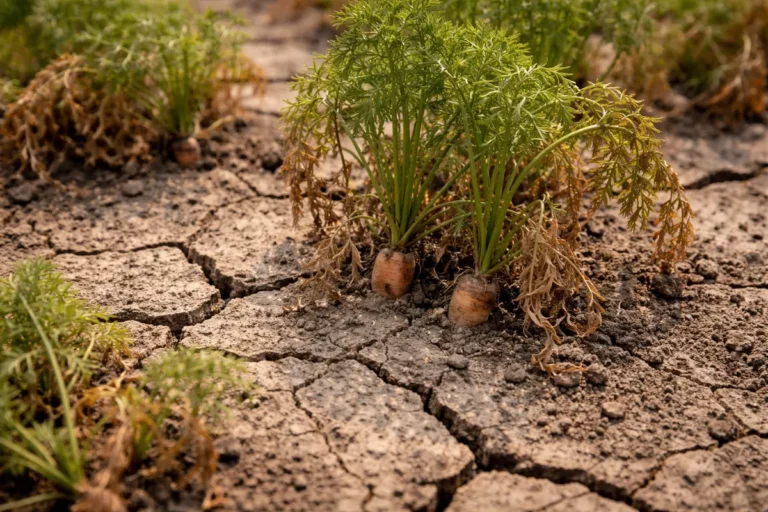
Deep watering is crucial because okra plants have root systems that can reach deep into the ground, often extending below the topsoil layer where moisture might evaporate. Without sufficient moisture at deeper levels, the plants can’t effectively transport nutrients, leading to stunted growth and poor fruit production. Most gardeners tend to simply give a quick surface watering, which fails to reach the deeper roots. This common mistake means that the roots are still stressed, resulting in prolonged inefficiencies in growth and fruiting potential.
Many gardeners mistakenly rely solely on shallow watering techniques. For example, if they water only the top inch of soil, they might not realize that the deeper roots are still dry, resulting in wilting foliage and reduced overall health. This issue often becomes evident two to three days after this type of watering, when leaves begin to droop again. To avoid this situation, perform deep watering several times a week if drought conditions persist, and consider adding a soil moisture gauge to help monitor the effectiveness of your watering approach.
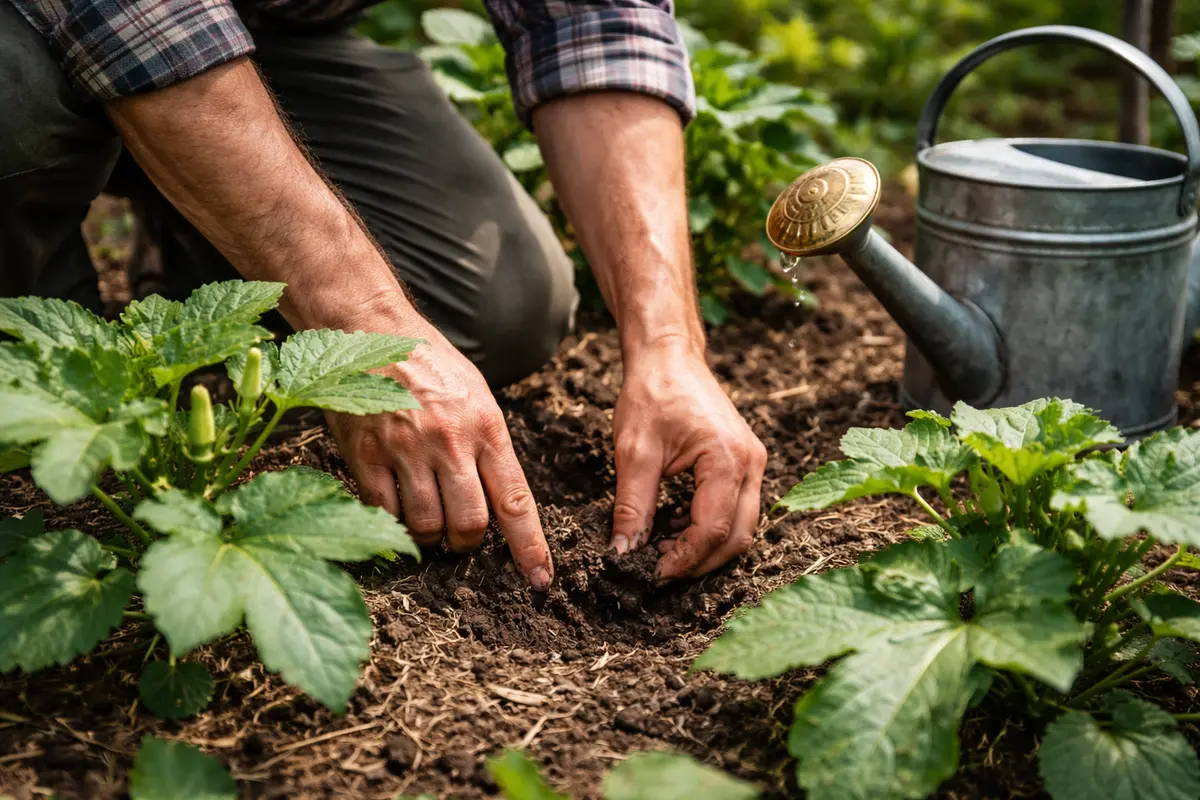
Step 2 – Test Soil Moisture for Drought Impact
First, check the moisture level of the soil around your okra plants by digging down a few inches. If the soil feels dry, immediately water deeply to ensure the roots can access moisture. You should notice that the leaves begin to perk up within a day or two. If there’s a failure to bounce back, it may indicate a deeper issue with soil health or watering techniques.
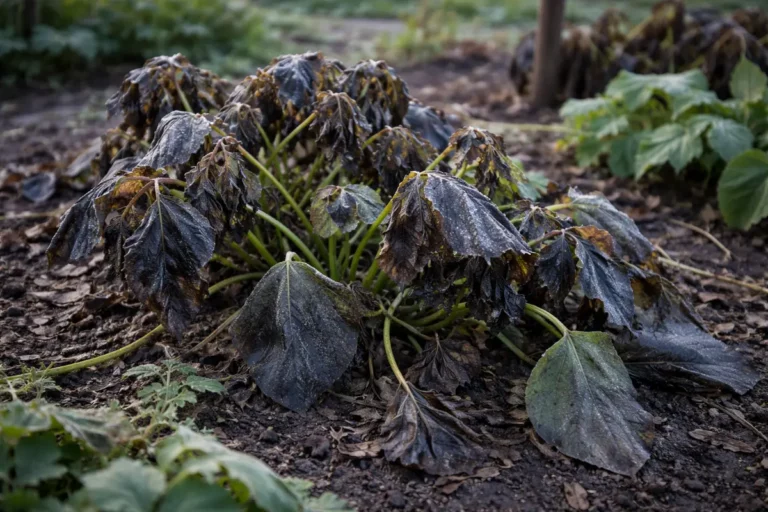
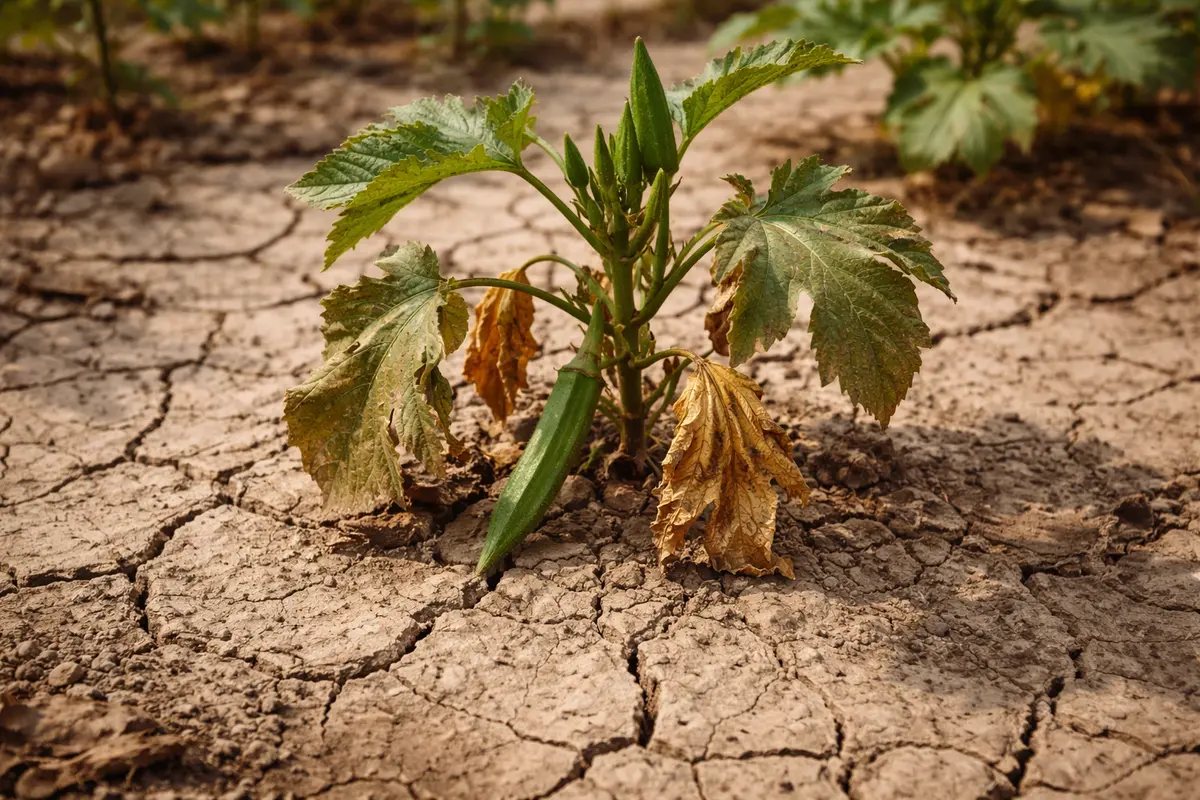
The roots of okra plants need adequate moisture to function properly; when the soil is too dry, the roots struggle to uptake water and nutrients. As a result, the plant displays stunted growth, with yellowing leaves and curling. In comparison, if the soil retains consistent moisture, the okra exhibits robust growth and vibrant green leaves, indicating optimal health. Conversely, if the soil is soggy and compacted, it might also signal overwatering, which can lead to root rot.
If the soil smells sour when you dig down, it may indicate root rot caused by overwatering rather than drought stress. In this case, improve drainage by amending the soil with organic matter or relocating the plants to a better-drained area. If not this condition, check for compacted soil, which can also restrict root expansion and water absorption. A helpful strategy is to incorporate a mixture of sand or perlite along with organic matter, which can create air pockets and help with drainage without compromising moisture retention.
Understanding the moisture content in the soil allows you to tailor your watering schedule effectively. Extended drought conditions can lead to compaction, diminishing water retention capacity, and damaging root systems. If not managed promptly, the prolonged lack of moisture will physically damage every part of the okra plant, stunting growth and severely impacting yield. Recognizing dry conditions early improves your success in maintaining a healthy crop. Frequent checks on soil moisture, especially before weekends or periods of expected heat, can prevent stress on your plant.
Step 3 – Confirm Watering Needs of Okra Plants
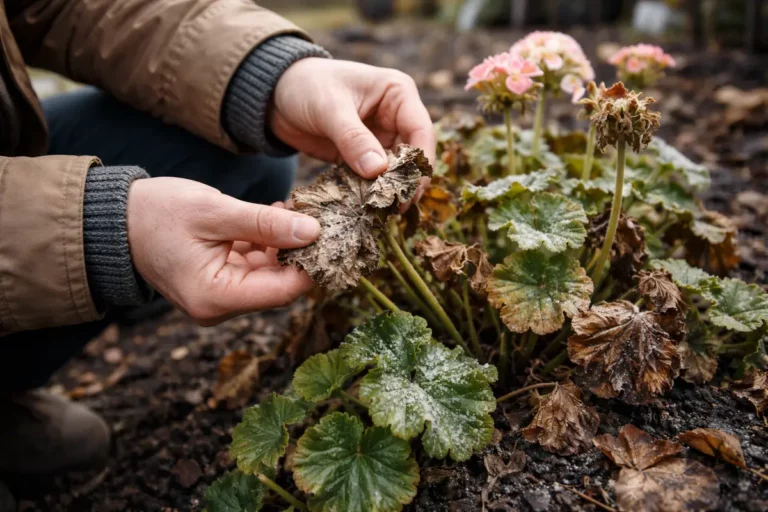
Inspect the leaves and stems for signs of wilting or curling, confirming whether the okra plants are indeed suffering from water stress. If the leaves are starting to curl inward and the stems feel limp or droopy, this confirms that inadequate watering is likely the issue that demands attention. Additionally, check for any discoloration in the leaves, as this will further indicate the degree of distress, and a closer examination should reveal whether these symptoms are due to lack or excess of water.
Look for specific symptoms: healthy okra leaves should be broad and firm with a vibrant green appearance; curled or browning leaves usually indicate drought stress. It is essential to assess if those leaves feel dry and brittle or limp, as this distinction can guide your next steps. If leaves appear crispy, it’s a sign of severe water deficit; conversely, if they droop without browning, overwatering could be the culprit. Sometimes, these symptoms can be similar to those caused by overwatering, so it’s crucial to discern between the two conditions to avoid further damage.
If you are unsure if the plants are overwatered instead of underwatered, gently lift the plant from the soil. Healthy roots are firm, white, and have a fresh, slightly earthy smell; mushy or foul-smelling roots signify waterlogging and can lead to root rot. Distinguished roots often indicate a thriving plant. Gathering this critical confirmation will help you make informed decisions on how best to remedy the situation. If root rot is evident, it’s essential to remedy the excess moisture immediately, as repeating watering mistakes may require you to replace affected plants entirely. A Sino-Moisture Meter can be an instrumental tool to help gauge whether to increase or decrease watering frequency with alarming ease.
Step 4 – Fertilize Soil to Encourage Okra Growth
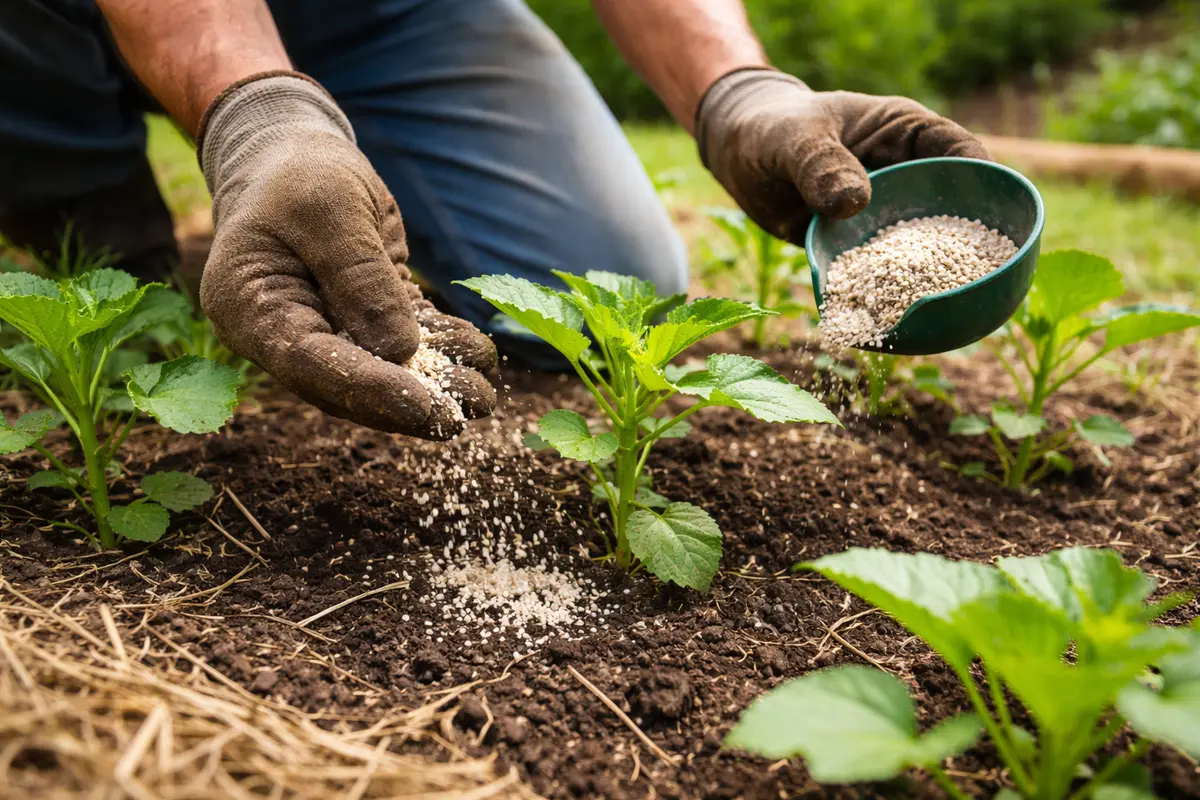
Apply a balanced fertilizer specifically formulated for vegetable gardens to the okra plants, following the package directions for amounts based on your garden’s size. Within a week, the okra should show improved leaf color and renewed growth as the plants start actively taking up nutrients. When fertilization is successful, the leaves will appear greener and thicker. It’s a good idea to validate the previously applied fertilizer and adjust amounts based on the okra’s performance so far. If you notice greener vegetation during this timeline, that signals an effective regimen.
A well-balanced fertilizer contains essential nutrients that okra needs to recover from drought stress and boosts overall growth performance. Nutrients like nitrogen, phosphorus, and potassium stimulate root development and enhance fruit production. Applying these nutrients carefully can provide a solid foundation for recovery, which is crucial in times of water scarcity. Failing to fertilize adequately after drought can lead to persistent nutrient deficiencies that further inhibit healthy recovery and growth. It’s recommended to keep the fertilizer to a moist soil level, ensuring it is absorbed without burning the roots, especially in dry conditions.
However, applying too much fertilizer can lead to nutrient burn, especially in stressed plants. Stick closely to recommended application rates and monitor plants closely for how they respond. If you notice sudden surges in new growth with healthier leaves, that indicates that your fertilization approach is yielding positive results. Conversely, if the growth appears stunted despite fertilization, consider reassessing both your watering routine and the fertilizer’s compatibility with the soil. Soil tests may identify deficiencies that require targeted amendments. Always be mindful that timing is central; applying fertilizer just before a heavy rain can wash away essential nutrients, as can overzealous irrigation during recovery.
Step 5 – Mulch Around Okra to Retain Moisture
Spread a 2-3 inch layer of organic mulch, such as straw, wood chips, or shredded leaves, around the base of the okra plants, taking care not to allow it to touch the stems directly. This will help to conserve soil moisture by reducing evaporation and maintaining more stable soil temperatures during periods of dry weather. Observe how quickly the soil dries after rainfall or watering; if it evaporates quickly, it signals an urgent need for more substantial mulching.
Mulching acts as a protective barrier that helps maintain moisture levels even during the hottest days. Organic mulches break down over time, adding essential nutrients and improving soil quality. If applied correctly, this can significantly reduce the need for frequent watering and protect the soil structure. During peak summer months, mulching can shield the soil from direct sunlight, which is critical for the plant’s health. Choose mulch types that retain moisture, like straw, instead of those that may heat the soil excessively, like pebbles or black plastic.
Skimping on mulch can lead to rapid moisture loss, especially when temperatures spike during dry spells. For instance, without mulch, the upper layers of the soil dry out quickly, exposing the top roots to varying and often damaging moisture levels, which stresses the plant. By adding a proper layer of mulch, you help stabilize the growing environment, providing a much-needed buffer against rapid temperature fluctuations caused by drought conditions. Reassess the mulch after rain events or watering to ensure it remains intact, and top up your layers if they seem compressed or sparse over time.
Step 6 – Inspect Okra Leaves for Curling Symptoms
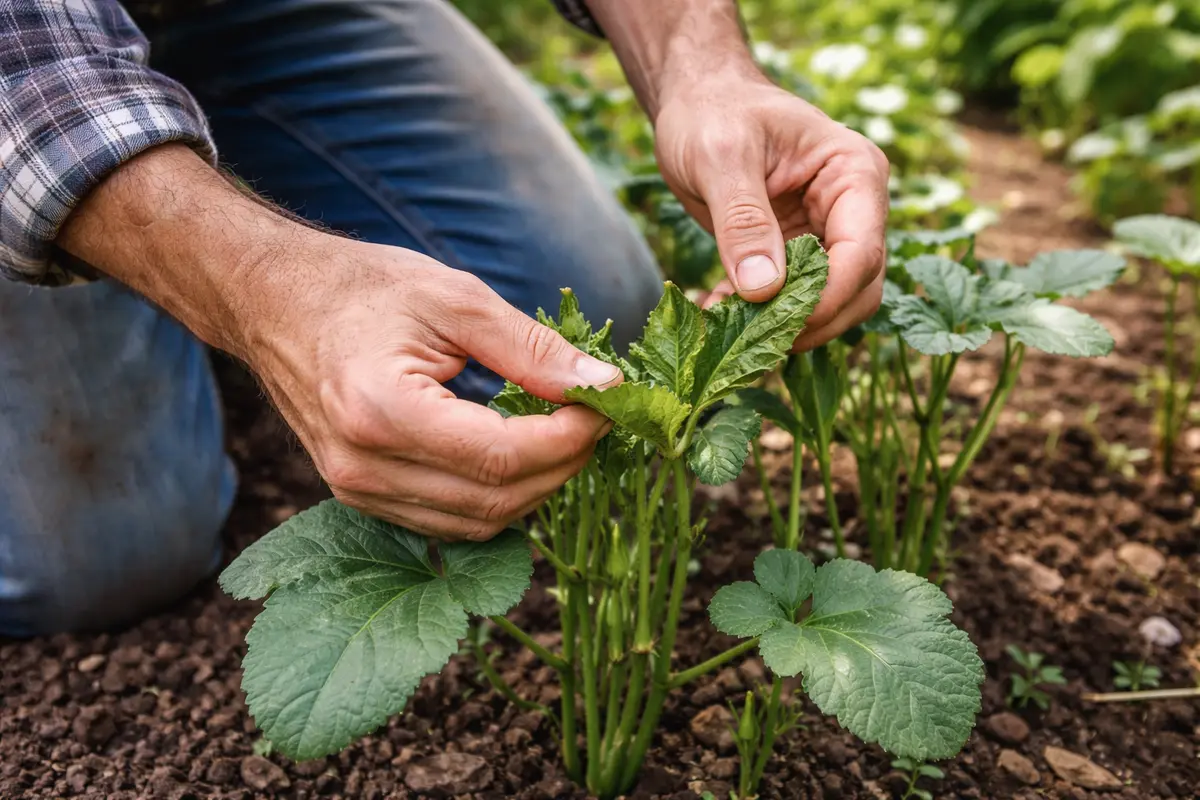
Start by monitoring your okra plants regularly for signs of stress, especially during drought conditions. Check the soil moisture level around the base of the plants and observe the color and texture of the leaves. Recheck these conditions every two to three days to ensure the plants are receiving adequate care and adjust watering accordingly. A simple index is to note how quickly the soil dries out; if your watering routine feels inadequate during inspection, make changes immediately.
A fully recovered okra plant will show vibrant green leaves that are firm to the touch and exhibit upright growth. In contrast, early signs of problems returning include yellowing leaves that feel floppy or brittle, indicating stress and stunted growth. If the leaves start to curl or the stems appear weak, reassessment may be necessary. Pay attention to environmental factors, as sudden changes in temperature can also impact leaf health and guide necessary adjustments.
If you notice stunted growth returning despite following the recommended monitoring steps, consider adjusting your watering frequency to ensure deeper hydration. Additionally, applying mulch can help retain soil moisture during dry spells. If these adjustments do not improve the situation, it may be time to investigate nutrient deficiencies or consult a gardening expert for further assistance. Part of this analysis includes looking for pests or diseases that could further complicate recovery; therefore, inspecting the underside of the leaves for any pests should be a routine part of your checks.
Healthy okra plants should have vibrant, expansive, and broad leaves. If you notice that leaves are still curling or displaying other deterioration, this could signify a misalignment in care. This suggests the stress is either returning or not fully resolved, leading to compromised plant health and reduced yields. Observing these symptoms can also point towards potential pest issues or nutrient imbalances, warranting a review of your planting conditions. Early intervention often leads to better outcomes, so be vigilant about changes in plant appearance that may suggest underlying issues.
If you observe that the leaves have become increasingly curled or browned despite appropriate watering and fertilization, consider re-evaluating your practices. Factors like soil compaction, pH levels, or even root pests can contribute to symptoms resembling those of drought. Early identification of recurring stress signals can set the stage for corrective actions that prevent lasting damage to your crop, especially before the season changes or if hotter weather looms.
FAQ
How long does it take for okra to recover after drought stress?
The recovery period for okra after drought stress can vary widely based on conditions, but generally, you can expect visible improvements within one to two weeks of consistent watering and care. Early signs of recovery include new growth and perked-up leaves, indicating the plants are returning to health. Factors such as soil quality, root health, and the severity of the drought can influence how long recovery takes.
Can overwatering cause similar issues to drought in okra?
Yes, overwatering can lead to symptoms that mimic drought stress, such as wilting and leaf curl. In these cases, the roots become waterlogged and oxygen-deprived, complicating recovery and ultimately leading to root rot if not addressed swiftly. Striking the right balance is key in maintaining okra health, and regular observation of the plant’s response to watering is essential.
Should I remove any damaged leaves from my okra plants?
Yes, removing damaged or severely curled leaves helps the plant redirect its energy towards healthy new growth. Ensure that the cuts you make are clean and avoid removing too many leaves at once, as older foliage can provide temporary support until healthier new growth is established and thriving. Prioritizing removal of the most damaged leaves will help restore vigor more quickly without over-stressing the plant.