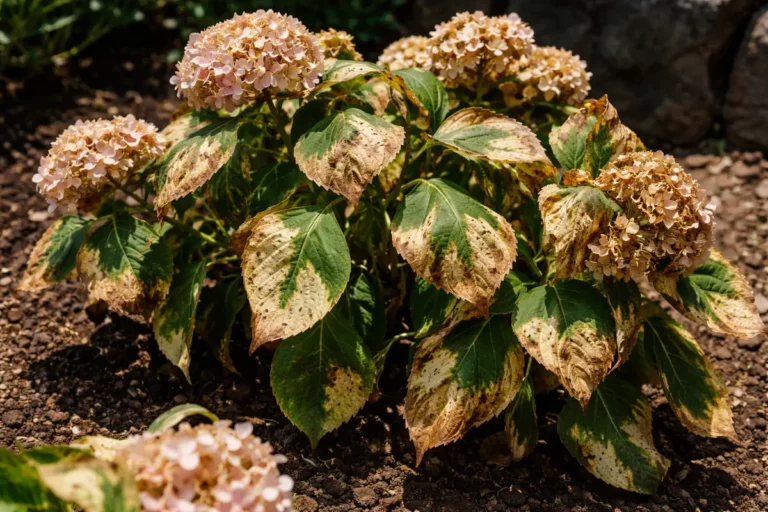
You may notice your hydrangeas looking particularly sad and droopy after extreme cold, a clear sign that you need to know what to do when hydrangeas droop after extreme cold. This drooping occurs because the cold stress weakens the stems, leading to wilting and potential damage. If ignored, this issue can worsen and lead to more damage, but you can improve the situation by checking for dead stems and trimming away any affected growth.
Step 1 – Trim Wilting Hydrangeas After Cold Snap

Start by cutting back any drooping or damaged stems of the hydrangeas to a healthy bud. This action will stabilize the plant, allowing it to focus its energy on the remaining healthy portions, leading to an immediate visible improvement in the overall structure of the plant.
Acting fast matters because hydrangeas are particularly sensitive to the stress caused by extreme cold. When their stems droop, biological processes slow down, limiting water transport and resulting in potential dieback if not addressed. If you delay, the roots might not receive enough nutrients, leading to more serious issues, such as wilted leaves and stunted growth in subsequent seasons.
A gardener once neglected her wilting hydrangeas after a harsh frost, resulting in significant loss of crucial stems that compromised spring blooms. In contrast, a neighbor who acted swiftly saw vibrant flowers flourish that summer after removing the affected sections promptly. If you notice discoloration in leaves post-damage → check the soil moisture to ensure proper hydration.
When you cut back the affected stems, you’re also assessing the overall health of the remaining plant. If the stems feel mushy or discolored, it indicates that damage has progressed; if not, the plant may still stabilize with prompt care. Swift pruning helps facilitate better airflow and sunlight exposure, key elements for the plant’s recovery.
For example, a gardener in a colder region experienced remarkable recovery in her hydrangeas by instantly removing damaged sections a day after a frost event. Conversely, a neighbor who delayed found their plants suffered irreversible damage, having failed to act while the cells were still somewhat intact. If you see a dry or crispy texture on the leaves, check the stems for water absorption issues.
Applying immediate corrective actions is crucial for hydrangeas after extreme cold since prolonged drooping can severely reduce nutrient transport, hindering potential regrowth. By pruning promptly, you enable the remaining healthy parts to receive more nutrients and light, which are essential for initiating the plant’s recovery mechanisms. Delaying this necessary action can result in the breakdown of plant tissue, ultimately stalling recovery efforts. If stems appear gray-brown or shriveled instead of green and firm, those are signals for immediate removal.
For instance, a gardener who pruned their hydrangeas right after an unexpected freeze saw a significant improvement in their blooms the following spring. In contrast, another gardener delayed several weeks, resulting in stunted growth and fewer flowers. If you’re uncertain about the stems’ health, check for visible signs of active growth at the base of the plant before proceeding with pruning; healthy dormant buds raise the chances for regrowth significantly.
When you remove the damaged sections, the plant can redirect its nutrients to stronger, healthier parts. This is paramount; if left alone, decaying tissues can attract pests and diseases, worsening the situation later on. Promptly addressing these visible symptoms significantly increases the plant’s chances of recovery as the weather warms. However, avoid cutting too much healthy tissue; doing so might prevent the plant from effectively rebounding. Always strive to keep the plant’s energy directed toward thriving sections for a balanced recovery.
A common mistake gardeners make at this stage is only performing superficial cuts without adequately assessing the plant. Many tend to overlook the need for trimming stems that look healthy but might still harbor latent frost damage. Thoroughly inspect to ensure you’re not leaving any compromised areas that could jeopardize the plant’s recovery—especially those hidden within the inner parts of the plant. Leaving weak stems can lead to regrowth problems later as the plant struggles to maintain its overall structure. Hence, cut back to healthy bud growth points, which are crucial for revival.
Step 2 – Investigate Root Freeze Damage in Hydrangeas
Begin by inspecting the hydrangea roots for signs of freeze damage. Healthy roots appear firm and white, while damaged roots can be dark and mushy. Frozen roots can hinder water uptake, causing the plant to droop despite decent soil moisture levels.
This happens because when temperatures drop significantly, moisture in the soil can freeze solid, creating a barrier and limiting the plant’s access to water. In less severe situations, roots may not be frozen but could still be compromised, leading to ineffective nutrient uptake. In contrast, if the roots appear healthy but drooping continues, other factors like environmental stressors could be contributing.
If the hydrangeas still droop after checking root conditions, carefully lift the plant to inspect the roots and see if they are rotting. If you find they have a rotten smell and dark discoloration, trim away the damaged parts and treat the remaining roots with a suitable fungicide to stop the spread. However, if the roots look healthy and firm, consider environmental conditions, such as exposure to harsh winds that could be causing stress; alleviating these can promote recovery.
Frozen roots are a primary concern as they disrupt the hydrangeas’ water absorption capability. The appearance of wilted leaves confirms that the plant is struggling to supply itself with hydration. If you notice this wilting when soil conditions are optimal, it’s a clear indication that root function has been compromised by freezing. Consistently low soil temperatures can exacerbate this issue, requiring consistent monitoring during cold weather.
If you detect sour odors from the soil, it points to potential root rot caused by waterlogged conditions; this indicates that you should avoid applying mulch and investigate drainage practices. If you see drooping leaves paired with dry soil, this suggests an urgent need for water rather than rooting issues. Thus, ensure you dig a few inches down to confirm moisture levels are adequate throughout the root zone.
Step 3 – Water Hydrangeas Deeply for Recovery After Frost
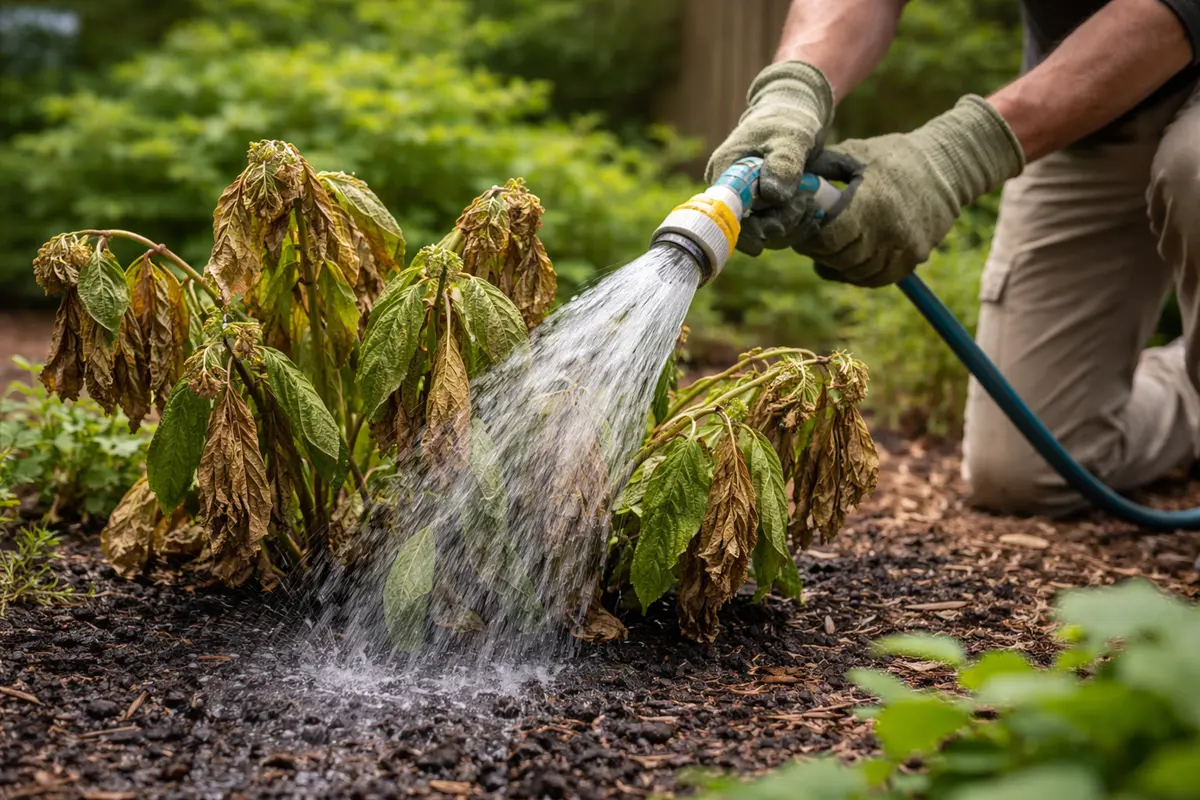
Water the hydrangeas deeply and evenly to saturate the soil at least six inches into the root zone. As you establish proper hydration, you will see the leaves gradually perk up and regain their turgidity in the days that follow. This deep watering stimulates both absorption and the growth of new roots, which helps stabilize the plant after frost stress. Ensure that you monitor the soil moisture to strike a balance, as excessive water can lead to root rot and exacerbate the plant’s stress. Timing your watering effectively prevents the risk of re-freezing, allowing water to be absorbed fully before nighttime temperatures drop.
If you observe that the leaves are still drooping after a few days, check the soil moisture; dry soil can lead to added wilting, while overly wet conditions indicate root rot. Healthy roots are essential for recovery, so aim for optimal moisture without drowning the plant. Regularly monitor the soil both visually and by touch, assessing whether it feels too dry or overly saturated. Remember that soil composition plays a role: sandy soils dry out faster and may require more frequent watering, while clay retains moisture longer.
Be cautious not to overwater; many gardeners mistakenly apply too much water after seeing droopy leaves without checking soil moisture. Overcompensating can put roots in saturated conditions, creating a dangerous environment for recovery. Use a moisture meter or your finger to gauge the moisture content at various depths, as the topsoil may dry quicker than deeper layers. Consider taking a break of one or two days between watering sessions to allow the soil to breathe, which prevents root suffocation and aids recovery.
Step 4 – Shield Hydrangeas from Extreme Cold Next Winter
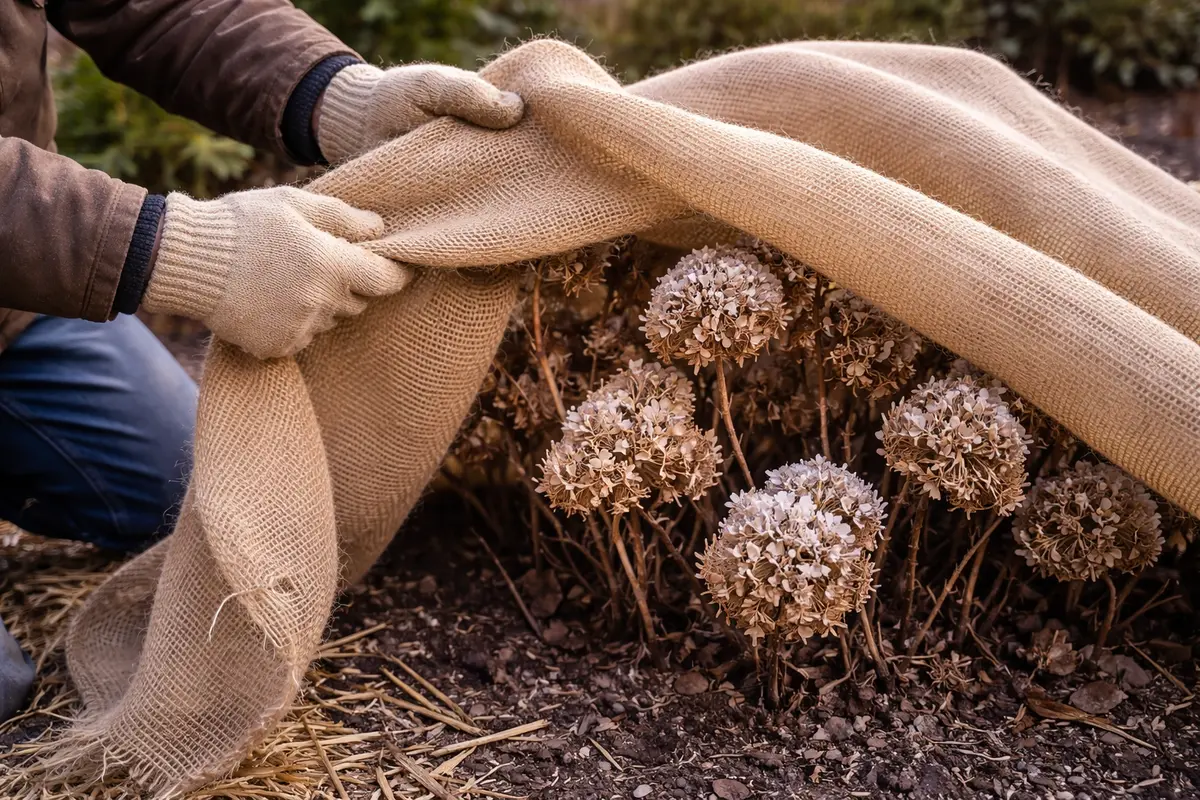
Start by covering your hydrangea plants with a thick layer of mulch to create insulation. You will notice that this protects the roots from freezing temperatures and helps retain soil moisture. Apply about three to four inches of organic mulch, ensuring that it is evenly distributed around the base of the plant while keeping it away from the stems to prevent rot.
To further safeguard your hydrangeas, consider installing windbreaks or using fleece covers during harsh weather spells, ensuring they protect the plants without trapping moisture underneath. If you see signs of wilting or browning leaves on windy days, it may indicate inadequate protection. Plan these seasonal modifications ahead of the cold weather; implementing them proactively will yield stronger hydrangeas when spring arrives.
- Check the mulch level in late fall to maintain proper depth; replenish as needed before the first frost.
- Create a barrier of perimeter plants around your hydrangeas by early autumn to serve as natural windbreaks.
- If using fleece covers, ensure they are removed during unseasonably warm days to prevent any heat buildup that may stress the plants.
By consistently following these preventive steps, you can significantly bolster the health and resilience of your hydrangeas against extreme cold next winter. Keep a watchful eye on conditions, and if you find your hydrangeas either wilting under high winds or overly saturated in damp conditions, adjust your protective measures accordingly.
Step 5 – Check Hydrangea Leaves for New Growth Signs
Monitor the hydrangea leaves closely for signs of new growth within the next few weeks. What you should observe are fresh, vibrant buds forming on the stems as this is a reflection of healthy recovery. Regular monitoring helps ensure that you’re aware of any returning issues before they escalate. If new leaves are unfolding while maintaining their color, this is a positive indicator of recovery and growth, and it typically signifies that the plant is effectively responding to your care.
Fully recovered hydrangeas will display lush green leaves, firm edges, and increased bud production as they regain vigor. Missing this stage means that you might overlook issues when consistent softening or further droopiness returns, signaling that the plant needs more attention. Paying attention to your hydrangeas can increase your chance of creating a vibrant display later in the season. If you find that large sections of the plant remain limp or discolored, further assessment is necessary to identify underlying stress factors that may require adjustment.
If you find that the leaves revert to drooping again despite your previous efforts, consider addressing any lingering root rot or localized freezing issues. Sometimes, a simple reset with fresh soil or a change in watering frequency can revitalize the plant. Investigating potential pest problems or environmental conditions that may have changed could also lead to recovery. Timely adjustments to care can help correct ongoing problems and encourage healthier growth patterns as the season progresses while also improving general vitality.
FAQ
How long does it take for hydrangeas to recover from extreme cold?
Typically, it may take several weeks to a couple of months for hydrangeas to show signs of recovery after severe cold damage. Monitor your plants closely during this time, keeping an eye out for new leaf growth and strong stems as indicators of reactivation. Environmental factors can influence recovery; factors such as soil drainage, moisture levels, and seasonal temperatures may impact the speed of revitalization considerably.
Should I remove all damaged parts after cold exposure?
Yes, removing all visibly damaged parts is crucial for aiding recovery. Cut back poorly performing stems and leaves to redirect the plant’s energy towards healthier growth; however, avoid cutting back too drastically until spring. Focus on removing only the visibly dead or severely compromised tissue while leaving healthier stems intact in order to support new growth. The balance between removal and retention is important because cutting too aggressively risks losing viable parts that could thrive.
Will my hydrangeas bloom again after such cold damage?
Yes, many hydrangeas can bloom again after cold damage if proper care is taken. With attentive watering, fertilization, and maintenance, you can encourage your hydrangeas to produce new blooms in the upcoming season. By following through with the observations and actions recommended throughout the recovery process, remaining proactive increases the chance that your plants will thrive and flower abundantly. Be sure to provide them with the right nutrients and pruning at timely intervals to ensure robust growth and optimal blooming potential.