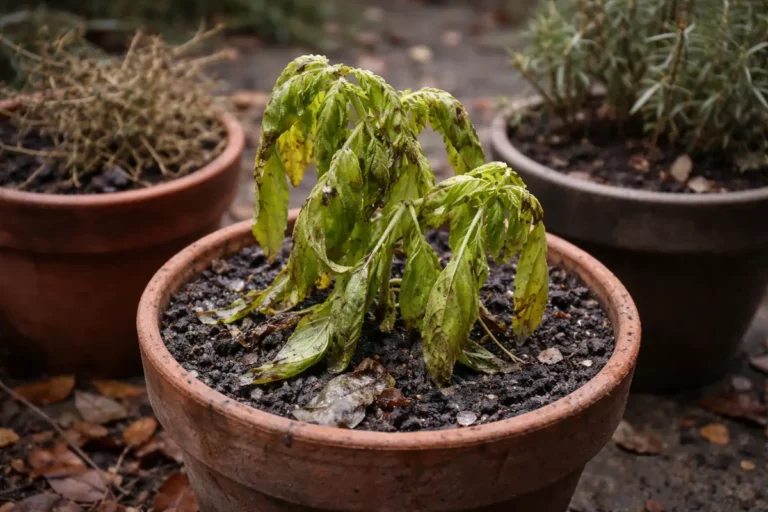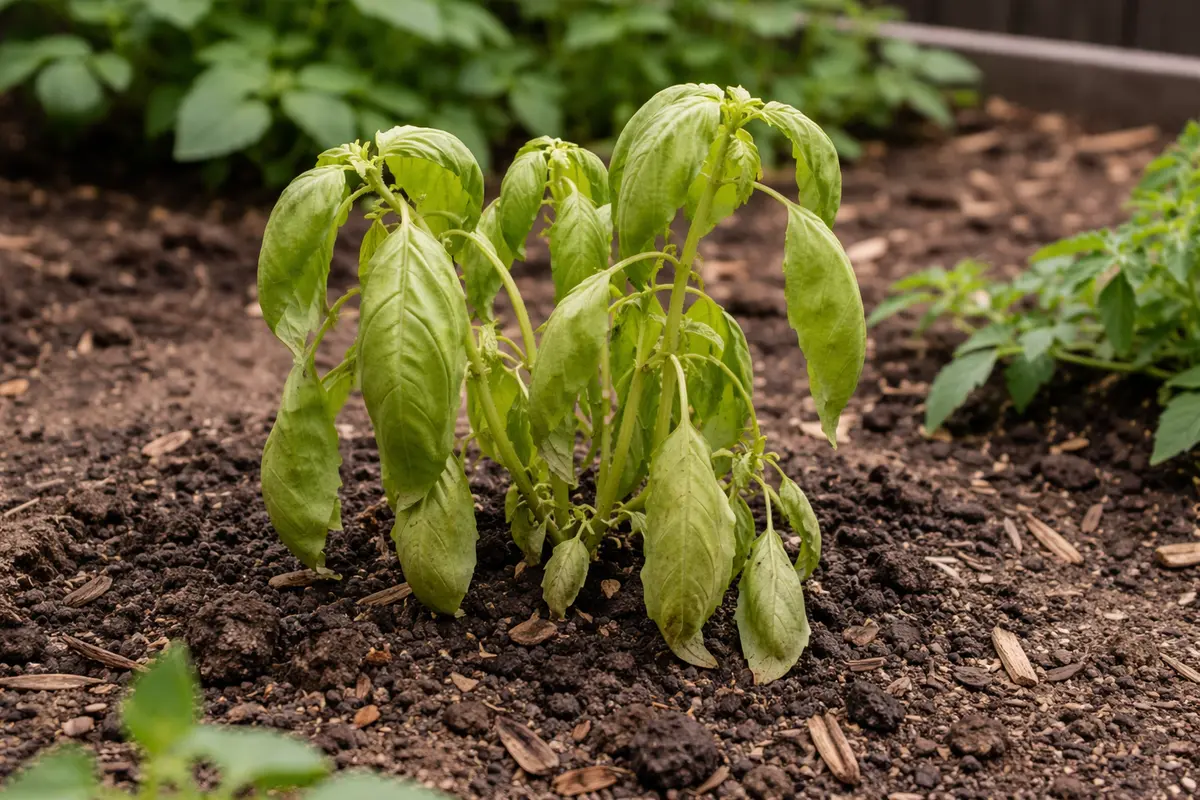
You may notice your herbs struggling to thrive during the transition period after transplanting, which is why you need to know how to treat stunted growth in herbs after transplanting. Leaves might show signs of yellowing or drooping, often due to shock from the change in environment or insufficient root development. If left unaddressed, this condition only worsens and can weaken the plant, leading to stunted growth that makes recovery much harder. However, fixing this issue is possible; you can inspect the roots, adjust watering practices, and improve soil conditions to help your herbs bounce back.
Step 1 – Adjust Soil Moisture Levels Quickly
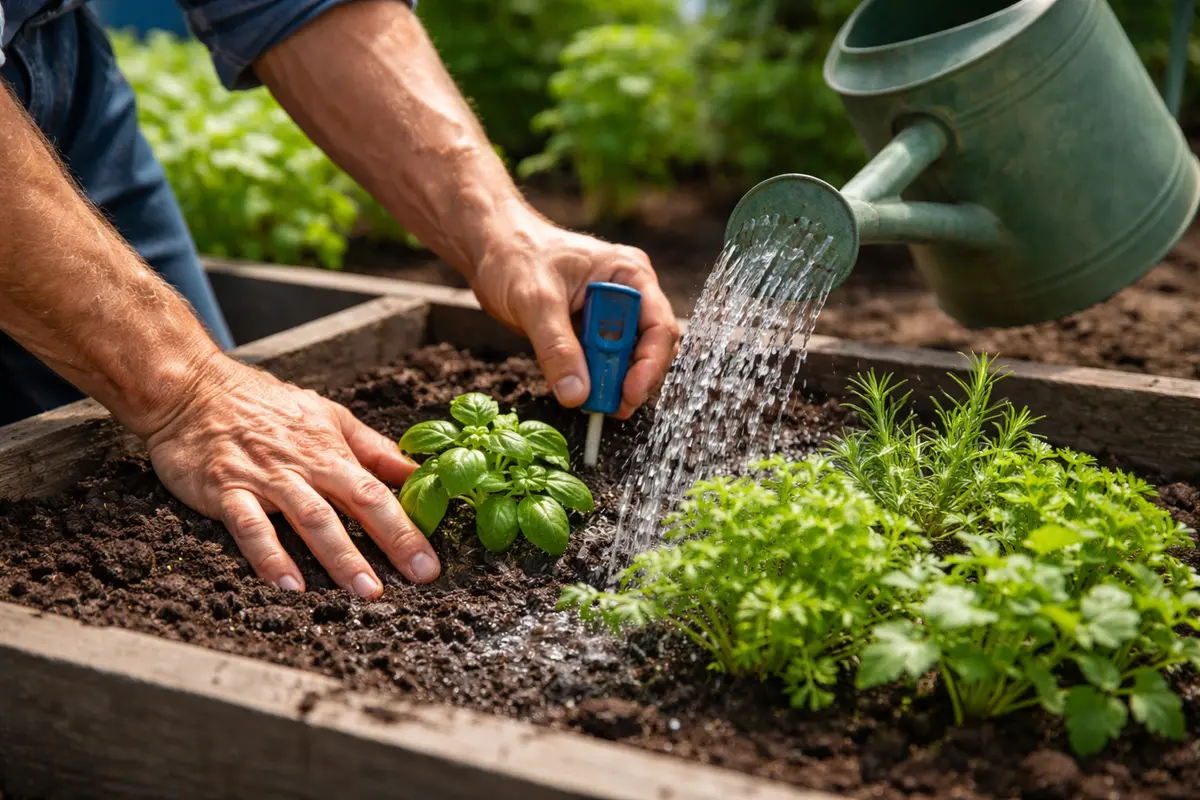
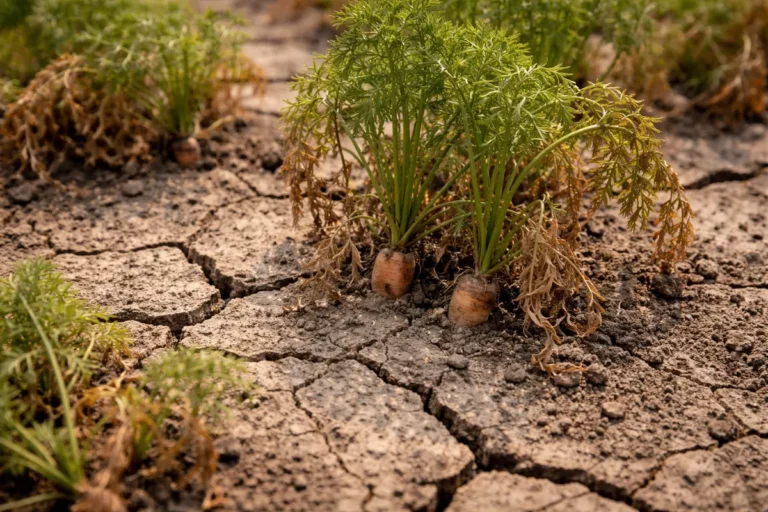
Start by checking the moisture level of the soil around your herbs. You should feel a difference in the soil’s texture—from dry to slightly damp—within a few hours after proper watering. If the soil remains too dry or excessively muddy, your herbs will struggle to recover. For accurate measurement, insert your finger about one inch into the soil; it should feel damp but not saturated.
Moisture levels are crucial for the health of newly transplanted herbs. When the soil is either too dry or overly saturated, roots struggle to absorb the necessary nutrients and moisture, resulting in stunted growth. Newly transplanted herbs are particularly sensitive as they are still acclimating to their new environment, and maintaining optimal moisture levels helps prevent further transplant shock. If you detect your herbs drooping, it indicates urgency that your watering practices must change to encourage recovery. This visible droop occurs typically within a few days of transplanting if moisture levels aren’t managed effectively.
A common mistake is to water indiscriminately without checking the soil first. If the soil is too wet, it can create conditions for root rot, while dry soil can desiccate the tender roots. For instance, a gardener may water every day out of concern but overlook checking the moisture, resulting in soggy roots and stunted growth. Always check by feeling the soil about an inch down; if it’s dry, then deep watering is necessary. Conversely, if it is soggy, immediately stop watering, allowing the soil to dry out. Implementing a drip system or self-watering pots can be beneficial for maintaining consistent moisture levels. This adjustment can significantly impact recovery, allowing the roots to breathe and absorb moisture effectively.
Step 2 – Diagnose Nutrient Deficiency in Herbs
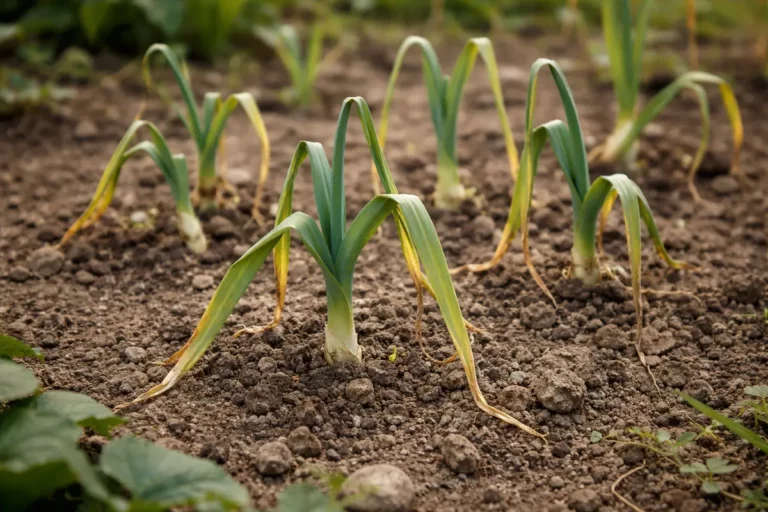
Inspect the leaves of your herbs for signs of nutrient deficiency, such as yellowing or stunted growth. A clear indication of nutrient deficiency should become evident within a few days when you start to replace any absent nutrients in the soil. Look for specific symptoms like pale, small leaves or discoloration. Observing these signs early can help prevent chronic issues, as addressing nutrient deficiencies promptly stops the problem from worsening during the critical recovery window.
Nutrient deficiency often occurs after transplanting, as roots may fail to uptake nutrients effectively if the soil lacks essential elements like nitrogen or potassium. This deficiency can cause leaves to turn yellow and growth to slow, signaling that your herbs need a nutrient boost. Testing the soil pH and nutrient levels can provide essential insights into which specific nutrients are lacking; a pH around 6-7 is generally optimal for most herbs. If the leaves are not just yellowing but also starting to curl or exhibit spots, this indicates that the problem might be more complex and requires immediate intervention.
If you notice the soil smells sour or is noticeably compacted, this indicates that the roots might not be able to access nutrients effectively. In such cases, it’s best to consider adding organic fertilizers or compost to replenish the nutrients and improve soil structure. However, if the leaves are yellowing but the soil appears healthy, it might be due to over-fertilization, which can lead to burn. Adjust your plan accordingly based on the observations you gather, focusing more on nutrient ratios. If your herbs continue to show signs of distress despite fertilization, consider a soil test to uncover deficiencies that may not be visibly apparent at first.
Step 3 – Revive Basil With Balanced Fertilizer
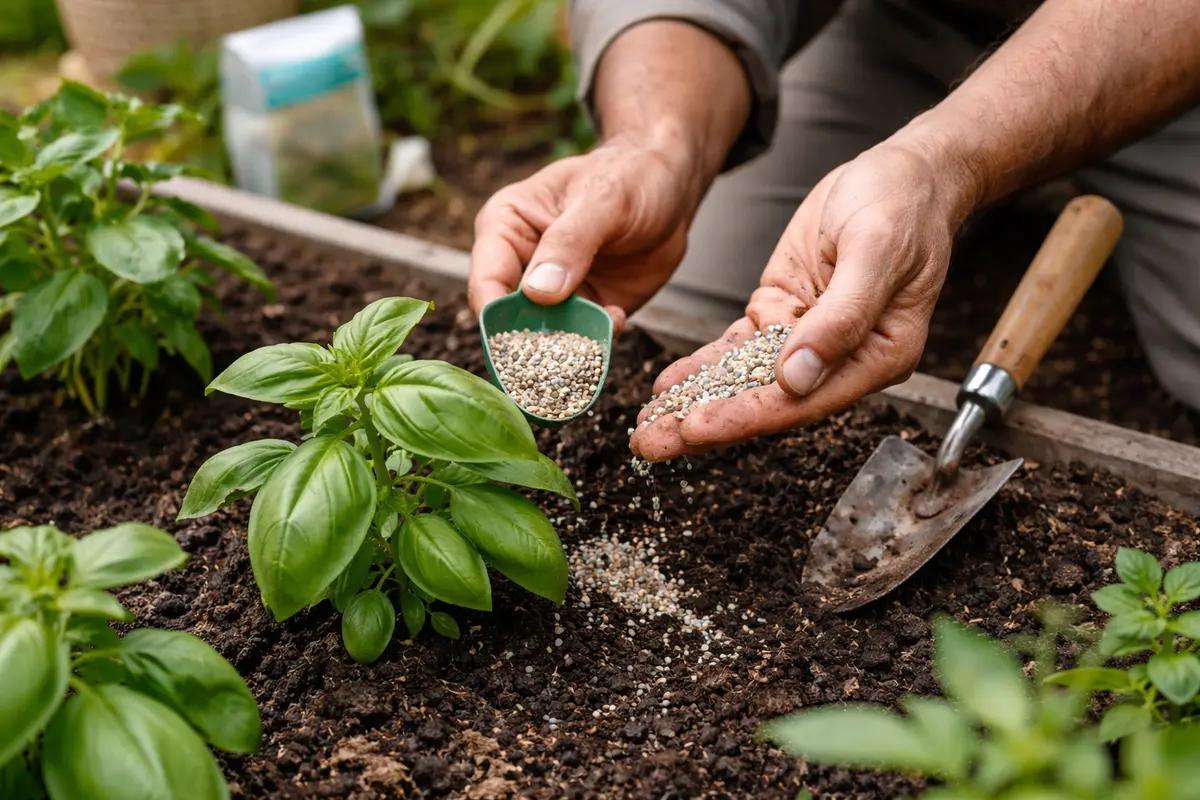
Apply a balanced fertilizer formulated for herbs to rejuvenate their growth. Within a week, new growth should visibly emerge, and leaves will start to regain their vibrant green color. A good rule of thumb is to use a liquid fertilizer at half-strength to avoid overwhelming the delicate roots of newly transplanted herbs. Measure and mix according to the product’s label, as improper application rates can lead to more problems.
Fertilizing newly transplanted herbs is vital for replenishing lost nutrients in the soil and ensuring robust growth. Many herbs need specific nutrients to thrive, particularly during recovery periods. A balanced fertilizer contains equal portions of nitrogen, phosphorus, and potassium, helping to bolster overall plant health and revitalizing your herbs’ vitality. An immediate sign of effective fertilization is the rapid appearance of new shoots and leaves, which signal a positive response; however, monitor their condition closely for any adverse reactions.
A mistake to avoid during this recovery phase is over-fertilizing; doing so can stress the plant further, leading to worse outcomes. For example, adding too much fertilizer might result in leaf burn or even plant death. If you start seeing new growth but then notice it slowing again, reduce the fertilizer amount to a lower dose and consider checking the soil moisture again to maintain the right balance. An overly rich nutrient environment can lead to a phenomenon called “fertilizer burn,” where roots are damaged by excess nutrients. If burnt tips appear on the herbs, a warning signal is to stop fertilizing and leach the soil by watering thoroughly for several minutes to dilute any remaining fertilizer. It’s also advisable to flush the soil every month with clean water to prevent buildup and ensure nutrients remain balanced.
Step 4 – Shield Herbs from Transplant Shock Next Time
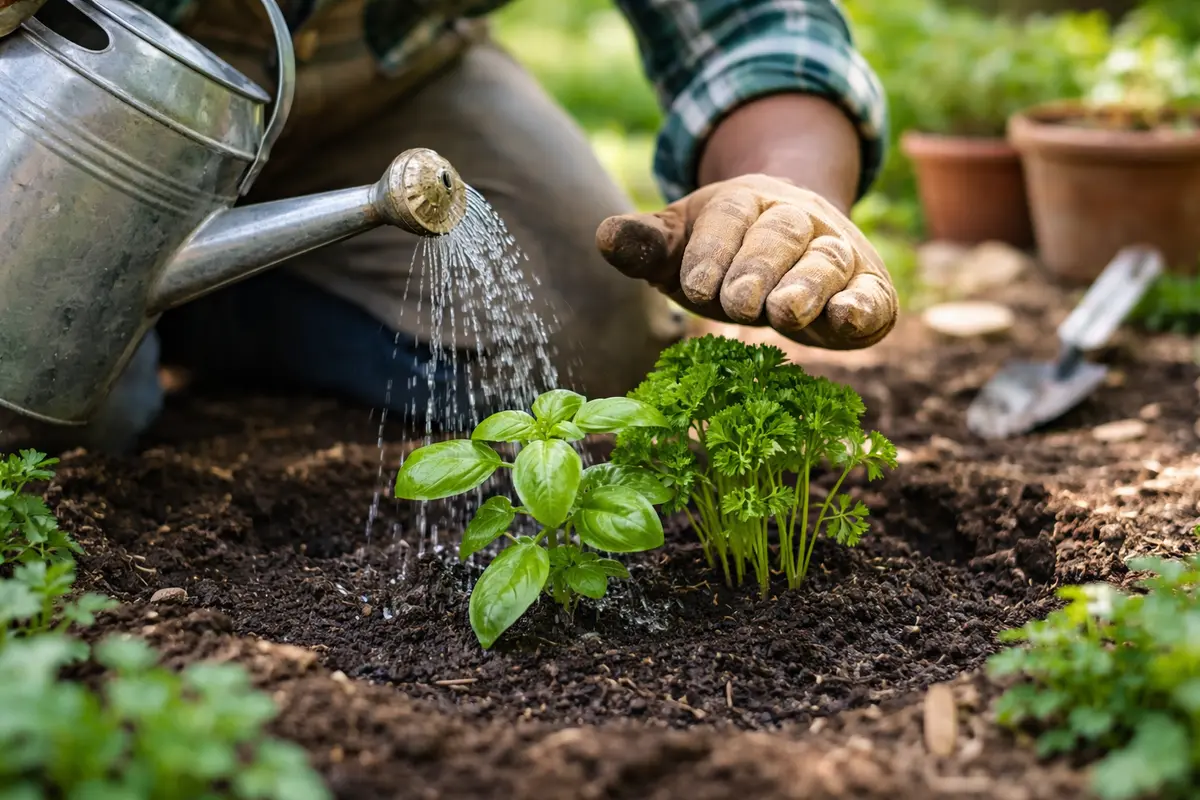
Start by regularly checking the moisture levels of your soil and adjust watering practices accordingly to maintain consistent moisture without waterlogging. You should see herbs establish deeper root systems and show signs of new growth within a few weeks.
Environmental conditions such as overly dry air or irregular watering can trigger stunted growth in herbs, leading to yellowing leaves and wilting. By ensuring consistent moisture levels and avoiding extremes, this prevention routine addresses the root cause of transplant shock, promoting healthier herb development.
In warmer months, increase your watering frequency to account for rapid evaporation, but reduce it during cooler, rainy periods to prevent water paralysis. If your herbs appear wilted and the soil is dry, check for overwatering instead; if they are droopy but the soil is moist, it indicates a need for better drainage solutions.
Establishing a good planting bed with the right soil mix and mulching can significantly reduce the chances of transplant shock. Mulch helps retain moisture in the soil while also preventing temperature extremes that may cause stress to newly transplanted roots. Laying down a layer of organic mulch acts as insulation, protecting the roots, and can lead to a more stable environment for growth. Smooth transitions during planting mean less stress on the plants, and herbs will thrive more readily. Before applying mulch, ensure the soil has adequate drainage to prevent water from pooling.
Seasonal variations can change moisture levels in the soil significantly; thus, mulching is especially important in regions that experience extreme temperature swings. If, for instance, you live in an area that gets particularly hot in summer, routine checks of soil moisture will prevent over-drying. As an additional prevention tactic, consider starting herbs indoors before transplanting them outdoors, allowing them to acclimate gradually to the external conditions. If a season is particularly wet, choose a mulching material that allows for good drainage to prevent waterlogging, as damp conditions can lead to harmful fungal growth. If using black plastic mulch, be cautious; while it can help warm the soil, it may also trap too much heat during hotter days, potentially harming your delicate herb roots.
Step 5 – Check Herb Growth Progress After Two Weeks
First, check your herbs daily for signs of stunted growth, focusing on new leaf production and overall foliage color. Observe if the new leaves appear yellow or are smaller than usual, indicating nutrient deficiencies or transplant shock. Recheck their progress every few days to assess any changes in growth rates or leaf health.
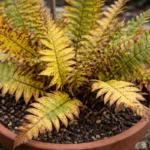
A fully recovered herb plant displays vibrant green leaves with a noticeable increase in size and thickness, contrasting sharply against earlier signs showing yellowed or shriveled foliage. If you see leaves that are crisp and curling inward, this suggests stress is returning, while robust, plump leaves indicate successful recovery. If you observe drooping despite efforts, check for watering issues or root rootbound conditions.
If stunted growth persists despite following the care steps, consider transplanting the herbs into larger pots with fresh potting mix to encourage better root development. If growth remains stagnant after this action, escalate the situation by testing the soil pH and ensuring it falls within the ideal range for herbs, as inappropriate pH can hinder nutrient uptake.
A fully recovered herb features lush, vibrant leaves that exhibit a firm texture, while new growth appears at the tips. In contrast, early signs of stunted growth returning include droopy leaves, a pale color, and a rough texture that suggests nutrient deficiency. If you notice crisp, dry edges on leaves, check the moisture level immediately.
If the problem persists despite following these steps, consider moving the plants to a more appropriate location with better light exposure or evaluating your watering schedule for over- or under-watering issues. Contacting a local gardening expert can also provide additional insights tailored to your specific situation.
A healthy, fully recovered herb shows vibrant green foliage, firm textures, and a robust root structure that holds soil well. In contrast, early signs of issues returning include soft, limp leaves that droop or exhibit browning edges, indicating stress. If the surface of the soil dries out too quickly after watering, check the root moisture balance for potential over or underwatering.
If stunted growth returns despite your care, consider implementing a diluted nutrient solution specifically designed for herbs, as this can boost their recovery. Alternatively, if root complications persist, evaluate the plant’s pot size and consider repotting into a larger container to enhance space for root growth and soil health.
Keep a routine check every couple of days to look for signs of improvement. Healthy herbs will show new leaf growth, and existing leaves should feel firm rather than limp. During your checks, take note of any new yellowing or brown spots, which could signal recurring problems that need addressing. Focus on both the new growth and the existing foliage, as their health can give clues about the overall recovery process. This observation period is crucial, as a lack of recovery within two weeks suggests that underlying issues may still need resolution.
If your herbs show no signs of improvement after two weeks, consider reviewing your watering technique and soil nutrient levels again. It might be worth doing a deeper soil test to check for imbalances, like nitrogen toxicity or phosphorous deficits. Ensure that poor drainage or root damage hasn’t occurred, which can stifle recovery. In some cases, transplant shock can take longer to resolve, particularly if the herbs were moved during a temperature spike or dip, and additional adjustments might be necessary as growing conditions change. If issues persist beyond four weeks, it may signal the need for improved drainage or even reconsider the herbs’ placement to ensure they are ideally positioned for light and moisture needs.
FAQ
How long does it take for herbs to recover from transplant shock?
Recovery from transplant shock can vary by herb type, but most show signs of improvement within 1 to 2 weeks. Factors like light, soil moisture, and nutrient availability can speed or slow this process. For some slower-growing herbs, additional time may be needed, especially if their root systems are still adjusting.
Can nutrient deficiency spread among my herbs?
Yes, nutrient deficiency can spread if the soil’s nutrient levels are not remedied and can affect nearby plants. It’s crucial to regularly monitor and amend the soil to avoid widespread issues among your herbs. Make it a practice to check the nutrient content in the soil proactively to catch and rectify issues before they escalate.
Should I remove any stunted leaves?
Yes, it’s beneficial to remove severely stunted or yellowing leaves. This allows the plant to focus its energy on new, healthy growth, which can expedite recovery. Doing this clean-up regularly contributes to improved air circulation, which can help prevent further fungal issues.