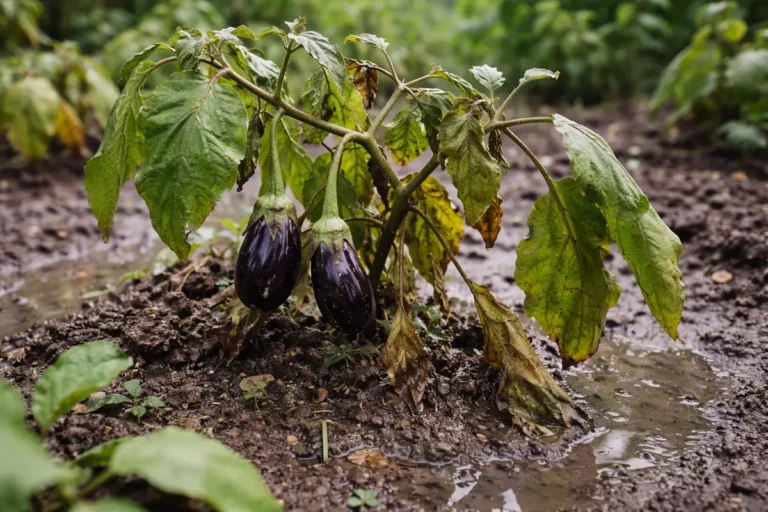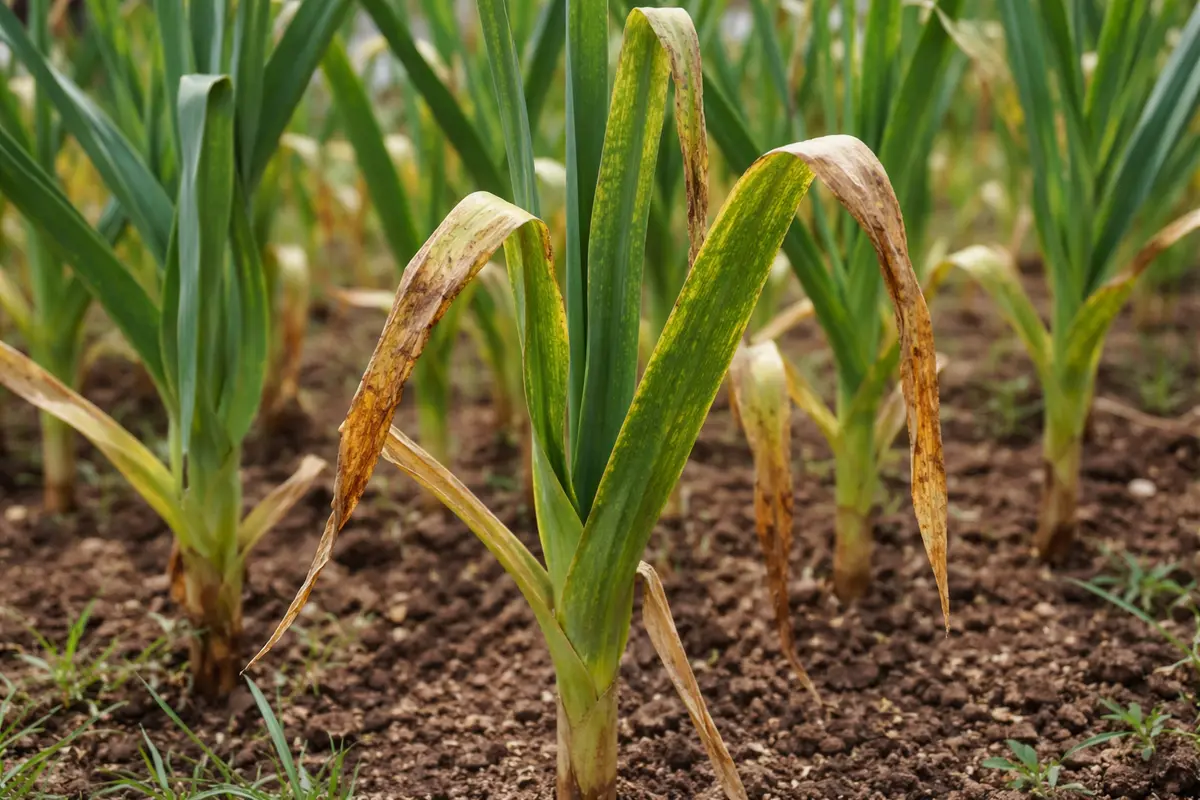
You may notice that your garlic plants start to yellow during development, particularly during periods of heavy rain or high humidity, which is why you need to know what to do when garlic plants yellow during development. This yellowing is often caused by nutrient deficiencies or root rot, leading to wilting and overall decline of the plant. If ignored, the problem gets worse and can spread, ultimately weakens the plant, but the good news is that fixing it is possible now; inspect the roots carefully and adjust your watering routine to improve their health.
Step 1 – Inspect Garlic for Pest Infestations
Start by closely examining your garlic plants for any signs of pest infestations, such as aphids or thrips. You will notice if plants have visible insects or leaf damage within minutes of inspection. Focus on areas where leaves connect to the stem, as this is a common hiding spot for pests. If you spot tiny black or green insects clustered around these junctions, it’s time to take immediate action.
Acting quickly on pest identification is crucial because specific pests can rapidly multiply, causing further stress and eventual plant death. Pests like aphids suck the sap from leaves, weakening plants, which in turn impairs their growth and bulb development. If you find a few aphids, remove them with a strong jet of water, but ensure you spray from a distance to avoid damage to the leaves. Regular checks will help in early identification, preventing extensive damage as the weather warms, which is when pest populations often peak.
A common mistake gardeners make is overlooking early signs of pest presence, focusing instead on just yellow leaves. Many new gardeners ignore thin webs or tiny black dots, chalking it up to dirt, which can lead to rapid infestation. Not checking for pests could lead to a severe infestation that flourishes unnoticed. It’s wise to inspect your garlic plants weekly—especially under the leaves and at the plant’s base—since pests often hide in these less visible areas. If you see sticky residue on the leaves, that often indicates a pest problem that needs immediate attention.
Step 2 – Check Nitrogen Levels in Garlic Soil
First, examine your garlic plants for signs of nutrient deficiency, particularly nitrogen. If you notice yellowing leaves, apply a balanced fertilizer high in nitrogen and observe for greener foliage within a week following application.
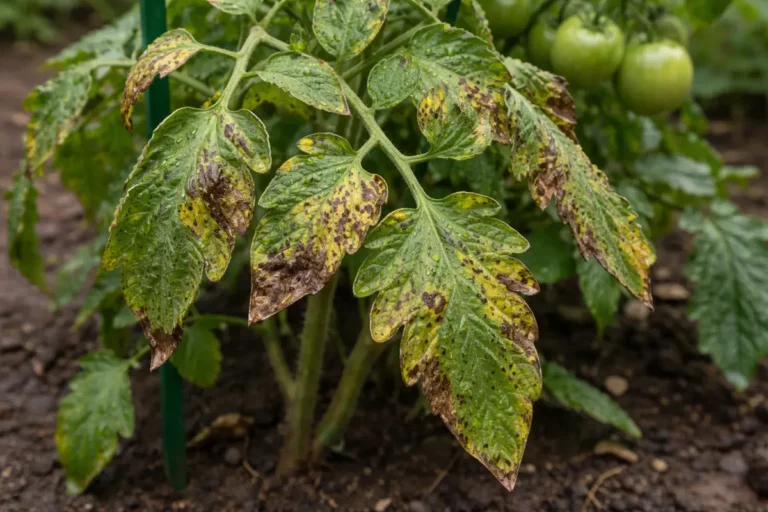
The yellowing of garlic leaves often indicates a nitrogen deficit, as this essential nutrient is vital for chlorophyll production. When nitrogen is insufficient, the plants divert nutrients from older leaves to younger growth, causing those older leaves to turn yellow. In contrast, if the yellowing is accompanied by wilting, the plants may be suffering from drought stress, where the roots can’t absorb enough moisture due to dry soil conditions.
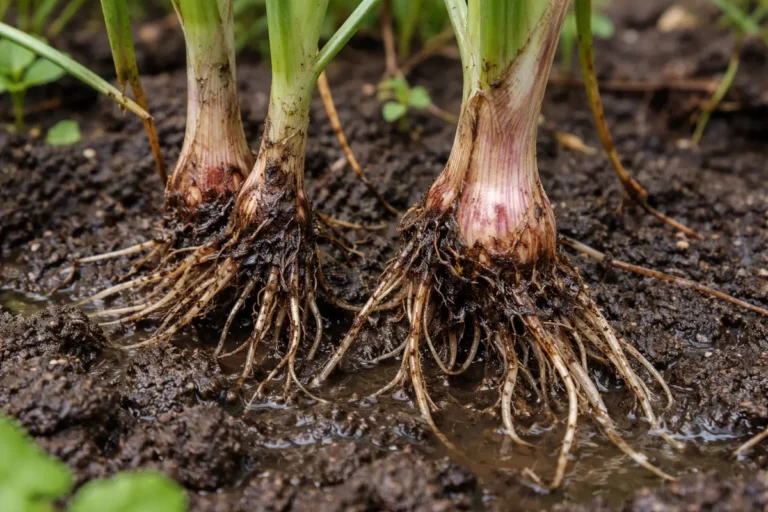
If the soil smells sour, it could suggest root rot due to overwatering; in this case, reduce watering frequency and improve drainage. Alternatively, if the leaves are yellowing but the stems remain firm, inspect for pests, as aphids can also cause a similar yellowing effect through sap extraction from the plants.
Nitrogen is a vital nutrient for garlic, as it promotes leaf growth and overall vitality. Insufficient nitrogen can cause chlorosis, where leaves turn yellow due to a lack of chlorophyll, stunting the plant’s development and reducing bulb formation. Elevated temperatures and wet conditions can exacerbate nitrogen loss in the soil, particularly in sandy soils where leaching occurs. If your garlic plants were planted in similar soil previously, nitrogen levels might already be depleted, leading to visible signs of stress. Regular soil analysis every few weeks can help prevent unexpected nutrient drops.
If you find that nitrogen levels are low, act quickly to apply a balanced fertilizer high in nitrogen—look for formulations with a ratio like 10-10-10 or 12-24-12. For established plants, consider injecting the fertilizer into the soil using a garden fork to ensure even distribution and access to root zones. If the soil gives off a sour smell instead, then it might indicate anaerobic conditions, in which case you should aerate the soil using a rake or a hoe. Keep a close eye on the nutrient levels weekly with continued tests to help prevent symptoms from escalating. If the plants do not show improvement after a week of fertilization, consider an organic nitrogen source like blood meal, which can act more quickly than synthetic alternatives and will also improve soil structure over time.
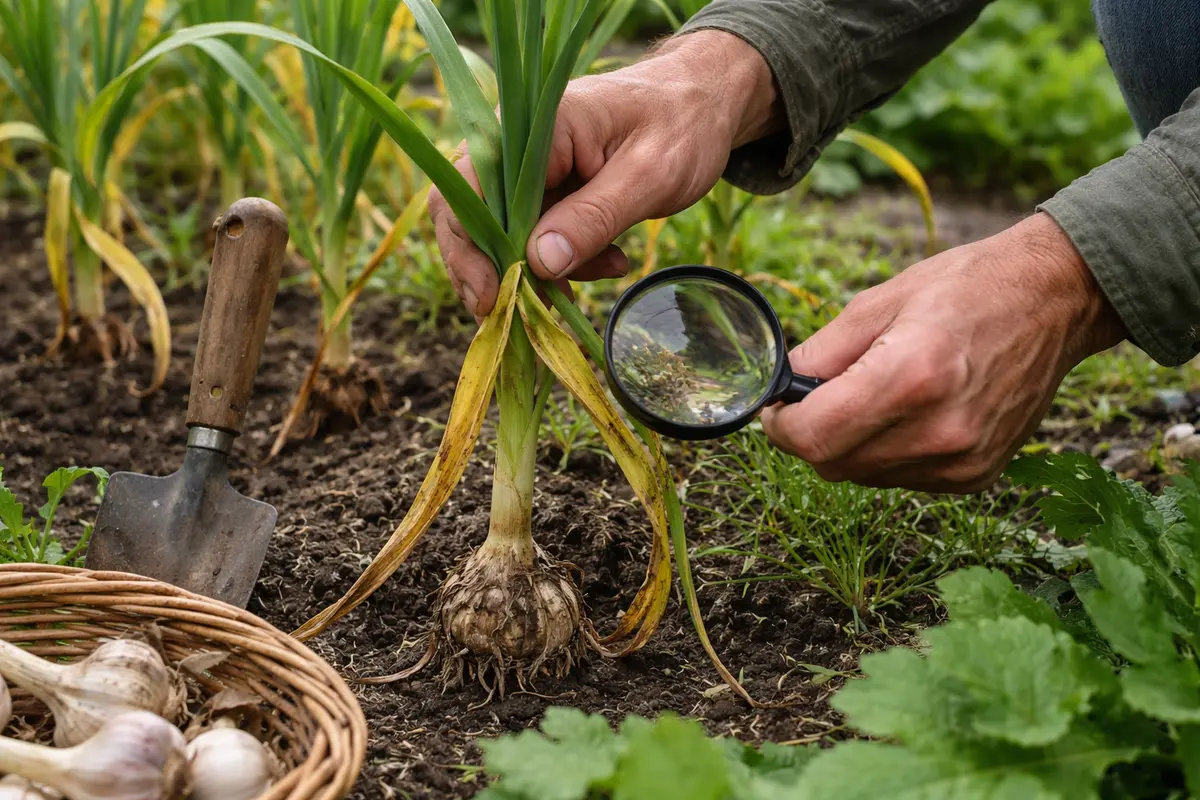
Step 3 – Water Garlic Deeply to Aid Recovery
Start by reducing watering to ensure the soil dries slightly between sessions, and reapply a balanced fertilizer with micronutrients. In about one to two weeks, you should see a return of green color in the leaves and a more upright growth posture.
Healthy regrowth of garlic generally appears with vibrant green shoots sprouting after yellowing, signifying nutrient absorption has improved. Conditions such as adequate sunlight and moderate temperatures contribute to faster recovery, while overwatering or poorly drained soil can hinder it. If garlic plants remain yellow despite these interventions, check for root rot caused by excessive moisture.
One mistake to avoid during this recovery phase is overcompensating with fertilizers, which can lead to nutrient burn; focus on balance instead. Timing your fertilization is crucial; apply it when the plants are actively growing instead of during dormancy to prevent further stress on the garlic.
Garlic requires consistent moisture, especially during its active growth phase, typically early spring through early summer. Full saturation helps the roots absorb essential nutrients effectively. However, for established plants, it is important not to overwater, as waterlogged conditions can lead to root rot, a serious threat to garlic plants that can linger even after dry spells. Overwatering can wash away nutrients in the soil too, particularly in loose soils, making it vital to strike a balance.
A mistake to avoid is watering too frequently after the initial recovery signs appear. If you notice improvement and then overcompensate with frequent watering, the roots may suffocate, negating progress made in recovery. Monitor the soil moisture by feeling the top inch; if it feels dry to the touch, it is time to water again. Additionally, check the drainage in the area; if water pools after heavy rain, consider raising the planting bed to improve drainage for better results. You should also adjust your watering schedule based on rainfall; if a significant amount of rain occurs, reduce your watering frequency to avoid saturating the soil further.
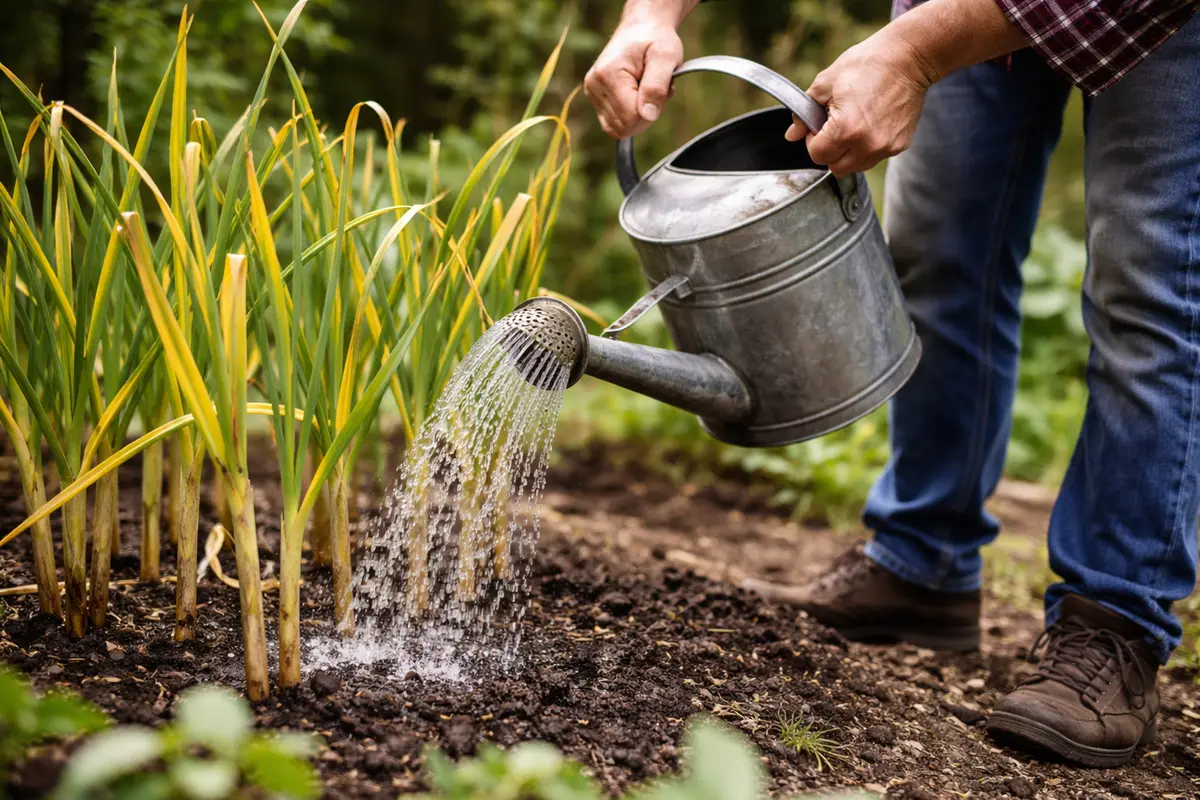
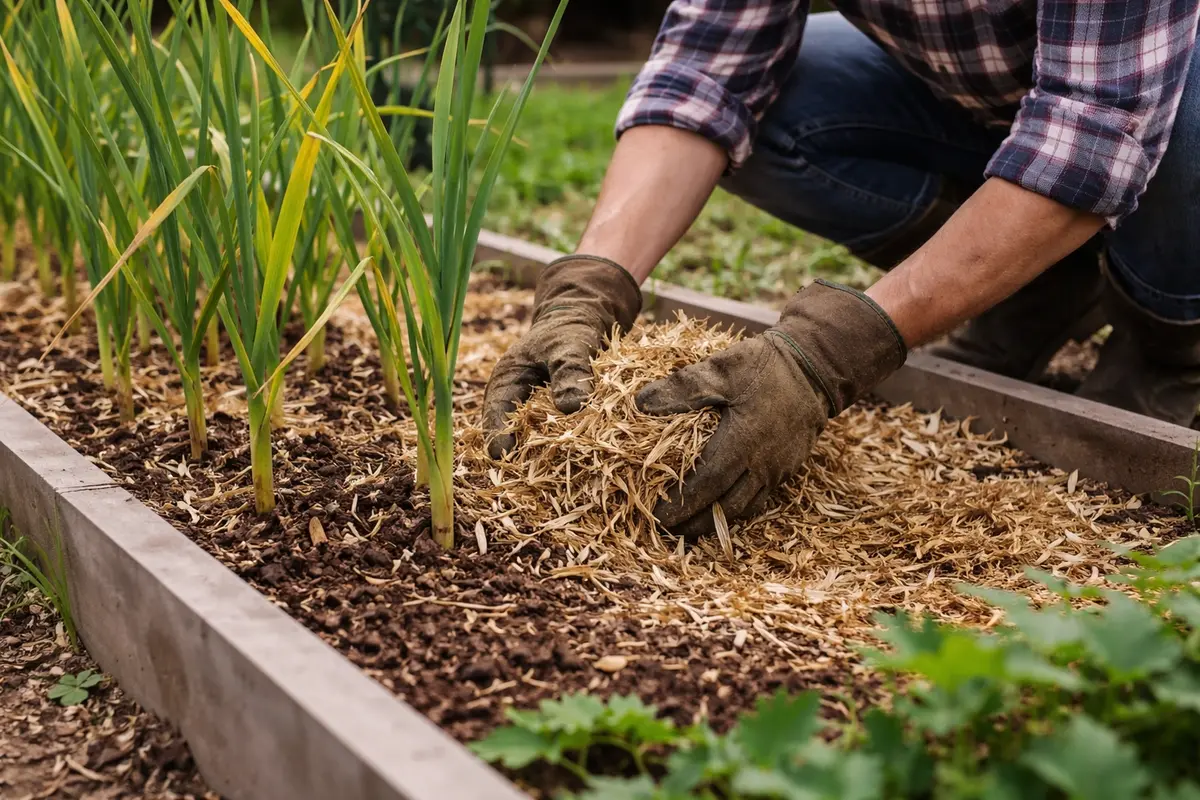
Step 4 – Mulch Garlic Beds to Prevent Weeds
Start by ensuring your garlic plants receive consistent moisture without being waterlogged. By establishing a reliable watering schedule, you will observe a noticeable reduction in yellowing leaves, indicating improved plant stability.
Excessive heat or drought conditions can lead to yellowing, as they stress the plants and hinder nutrient uptake. By maintaining a steady moisture level, you directly address this issue, allowing your garlic to thrive under potential stressors like high temperatures. If dry soil leads to yellowing, check for adequate watering practices before further intervention.
During particularly dry seasons, consider using mulch around your garlic to conserve moisture and regulate soil temperature. This additional layer will help prevent moisture fluctuations and further guard against the yellowing caused by rapid environmental changes.
Mulching locks in moisture, regulates soil temperature, and prevents weeds from competing for nutrients and water. A thick layer allows moisture to penetrate while blocking sunlight from triggering weed seed germination. If you are using organic material, it will also break down over time and contribute to soil health. Good mulching practices can mean the difference between vigorous garlic growth and a struggle against resource competition. A mulch layer can also help insulate the soil against sudden temperature fluctuations during early spring and late fall.
Seasonal changes impact your mulching strategy. If heavy rainfall is expected, consider using a lighter mulch layer to prevent soil compaction that can occur if mulch becomes waterlogged. Without adequate mulching, weeds may reclaim the garden bed, competing with garlic for the available soil nutrients, which is particularly critical during dry spells. Regularly inspect the mulch thickness and replenish it as needed, particularly after wind storms or heavy rains, where some of it may have been displaced. Look for signs of weed growth breaking through the mulch, and promptly remove any weeds that appear to prevent them from spreading.
Step 5 – Look for New Growth on Yellowing Garlic
Check for new growth on your garlic plants following your remediation efforts. You should observe signs of new green shoots within a week if the remedies are effective; this varies based on the initial condition of your plants but is generally a fast indicator of recovery. Noticing leaf curling or wilting can indicate stress; thus, prompt action can alleviate further issues.
When garlic is recovering, new leaves should emerge firm and vibrant, often a more vivid shade of green compared to older leaves. If yellowing persists or new growth appears stunted, it could be an indication that further intervention is necessary. Assess the leaves’ texture; stressed plants often display a leathery or limp quality. The targeted actions taken, such as addressing nutrient levels and water availability, will show results by uplifting the plant’s overall health. If you see browning tips on leaves, this indicates that your garlic may not be getting enough water or nutrients.
If no new growth appears within a week, reassess your watering and fertilization strategies; you might need to adjust the timing or quantity of nutrients based on observed conditions. Also, check for possible lingering pest-related issues by inspecting the undersides of leaves or exploring the root zone for pest activity. If root rot seems possible, consider lifting a plant to inspect the roots; they should be white and firm, not brown and mushy. Remember that temporary setbacks are common; sometimes, you might need to readjust your care routine based on the specific condition of the plants. Delaying action could result in lasting damage, so re-evaluate each part of your care routine to identify possible adjustments.
FAQ
How long does it take for garlic to recover from yellowing?
Recovery time can vary, but you should start seeing positive signs in about one week after taking corrective actions. If the yellowing is due to deficiencies or overwatering, timely intervention typically leads to noticeable improvement within this period. Remember that continued monitoring of plant health during this time is crucial for spotting early signs of ongoing issues, as plants can fluctuate based on environmental conditions.
Will garlic return to normal if I remove yellowing leaves?
Removing yellowing leaves can help redirect the plant’s energy to healthier parts, but it’s essential to address the root cause first. If environmental stressors persist, new leaves may also yellow over time. Ensure that any removal is done thoughtfully, as cutting too many leaves may stress the plant further, especially if it’s already in recovery mode. Sometimes, you can cut back only the most severely damaged leaves to minimize shock to the overall plant.
Can garlic yellowing spread to other plants?
The yellowing itself is often linked to environmental factors or nutrient deficiencies rather than an infectious disease. However, pests that caused yellowing can indeed spread to other nearby plants, necessitating thorough inspections of your entire garden. If pest signs are present, it’s prudent to apply appropriate measures swiftly, utilizing both preventative and remedial actions to protect your garlic and other nearby crops. Always ensure healthy spacing between plants for better air circulation, minimizing the chances of pest accumulation.