You may notice your wisteria drooping dramatically after a recent transplant, which is why you need to know how to fix drooping wisteria after transplant shock. This wilting can occur as the plant struggles to establish its new roots, leading to droopy foliage and a decline in overall health. If left unchecked, this condition can worsen, weakening the plant and stalling its growth, but fixing it is possible now by checking the soil moisture and adjusting its sunlight exposure.
Step 1 – Assess Wisteria Leaves for Wilting Signs
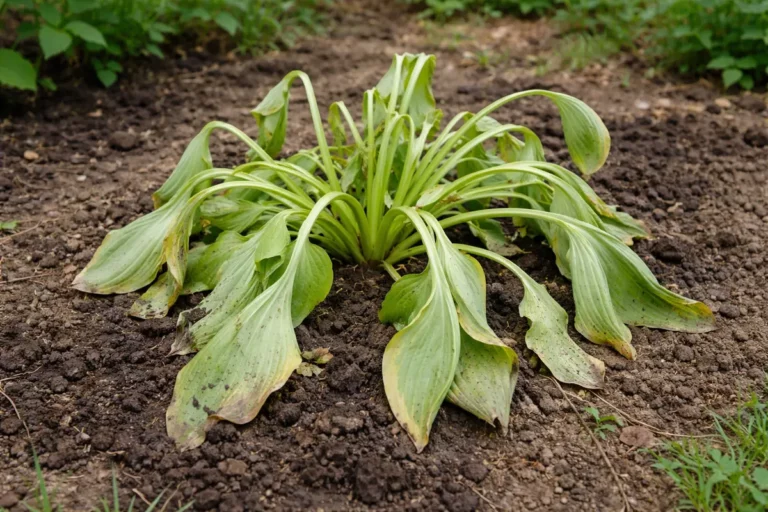
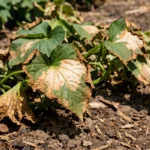
Inspect the leaves of your wisteria immediately for signs of wilting or drooping. You should see which leaves are curling, discoloring, or browned within a few hours of checking. Identifying specific leaves that are distressed not only helps gauge the plant’s immediate condition but also points to potential areas for intervention.
Taking inventory of the specific leaves that appear distressed is crucial because it allows you to assess the general health of the plant at this moment. Wilting occurs when there is insufficient water reaching the leaves, often due to the root system being compromised during the transplant. If you spot drooping within the first couple of days after transplanting, it is critical to note which leaves are affected, as this can indicate the extent of the shock. If more than half of the leaves show signs of distress, seek out solutions urgently; a high percentage can hinder recovery and might indicate deeper root issues that require immediate fixing.
A common mistake is to ignore the wilting symptoms and assume they will resolve themselves. Some gardeners may decide to prune the wilting foliage first without checking the soil moisture levels or root condition. For instance, trimming leafy areas may seem like a stable approach, but if the roots are still intact and the plant still has the potential to recover, unnecessary trimming could disrupt its healing process. Assessing the leaves before taking any action helps to avoid unnecessary trimming of healthy parts of the plant that could contribute to its recovery. Furthermore, if you notice wilting leaves and soft stems, consider that some stems may merely be experiencing temporary wilting caused by the transplant, rather than permanent damage. Always allow a few days to observe changes before making drastic pruning decisions.
Step 2 – Diagnose Transplant Shock in Wisteria
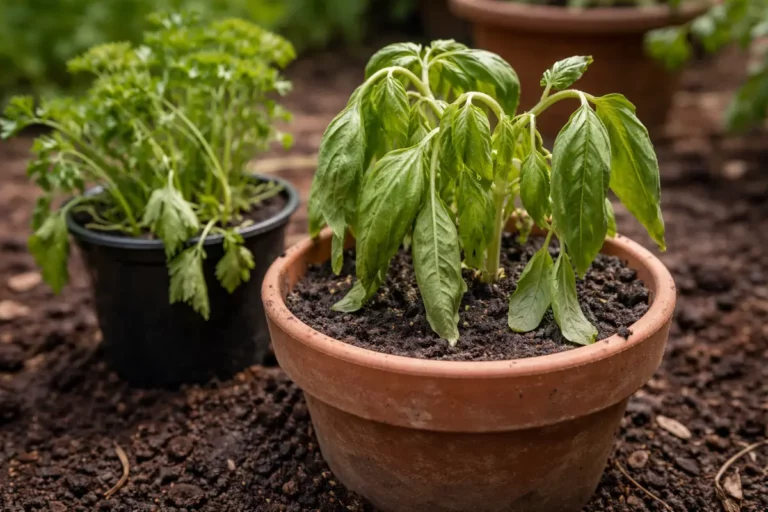
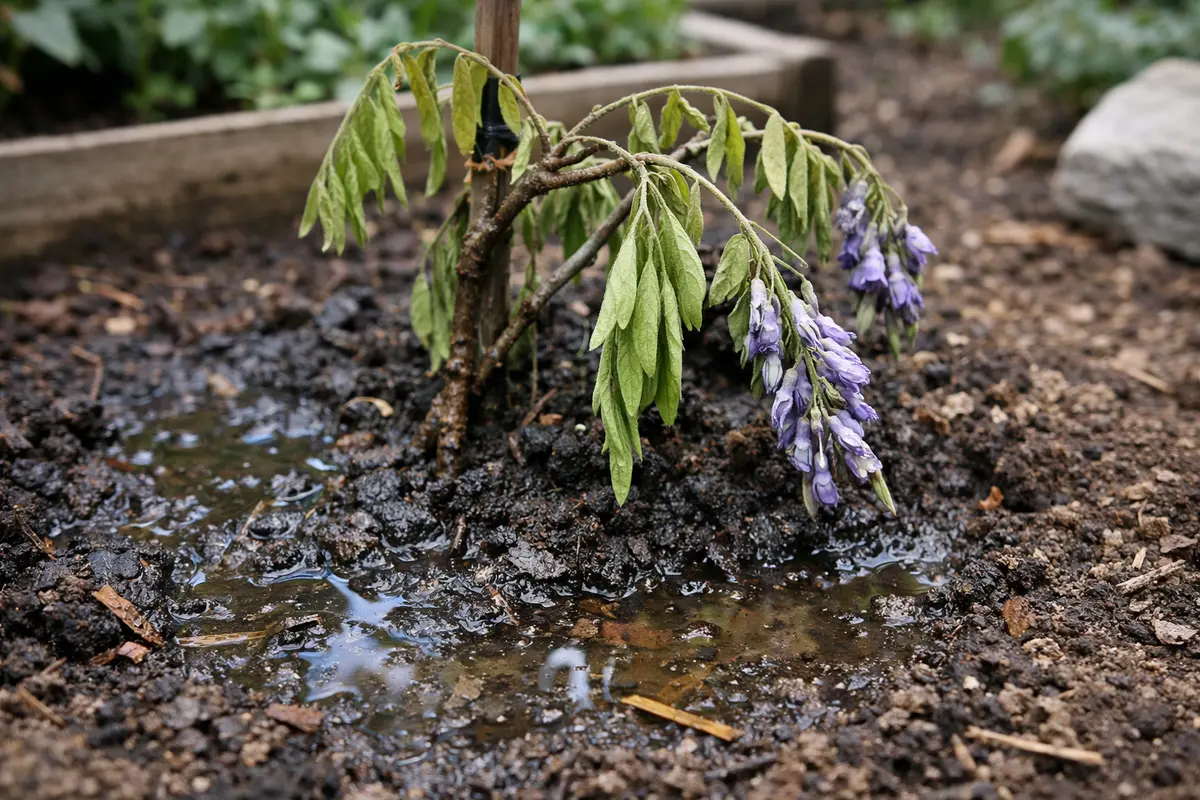
First, inspect the soil moisture level around your wisteria and water it deeply if it feels dry. This should help perk up the plant and restore its turgor pressure, resulting in leaves that start to firm up and a less droopy appearance within a few hours.
When wisteria experiences transplant shock, root disturbance can inhibit water uptake, leading to drooping as the plant struggles to maintain cells’ water balance. If the roots cannot access enough moisture, they lose their ability to hold turgor pressure, causing wilting. Conversely, if the soil is overly saturated, it can lead to root rot, also causing drooping but with a different set of symptoms, such as yellowing leaves.
If your soil smells sour and feels overly wet, consider improving drainage or repotting the plant in fresh, well-draining soil instead of just watering. Alternatively, check for compacted soil around the roots, which can block water absorption and require you to aerate the planting area to allow airflow and promote healthy root growth.
Transplant shock results from disturbing the root system, which affects how the plant takes up water and nutrients. If the soil is too wet, it may lead to root rot, which is characterized by a foul odor and brown, mushy roots, while dry soil inhibits water uptake altogether, causing drooping leaves. Addressing this issue promptly will help restore the wisteria’s health. Moreover, conditions causing frequent drought or waterlogging should be avoided, or the recovery could stall significantly. In particular, heavy rainfall right after transplanting can lead to an even quicker decline if the roots were already compromised.
If the soil feels overly wet and has a sour smell, consider adjusting your watering routine to prevent rot. A recommended action is to elevate the pot or plant bed, allowing excess water to drain away, which can help mitigate root rot risks. On the other hand, if the soil feels dry, this indicates that more water is urgently needed for the plant’s recovery. Potted wisteria may especially require attention, as their root systems can quickly dry out compared to those planted in the ground. If your wisteria is consistently exposed to the sun, it may dry out faster, necessitating daily checks. Understanding these soil conditions will help you act in time to stabilize your plant’s health. A moisture meter can also be highly effective here, providing a clear reading of the moisture level in the soil.
Step 3 – Water Wisteria to Aid Recovery from Shock
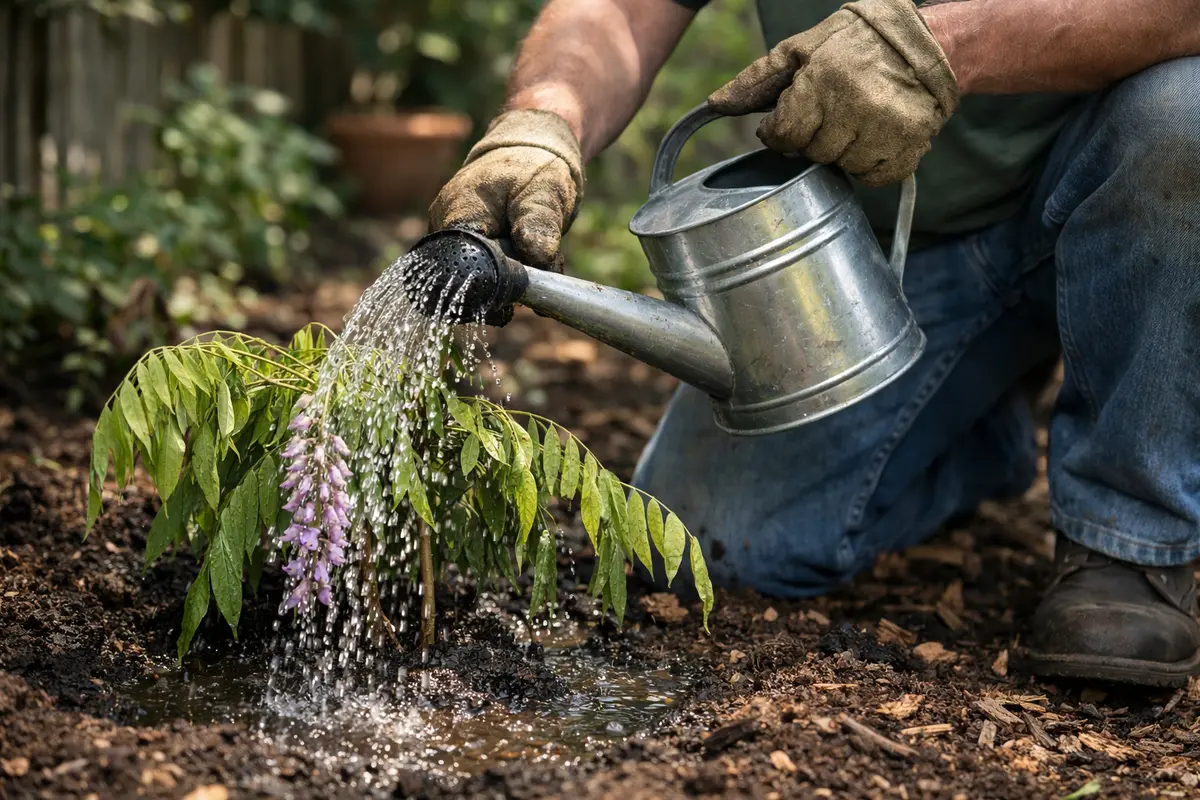
Water the drooping wisteria deeply to rehydrate the roots, opting for a soaker hose or drip irrigation for consistent moisture. Within a few days, you should notice the leaves regaining their original turgidity and bouncing back from their limp state. To prevent future drooping, establish a twice-weekly watering schedule for the first month post-transplant and adjust depending on weather—drier conditions may require more frequent checks.
The recovery timeline can vary from one to three weeks, with visible improvement often occurring around the one-week mark if watering and light are optimal. However, inadequate sunlight or continued dry conditions can trigger recurrence of droopiness, leading to setbacks in recovery. If the leaves remain limp after a week, increase watering frequency and check for adequate drainage to avoid root rot.
A frequent error during the recovery phase is over-fertilizing, which can lead to further stress on the already struggling plant. Instead, wait a month post-transplant before applying any soil amendments to allow the roots to establish. If you notice the plant showing signs of stress despite following the watering schedule, check the root zone for compacted soil that may hinder water absorption.
The recovery timeline for wisteria post-transplant shock typically spans from a few weeks to a couple of months, with insufficient light or fluctuating water levels potentially triggering recurrence. If the plant is consistently wilting despite proper watering, check if it’s getting enough sunlight, as too much shade can stifle recovery and lead to further drooping.
A common mistake during the recovery-prevention transition is over-fertilizing, which can scorch new roots and impede regrowth. Adjust the timing of fertilizer applications based on the severity of drooping; for severely affected plants, delay fertilization until new leaves are fully developed. If you’re not observing new growth, check the root system for signs of rot, as that might require a different intervention.
Recovery typically takes 2-4 weeks, during which the plant responds to proper care. If the wisteria continues to droop despite adequate water and nutrients, check for root damage or pests that may trigger recurrence. Conversely, healthy wisteria may perk up almost immediately after watering, showcasing the importance of identifying the specific conditions affecting the plant’s health.
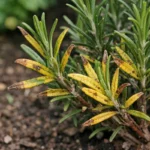
A common error during recovery is over-fertilizing in an attempt to stimulate growth. If the leaves seem yellowed despite regular watering, reassess your fertilization schedule to avoid further stress on the plant. Adjust nutrient application based on the observed leaf color and moisture levels, ensuring a balanced approach promotes recovery without overwhelming the roots.
This deep watering helps saturate the root ball and encourages the plant to re-establish its water uptake capabilities. Wisteria is particularly sensitive to water fluctuations, so consistent moisture, without waterlogging, is essential. It’s advisable to monitor the situation closely over the next week; for many, the robust foliage might indicate the plant is beginning to stabilize. If you’ve checked the soil and confirmed it’s dry, this deep soak should provide immediate relief and aid recovery. Waiting a week before you water again can help establish new roots, while still providing adequate water to make them function effectively. Overwatering during this recovery period can lead to further issues, such as root decay. If left unchecked, it could lead to a situation where newly developed roots are also dying off, worsening the plant’s condition.
Be aware that many gardeners mistakenly return to their regular light watering schedule too soon after addressing transplant shock. They may fear over-saturation, but if the soil remains too dry, you risk curling or wilting once more. As a precaution, maintain a consistent moisture level over the next couple of weeks while monitoring the weather. If rain is expected, you can skip the deep watering on those days to avoid over-saturation. If root health is still in doubt, carefully inspect the roots after several weeks to gauge their condition. Healthy roots should appear white and firm, while rotting roots will be brown and mushy. If you notice foul odors or see dark coloration, further action is needed to either change the soil or enhance drainage conditions.
Step 4 – Check for New Growth on Wisteria Weekly
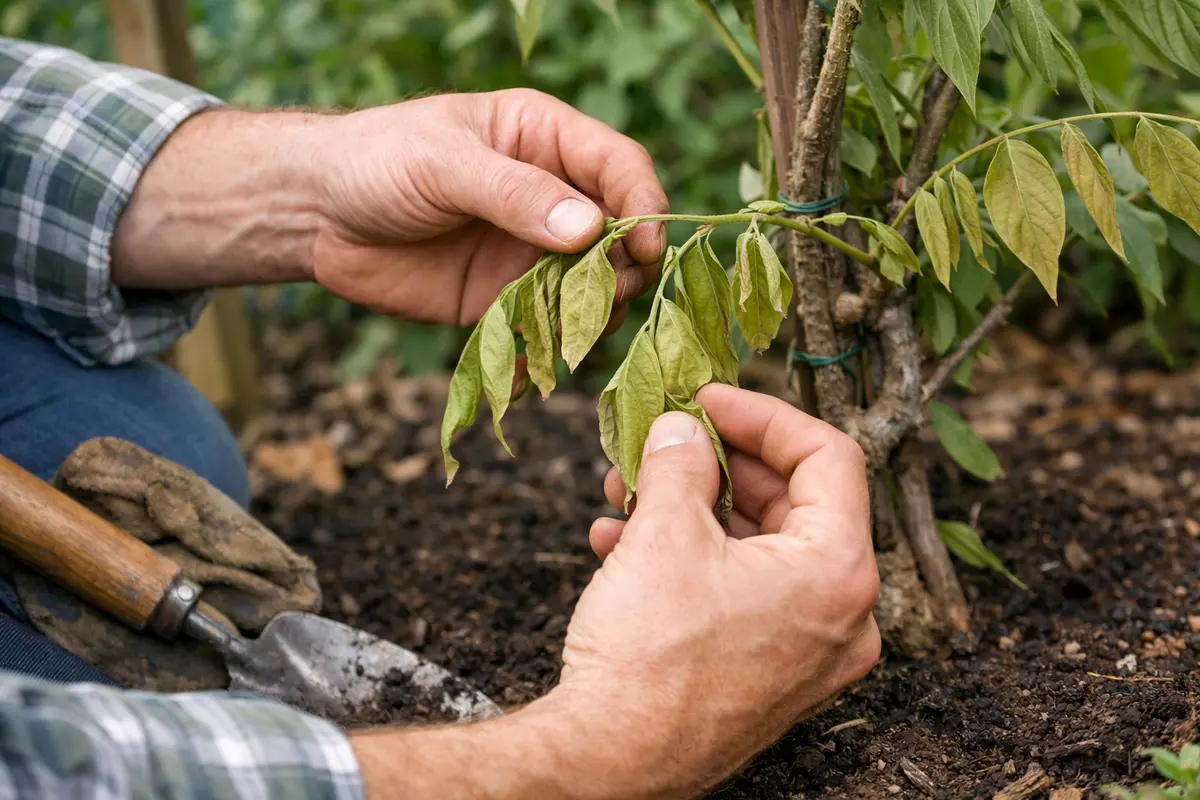
Check your wisteria weekly for new growth or leaf improvement. You should see signs of new shoots and healthier leaves within a week or two if recovery is underway. An effective method is to mark dates in a calendar as reminders for monitoring, making it easier to spot any improvements or deterioration systematically. Look for newly developed leaves or flowering buds that appear healthy and green, as these indicators show that the plant is adapting well post-transplant.
A healthy wisteria typically shows new growth by producing fresh green leaves and longer tendrils, indicating successful recovery from transplant shock. If you measure these new growths week-by-week, it becomes easier to assess the plant’s overall growth rate. Simultaneously, watch for signs of the problem returning, such as old leaves wilting again or slowed growth. If you notice new leaves appearing but see existing leaves wilting, this indicates that the plant is under stress and may need further intervention. These visual signs provide feedback on your plant’s overall progress and help you adjust care as needed. Timely assessments can catch issues early and prevent larger problems later. This emphasis on early detection can save the plant from a more severe decline.
If the condition worsens despite your efforts, consider adjusting your watering schedule or exploring potential soil issues like compaction or drainage problems. Signs of yellowing leaves, no signs of new growth, or stem wilting can be indicators of root stress. Knowing when to pivot can save your wisteria from long-lasting damage and help refine the care you provide. If roots appear constricted or crowded, repotting may be advantageous in promoting healthy growth. In some cases, waiting too long to address these concerns might force the plant to drain all its energy reserves, resulting in further delays in recovery.
FAQ
How long does it take for wisteria to recover from transplant shock?
Recovery can take a few weeks to a couple of months, depending on the plant’s age and environmental conditions. Younger plants in favorable conditions tend to recover more quickly, while older plants may experience slower progression. During this period, consistently monitoring soil moisture and providing appropriate care will improve the chances of a successful recovery.
Can transplant shock spread to other plants nearby?
No, transplant shock itself does not spread to other plants; it is a specific response of the affected plant. However, if care practices do not improve and lead to disease or pest infestations, those issues could affect nearby plants. Observing your surrounding plants for any signs of stress during this period may also help ensure a healthy garden overall. Maintaining vigilance during this recovery phase is crucial to ensuring that issues do not escalate.
Should I remove wilted leaves during recovery?
Remove wilted leaves if they are significantly damaged and not likely to recover, as this helps redirect the plant’s energy to healthier portions. However, wait until signs of recovery are clear before drastic pruning actions, as some degree of wilting could still be part of the recovery process. Seasonally removing older leaves can support air circulation and light exposure to new growth, so balancing this action carefully can ensure optimal recovery. In cases where internal foliage is wilting significantly more than external growth, consider only trimming the worst-affected leaves to minimize stress.