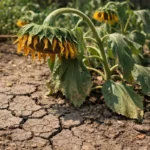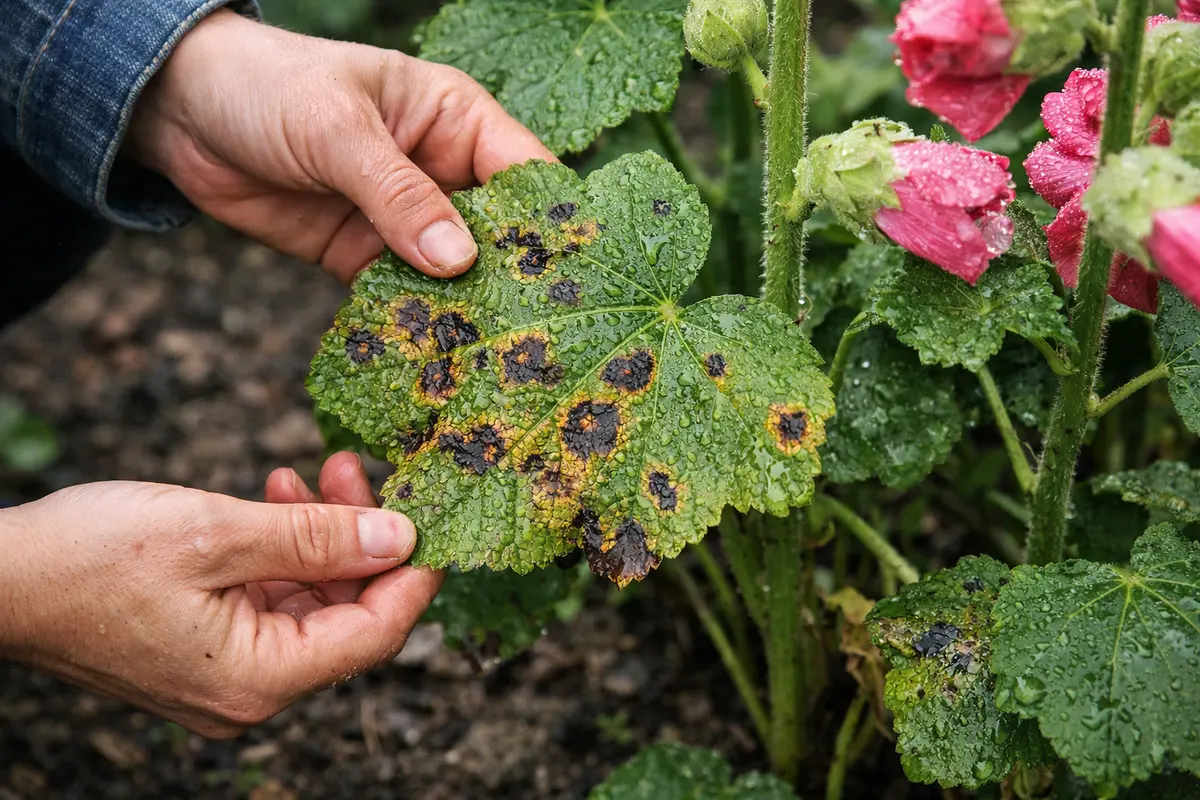
You may notice unsightly leaf spots on your hollyhocks after rain, which is why you need to know how to treat leaf spots on hollyhocks after rain. This issue arises when excess moisture encourages fungal growth, leading to dark spots that can damage the plant. If left unaddressed, the problem gets worse and can spread to other healthy leaves, weakening the plant overall. Fortunately, fixing it is possible now; you can inspect the leaves closely and remove any affected areas to improve their health.
Step 1 – Trim Back Affected Hollyhock Foliage
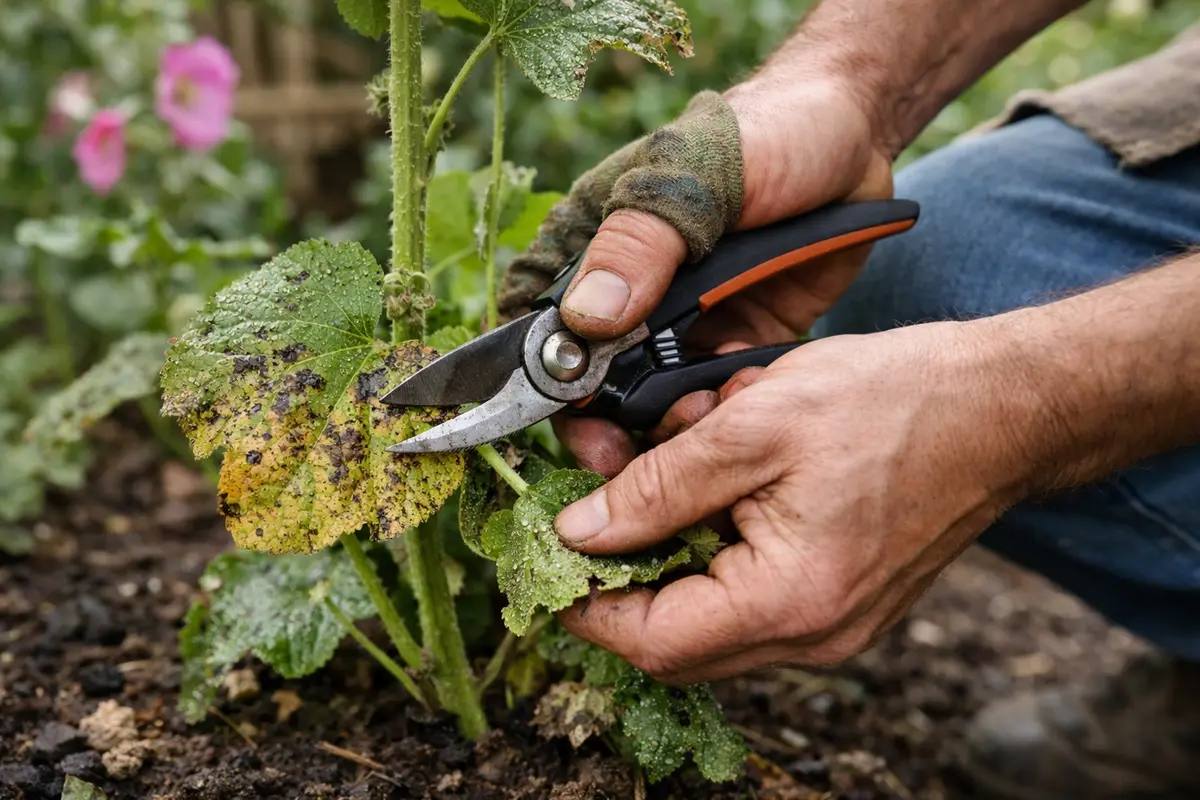
Start by trimming back any foliage that shows signs of leaf spots. You will notice the overall appearance of your plants becoming cleaner and less cluttered as damaged leaves are removed. Additionally, pruning can enhance air circulation among remaining leaves, which is vital for healing.
Acting quickly to remove affected foliage is critical because it prevents further spread of any potential fungal infections. Heavy rainfall can create conditions conducive to fungal growth, especially when combined with dense foliage that retains moisture. Left unchecked, the infection can invade the healthy parts of your hollyhocks and may lead to a more severe disease, necessitating more drastic interventions or even replanting. Moist, humid environments after rain provide a prime setting for pathogens to proliferate, so prompt removal is essential.
A common mistake at this stage is failing to inspect the entire plant thoroughly — simply cutting back the most visible damage without addressing potential infections hiding on other leaves may leave the plant vulnerable. In my experience, I’ve noticed that carefully inspecting the leaves for any additional spots helps catch issues early, which greatly simplifies the recovery process. If the leaf damage is extensive and you find many leaves requiring removal, then consider whether the plant is under stress from other factors such as nutrient deficiency or poor lighting.
Step 2 – Diagnose Leaf Spots Due to Excess Moisture
Start by inspecting your hollyhocks for dark leaf spots, which indicate a fungal infection often exacerbated by excess moisture after rain. Remove the affected leaves, ensuring to dispose of them properly to prevent the spread of spores. In doing so, you should notice a reduction in new spot formation within a few weeks as the plant focuses its energy on healthy foliage.
Leaf spots on hollyhocks usually occur when fungal pathogens thrive in damp conditions, leading to tissue damage. The spores from these pathogens spread easily in the soil and are activated by prolonged moisture. By removing affected leaves, you eliminate the primary source of infection, allowing the roots to absorb nutrients more efficiently and improving overall plant function.
If the soil smells sour, indicating anaerobic conditions, amend it with organic matter and increase drainage to prevent root rot, which shows similar leaf discoloration. Additionally, if the spots are accompanied by wilting, check for proper watering practices, as both leaf spots and wilting can occur from over-saturation. Adjust your watering routine to encourage healthy, resilient growth.
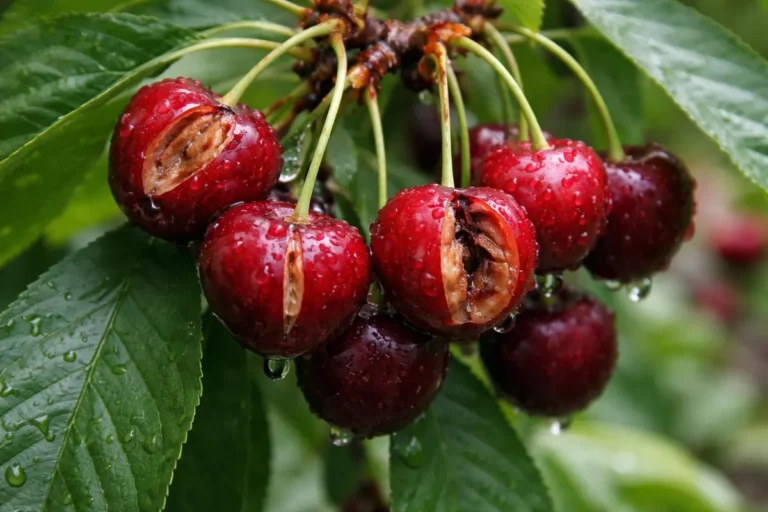
Leaf spots are often symptomatic of several possible issues, primarily when prolonged damp conditions exist. Excess moisture can lead to root rot and fungal infections, both of which are detrimental to hollyhocks, especially when conditions are consistently rainy or humid, as observed in many regions during the summer. This scenario can create a vicious cycle — too much water promotes fungal growth, while the fungi exacerbate moisture retention on leaves, creating further damage. Over time, these can lead to the appearance of black, sunken lesions on leaves, which are a telltale sign of more severe fungal infections.
If the soil smells sour or feels excessively wet, this could indicate that the roots are drowning. In such cases, it is crucial to improve drainage by amending the soil with organic matter or relocating affected plants to a better-draining area — delaying this adjustment may result in even more serious conditions like root rot, which is often harder to treat. If drainage fails to improve after one week, further consideration of plant relocation or amending the beds to enhance drainage might be necessary.
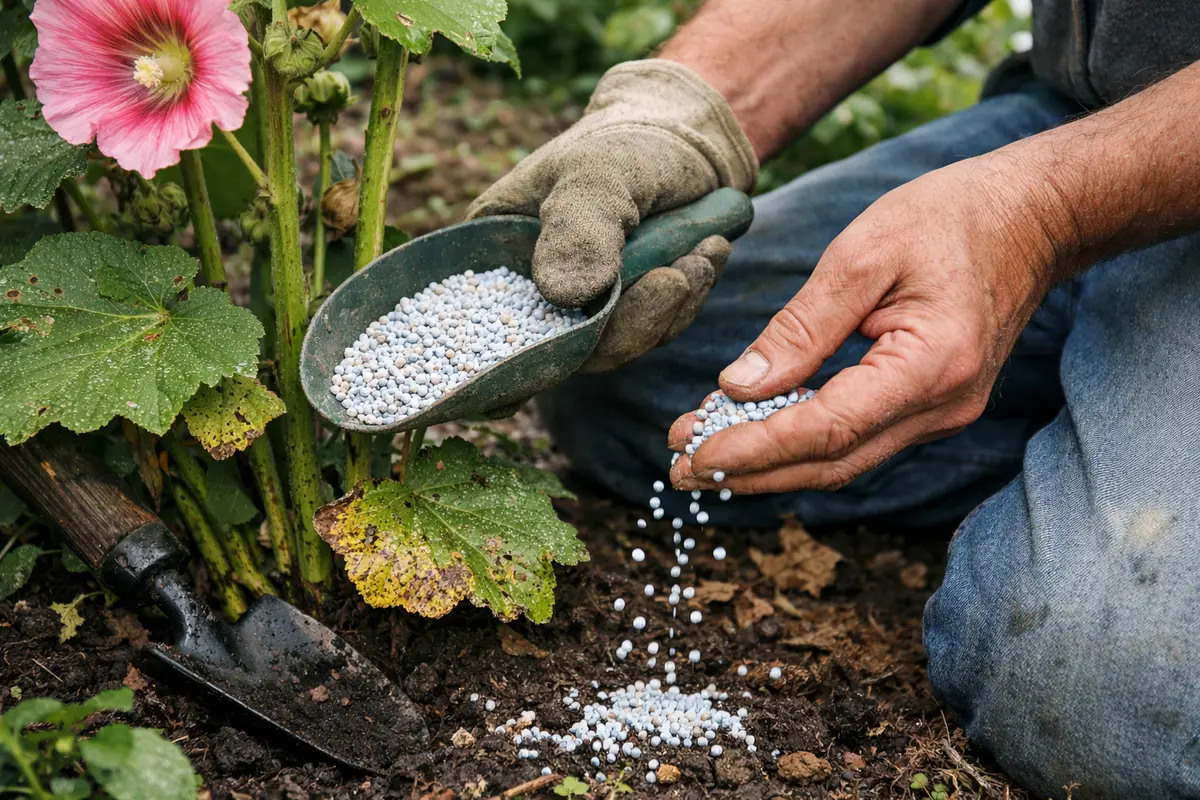
Step 3 – Fertilize Hollyhocks for Improved Health
Apply a fungicidal spray to the affected hollyhocks immediately after rain has ceased, ensuring even coverage on both sides of the leaves. Within a week, you should notice the yellowing spots beginning to fade and new leaf growth emerging at the base of the stems.
The recovery timeline for hollyhocks impacted by leaf spots typically spans two to four weeks, during which healthy regrowth appears as bright green leaves unfurling without spots. Adequate sunlight and well-draining soil speed up this process, while prolonged shade or overcrowding can hinder recovery efforts. If the new growth remains stunted and discolored, check for root rot from excessive watering.
Avoid overcompensating with additional fertilizer, as this can stress the plants further and lead to more leaf spotting. Instead, feed your hollyhocks sparingly, particularly if they are still showing signs of damage. If new leaves appear but still exhibit spots, check the surrounding air circulation to ensure proper drying conditions.
Realistically, recovery from rain-related leaf spots can take several weeks, depending on environmental conditions. Warmer temperatures and adequate sunlight can promote healthier regrowth, evident in vibrant leaves that do not show new spots. Conversely, cool and damp conditions might slow recovery, leading to persistent leaf damage; if you notice wilting or discolored leaves, check for adequate sunlight and airflow.
A common mistake to avoid during recovery is overwatering the plants, especially after heavy rain, as this can lead to root rot and worsen leaf issues. Also, delaying pruning of significantly damaged foliage may cause unnecessary strain on the plant; removing affected leaves early can redirect energy towards healthier growth. If you see drooping or darkening foliage, reconsider your watering schedule and ensure the plant is not sitting in waterlogged soil.
Recovery may take two to four weeks, with visibly improved foliage emerging during that time. Healthy regrowth is characterized by bright green leaves without darkened edges or blight. Warmer temperatures and adequate sunlight promote faster recovery, while excess moisture and cooler conditions may slow down growth. If you notice yellowing leaves rather than new green ones, check for persistent excessive dampness in the soil.
Avoid the mistake of overwatering during recovery, as hollyhocks can suffer from root rot due to overly wet soil. Ensure that you water only when the top inch of soil feels dry to the touch. If leaf spots worsen despite following care guidelines, check for signs of a secondary fungal infection that may require different treatment.
Fertilizing provides essential nutrients that may have been depleted and can bolster overall plant health, making them more resilient against diseases like leaf spotting. Using an appropriate balanced fertilizer can help hollyhocks recover more swiftly by replenishing necessary elements such as nitrogen, phosphorus, and potassium that support leaf development and flowering. Moreover, a robust nutrient supply kickstarts the healing process and encourages new leaf growth to replace the damaged ones. Observe the color and vitality of the leaves afterward; healthier leaves will appear vibrantly green and firm instead of pale or wilting.
One mistake to avoid during this recovery phase is over-fertilizing, which can lead to additional stress on the plants and may even exacerbate existing problems. Applying only the recommended amounts according to the fertilizer’s instructions is crucial for re-establishing healthy growth while keeping in mind that timing matters — for best results, fertilize just as new growth begins to emerge. If leaves show signs of burning or browning at the edges, reduce the fertilizer immediately and consider liquid feeds as a gentler alternative.
Step 4 – Water Hollyhocks Only at the Base
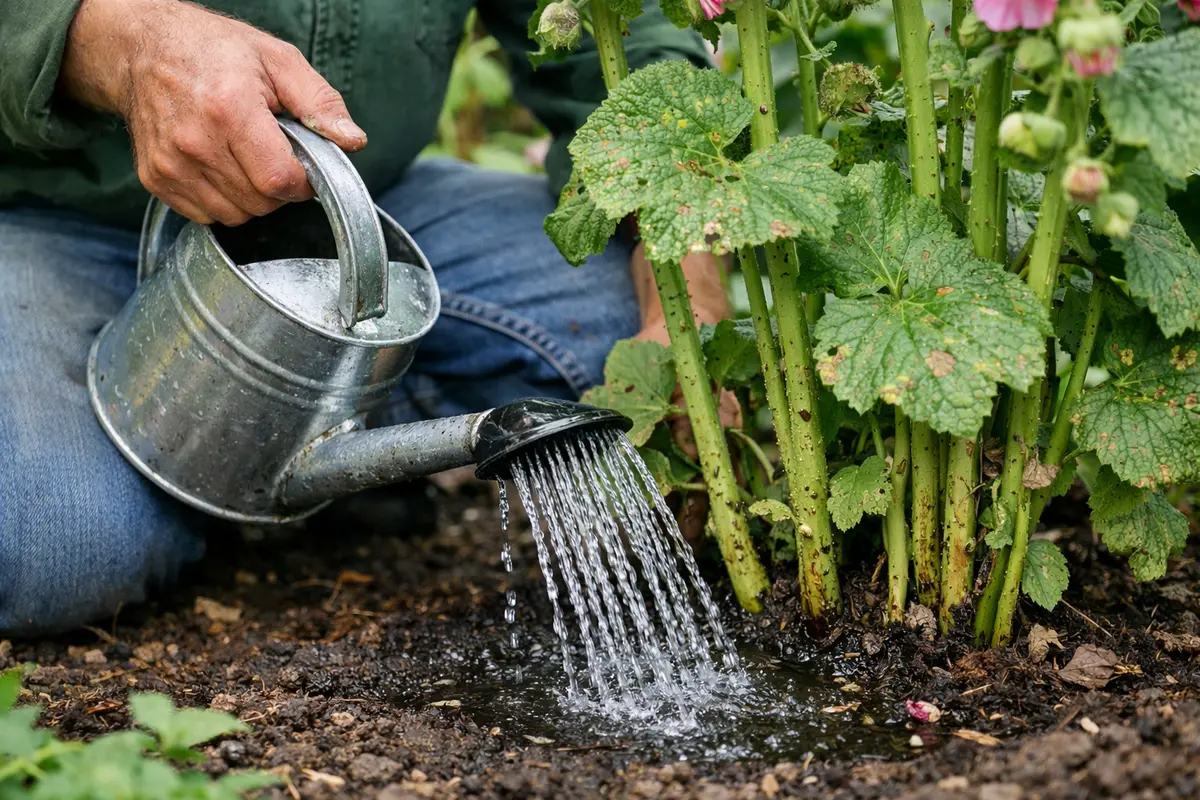
Water your hollyhocks directly at the base, ensuring that foliage remains dry. This adjustment will help create a significantly reduced chance of further fungal growth and moisture retention on the leaves. Implementing this practice can drastically alter the health trajectory of your plants over time.
Proper watering techniques are essential in preventing recurrence of leaf spot diseases, especially after rain. Watering at the base minimizes moisture on the foliage, which reduces the likelihood of conditions favorable to fungal infections. Check the moisture level of the soil at a depth of about two inches to ensure that your watering practices effectively support plant health without over-saturation, allowing for proper drainage. In addition, it encourages deeper root growth, as plants push their roots deeper into the soil in search of moisture, leading to a more robust plant and mitigating stress during dry spells.
To maintain a habit of proper irrigation, monitor the soil’s moisture level regularly. You may adjust your watering schedule according to seasonal changes, as spring usually requires more frequent watering, while summer might see shifts in your routine based on rainfall. For instance, during particularly hot summer weeks, watering every 5-7 days might be necessary, but always ensure to check the soil’s moisture first. If overwatered, roots may turn mushy and weak, which can result in stunted plant growth moving forward.
Step 5 – Inspect Leaves for Recurring Spots Weekly
Start by checking your hollyhocks regularly after rainfall. Look for discolored spots on the leaves and note any yellowing or browning edges, which can indicate leaf spot diseases. Recheck your plants every few days, as conditions can change rapidly due to continued moisture and humidity.
A fully recovered hollyhock will display vibrant, green leaves free from spots, characterized by a smooth texture and overall upright growth. In contrast, if early signs of leaf spots return, you may observe small darkened areas with raised edges or a consistent wilting appearance among the leaves. If you see yellow halos surrounding the spots, it often indicates worsening conditions, so take action immediately.
If the problem persists despite your treatment efforts, elevate your approach by applying a suitable fungicide labeled for leaf spot diseases, especially during wet conditions. Additionally, if symptoms worsen and new leaf spots appear quickly, reassess your spacing or drainage to ensure adequate air circulation and moisture control.
Observing the foliage closely will allow you to identify changes in the condition of your plants and improve recovery chances. Healthy leaves will appear vibrant and firm, devoid of any discoloration, while any returning spots should be addressed immediately through trimming and corrective action. Regular monitoring not only keeps potential issues in check but also ensures that your plants remain free from diseases as they adapt to their recovering environment. Scheduling regular checks on the same day each week can help maintain consistency in your monitoring efforts.
If you start observing signs of new spots despite following the recovery steps, reassess your watering practices and drainage options. Often, infestations can become overlooked, or inadequate conditions persist where adjustments were made. If conditions do not improve after a week of monitoring, consulting a gardening professional may be warranted to explore the issue further. Recognizing early warning signs will enable you to tackle any issues quickly, protecting the overall health of your plants.
FAQ
How long does it take for hollyhocks to recover from leaf spots?
Recovery can vary depending on the severity of the leaf spots and the actions taken. Generally, if proper care is applied, you can expect to see improvements within two to four weeks as new growth emerges and previously affected foliage is managed. However, if new symptoms appear within the first two weeks, immediate intervention may be necessary.
Can leaf spots spread to other plants in the garden?
Yes, leaf spots can spread to other plants, especially during rainy or humid conditions when spores from fungal infections are easily dispersed. It’s essential to monitor all plants nearby closely and take preventive measures, such as improving air circulation between them. Regularly cleaning fallen debris around the base of plants also discourages pathogen persistence.
Should I remove all affected leaves immediately?
While it’s recommended to remove heavily infected leaves to prevent spreading, avoid excessive trimming that could stress the plant further. Focus first on trimming visibly affected areas, and then monitor the plant for further issues before deciding on the next steps. If the plant appears to be greatly stressed after pruning, you may want to hold off on further leaf removal for at least a week.