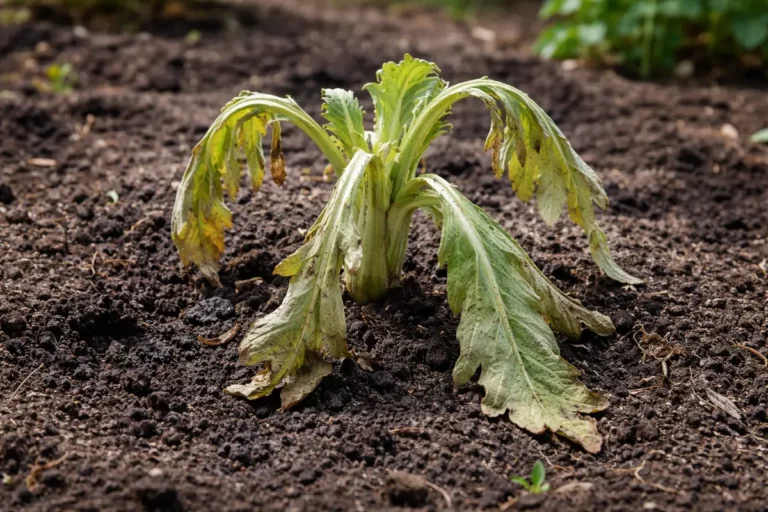
You may notice your petunias struggling with vibrant color and vitality during summer when they start to develop yellowing leaves, which is why you need to know, “Why do my petunias have yellowing leaves after transplant.” This yellowing, often a sign of stress, can indicate nutrient deficiencies or overwatering, leading to wilting and overall damage. If ignored, the issue can worsen and weakens the plant, but fixing it is possible now; just check the soil moisture and adjust your watering schedule accordingly.
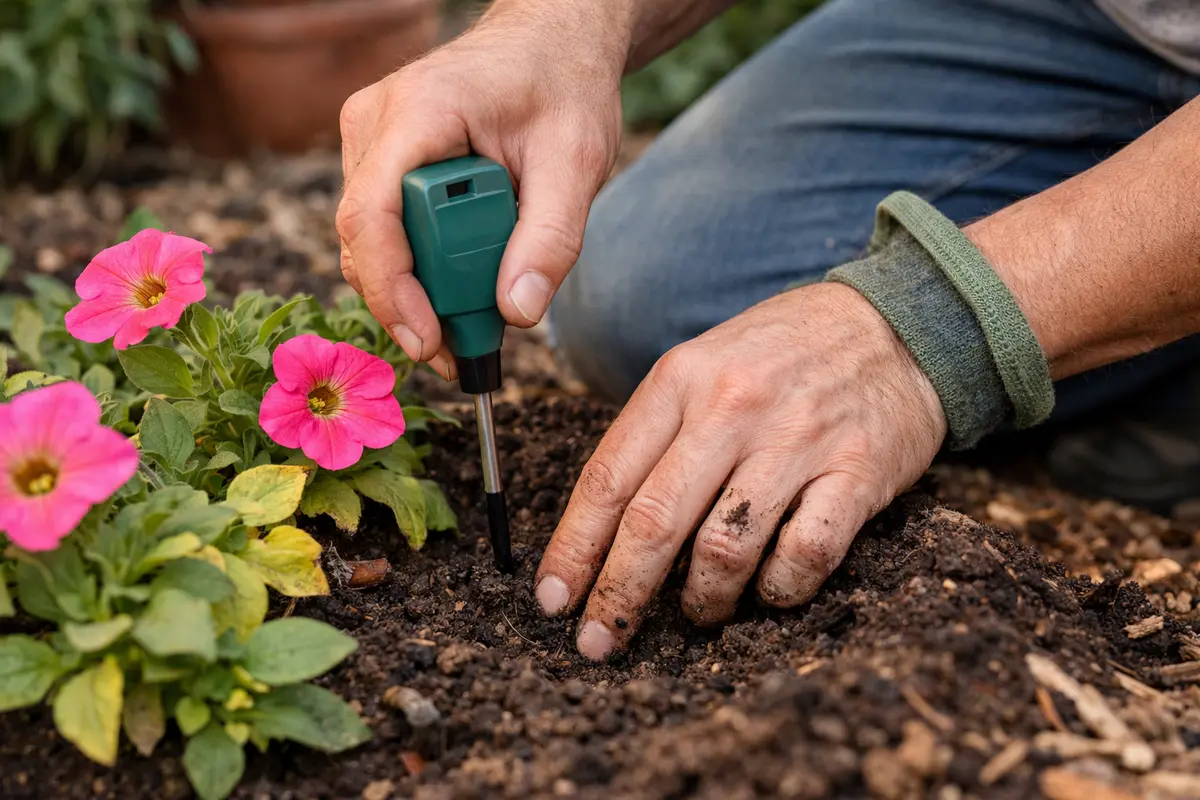
Step 1 – Check Petunia Soil Moisture Levels
First, move your petunias to a location with better airflow and increased light exposure. You should notice the yellowing leaves beginning to stabilize and any further discoloration slowing down within a few days.
Acting quickly is crucial because yellowing leaves indicate stress, often due to inadequate light or poor air circulation after transplanting. If you delay, the plant may struggle to absorb nutrients effectively, leading to more extensive damage and potentially stunted growth. Healthy petunias thrive in bright light and well-aerated spaces; without these conditions promptly addressed, they may decline further.
For example, a gardener once relocated their petunias without ensuring proper spacing, resulting in widespread leaf yellowing. By quickly adjusting their layout to allow better airflow, the plants recovered remarkably. If you notice more yellowing after changing their spot, check for any nearby plants that may be overcrowding them.
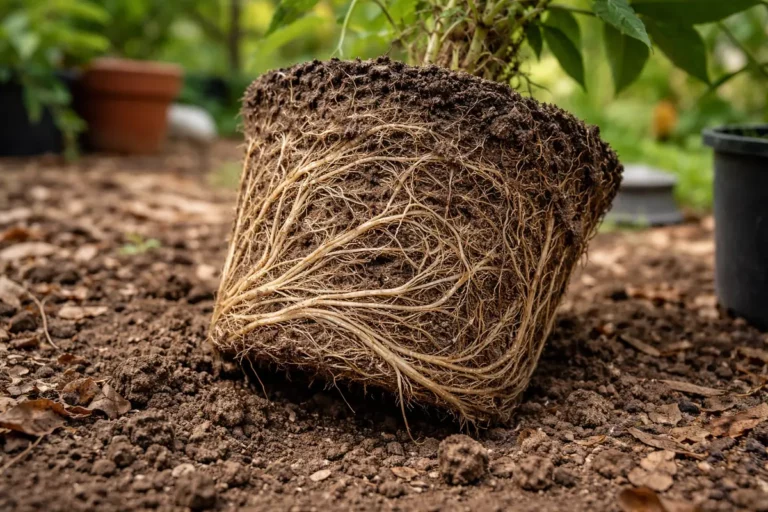
Proper watering helps prevent transplant shock by ensuring that the roots have the necessary hydration to support the plant while it adjusts to its new environment. During the first couple of weeks post-transplant, petunias can react negatively to dryness, which can result in stunted growth. If you fail to maintain adequate moisture, the leaves can become pale and droop, which may worsen over time; typically, they also exhibit a curled appearance if they’re severely dehydrated. Watch for wilting that does not improve with watering; this can be a sign of root distress or even early signs of root rot if not addressed quickly. If roots are mushy or fall apart when you gently tug on the base of the plant, it may indicate serious root degradation.
A common pitfall is over-watering, which often leads to root rot, especially in poorly draining soils or containers. If you notice a sour smell coming from the soil or if the soil feels soggy, that’s an indication you’re watering too frequently or that the drainage may be inadequate. Adjust your watering schedule according to the soil moisture; ideally, water only when the top inch dries out, as a consistent schedule can help your petunias acclimate better. If the yellowing persists despite proper watering, it may indicate a deeper problem with nutrient availability or root health, necessitating further examination. An effective approach includes checking for drainage issues; for example, if the pot has no drainage holes or the garden bed is compacted, consider repotting or adding organic matter to improve drainage. If using garden beds, ensure they are raised slightly to allow excess water to run off more easily. Additionally, if you’re growing in containers, it’s wise to lift them occasionally to check for excess moisture accumulation at the bottom.
Step 2 – Identify Nutrient Deficiency in Petunias
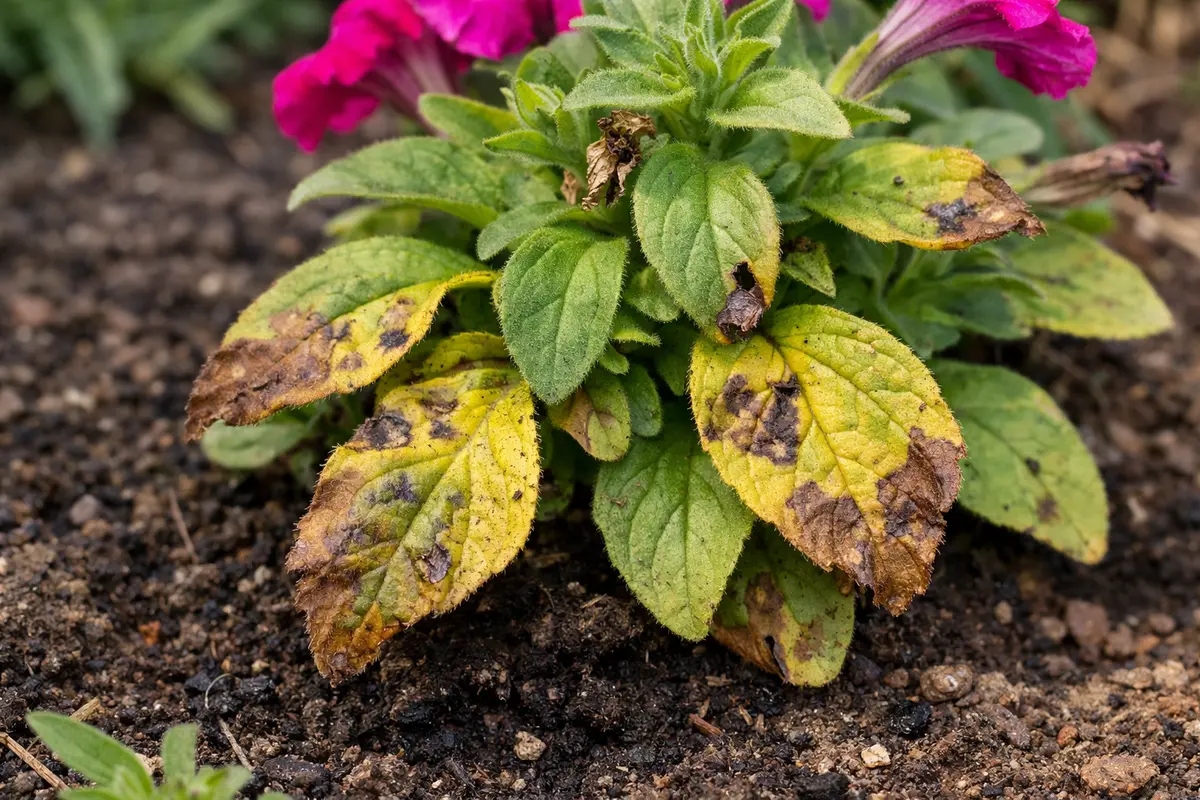
Next, examine the color of the leaves to identify any potential nutrient deficiencies. If the yellowing is primarily affecting older leaves while new growth remains healthy, it may indicate a nitrogen deficiency. To confirm this issue, taking sample soil tests can provide clarity on nutrient levels in your garden. Collect samples from different areas around the root zone to ensure you’re getting an accurate representation, as nutrient distribution is often uneven. When sampling, make several small slits around the root area to get a complete picture of the root’s access to nutrients; a deficiency can vary significantly even between nearby plants. If surface samples seem overly compacted, consider digging down deeper to gather a sample that represents the root zone more accurately.
Nitrogen is an essential macro-nutrient needed for the synthesis of chlorophyll, which gives leaves their green color. Without enough nitrogen, petunias can’t produce sufficient chlorophyll, leading to yellowing leaves. If you observe a general yellowing across the entire plant, it may point to a broader systemic deficiency, potentially involving phosphorus or potassium imbalance, which requires additional amendments. In situations where the soil test shows low nitrogen but the pH is normal, consider that the roots might be struggling to absorb available nutrients due to poor soil structure. Poor soil can lead to nutrient lockup, causing root systems to fail in utilizing available resources. This situation often appears if the soil feels compacted or hard, indicating a need for aeration. If your petunias are in a rocky or clay-based soil, they may struggle even more and require greater amendments to enhance nutrient availability.
If the soil test reveals a neutral pH but you are still facing this yellowing issue, it could suggest that the nutrients are present but remain unavailable due to compacted soil or excessive acidity. In this case, consider aerating or enriching the soil with organic matter such as compost to improve drainage and enhance nutrient availability. Be mindful, however, as applying too much compost can alter the soil structure negatively and may result in water retention issues that compound the existing problem. A balanced approach with organic matter can be beneficial, adding nutrients without overwhelming the roots, along with considering mycorrhizal inoculation to help improve nutrient uptake for the plants. Check the soil texture: if it feels like clay, improving drainage is essential, whereas sandy soil may require more frequent watering. Frequent light watering might be needed to prevent quick-draining sandy soils from drying out.
Step 3 – Fertilize Petunias to Restore Leaf Color

Apply a balanced fertilizer rich in nitrogen to your petunias to revive their leaf color. Look for a liquid fertilizer that contains a ratio of 3:1:2 (N-P-K), which promotes leaf growth. After application, you should see visible improvements within about five to seven days, with new growth exhibiting a more vibrant green tone. Timing is essential; fertilizing during the early morning or late afternoon when the temperatures are cooler minimizes the risk of nutrient burn, especially for young plants. Additionally, diluting the fertilizer to half-strength initially may be prudent, especially for newly transplanted petunias still acclimating to their new environment. For example, if applying a fertilizer concentrate, you might mix 1 tablespoon of fertilizer with 1 gallon of water to find the right balance. If you apply it at full strength instead, your plants could experience rapid green growth that exhausts their energy reserves, leading to further issues.
The application of fertilizer works by supplying the macro-nutrients necessary for plant recovery post-transplant. Nutrients in the soil may become depleted during the process of transplanting, and adding fertilizer replenishes them quickly. You may expect new, darker green leaves to emerge within a week, signaling that the plant is bouncing back from its initial shock. If you notice the previous yellowing returning after a week, this may indicate a need for a different nutrient profile, or the possibility of another underlying issue such as root damage or ongoing environmental stress. If you suspect new growth appearing pale, the plants may need additional micro-nutrients like iron or magnesium.
A common mistake during this process is over-fertilizing, which can lead to leaf burn, particularly on younger plants. Stick to the recommended rates on any fertilizer product, and monitor your plants closely. If the foliage begins to curl or develop brown edges, reduce the frequency of applications or further dilute your fertilizer to lower the concentration. Additionally, be cautious with certain types of slow-release fertilizers; they can become concentrated if there is insufficient moisture in the soil, leading to an overflow of nutrients that can stress your plants. Right after applying fertilizer, you might notice a quick surge in growth, but always check for signs of too much nitrogen, like leggy plants with excessive leaf growth at the expense of flowers. If you see that the blossoms are not forming and the plant is becoming increasingly leafy, reevaluate your fertilization routine. Always observe plant responses closely after fertilizing to adjust care as needed and avoid compounding the original problem.
Step 4 – Look for Leaf Curling After Healing
Check your petunias regularly over the next week to monitor their recovery. You should see signs of improvement, such as upright leaves and new growth on healthy plants within about seven days. As a practical check-in, inspect the condition of the leaves—healthy petunias should display vibrant green foliage without curling or wilting. If new growth continues to show curling, this may indicate environmental stress, such as extreme temperatures or inadequate humidity, or potential pest issues that require further investigation. If you observe that the leaves have resumed curling or browning, especially toward the edges, assess your watering and light exposure closely. If plants are in direct sunlight during the hottest part of the day, consider shading options.
A fully recovered petunia will show firm, green foliage free from pronounced yellowing or curling at the leaf edges. Over time, you should expect a reduction in symptoms that indicate stress, meaning that the plants are successfully adapting to their new environment. If the yellowing persists or if leaf curling appears, this may signal that another issue has arisen—often, a sign of stress may require adjusting light exposure or checking for nutrient imbalances. Monitor closely for temperature extremes—if nights are cold or days are excessively hot, consider relocating your plants to a shadier area to help with the adjustment. If the conditions seem overall favorable but symptoms persist, check for insect presence as they can affect the plant’s ability to recover.
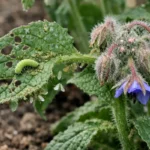
If your symptoms worsen despite implementing these steps, it might be time to reassess your plant’s overall conditions. Factors such as light exposure, soil pH, and even temperature fluctuations can cause ongoing stress. Consulting local gardening experts about persistent issues with your petunias may provide insights; sometimes, nuanced care adjustments, such as increasing shade during hot spells or varying your fertilizer regime, can yield significant improvements. Additionally, inspecting the undersides of the leaves for insect infestations is critical, as pests like aphids or spider mites can contribute to leaf curling and overall stress symptoms. If you find pests, applying a light insecticidal soap at a mild concentration can help manage them without causing undue stress to the plant.
FAQ
How long does it take for petunias to recover from yellowing leaves?
Recovery timing can vary based on environmental conditions, but typically, petunias show improvement within a week of proper care interventions. With adequate watering and nutrient adjustments, you’ll likely see new green growth indicating recovery in 5 to 7 days. However, full regeneration and flower productivity may take longer, depending on the severity of the initial stress and the care provided. Check the leaf texture as a measure; healthy leaves will feel firm and look glossy, in contrast to yellow leaves that typically appear wilted and limp.
Will petunias recover if I prune the yellowed leaves?
Yes, pruning yellowed or dead leaves can help stimulate new growth and improve the plant’s overall appearance. After trimming, ensure that the plants receive proper fertilization and water encouragement, which will aid recovery and encourage healthier foliage to emerge. It’s beneficial to use clean, sharp tools to avoid any additional stress or injury to the plant during this process, as ragged cuts may introduce pathogens. Be mindful not to remove more than one-third of the foliage during any single pruning session to minimize shock. If leaves have already started to yellow but are not entirely dead, make precise cuts just above the nearest healthy leaf node to promote the growth of new shoots.
Can yellowing leaves spread to other plants nearby?
If the yellowing is due to a pest issue or plant disease, it can potentially spread to neighboring plants. It’s essential to identify the underlying cause of the yellowing and treat it promptly to avoid affecting overall garden health. Isolating affected plants or treating them with appropriate pesticides or organic methods can help prevent an outbreak; ensuring you monitor nearby plants for any similar symptoms enables you to catch problems early. Additionally, it may be prudent to change your watering practices to avoid transferring pathogens through shared sources. If you suspect a systemic issue affecting nearby plants, consult with a local horticulturist or plant pathologist to ensure effective treatment methods.