You may notice your sweet potato plants showing signs of distress when their leaves start turning yellow in spring, which is why you need to know what to do when sweet potato leaves become yellow in spring. This yellowing is often a sign of nutrient deficiency or overwatering, leading to wilting and poor growth in your plants. If left unchecked, the situation can worsen, weakening the plant and leading to more damage down the line, but addressing it now can easily be managed by checking the soil moisture and adjusting your fertilization. By taking action to monitor and improve the growing conditions, you can restore your sweet potatoes to their healthy state.
Step 1 – Inspect Sweet Potato Leaves for Stress Signs
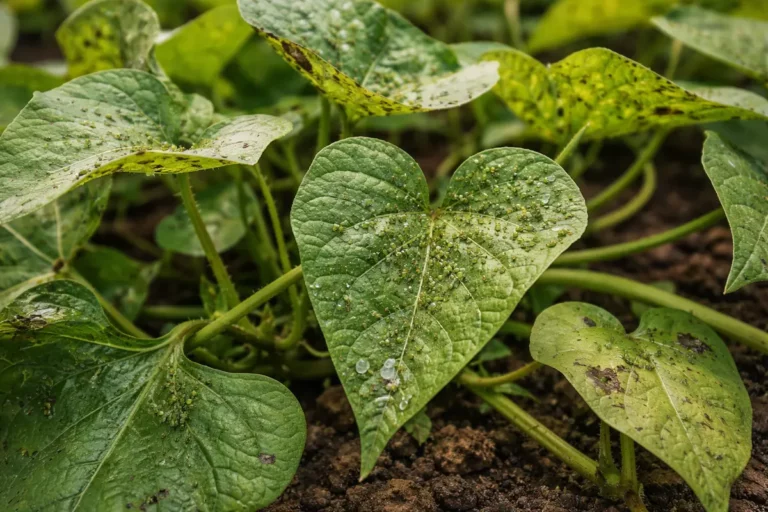
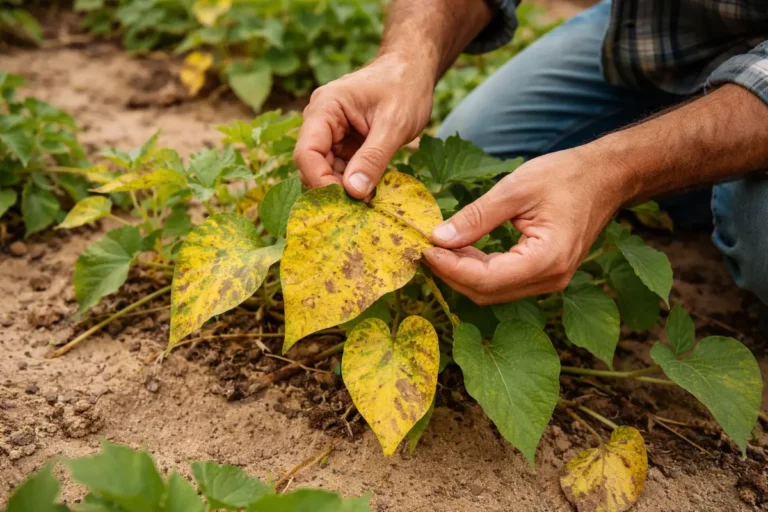
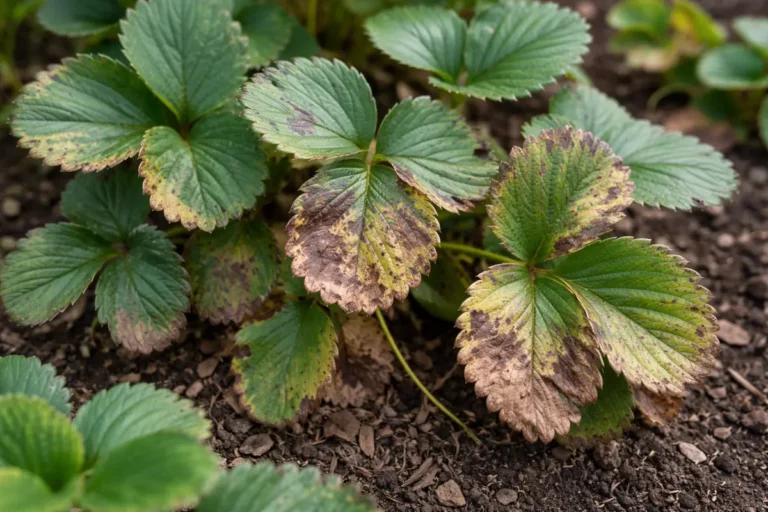
Begin by inspecting the sweet potato leaves closely for discoloration and texture changes. You should see distinct yellowing on certain leaves, which can indicate stress levels. This critical inspection helps identify the problem before it worsens. Look for leaves that are not only yellow but also show signs of wilting or curling; these symptoms can provide insights into whether the issue is due to overwatering or heat stress. If multiple leaves are affected, take this as a sign that the plant is experiencing systemic stress related to its growing conditions.
Acting quickly is essential because sweet potatoes, especially during the growing season, are highly dependent on their foliage for photosynthesis. Yellowing leaves can signal underlying issues such as root rot, often exacerbated by standing water. Delaying intervention can lead to further damage as the roots may become compromised. When you notice wilting or drooping foliage, check soil moisture by probing an inch deep; if it feels overly wet, the roots may be suffocating from lack of oxygen. In contrast, dry, crispy edges often point to underwatering, which requires a change in your watering regimen.
A common mistake at this stage is to ignore subtle signs of stress and hope for improvement. For instance, a gardener might wait for a few days before addressing visible yellowing, which can lead to irreversible harm, such as wilting or decay of the plant’s root system. Early action is crucial for fostering recovery. If initial yellowing persists without improvement after a few days, consider that the plant may require nutritional intervention or drainage modification. At this point, if wilted leaves don’t firm up within 48 hours after adjusting watering or drainage, re-evaluate the environmental conditions the plant is growing in.
Step 2 – Diagnose Nutrient Deficiency in Sweet Potato Plant
Check the soil for nutrient levels and deficiencies, particularly nitrogen, which is vital for healthy leaf growth. You will notice if the soil is lacking essential nutrients through poor leaf color and development. Conducting a soil test is a straightforward way to assess your mixture’s nutrient content. A simple soil test kit can be used, which typically provides results within a few hours; alternatively, a local agricultural extension office can perform a more comprehensive analysis, often yielding more detailed mineral content breakdowns.
Nutrient deficiencies can lead to yellowing because the plant lacks the vital components required for chlorophyll production, which keeps the leaves green and healthy. If the soil test results indicate a significant nitrogen deficiency, you may notice that the earliest leaves are affected first, showing a classic yellowing while leaves higher up remain green. Amending the soil with a nitrogen-rich fertilizer, such as fish emulsion or compost high in green materials, can often yield noticeable improvements in as little as a week. This application should be followed with consistent moisture to help the nutrients reach the root zone.
If the soil feels overly compact and lacks drainage, consider testing for excess water or choosing a different planting medium that allows roots to breathe. For example, if the soil retains too much moisture—a common issue during heavy rainfall—you might find the roots are not only suffering from nutrient deficiency, but also from potential root rot. Identifying and correcting nutrient issues is key to ensuring your sweet potatoes thrive and produce a bountiful harvest. A common error gardeners make is overlooking this step; they often rely solely on watering without recognizing that poor soil health directly influences root vitality.
Step 3 – Fertilize Sweet Potato to Encourage Green Growth

Apply a balanced fertilizer, high in nitrogen, to the base of the sweet potato plant. You will likely see visible signs of improvement within a week, as healthy green growth begins to emerge. This action is essential in rejuvenating the plant’s vitality. When applying fertilizer, be sure to follow label instructions regarding the amount; overdoing it can overwhelm the plant and cause nutrient burn, evident through further yellowing or browning of leaf tips. If more than a light green color starts to appear on the leaves, a reduction in fertilizer may be necessary to prevent nutrient overload.
Giving the plants a nutrient boost facilitates recovery as the available nitrogen supports the production of new foliage, contributing to the overall health. After a few days, you should observe dark green shoots starting to break through above the yellowing leaves, indicating the plant is regaining strength. Ensure that you space fertilization every four to six weeks during the active growing season to nourish the plants continually. Adequate fertilization is crucial before the plants face other potential spring stresses. Remember that different growth stages may require varying nutrient compositions – young plants may benefit from fertilizer higher in nitrogen, while mature plants may need phosphorus or potassium to support tuber development.
However, avoid over-fertilizing, as this can lead to excessive leaf growth at the expense of tuber formation. For instance, gardeners may mistakenly believe that more fertilizer equals better growth, which may stress the plants further and lead to nutrient burn. If leaves continue to yellow despite fertilization, verify the balance of nutrients applied. If growth does not commence after applying additional fertilizers, consider flushing the area with water using a gentle stream to help mitigate nutrient salt buildup that can inhibit growth.
Step 4 – Water Sweet Potatoes Consistently During Spring
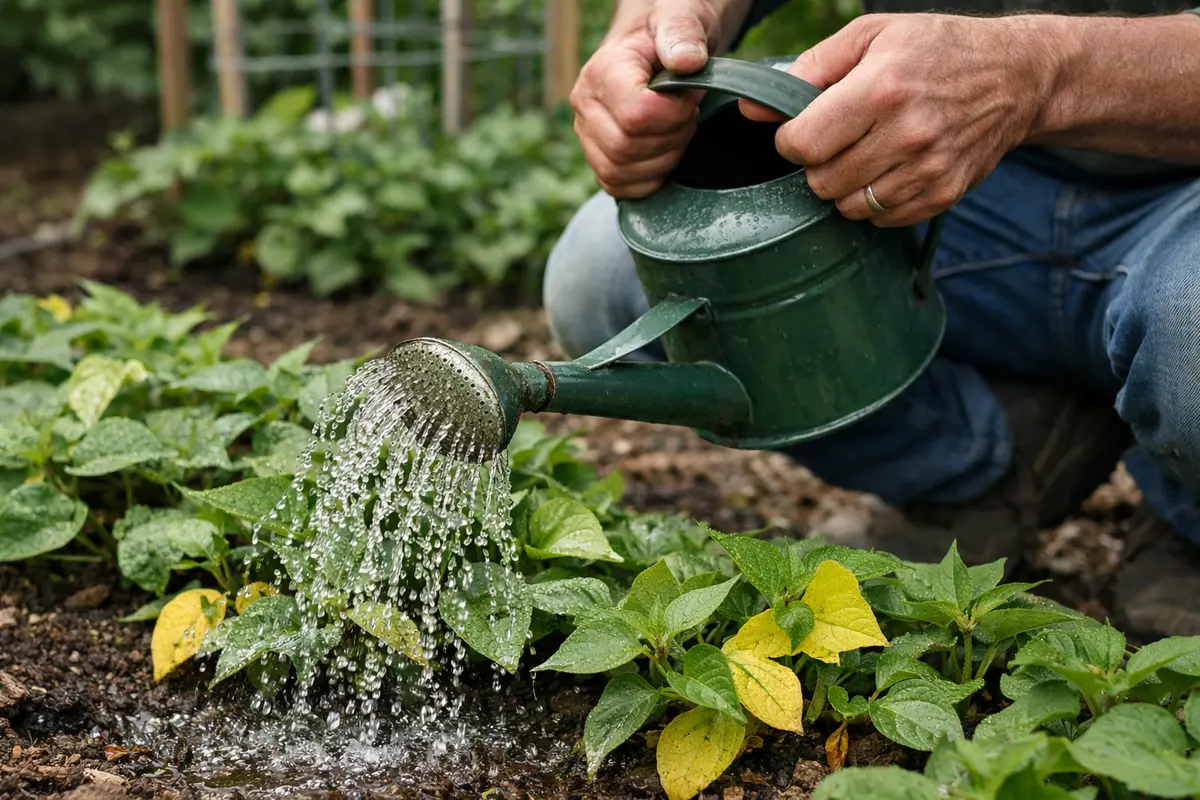
Start by ensuring your sweet potato plants receive consistent watering, avoiding both drought stress and waterlogging. You should see improvement in leaf color as they respond to balanced moisture levels.
Yellow leaves often indicate stress linked to uneven moisture; when the plants are too dry, they show symptoms like wilting and yellowing. A thorough watering routine will help maintain the soil’s moisture balance, reducing stress on the plants. If you notice yellowing despite adequate watering, check for root rot from overly saturated soil.
In the spring, adapt your watering frequency based on weather conditions; for instance, increase watering if temperatures rise unexpectedly. Additionally, applying a mulch layer can help retain soil moisture during drier spells, offering another shield against stress-related yellowing.
Sweet potatoes thrive in well-draining soil that retains some moisture yet allows excess water to escape. If the soil stays too wet for extended periods, it can drown the plant’s roots, leading to yellowing leaves and poor growth. Monitor any changes in weather conditions; for example, if hot days are followed by heavy rain, adjusting your watering practices may be necessary to guard against root rot. The right balance fosters optimal conditions for your sweet potatoes to flourish. Consider using mulch to help retain moisture and stabilize soil temperatures, but ensure it does not compact soil around the roots; otherwise, moisture retention might be compromised, leading to other issues.
As weather patterns fluctuate, such as in hot days followed by rainy spells, adjusting your watering schedule may become necessary. If the temperatures rise unexpectedly, you may need to increase the frequency of watering to compensate for the evaporation from the soil and keep your plants hydrated and healthy. Conversely, during periods of cooler, rainy weather, reduce watering to prevent root rot by ensuring moisture balance. Regular adjustments can significantly affect plant health, as sweet potatoes are unforgiving of water stress, both too much and too little. Seeing wilting leaves return to a strong position within a week after adjusting watering can serve as a good indication that your sweet potatoes are thriving again.
Step 5 – Check Sweet Potato Leaves for Yellowing Patterns Weekly
Start by monitoring your sweet potato leaves every few days. Look for signs of recovery such as green, vibrant leaves regaining their color. Recheck the condition weekly to accurately assess progress and to catch any returning yellowing early.
A well-recovered plant boasts lush, deep green leaves that are firm to the touch, contrasting with the initial pale, droopy, or wilted leaves signaling distress. If the problem returns, yellowing leaves might appear soft and shriveled, indicating a deeper issue that needs addressing. If you see leaves curling in addition to yellowing, check the soil moisture levels for overwatering or underwatering.
If yellowing persists despite following the prior steps, consider reinforcing your soil with balanced fertilizer to boost nutrients. Additionally, if leaves continue to deteriorate, get your soil pH tested or consult a local gardening expert for further diagnosis and tailored solutions.
During inspections, look for signs that differentiate between a healthy and recovering plant. For instance, if you observe a consistent return of vibrant green leaves, this means that the plant is recovering from nutrient deficiencies and excessive moisture issues. Conversely, any return of yellowing could signal ongoing deficiencies or stressors that are yet to be resolved. Keeping a gardening log can help track these weekly observations and provide insights into changes, enabling more informed decision-making as you care for your plants.
Should yellowing reappear despite your efforts, consider re-evaluating your watering practices or seeking additional soil testing for nutrient analysis. If the yellowing continues after amendments and consistent care, the issue may require professional assistance, especially if pest infestations or diseases are suspected. Early intervention can make a substantial difference, as a proactive approach drastically reduces the risk of adverse effects on your sweet potato plants. If you have issues, continuing to monitor plants over two additional weeks before seeking help can give adequate time for root adjustments to take effect.
FAQ
How long does it take for sweet potatoes to recover from yellowing leaves?
Recovery can take anywhere from one to three weeks depending on the underlying issue being resolved. Fertilization and proper watering can accelerate the recovery process, helping the plants to regain their healthy appearance faster. Notably, if the problem is rooted in poor drainage, resolving the issue may take longer, as it often requires restoring root health through improved soil conditions and consistent moisture management.
Can yellowing leaves spread to other plants?
While yellowing leaves themselves may not directly spread, the underlying issues such as soil pathogens or pests can affect nearby plants. Maintaining clean gardening practices and isolating afflicted plants can help mitigate potential issues. If multiple plants are showing similar symptoms, this could indicate a common, treatable problem related to environmental conditions or systemic diseases, necessitating a thorough inspection of nearby plants for a more accurate diagnosis.
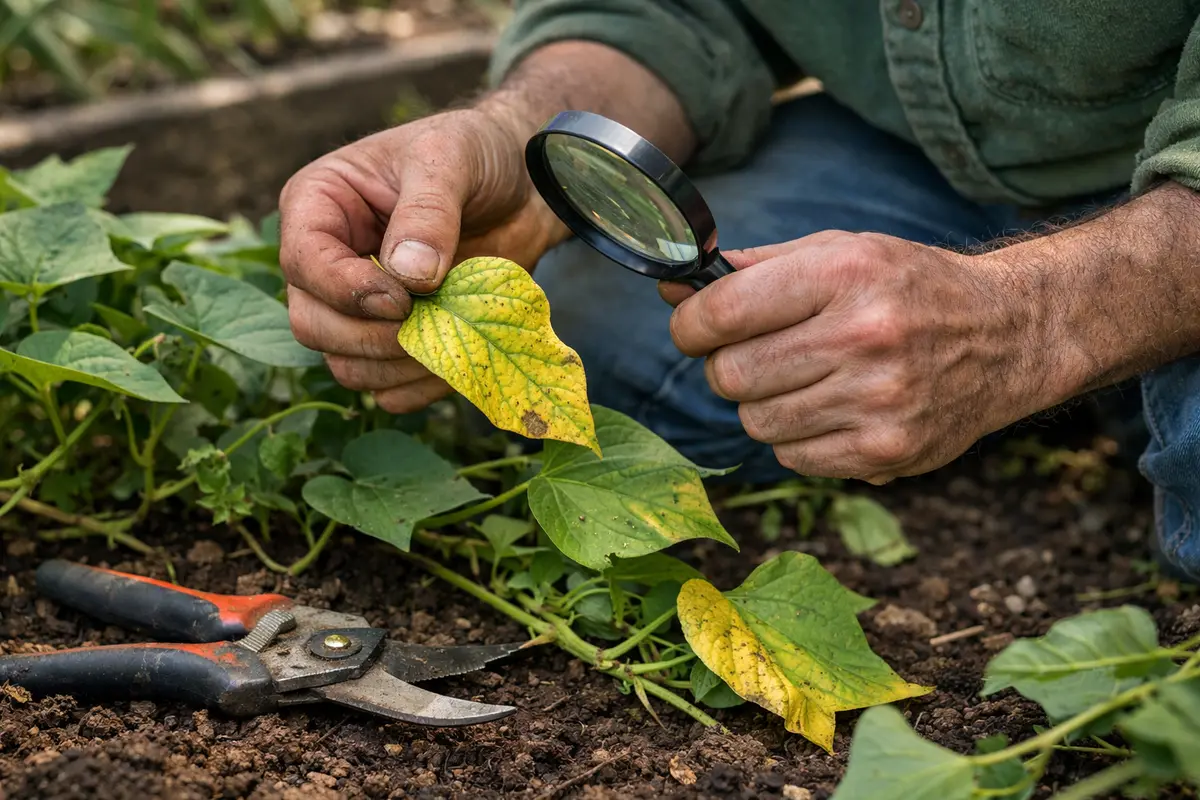
Should I remove the yellow leaves from my sweet potato plant?
Yes, it is advisable to prune away yellow or dead leaves to improve air circulation and encourage healthier growth. Removing these leaves also allows the plant to redirect energy towards new growth and tuber development. Be careful, however, as cutting back too aggressively could shock the plant; focus on the most affected leaves first, making cuts just above healthy foliage so as not to stress the plant further. You may also consider sterilizing your pruning tools before each cut to prevent the introduction of pathogens.