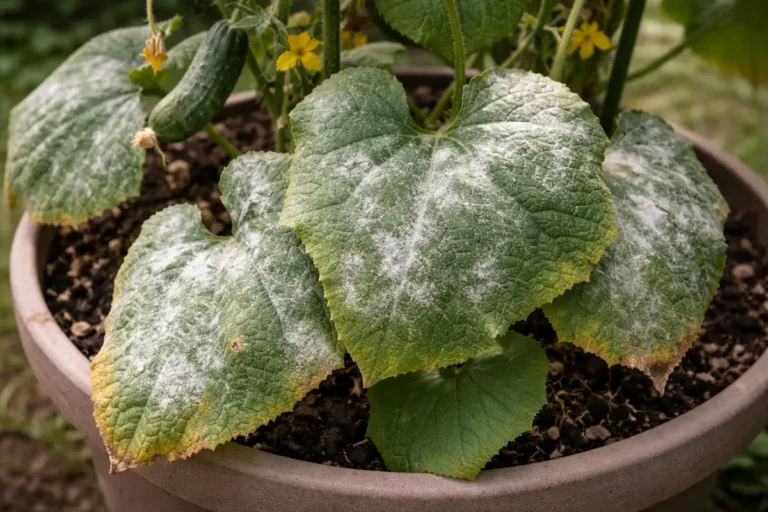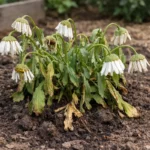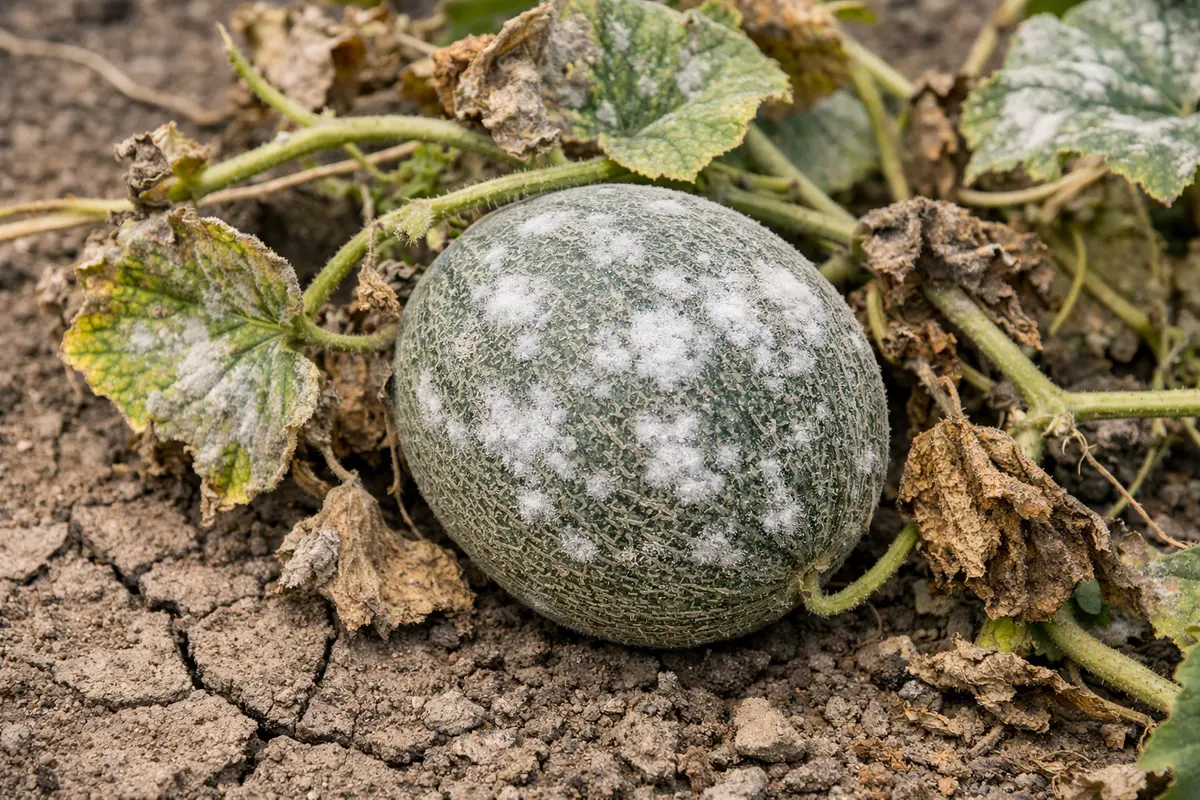
You may notice fuzzy white patches on your cantaloupe leaves during hot, humid weather, which is why you need to know how to stop mildew on cantaloupe after high humidity. This fungal growth leads to yellowing, wilting, and can quickly spread if left unchecked. If ignored, the issue gets worse and weakens the plant, making it harder to fix later; however, by taking action now to inspect and trim affected areas, you can restore your plants’ health.
Step 1 – Prune Infected Cantaloupe Leaves ASAP
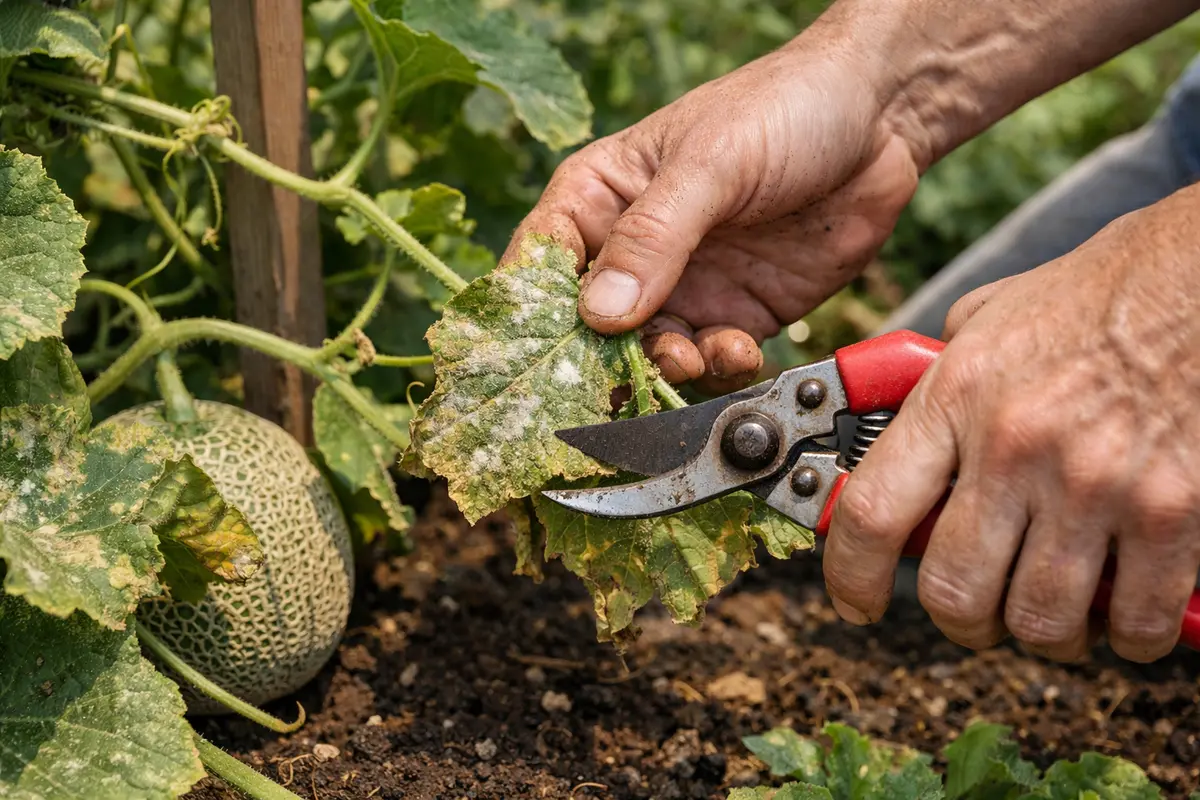
Begin by removing any visibly infected leaves from your cantaloupe plants immediately. You will notice a halt in the spread of mildew within a few days as less infected foliage remains for the fungus to thrive on. To effectively prune, ensure you have sharp, clean scissors or pruners ready; disinfecting them with rubbing alcohol before use helps prevent further contamination.
Mildew spreads quickly when exposed to continued moisture, making it essential to act fast. By pruning affected leaves, you reduce the fungal spores present in your garden, limiting further infestations. Additionally, pruning enhances air circulation around the remaining leaves, helping them dry faster and preventing additional mildew growth. Focus on larger, heavily infected leaves first, as these contribute the most spores. Improper disposal can lead to recontamination; sealing pruned leaves in a plastic bag before throwing them away or burning them if local regulations permit is crucial to minimize spores in your garden.
Many gardeners overlook this first step, hoping the mildew will resolve on its own. Waiting too long often results in a larger outbreak, compromising the entire crop. Always remember: the earlier you prune the infected sections, the better your chances of saving the entire plant. Conduct routine checks after rainfall or on days with high humidity; during these times, moisture can foster rapid mildew growth, making careful monitoring essential. In extreme humidity, inspect daily, especially after consecutive cloudy days. Observe the condition of the remaining foliage closely, as some leaves may show subtle signs of underlying stress or mildew before it becomes obvious.
Step 2 – Diagnose High Humidity Effects on Cantaloupe
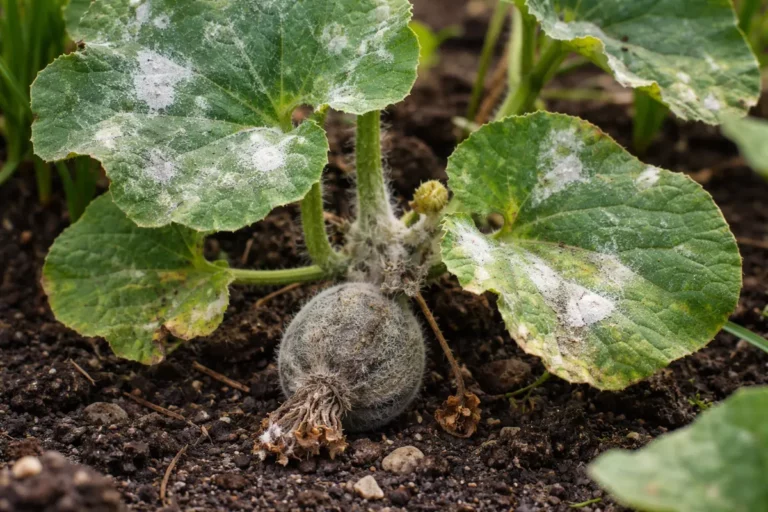
First, clear away any affected leaves and debris around the base of your cantaloupe plants to improve airflow and reduce moisture. This action will help prevent mildew from spreading further, leading to drier leaves and healthier plants within a few days. Visual inspections reveal not just leaf condition but also soil health, which is a useful indicator.
Mildew thrives in conditions with high humidity, as the excess moisture creates an ideal environment for fungal growth on your cantaloupe. When soil is consistently damp, it can lead to poor root oxygenation, stressing the plant and making it more susceptible to diseases like mildew. If you see that the soil is soggy, wait before watering again and allow it to dry out; also check whether your plants are getting sufficient sunlight, which helps in drying off the leaves faster. Good drainage is critical; ensure that your plants are in well-drained soil, which promotes healthier growth and fewer moisture-related problems. Check soil moisture by feeling the top inch — if it’s still damp, don’t water yet.
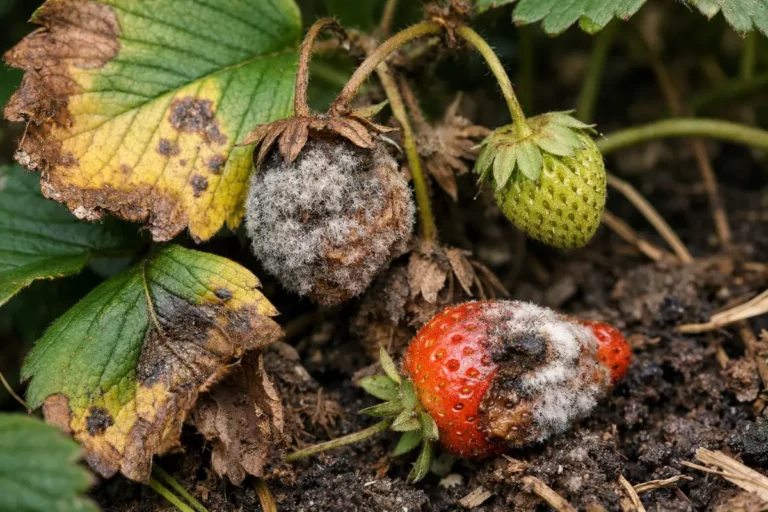
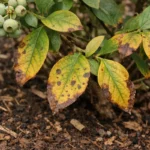
If you notice a sour smell from the soil, this could indicate root rot rather than mildew, suggesting potential drainage issues. If yellowing leaves appear without visible mildew, it may signal nutrient deficiency and require a balanced fertilizer. Additionally, symptoms such as wilting or brown edges could indicate dehydration rather than mildew; it’s vital to check both moisture levels and signs of stress thoroughly. While monitoring, note any unusual odors, as they can point towards deeper issues with plant health. If you detect persistent moisture or an unpleasant smell, enhance drainage by amending the soil with organic materials like compost. Test for compact clay layers by digging a small hole; if water lingers, it signals poor drainage. Implement amendments such as compost to improve the soil’s drainage capacity.
Step 3 – Treat Cantaloupe with Fungicide for Recovery
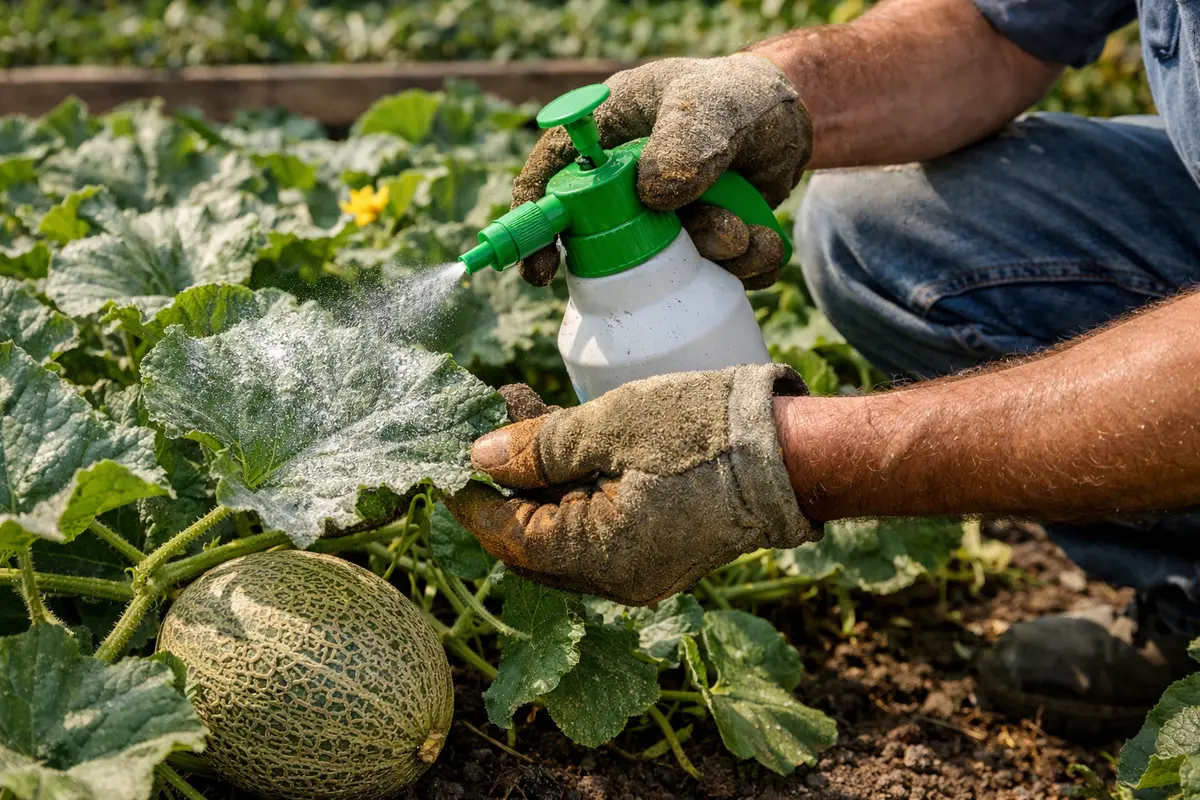
Apply a suitable fungicide to your cantaloupe plants after pruning infected sections. You can expect to see healthier leaves emerging within a week, indicating the treatment is taking effect. Ideally, look for fungicide products containing chlorothalonil or similar active ingredients specifically targeting fungal pathogens. Carefully follow the manufacturer’s instructions for application rates and timing to achieve optimal results; misapplication can lead to reduced efficacy. It’s helpful to familiarize yourself with the treatment concentration to ensure you’re applying the right dosage that effectively combats the mildew without harming the plant.
This treatment specifically targets the fungal spores remaining on the plant after pruning. Fungicides act by either inhibiting fungal growth or killing the spores directly, facilitating plant recovery. For best results, apply fungicides in the morning when the plants are dry to avoid wash-off and allow effective adhesion; factors such as wind speed must be considered, as it can carry spores as well as the product itself. Ensure to spray the underside of leaves, which are often hidden areas where mildew thrives, providing a thorough coverage critical for controlling the spread. Reapply fungicides as instructed; skipping applications can lead to resurgence and reinfection of mildew. Inspect nearby plants carefully for any mildew signs, as they may harbor spores that could migrate to your treated cantaloupe.
A common mistake during recovery is overwatering to “help” the plants. This can create a persistently damp environment that fungal spores thrive in. If conditions remain moist despite treatment, fungal growth may resume even with fungicide applied. Monitor not only soil pH levels but also moisture; excessive acidity or consistent wetness may hinder the fungicide’s effectiveness. Should problems persist a week after treatment, consult a local agricultural extension office for tailored advice; they can offer recommendations based on local climate factors influencing mildew growth cycles. Familiarizing yourself with your local environment can provide insight into how other gardeners manage similar issues effectively.
Step 4 – Reduce Watering Frequency to Prevent Mildew

Stop watering your cantaloupe plants too frequently to prevent mildew recurrence. You will see a reduction in dampness around the base of the plants and improvement in overall health as the leaves begin to dry properly. Water your plants only when the top inch of the soil is dry, usually requiring checks twice weekly during active growth; inserting your finger into the soil can help gauge moisture. If the soil feels cool and damp, defer watering for another day or two. This method enhances your ability to observe environmental conditions affecting soil moisture, allowing accurate adjustments.
Overwatering directly contributes to persistent mildew, as waterlogged soil leads to high humidity levels around the plant base. By reducing watering frequency, the soil gets time to dry out, denying mildew the moisture it needs to thrive. Aim for approximately 1 to 1.5 inches of water per week through deep yet infrequent watering, which allows the roots to absorb moisture while encouraging air exchange in the upper soil layers. Your monitoring practices will help you detect any signs of water stress or oversaturation quickly, allowing timely adjustments.
In hotter months or after periods of excess rain, adjust your watering frequency and monitor moisture levels closely. If your garden typically faces increased humidity, consider incorporating mulch to retain moisture while keeping the upper soil layer drier to combat mildew. However, be cautious; an overly thick mulch layer can trap moisture and lead to potential problems if unmanaged. It’s advisable to keep mulch between 2 to 3 inches thick; if you see it clumping or suffocating plant bases, scrape back some to improve air circulation. Balancing moisture retention and drainage is vital, so remain aware of lingering dampness and how your mulch management affects air flow around the plants.
Step 5 – Inspect Cantaloupe for New Mildew Growth Weekly
Start by inspecting your cantaloupe plants daily, focusing on the undersides of leaves and the stems for signs of mildew, such as white or gray fungal growth. Look for areas of yellowing or wilting, which indicate possible stress from fungal pressure. Recheck these areas every 2 to 3 days to catch new developments promptly. Your vigilance during this inspection period can significantly reduce further outbreaks, ensuring the overall vitality of your plants.
A fully recovered cantaloupe plant displays vibrant green leaves, firm and healthy fruit, and no signs of discoloration on foliage. If you observe returning yellow patches or fuzzy spots on the leaves, these are clear indicators that mildew may be resurfacing. Should the leaves feel soft or slimy, this suggests active decay and requires immediate attention. Record any changes you notice in the plants; this tracking can help analyze trends and identify links between high humidity periods and mildew reactions over time. In crowded canopies, gardeners sometimes spot rust on peonies after rainy spells.
If mildew recurs despite your established care routine, escalate your measures by applying an organic fungicide specifically labeled for use on cantaloupe. Additionally, remove the most severely affected leaves to promote airflow and decrease humidity levels around the plant. If symptoms persist even after treatment, you may need to remove the plant to prevent further spread within your garden. Keep an eye on weather conditions, as extended rainy or humid periods may increase the chance of recurrence. Following this guidance ensures your entire cantaloupe crop remains robust and healthy.
FAQ
How long does it take for cantaloupe plants to recover from mildew?
Typically, if treated correctly, you can expect to see recovery signs within one to two weeks. New growth on previously affected leaves or reduced signs of fungal lesions indicates improvement. Total recovery can vary depending on environmental conditions, overall plant health, and the severity of the mildew infection — in some cases, it may take longer if the outbreak was extensive or if environmental factors remain unfavorable.
Will mildew spread to other plants near my cantaloupe?
Yes, mildew can easily spread to other plants, especially if they are in close proximity. Therefore, ensuring that you monitor neighboring plants closely for any signs of fungal growth is critical, as healthy plants can become infected quickly. The spores can travel through the air or by contact, making regular checks imperative to maintain the health of your entire garden and avoid widespread problems. If you find mildew on your cantaloupe, extending your inspection to adjacent plants increases your chances of catching infections before they spread.
Should I remove all affected leaves from my cantaloupe plants?
Yes, it is essential to remove all visibly infected leaves promptly. This action prevents the mildew from spreading further, protecting unaffected parts of the plant and maintaining overall health. Be vigilant with your pruning technique; using sharp, sanitized tools will help minimize the risk of introducing additional pathogens to your garden during this critical intervention. If you encounter severe infections, consider destroying the plant to prevent fungal spores from further contaminating your garden.