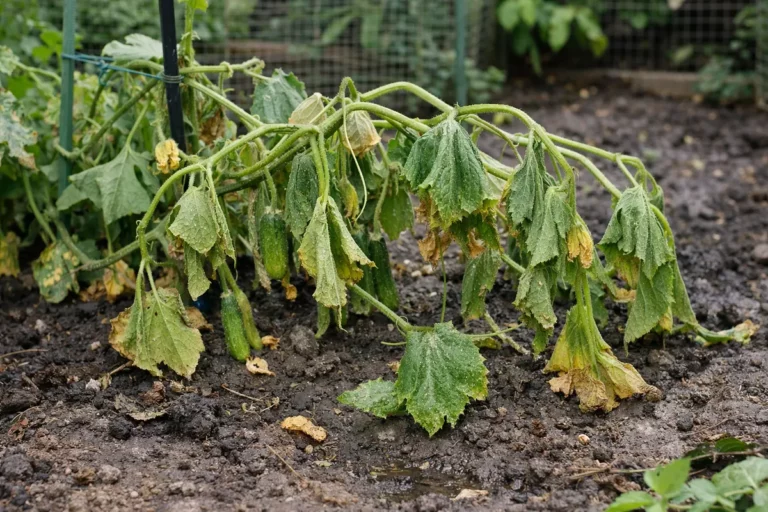
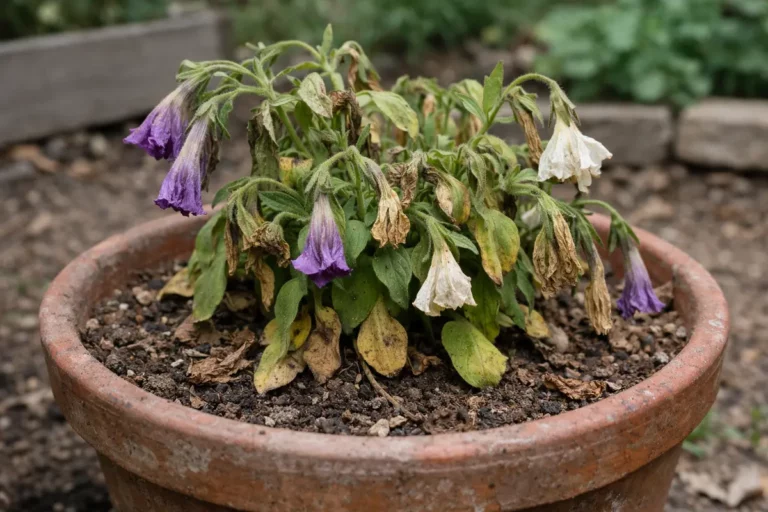
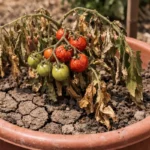
You may notice your spider plants looking sad and limp during the heat of summer, a clear sign that you need to know how to fix drooping spider plants after repotting in summer. This drooping is often caused by transplant shock, where the roots struggle to adapt to their new environment, leading to wilting and overall stress. If left unchecked, the situation can worsen, ultimately weakening the plant and leading to more damage. Immediate attention is required to stabilize the plant, which involves addressing watering needs and inspecting the root system for any underlying issues.
Step 1 – Trim Wilting Spider Plant Leaves Immediately
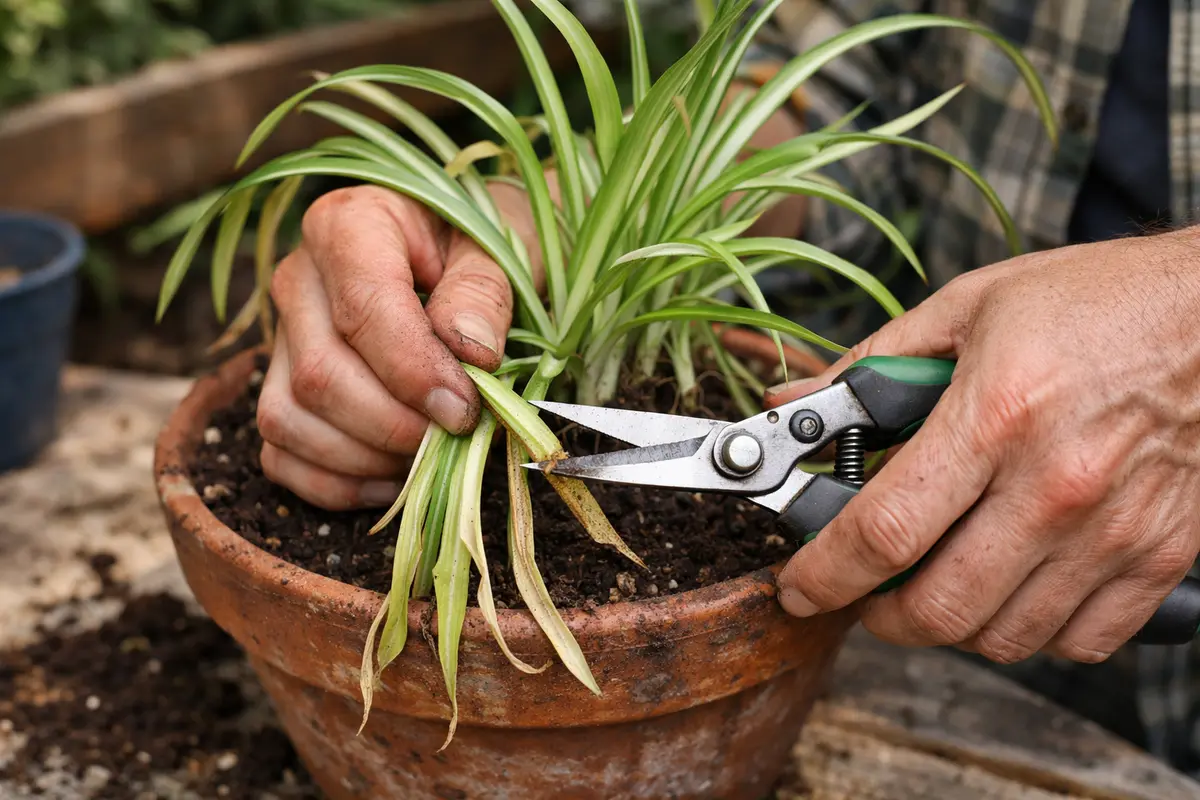
Start by cutting away any wilting or yellowing leaves near the base of the spider plant. This action promotes better health, allowing the plant to focus energy on new growth instead of sustaining damaged foliage. Check the condition of the stems to confirm that they remain firm and green; if they show signs of mushiness, further root diagnostics are necessary.
A prompt response is vital because wilting can quickly exacerbate stress in spider plants, especially post-repotting. If you delay removing the affected leaves, the plant may struggle longer during recovery, as the energy drawn to irreparable foliage hinders overall health. A plant receiving too much attention to damaged leaves can neglect necessary growth or recovery processes.
For example, if a gardener addresses drooping leaves immediately, they can encourage the plant to redirect resources, leading to noticeable improvements within a few days. However, neglecting this step means the plant might continue to decline, as it becomes even more difficult for a stressed plant to bounce back.
If the leaves remain limp even after trimming, check the roots for rot by gently lifting the plant from the soil. Roots that are brown and mushy need attention as well, to prevent further droop and allow recovery efforts to succeed.
Trimming these leaves is a critical step, as it’s not just about cosmetic appearance—it’s about aiding recovery. If leaves droop with no signs of damage, verify soil moisture; knowing whether the plant’s issues are from lack of water or root problems helps dictate subsequent actions. Prompt trimming encourages fresh growth and also minimizes the risk of disease spreading from damaged tissue.
Moreover, avoid cutting too many leaves at once to prevent excessive stress. Removing only those that are clearly suffering allows the plant to cope better while healing. By distinguishing between merely drooping leaves and those that are irreparably damaged, you can prioritize the health of the overall plant.
Regularly inspect the trimmed areas for any signs of infection or mold, as those can hinder recovery. Prompt trimming can aid recovery, but diligence in monitoring and maintaining the plant’s overall health post-trim is equally vital to its successful rejuvenation.
Step 2 – Diagnose Transplant Shock in Spider Plants
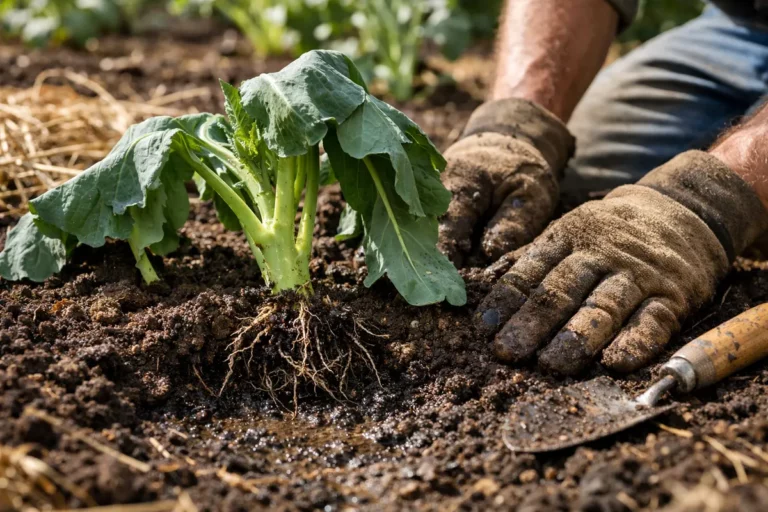
Inspect the soil and roots to confirm whether the spider plant is experiencing transplant shock. Look for signs such as root bruising, which might appear as discoloration or mushy areas on roots, or a lack of moisture in the potting mix. Confirming transplant shock allows you to address it effectively, ensuring the roots regain their strength to absorb nutrients properly. A visual examination of both the soil and root system can reveal a lot about the plant’s current status, and you may need to remove the plant from its pot for a comprehensive analysis. If you encounter a heavy clay mix that retains water, consider switching to a more porous soil mixture for better drainage.
Transplant shock frequently occurs when roots are disturbed during repotting, leading to wilting as they adjust to their new environment. When this shock happens, the plant struggles to take up water efficiently, manifesting in droopy leaves. Assessing these conditions swiftly is crucial; a plant subject to transplant shock may experience stress-induced leaf drop if not corrected promptly. Understanding this root cause helps ensure you recognize and remediate the actual problem rather than just its symptoms. If you note inconsistent soil moisture levels alongside drooping leaves, this further cements the diagnosis of transplant shock.
If the soil feels dry and crumbly but roots appear fine, consider adjusting your watering frequency to maintain adequate moisture levels. Use a moisture meter if you’re uncertain about water retention in the soil; this can help you ensure that you’re providing the right amount of hydration throughout the week. Conversely, if the soil appears waterlogged and produces a sour smell, it could lead to root rot, which requires different treatment such as repotting into fresh, dry soil. Identify these conditions early on; maintaining proper moisture transfer can greatly enhance the plant’s chance of bouncing back. If the roots are mushy, act swiftly to remove the plant from the pot to minimize damage; a quick action can drastically affect recovery speed, offering the plant a better chance of full re-establishment.
Step 3 – Water Spider Plants to Encourage Recovery
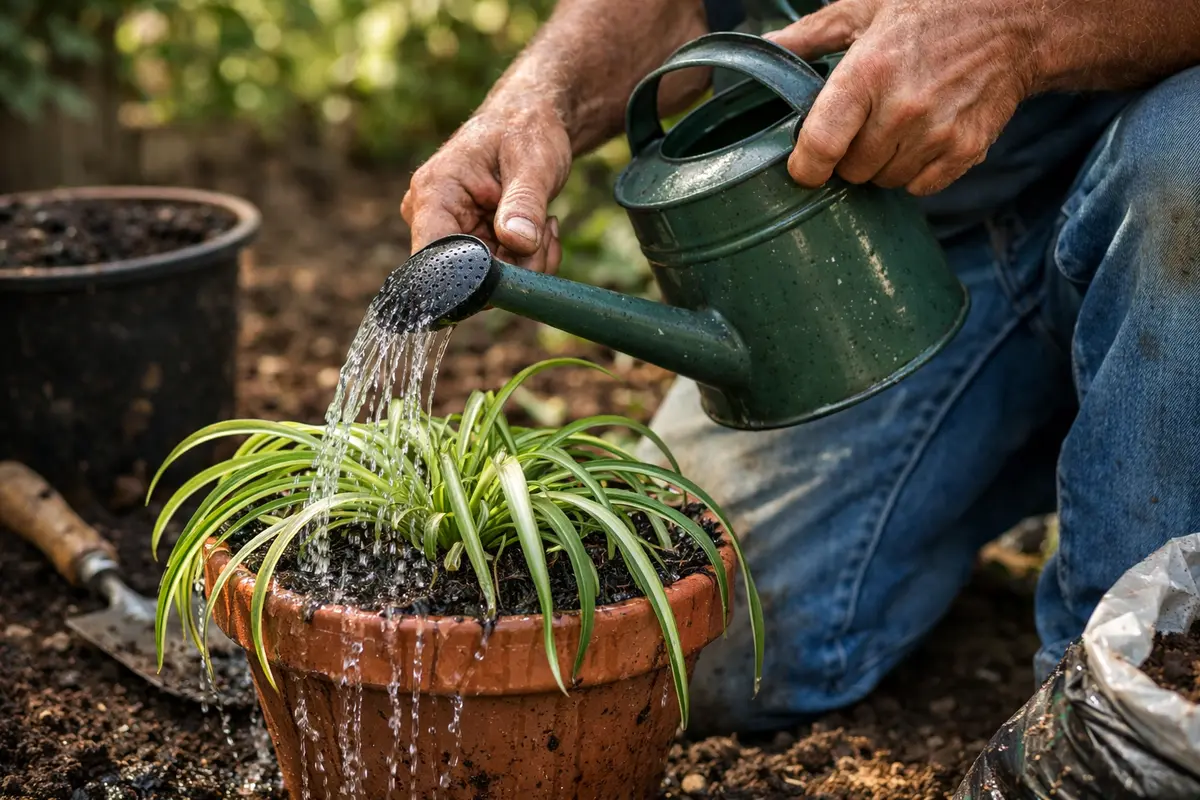
Start by watering your drooping spider plants deeply to promote recovery. Improved leaf firmness and upward growth should become visible within a few days. After applying water, ensure the plant is in bright, indirect light to support recovery. To prevent future drooping, establish a consistent watering routine based on the temperature and humidity levels, checking soil moisture weekly, particularly during the heat of summer. If the soil drains too quickly, it might indicate issues with the potting mix or pot size.
Recovery begins when visible improvements appear, typically within a week, as the plant responds to better moisture and light conditions. If the drooping results from overwatering, yellowing leaves might develop, while underwatering usually causes browning at the leaf tips, which can become irreversible. From here on, adjust your watering frequency to provide consistent moisture without saturation. Different environments, such as humidity and temperature variations, will directly affect the recovery rate, so monitor the surroundings closely. If growth stagnates despite regular watering, check that the plant receives adequate light exposure.
To prevent stress, avoid over-fertilizing during the recovery period; wait until the spider plants display strong growth before introducing any nutrients. If leaves remain limp after consistent watering, check the drainage and consider repotting in fresh soil to enhance aeration, especially if you notice compaction that could hinder root health. This approach helps ensure that water drainage occurs properly, reducing the risk of root rot while promoting nutrient absorption. Be cautious of pooling water that might indicate the need for improved drainage solutions.
To regularly monitor soil moisture, insert a finger about an inch deep into the soil; if it feels dry, it’s time to water, keeping an eye out for signs of overwatering. This tactile method is often more reliable than visual checks alone, which can be misleading, especially if the soil appears dark and moist. Many gardeners err by watering too frequently, particularly during hot weather; this can lead to waterlogging and root rot. To prevent this, allow the top layer of soil to dry out slightly between watering sessions during the initial weeks post-repotting before establishing a more regular schedule. Ensure pots are equipped with drainage holes to facilitate proper water movement and prevent buildup. Throughout the recovery phase, keep an eye out for any continuing distress; if leaves turn yellow or droop further despite regular watering, you may need to reassess the root health, indicating deeper issues requiring attention.
Step 4 – Inspect Spider Plant Leaves for New Growth
Start by checking your spider plant’s leaves for any signs of new growth every few days. Look for new shoots that indicate recovery is underway. For the next two weeks, monitor the plant closely; ideally, you should see fresh growth pushing through the soil. Regular inspections help ensure the plant isn’t reverting to drooping due to continued environmental stress or unresolved root health issues. In this phase, compare the thickness and coloration of new shoots against older foliage to assess the plant’s overall health.
A well-recovered spider plant will display firm, plump leaves with new growth emerging from the base, signaling that your plant is regaining vitality. If you notice any signs of drooping returning, this indicates that environmental factors may still be affecting its recovery, such as excess light or ongoing root problems. Address these issues promptly to avoid long-term damage. For the best results, regularly monitor how each shoot develops, ensuring they remain firm and vibrant; be prepared to adjust light exposure if necessary.
If you observe fresh wilting or drooping, reassess your watering and lighting conditions immediately. Excessive exposure to direct sunlight can stress new transplants, often leading to wilting. In cases where growth appears pale or leggy, it may be beneficial to increase the amount of indirect sunlight. Additionally, if root crowding is a concern, consider switching to a smaller pot; larger containers can hinder recovery due to prolonged drying and uneven moisture distribution. If not addressed, excessive watering in a large pot can further stress the plant. Maintaining vigilance during this monitoring phase is essential to ensure your spider plant remains on its path to thriving.
FAQ
How long will it take for my spider plant to recover from drooping?
Recovery time varies; typically, you should see improvement within a week after addressing the root causes. However, full recovery could take a few weeks, depending on how well you manage watering and light conditions during this period. Keep a close eye on whether new growth appears; this is a strong indicator of overall health. If you notice no improvement after two weeks, reevaluate your watering and light setups to ensure they’re aligned with the spider plant’s needs, including that the drainage is still clear.
Can drooping spread to other plants if left untreated?
While drooping itself won’t spread, underlying issues like root rot can affect an entire pot if multiple plants share the same container or soil. Ensure good hygiene in your pots and avoid reusing contaminated material to prevent issues from affecting surrounding plants. It’s vital to practice separate monitoring for any neighboring plants that might show signs of distress, as issues like fungus or pests can quickly transfer in shared environments, highlighting the need for individual care observation.
Should I remove affected leaves even if the plant shows new growth?
Yes, removing affected leaves is advised, especially if they are severely wilted or discolored. This not only encourages new growth to receive adequate energy but also prevents potential diseases from affecting the healthy parts of the plant. Over time, this practice cultivates a healthier environment and reinforces the plant’s ability to recover fully. Always observe new growth and adjust your care routine accordingly, making timely interventions to ensure sustained health, including reanalyzing care strategies as necessary.