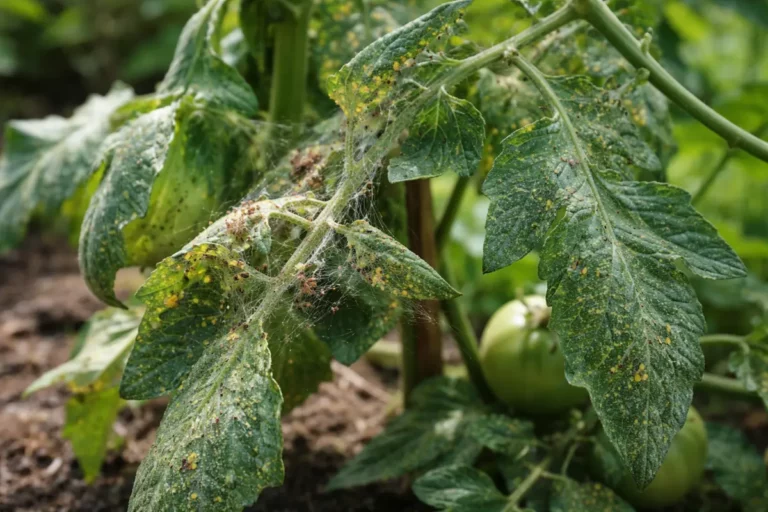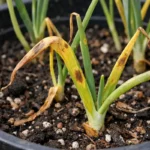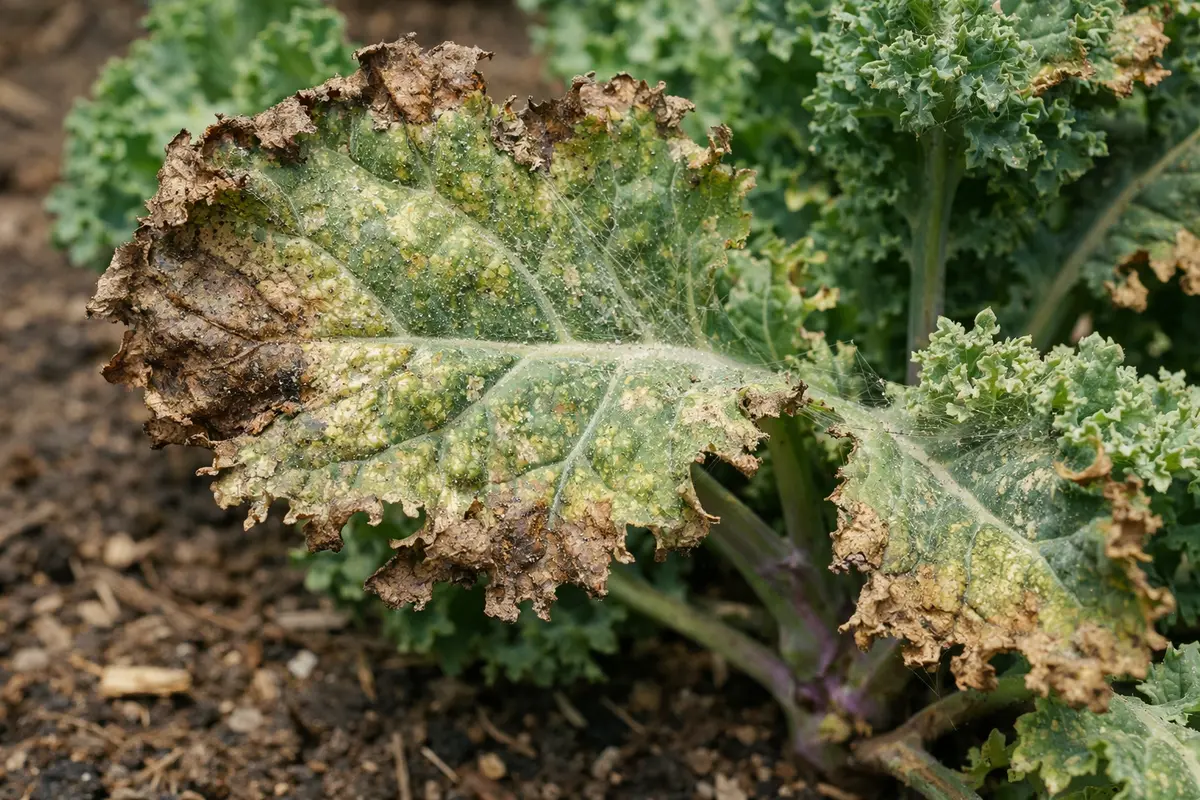
You may notice tiny webs and stippling on your kale leaves after a heatwave, which is why you need to know how to stop spider mites on kale after hot weather. These pests cause yellowing and stippling as they feed on the plant’s sap, weakening its overall health. If left untreated, the infestation can spread, leading to more damage and stalling growth; however, fixing it is possible now if you monitor closely and remove affected areas promptly.
Step 1 – Spray Kale with Insecticidal Soap Immediately
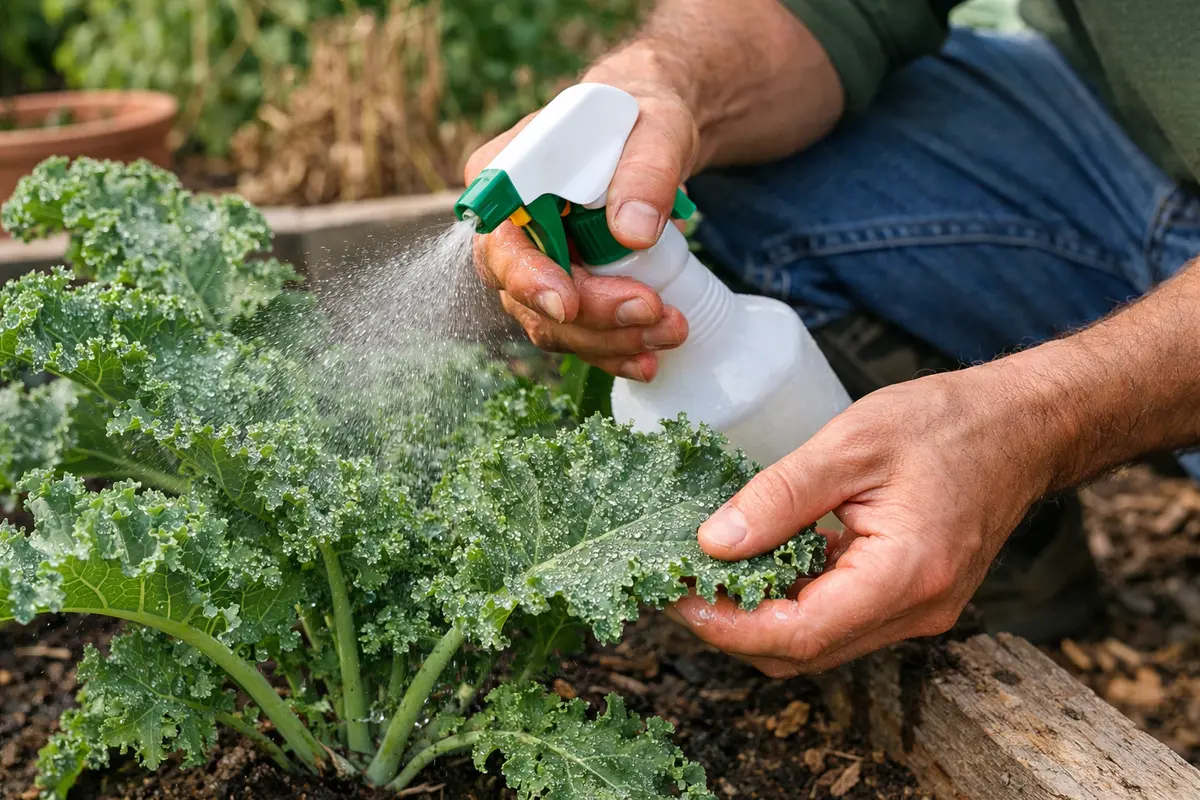
Apply insecticidal soap directly to the affected kale leaves. You will notice a reduction in spider mite activity within 24 hours as the soap disrupts their cell membranes and kills them. Ensure the leaves are thoroughly coated, including the undersides where spider mites often hide. This technique helps to eliminate not only the adult mites but also eggs that may be present. If the soap does not reach their hiding spots, the reproductive cycle can continue, leading to reinfestation.
This immediate action is crucial because spider mites reproduce rapidly, and waiting even a few days can lead to a full-blown infestation that damages the plant’s ability to photosynthesize effectively. The quick application of soap creates a suffocating barrier, particularly effective against adult mites and nymphs, which are highly vulnerable at this stage. During hot weather, spider mites will likely be more active; therefore, timing your treatment early in the day or late in the evening can enhance the soap’s efficacy. If you notice weather conditions becoming cooler, consider rescheduling applications to adapt to the spider mites’ lower activity levels.
A common mistake gardeners make is to wait too long after noticing signs of spider mites, hoping they will resolve on their own. If your kale is severely affected, applying insecticidal soap too late, particularly when the population has exploded, can lead to much greater damage that the plant may not recover from. Optimal results are often achieved when treatments are applied within the first week of noticing a problem. If you do not see a significant decline in spider mite activity within 24 hours, reapply the insecticidal soap within a week and examine the weather conditions, as humidity can affect the soap’s effectiveness. Increased humidity can enhance the soap’s suffocation capabilities, whereas dry conditions might require you to adjust the frequency of applications.
Step 2 – Diagnose Underlying Heat Stress Issues on Kale
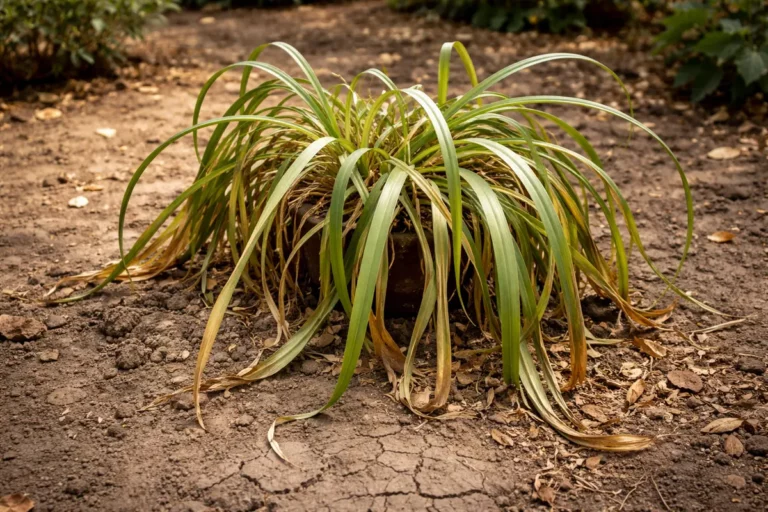
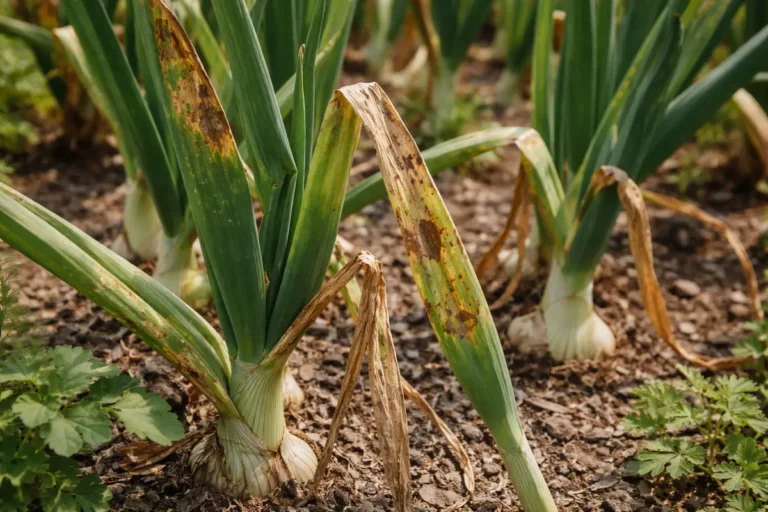
Assess the moisture level in the soil and check for any heat stress signs on the kale leaves. If the leaves appear droopy or have crispy edges, this indicates water scarcity and heat stress, which exacerbate pest issues like spider mites. Take a few minutes to feel the soil with your finger; if the top inch feels dry and compacted, it’s a clear sign of inadequate moisture or inadequate watering frequency. If your kale is in partial shade, the soil may not dry out as quickly, possibly leading you to under-water during hot spells.
Understanding the environmental stress is essential, as spider mites thrive under these conditions, leading to increased vulnerability. Hot weather can dry out the soil quickly, making it critical to establish whether your watering regime is adequate. Additionally, kale under heat stress may close its stomata to conserve moisture, greatly limiting its natural defenses against pests. Identifying these signs early can prevent further decline and stress on the crops. If the soil appears dry but the leaves are turning yellow, it suggests the plant may be suffering from both stress from drought and potential pest damage.
If the soil smells sour, that indicates over-watering, which compromises root health and encourages pest and disease pressure. Conversely, if the kale plants are wilting despite regular watering, their roots may be too saturated and lack oxygen. This can create an environment ripe for fungal issues to develop, compounding your pest problem. If you find that your kale soil retains too much moisture, adjust your watering schedule to prevent root rot, as it often takes weeks to recover from root damage. Conversely, if you ascertain that the soil is too dry, increase your watering frequency gradually to avoid shocking the plant after a period of drought stress. Adjustments should be made slowly, as rapid fluctuations in soil moisture can also stress the plant and exacerbate the spider mite issue.
Step 3 – Apply Organic Fertilizer to Boost Kale Recovery
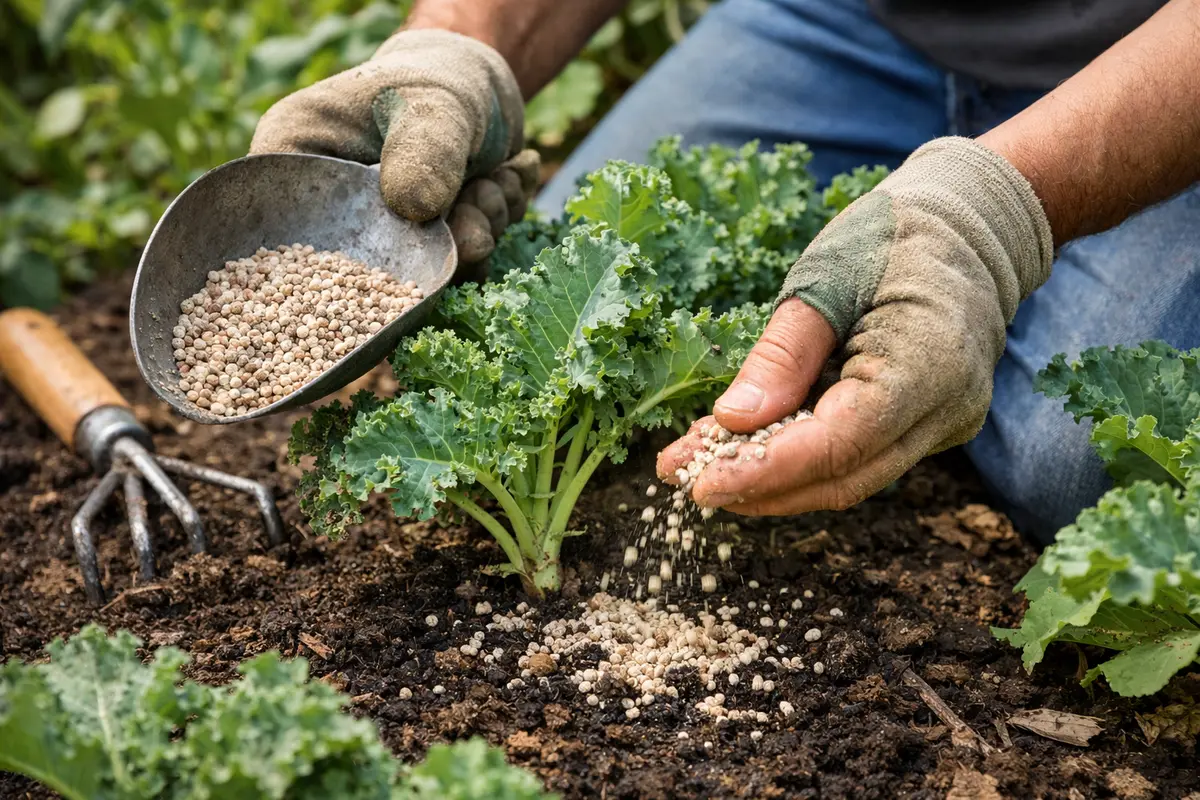
Fertilize your kale with an organic growth booster to support its recovery from mite damage. You should observe improved leaf coloration and overall vigor within a few days as it replenishes essential nutrients lost during the spider mite infestation. Aim for a balanced N-P-K ratio (Nitrogen-Phosphorus-Potassium) specifically formulated for leafy greens to ensure optimal growth. Healthier plants are more resilient to pest pressures, and timely nutrient applications can mean the difference between recovery and prolonged vulnerability.
Organic fertilizers, such as fish emulsion or worm castings, promote healthy growth while restoring the plant’s nutrient levels faster than synthetic alternatives. As the kale absorbs these nutrients, it strengthens its defenses against pests, making it less appealing to spider mites, which are drawn to weaker plants. Monitoring the weather following application is important, as cooler temperatures can slow down nutrient uptake in plants, meaning recovery may take longer than anticipated. This batching phase should see noticeable improvements; ideally, dark green new growth will begin to appear within a week or two after application, indicating recovery.
Be cautious not to over-fertilize, as this can lead to lush but weak growth that attracts pests. The best practice is to apply the fertilizer according to package directions, usually every 3-4 weeks during the growing season while monitoring plant response closely. If you observe yellowing leaves or wilting despite fertilization, you may be applying too much or too often. Remember that while fertilizer is essential in recovery, excessive amounts can lead to salt buildup in the soil, harming root health and inviting pests. If salty crust forms on the soil surface or if you see plant tip burn, it’s critical to flush the soil with water to remove excess salts.
Step 4 – Water Kale Consistently During Summer Heat
Water your kale deeply and consistently during periods of excessive heat. This routine moisture will help maintain plant vitality and resilience against spider mites. If you determine that the soil remains consistently dry after checking, aim for approximately one inch of water per week, adjusting based on rainfall and temperatures during scorching days. If you live in an area with sandy soils, they may dry out much more quickly, requiring more frequent watering to maintain an adequate moisture level.
Consistent watering strikes a balance, giving enough moisture for plant health while thwarting excess stress that can attract spider mites. Kale typically thrives under optimal water conditions, so implementing a tailored watering schedule that responds to environmental conditions ensures your plants can utilize their resources efficiently and express better defenses against pests. For example, if the forecast predicts a heatwave, consider increasing the watering amount from one inch to one and a half inches to buffer against moisture loss during extreme conditions.
For added protection, consider implementing a layer of mulch around the base of your kale to help retain soil moisture during dry spells and stabilize soil temperature. Mulching can also deter spider mites indirectly by providing a habitat for beneficial predators that may help keep their populations in check. In scorching conditions, check the moisture content every few days by probing an inch beneath the soil surface with your finger. If your index finger comes out dry, it is time to water again. Always monitor closely, as over-watering can be just as detrimental as under-watering; too much moisture leads to soggy roots, which can easily decay and invite further issues like fungal diseases in your garden, which may create even more stress on your kale plants.
Step 5 – Inspect Kale for New Spider Mite Signs Weekly
Inspect your kale at least once a week for signs of new spider mite activity. You should look for stippling on leaves or webbing underneath as indicators of their return. Utilizing a magnifying glass can help in spotting tiny webbing and eggs, which are often the first signs of a resurgence in spider mite population. If left unchecked, a small outbreak can quickly turn into a serious infestation, as spider mites reproduce extremely quickly.
A thorough weekly inspection can help catch any residual or returning spider mites early before they become a larger issue. Spider mites thrive in dusty conditions, so a clean plant environment through consistent cleaning can significantly deter them. Wiping leaves with a damp cloth can help remove dust and potential eggs. While inspecting your kale, also check for beneficial insects like ladybugs or lacewings, which naturally help control spider mite populations. Enhancing the ecological balance in your garden can provide longer-term relief without reliance on chemical treatments.
If you observe new signs of pest activity after following the initial treatment steps, it may necessitate further treatment with insecticidal soap or introducing beneficial insects for an eco-friendly solution. If this inspection yields widespread adult spiders with webbing, a combination of insecticidal soap and a strong irrigation spray may be necessary. Always consider that if the infestation becomes too extensive or if your plants begin to show signs of stunted growth, seeking advice from a local gardening expert or extension service may be warranted, especially if damage appears irreversible. Keeping records of treatment and monitoring can provide actionable insights for the future and assist in adjusting your control strategies effectively.
FAQ
How long does it take for kale to recover from spider mites?
Recovery time for kale affected by spider mites typically ranges from one to three weeks after applying mitigative measures. Observing new growth and vibrant leaf color suggests the plant is on the mend. Factors such as consistent watering, proper fertilization, and environmental conditions like temperature and humidity directly influence recovery rates. If any recovery stalls after three weeks, consider reassessing your pest management tactics.
Can spider mites spread to other plants in my garden?
Yes, spider mites can easily spread to other plants, especially during hot weather. They can travel through the air and on gardening tools or clothing. Regular monitoring of neighboring plants for any signs of infestation will help ensure that the problem doesn’t escalate. Implementing routine inspections not only aids in catching any early signs before they manifest into larger outbreaks elsewhere but also assists in identifying potential vectors for the mites.
Should I remove any affected leaves from my kale?
Yes, it’s advisable to remove heavily infested or damaged leaves to prevent further spread of the spider mites. Proper removal practices include crushing the leaves to prevent the pests from migrating and ensuring they are disposed of away from your garden to limit potential reinfestation. Always check underneath the leaves, as mites often hide in these concealed places. This method not only helps control the infestation but can also give the healthier parts of your plant a better chance to thrive unencumbered.