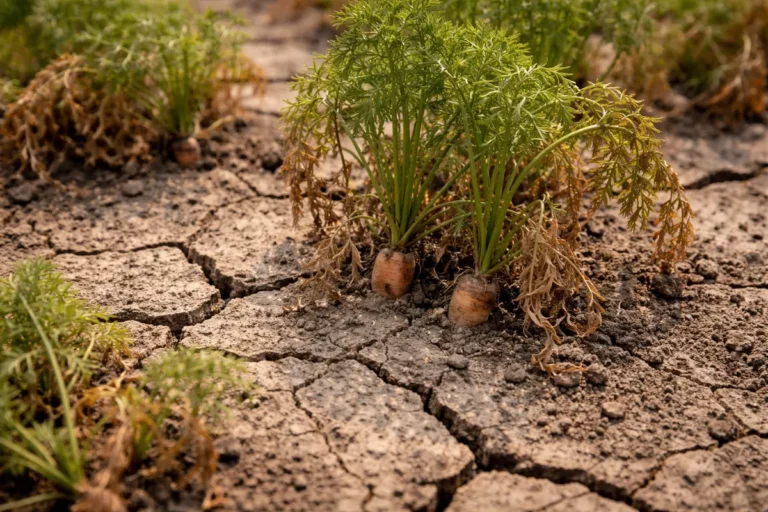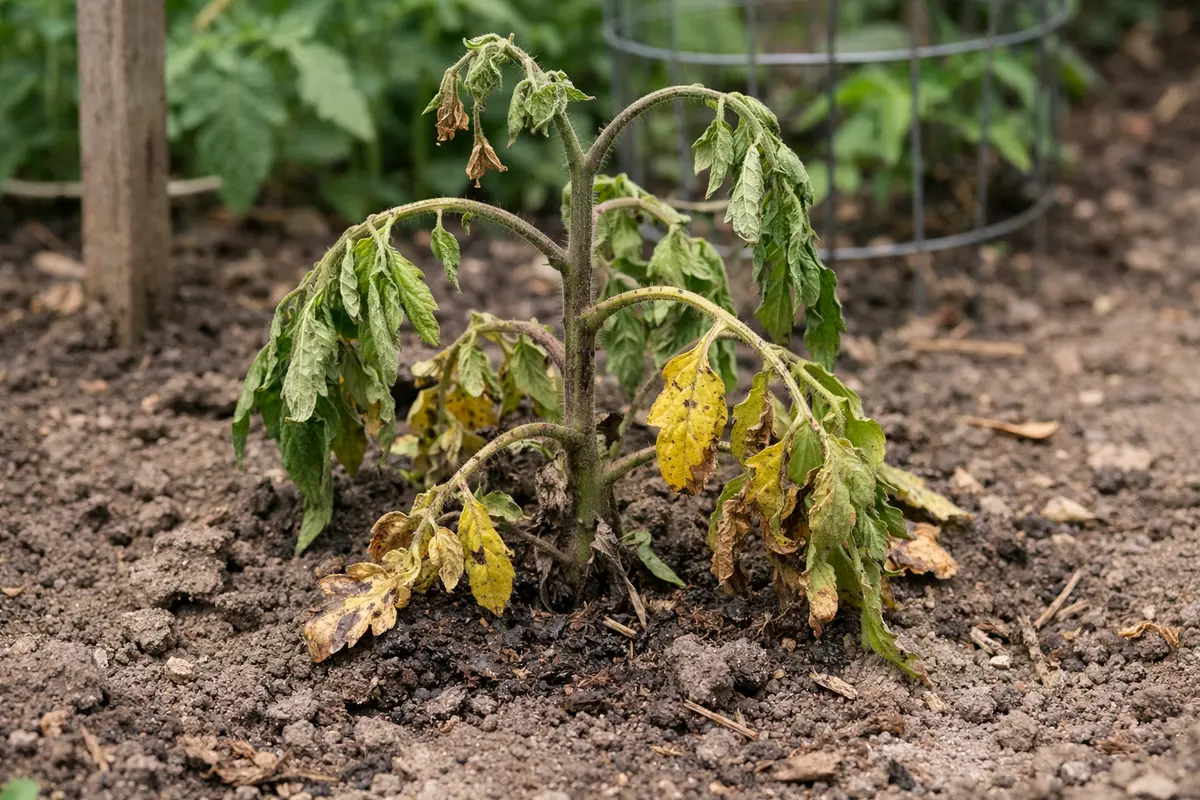
You may notice your heirloom tomatoes struggling to thrive after transplant, which is why you need to know how to treat stunted growth in heirloom tomatoes after transplant. This stunted growth often manifests as yellowing leaves and wilting stems, caused by transplant shock or poor soil conditions. If left unaddressed, the problem gets worse and can weaken the plant, leading to even more significant issues down the road. Fortunately, fixing it is possible now; you can check soil moisture levels, adjust fertilization, and water appropriately to revitalize your plants.
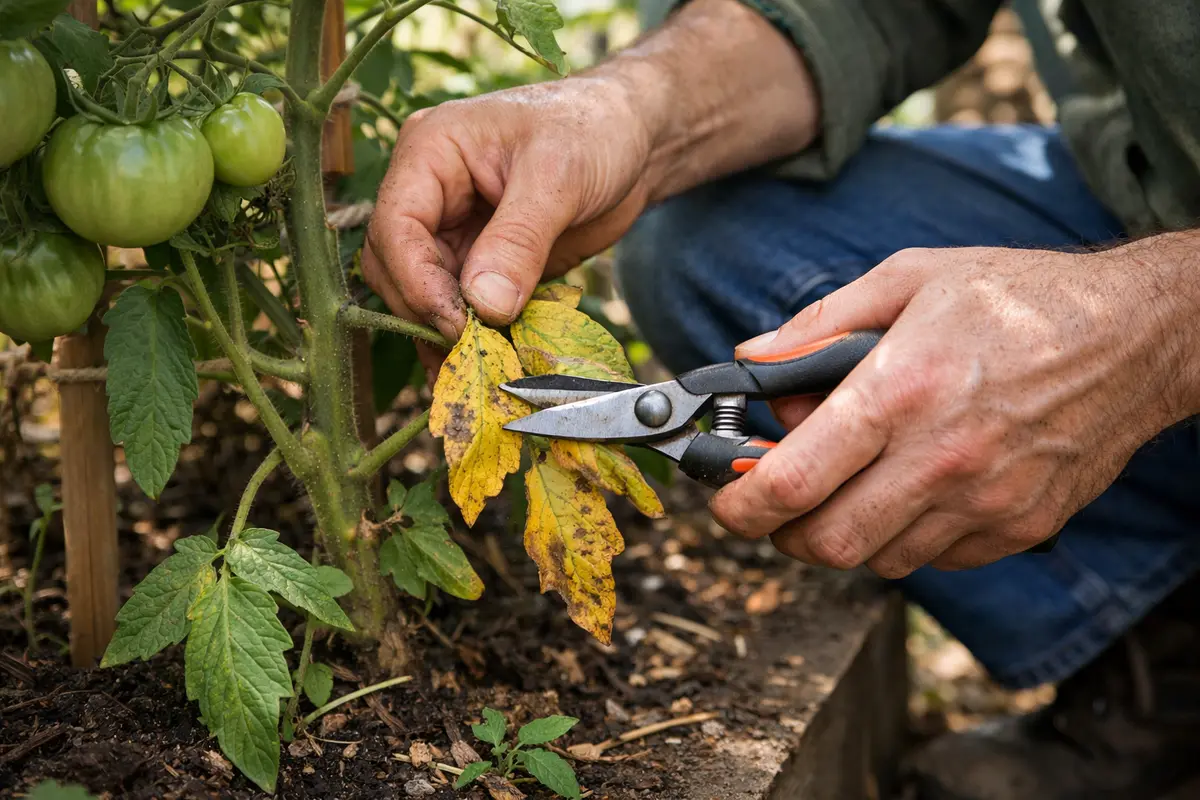
Step 1 – Prune Yellowing Leaves for Heirloom Tomatoes
First, assess your heirloom tomatoes immediately after transplanting by checking the soil moisture levels. If the soil feels overly dry, water the plants thoroughly at the base to ensure the roots regain access to essential nutrients. Within hours, you should see the leaves perk up, indicating a response to the hydration, which helps limit further stress.
Acting quickly is crucial because heirloom tomatoes are particularly sensitive to transplant shock, which can hinder nutrient uptake and root development. If you delay in addressing stunted growth, the roots may struggle to establish themselves, resulting in yellowing leaves and decreased growth rates. By rehydrating the soil promptly, you support their biological processes, preventing prolonged damage that can lead to poor fruit production.
For example, a gardener who watered their newly transplanted heirloom tomatoes within hours of noticing wilting saw a significant recovery within a day, while another who waited several days faced persistent stunted growth and yellowing. If you observe wilting, check the soil moisture level immediately; if it feels moist, reconsider other factors such as root damage or nutrient deficiencies.
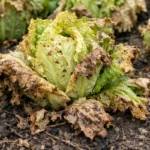
Pruning is essential because yellow leaves indicate stress and poor nutrient transfer. By removing them, you relieve the stress on the plant, allowing it to focus on new growth. When left untouched, those yellow leaves can hinder overall health, attract pests, and lead to further troubles like powdery mildew. This often makes it worse, as pests can thrive in weakened plants, leading to a decline in productivity. Using clean, sharp garden shears is vital to minimize trauma to the healthy parts of the plant. Also, dispose of the pruned leaves properly to prevent any potential diseases from spreading back to the healthy plant.
Many gardeners mistakenly believe that all leaves should be left on the plant for photosynthesis. However, in cases where leaves are yellowing, removing them is beneficial. A common misconception is that yellow leaves have lost the ability to photosynthesize effectively, which takes away energy better used for new growth. In my experience, I’ve seen significant differences when action is taken immediately: pruned plants tend to recover faster and show healthier growth. If not pruned, the plant may expend energy repairing damaged areas instead of growing new leaves, which can result in prolonged recovery time.
Step 2 – Test Soil pH for Growth Issues
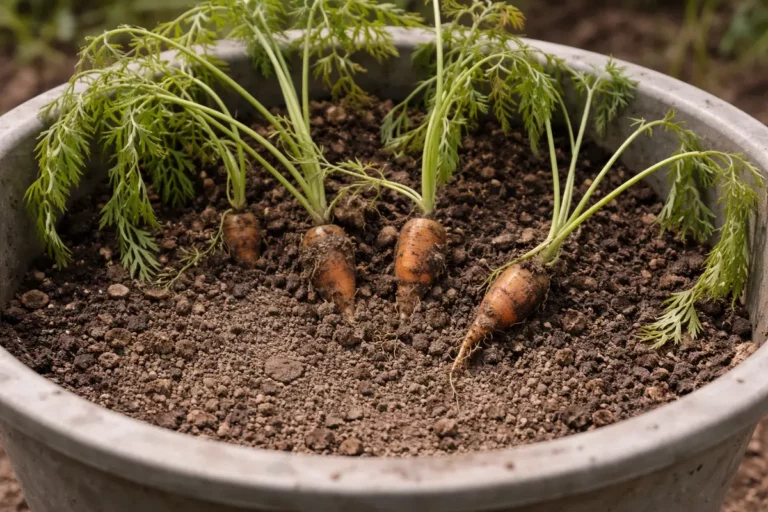
Start by inspecting the root zone of your heirloom tomatoes for signs of compacted soil or insufficient drainage. If you notice heavy, compact soil or water pooling around the base of the plant, that is likely causing stunted growth. Loosening the soil and improving drainage will encourage root expansion, leading to healthier foliage and better fruit development.
The stunted growth results from the roots being starved of oxygen in poorly drained or compacted soil. In compacted conditions, air pockets within the soil diminish, which restricts root respiration and slows nutrient uptake. Conversely, in well-aerated soil, roots can effectively absorb water and nutrients, promoting strong growth. If the soil appears crumbly and easy to work, it indicates good aeration.
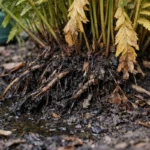
If you discover the roots have dark, mushy areas, that could indicate root rot rather than compacted soil; in this case, remove affected roots, and consider replanting in fresh, well-draining soil to prevent further decay. Alternatively, if the soil smells sour, a possible sign of anaerobic conditions, mix in organic matter like compost to improve drainage and balance microorganisms.
The soil pH influences the availability of nutrients essential for tomato plants. If the pH is off, it can lead to deficiencies, causing symptoms like stunted growth. For example, if the pH level is too low, the calcium and magnesium nutrients required for cell wall structure may not be accessible to the roots, further exacerbating stunted growth. Additionally, correct nutrient access is vital for the plants’ recovery, ensuring they receive adequate nitrogen, phosphorus, and potassium for new growth.
If your soil tests show a pH lower than 6.0, you may need to add agricultural lime, with about 1-2 pounds per 100 square feet being a common recommendation. Alternatively, if it’s above 6.8, sulfur in amounts of 0.5 to 1 pound per 100 square feet can lower the pH effectively. Skipping this step can lead to persistent growth issues down the line, causing the plants to underperform throughout the season. A frequently overlooked step is failing to re-test the soil after amendments are made; giving it a few weeks to settle and changing the pH before planting would be ideal.
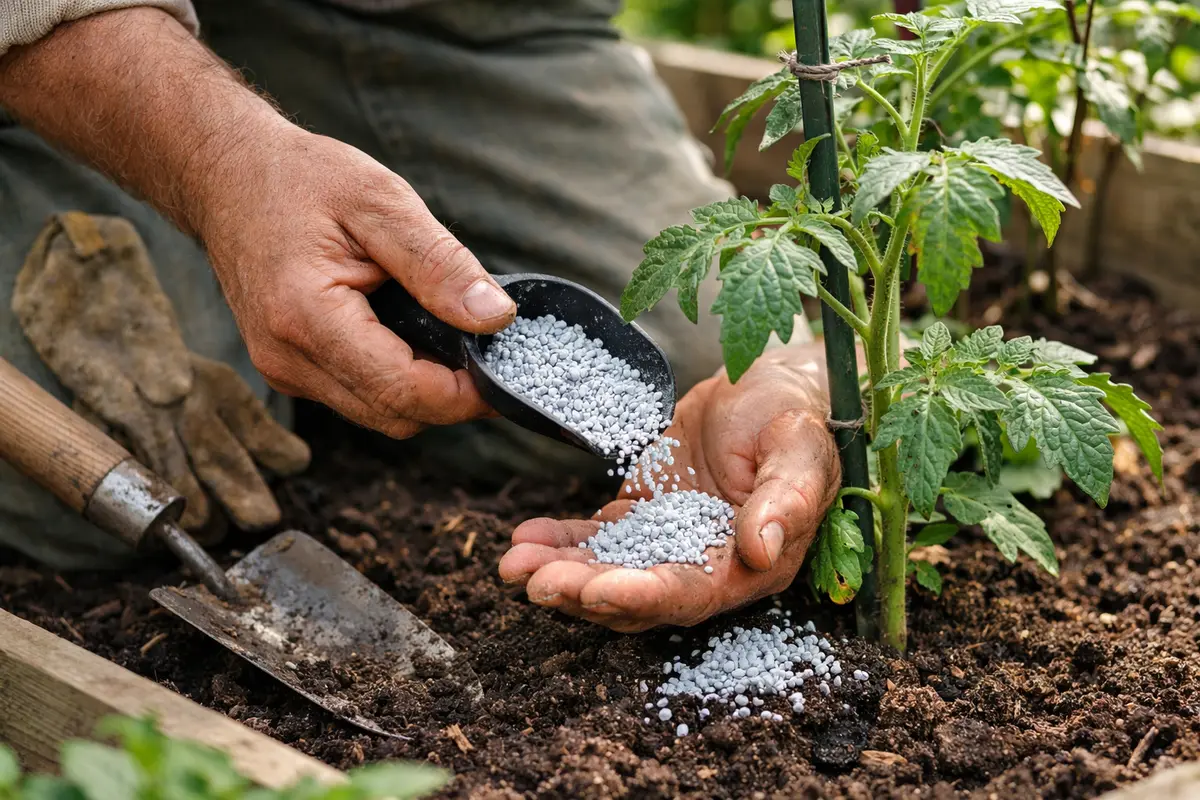
Step 3 – Apply Fertilizer to Revive Stunted Tomatoes
Start by applying a diluted solution of seaweed extract directly at the base of the tomato plants after transplanting. This remedy encourages root development and helps restore vigor; within a week or so, you should notice new leaf growth and an improvement in the overall leaf color.
Realistically, recovery from transplant shock can take anywhere from two to four weeks. During this time, healthy regrowth will show as greener, thicker leaves emerging from the stem, while slow regrowth or yellowing leaves indicate that further intervention may be necessary. Conditions such as adequate sunlight, moderate watering, and protection from pests can help speed recovery, whereas overwatering or low light can inhibit progress. If you see drooping leaves, check for signs of root rot.
A common mistake during recovery is overcompensating with fertilizers, thinking more nutrients will speed up growth. Heirloom tomatoes thrive in nutrient-balanced soils, so avoid adding too much fertilizer too soon. If you notice burnt leaf edges, check that nutrient levels aren’t excessively high before continuing to nurture the plants.
Fertilizers work by supplying critical nutrients that promote recovery in distressed plants. Nitrogen, in particular, is necessary for forming chlorophyll, which plants need to create energy through photosynthesis. If a sudden burst of growth occurs after applying fertilizer, be vigilant—it could be a signal that more nitrogen is needed, or it could indicate a nutrient lockout if stunted growth continues despite fertilization.
A common mistake during this recovery phase is over-fertilizing, leading to nutrient burn which can worsen the initial problem. It’s crucial to follow package instructions carefully to avoid damaging the roots further. For example, if you notice the leaf tips browning or developing a burnt appearance, it may indicate over-application. If this happens, consider flushing the soil with water to help rinse out excess fertilizer and prevent further damage to the plant’s root system, ensuring a delicate balance between stimulating growth and avoiding toxicity to the plant. This nuance is critical: applying too much fertilizer too quickly can overwhelm the plant, preventing recovery instead of encouraging it.
Step 4 – Water Heirloom Tomatoes Consistently to Prevent Stress

Water your heirloom tomatoes deeply and consistently to avoid stress that can contribute to stunted growth. You should notice the soil becoming evenly moist and your plants standing upright after consistent watering practices are established. This means ensuring the soil is moist but not soggy—checking for correct moisture levels involves digging about an inch into the soil around the base of the plant. If the soil feels dry at this level, it’s time to water.
Water stress is one of the leading causes of stunted growth, particularly after transplanting. Tomatoes require consistent moisture, especially in the first few weeks post-transplant, to develop a strong root system. Inconsistent moisture can lead to flower drop and root rot, signaling that the plant is trying to cope with fluctuating conditions. The critical range for soil moisture should ideally keep the top inch slightly moist without keeping the soil saturated, which can cause compaction and a lack of oxygen for the roots.
In hot weather, more frequent watering may be necessary, while overcast or rainy conditions could reduce the need. If you observe your plants wilting slightly during the hot part of the day but regaining firmness by evening, that indicates they may be facing slight stress but not outright loss—not a sign to water immediately but to establish a routine instead. Always check the top inch of soil for dryness before watering, which helps avoid scenarios where roots may rot due to excessive moisture retention at the bottom of the pot or garden bed. Following these principles locks in healthy growth habits that support your plant’s development long-term, helping to establish a more robust system to withstand climate variations.
Step 5 – Check for New Growth After Treatment
Inspect your heirloom tomatoes for new leaf growth and overall health after implementing the previous steps. You should see signs of fresh green leaves emerging within a week. Regular monitoring is crucial to evaluate the effectiveness of your interventions and guide future care. Documenting the changes may also help identify any persisting issues or improvements over time. Checking for overall plant posture is just as important, as upright foliage usually signifies healthier plants.
Signs that your plants are recovering include firm stems and vibrant green leaves. If leaves appear pale or if growth is still stunted after several days of treatment, consider reassessing your approach—this could mean revisiting your watering habits, nutrient application, or even re-testing soil conditions for potential pH imbalances that might have been missed. One visible indicator of improvement would be the emergence of darker green younger leaves, which typically signifies robust health.
If stunted growth symptoms persist after two weeks of correct treatment, consider investigating other potential issues, such as soil conditions or disease. An underperforming plant also could stem from pest issues such as aphids or spider mites that hinder growth from the underside of the leaves, leading to unhealthy plants that remain stunted despite care. Further examination may include checking root health or considering pest management strategies, as even healthy plants can succumb to infestations if not managed. Staying vigilant ensures long-term health for your heirloom tomatoes while also fostering an environment for healthy growth practices to develop.
FAQ
How long does it take for heirloom tomatoes to recover from stunted growth?
Recovery time largely depends on the underlying issue, but if corrective measures are taken promptly, you can expect to see improvements in leaf growth within 5 to 10 days. However, full recovery may take up to three weeks, especially if nutrient deficiencies were present, or the plant was significantly stressed from inconsistent watering.
Can poor soil conditions spread issues to other plants?
Yes, poor soil conditions that lead to stunted tomato growth can affect nearby plants by harboring pathogens or pests that may spread. For example, soil-borne diseases can infect susceptible plants nearby, especially in a shared planting area. Keeping soil healthy not only protects your heirlooms but improves the overall garden environment by enhancing beneficial microbial activity.
Should I remove affected parts of the plant during treatment?
Yes, removing any yellowing or dead leaves is recommended during treatment. This action helps redirect energy to healthier areas of the plant and prevents the spread of potential diseases that may worsen the overall condition. Additionally, damaged fruit should also be removed, as they can draw resources away from the healthy growth that your tomatoes need to recover.