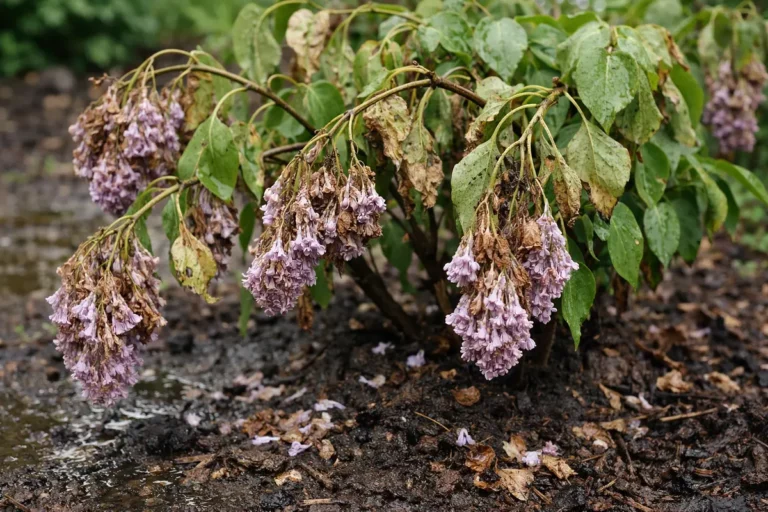
You may notice that during particularly hot weather, your hydrangeas begin to look limp and lifeless, which is why you need to know how to treat drooping hydrangeas in hot weather. This drooping often results from insufficient water uptake, leading to wilting and an unappealing appearance. If left unaddressed, this condition gets worse and can weaken the plant, making recovery more difficult. Timely intervention is crucial, as working through various techniques such as checking soil moisture and adjusting your watering routine can yield a healthy, perky plant.
Step 1 – Water Drooping Hydrangeas Immediately
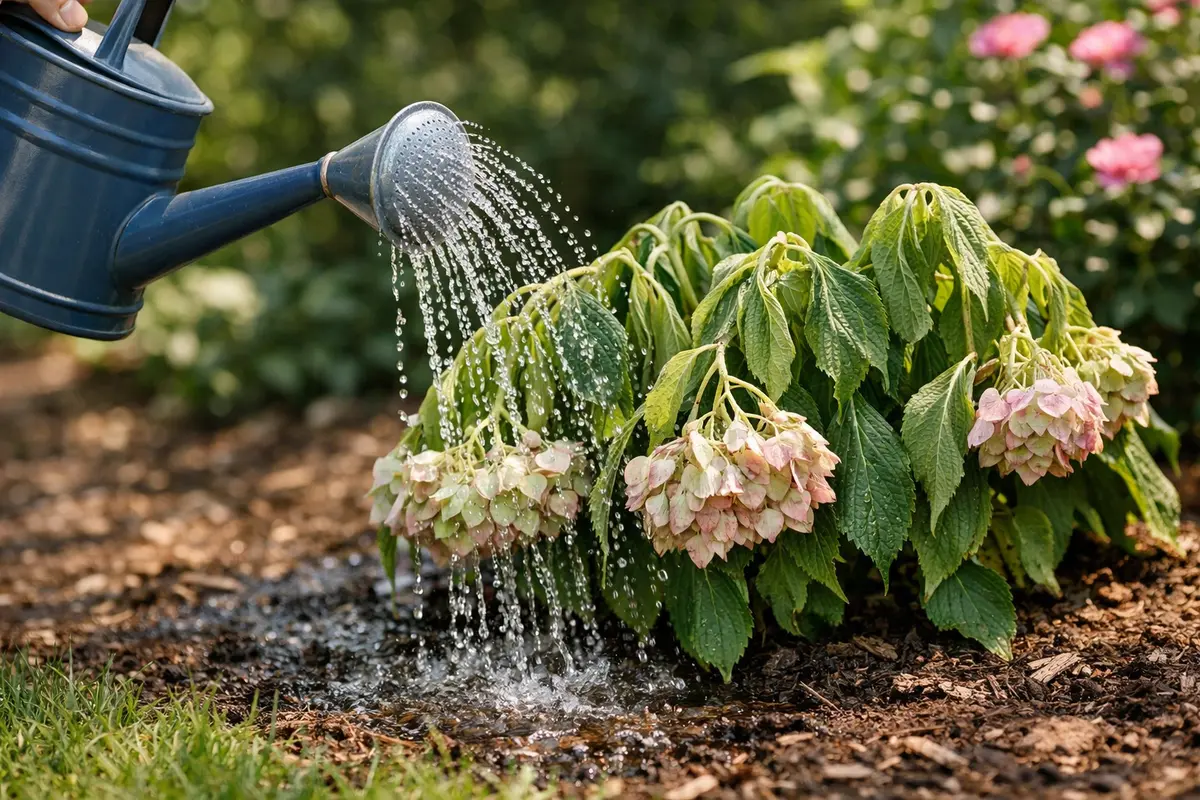
Begin by deeply watering the hydrangeas at their base. Within a few hours, the leaves will begin to perk up as they absorb moisture from the soil, indicating a positive response to rehydration. Use a soaker hose to deliver water directly to the roots, minimizing saturation of the foliage and reducing the risk of leaf rot. Ensure watering occurs when the soil surface is dry to the touch, confirming that the plant is in need of hydration.
Hydrangeas need consistently moist soil; therefore, drooping leaves often signal inadequate water uptake due to dry conditions. Regularly check the soil to ensure it remains damp one to two inches below the surface; if it’s dry, deep watering is crucial. Aim to provide about two gallons of water at the base of each plant, allowing sufficient absorption into the soil rather than allowing it to run off. This amount also corresponds to typical soil hydration levels needed for healthy growth. Ideally, watering should be done early in the morning to reduce evaporation, allowing the plants a head start before the day’s heat. This technique encourages deeper root growth, essential for long-term hydration and nutrient uptake.
A common mistake at this stage is misting the leaves instead of directly watering the roots. Misting can create a false sense of moisture while neglecting the root zone, worsening the issue. For instance, if a gardener waters only the surface without checking the soil depth, the roots may remain stressed and undernourished. If drooping persists despite thorough watering, inspect for soil compaction or poor drainage, which might be suffocating the roots. In heavy clay soils, excessive water retention can lead to waterlogging and prevent air from reaching the roots, resulting in root rot. If drainage is poor, amend the soil with peat moss or perlite to enhance aeration. In severe compaction cases, use a garden fork to aerate the soil around the roots, facilitating improved water and nutrient absorption to prevent further wilting and stress. This proactive step is essential, especially in areas prone to heavy rainfall where soil compaction is a recurring issue. In poor drainage conditions, plants may also develop root rot in potted cacti.
Step 2 – Check Soil Moisture Levels for Hydrangeas
Begin by evaluating the sunlight your hydrangeas receive throughout the day; look for any drooping or discoloration that signals discomfort. You should observe marked changes in the plant’s resilience and vigor after adjusting the light exposure appropriately.
Excessive direct sunlight can lead to stress in hydrangeas, causing the leaves to droop and potentially develop sunburn symptoms like browning edges. In comparison, if the plant is in too much shade, it may also wilt due to insufficient light, hindering its ability to photosynthesize effectively. Recognizing the right balance of sun exposure is crucial for maintaining healthy hydrangeas and avoiding rapid wilting during hot spells.
To correct issues of excessive sun exposure, move the hydrangeas to a location that receives morning sun and afternoon shade, especially in peak summer months. Aim for locations where the sun’s harsh rays are mitigated in the afternoon, thus protecting the foliage. If uprooting is impractical, consider creating temporary shade using materials such as burlap or shade cloth, particularly during the hottest parts of the day, which is especially beneficial during heat waves. Under prolonged heat, the same plants may show wilting stems hydrangeas after.
If you notice that the hydrangeas still droop even after providing shade, check if the new location receives adequate airflow. Poor airflow can lead to conditions where fungal diseases, such as powdery mildew, thrive. For instance, if your garden is entirely enclosed with high walls, this can create stagnant air and contribute to plant stress. Maintain good air circulation by spacing plants adequately, and consider arranging companion plants around the hydrangeas that can provide partial shade while allowing breezes to pass through, which helps mitigate humidity levels. If you see curled leaves or persistent brown patches despite these adjustments, it may further indicate that the hydrangeas are still struggling with sun exposure. In such cases, relocating them may be your best option, ensuring that they receive the balance of light they require to recover fully.
Step 3 – Apply Fertilizer to Revive Hydrangeas
Apply a layer of mulch around the base of your hydrangeas to retain soil moisture. You will soon notice that the soil remains damp longer, which helps keep the plant hydrated while alleviating stress caused by extreme heat. Aim to maintain a consistent mulch depth of two to three inches, adjusting as necessary to align with local drainage patterns for optimal moisture retention.
Using mulch effectively creates a barrier that reduces evaporation rates and regulates soil temperature, both vital for hydrangeas during hot weather. For example, implementing organic mulches like shredded bark or wood chips not only improves water retention but also enriches the soil as they decompose, fostering healthier growth over time. Likewise, mulch can help keep soil temperatures stable, avoiding stress that can arise from rapid temperature fluctuations. Apply mulch in early spring, ensuring a robust moisture-retaining foundation throughout the growing season. Regularly check the mulch during warmer months and refresh any compacted areas to prevent wilting when moisture is critical. If you see pooling around the plant base, this indicates it’s time to refresh your mulch to combat compaction. Under prolonged heat, the same plants may show cucumber plants wilting heatwave.
However, avoid excessive layers that can suffocate the roots; thick mulch may trap too much moisture at the base of the plant, creating a breeding ground for pests and diseases. If you notice a sudden increase in pests like slugs, this may suggest that your mulch is too dense. Check beneath the mulch for signs of decay, such as musty odors or excessive moisture buildup underneath, which can lead to root rot. Address any issues with excessive moisture or signs of decay by thinning out the mulch in the fall or relocating the excess to maintain a healthy environment. A thicker top layer might need refreshing every few months to keep moisture levels stable and guard against pest invasions, particularly as the seasons change. Keeping an eye on changes in insect activity can also provide insight; if you encounter more mosquitoes, it might be time to reduce the mulch thickness to promote better airflow and drainage, which is essential for plant health.
Step 4 – Shade Hydrangeas During Extreme Heat

Begin by inspecting your hydrangea blooms daily during the hottest parts of the day. Look for firm, upright flowers and vibrant foliage, which indicate recovery from earlier stress. Monitor the soil moisture at the base of the plants, ensuring it remains consistently damp but not waterlogged—recheck moisture levels every other day to prevent any drop in hydration that could lead to drooping. Excess moisture often leads to problems like root rot in potato plants.
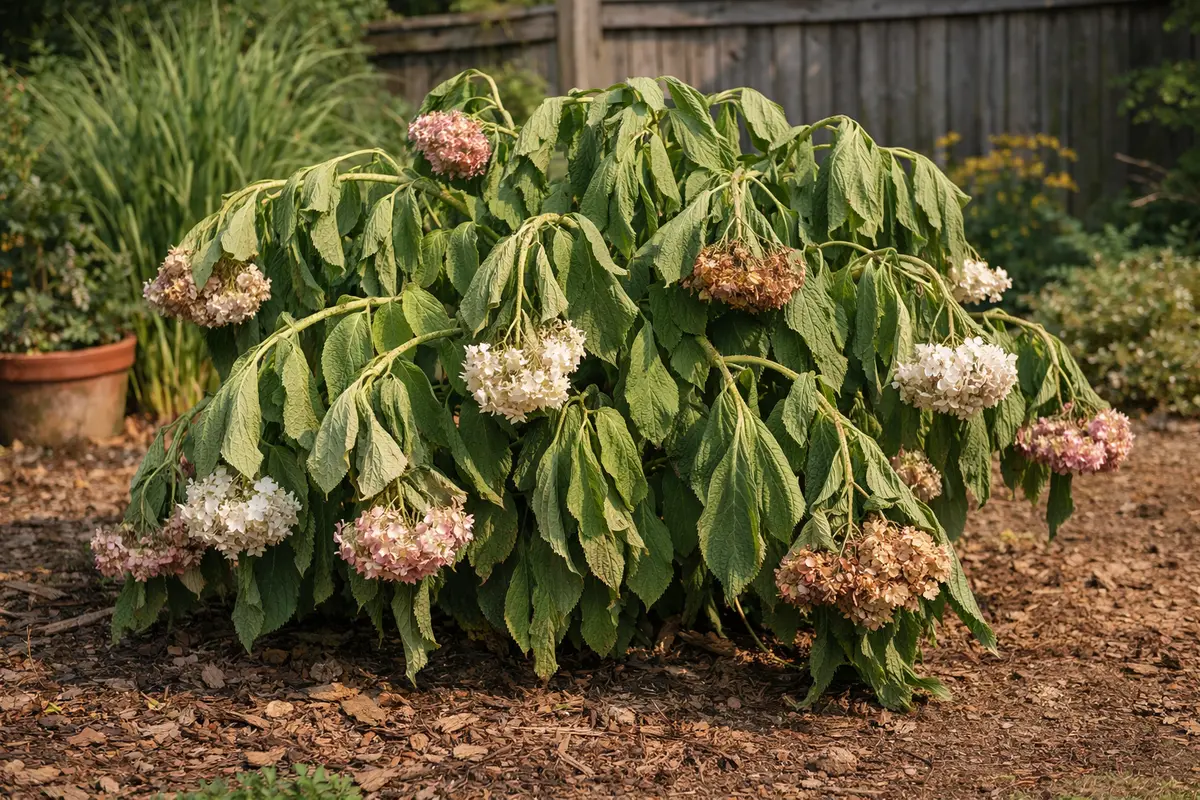
A fully recovered hydrangea will have upright stems and rich color in its leaves, contrasting significantly with drooping or discolored foliage that may indicate a return of stress. After a few days of proper care, if you observe wilting leaves or droopy blooms again, this may signal that moisture levels are inadequate or the heat stress is returning.
After monitoring, if drooping reoccurs, increase the frequency of watering while ensuring that the roots are well-hydrated but not submerged. Ideally, you should check back in two to three days to see if improvement occurs; should the plants still exhibit wilting or droopy characteristics, consider relocating your hydrangeas to a shadier area during peak heat hours to minimize stress. If leaves begin to curl again or turn yellow while tracking your watering and shading strategies, this suggests a resurgence of stress that needs immediate attention. A fully healthy hydrangea showcases lush green leaves that raise upwards, while a stressed plant will show signs of distress, such as limp leaves or faded blooms. Look for wilting as an indicator of continuing problems; if these symptoms persist, assess your soil drainage and plant exposure to light, particularly during the afternoon.
If issues continue despite daily care, consider using moisture-retaining mulch types to keep the roots shaded and cool. Additionally, check for any pest activity or diseases that may be competing for the plant’s resources. If conditions still fail to improve, reviewing the hydrangea’s location for optimal light and humidity levels is paramount, especially during extreme weather. Tracking localized weather patterns could also provide insight; for example, if a heatwave is forecasted, preemptively deepen watering to bolster resilience. Doing so not only supports immediate recovery but can also mitigate longer-term stress during extreme temperature fluctuations. Under prolonged heat, the same plants may show are ferns wilting during heatwave.
Step 5 – Inspect Hydrangea Leaves for Wilting Signs
Recheck every 2-3 days for a full week and note whether the problem line is moving up the plant. You should see improvement showing first on the newest tissue while older marks may linger.
Recheck every 2-3 days for the next 7-10 days and watch for fresh damage or new signs of improvement. If fresh damage appears or the problem returns, go back to the correction step and repeat the treatment. If the fix is holding, new growth stays clean and the trend should improve.
FAQ
How long does it take for drooping hydrangeas to recover?
The recovery time for drooping hydrangeas can vary, but you should see noticeable improvements within 24 hours of proper watering. Factors like the severity of moisture stress, combined with environmental conditions such as light and humidity levels, can influence recovery speed. Assess your plants regularly; if they don’t perk up within one or two days, it’s essential to examine root conditions or soil quality that might be hindering their recovery. Pay attention to visible improvements, such as a return of color and firmness in the leaves, to gauge their overall health.
Will my hydrangeas bloom again after drooping?
Yes, if the drooping is addressed quickly and effectively, your hydrangeas can bloom again. Ensuring proper hydration and adequate sunlight exposure will facilitate new growth while supporting healthy blooms as the season progresses. Even if the blooms are temporarily delayed, healthy foliage often indicates that blooms will return to their normal display shortly thereafter. Maintaining vigilant oversight of soil moisture remains vital in ensuring your hydrangeas do not fall victim to repeated drooping episodes. Establish a routine for checking soil moisture to prevent recurring issues.
Can I prevent my hydrangeas from drooping in the future?
To prevent future drooping, ensure that your hydrangeas are planted in ideal conditions, including the right amount of sunlight and a sufficient layer of mulch to retain soil moisture. Developing a routine for regularly checking soil moisture levels every few days during hot weather will help maintain optimal hydration conditions. Additionally, adjusting your watering schedule based on seasonal changes will stave off moisture-related issues as they arise. For example, if weather forecasts indicate extreme heat, consider preemptively watering to prepare the plants to endure such stressful conditions over successive days. Observing the plant’s responses and making adjustments accordingly is key to ensuring long-term health and vitality.