You may notice your potted herbs looking droopy and discolored after heavy rain, which is why you need to know how to treat root rot in potted herbs after rain. This condition causes the roots to rot, leading to wilting leaves and mushy stems as they struggle to absorb nutrients. If left unaddressed, the problem gets worse, weakening the plant and stalling growth, but fixing it is possible now; you can inspect the roots, adjust watering practices, and improve drainage to restore your herbs to health.
Step 1 – Remove Affected Herbs Immediately After Rain
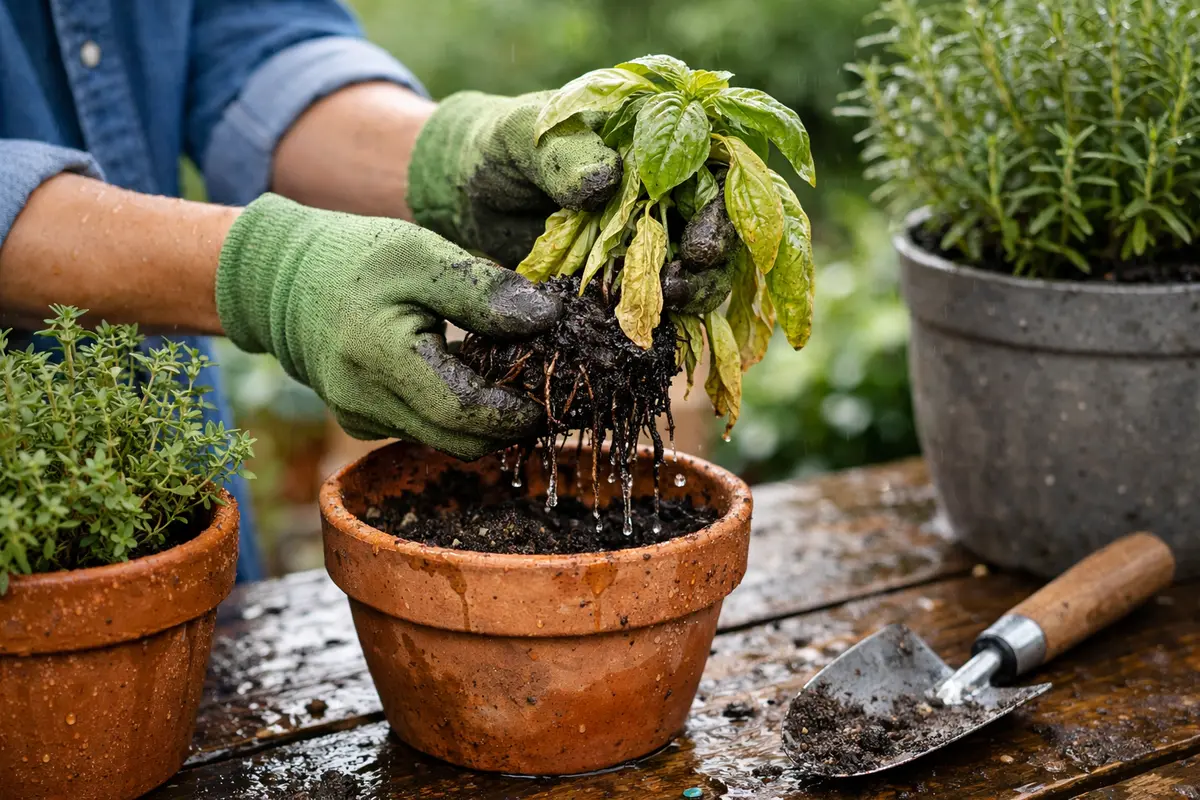
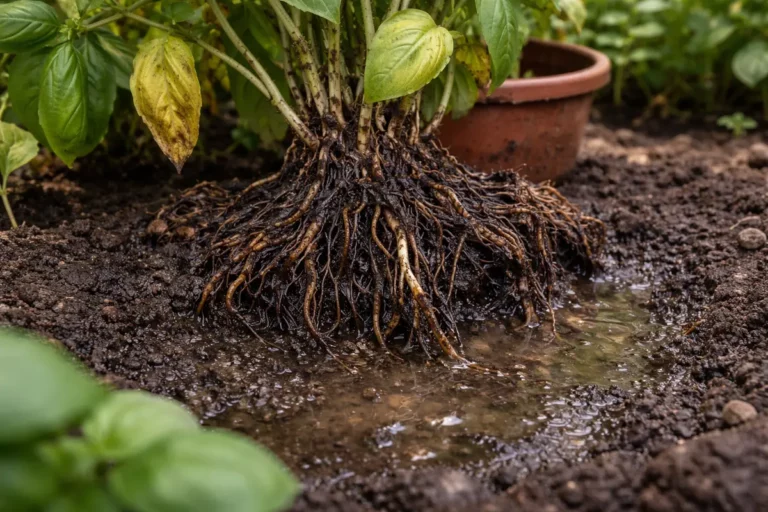
Start by gently removing any visibly affected herbs from their pot. You will notice the soil around the roots appearing overly wet and soggy, with roots that may look darker or mushy. Removing affected plants quickly helps to limit the spread of rot and minimizes the risk of fungus taking hold in the remaining healthy roots. Once out of the pot, inspect the root structure for any signs that rot has progressed deep into the soil. Ensure you handle the roots carefully to avoid further damage during extraction.
If you delay this action, the rot can spread further into the root system and drastically reduce the health of your remaining plants. Roots that are actively rotting lose their structural integrity, making it harder for the plant to stay upright and absorb nutrients. Plants exposed to these conditions for longer periods often show stunted growth or yellowing leaves, indicating a serious degradation of health. Quick intervention is key; each passing day can exacerbate the issue as fungi and bacteria proliferate in the anaerobic conditions created by excess moisture. If you are dealing with a related issue, cucumber plants wilting covers a similar problem in detail.
A common mistake is not inspecting all the roots thoroughly; sometimes, rot can be localized, and failing to remove affected sections can lead to a resurgence later on. If you simply cut off the visible parts without checking below the soil line, the problem may persist, leading to a worse scenario down the line. If you find the roots mushy, be sure to discard them immediately to prevent further deterioration. Make sure to clean your tools after each cut to avoid transferring any pathogens to healthy roots, as cross-contamination can facilitate the spread of decay to other plants.
Step 2 – Diagnose Root Rot from Excessive Moisture
Start by removing the potted herb from its container and inspecting the root system for signs of mushiness or discoloration. If you observe blackened or foul-smelling roots, trim away the affected areas with sterilized scissors. After addressing the roots, repot the herb in fresh, well-draining soil to encourage healthy growth and aeration.
The underlying issue of root rot occurs when excess moisture creates a saturated environment, leading to oxygen deprivation for the roots. Healthy roots are usually firm and white, while rotting roots appear dark and slimy, indicating decay and lack of air. When roots are deprived of oxygen, they begin to rot, which can lead to the overall decline of the herb.
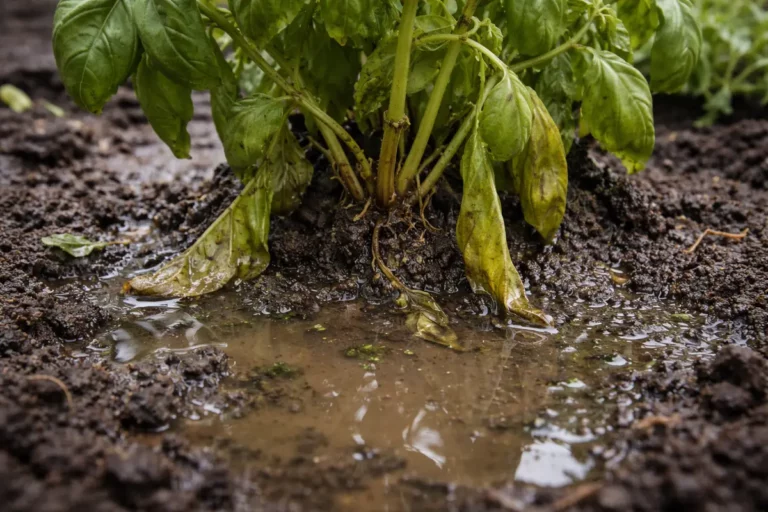
If the soil smells sour, indicating anaerobic bacteria presence, it’s crucial to change the soil entirely and consider a pot with better drainage holes. In contrast, if leaves show wilting yet the soil feels dry, the problem might instead be underwatering, requiring immediate watering and not repotting. Checking these signs will help you take the correct action to revive your herbs.
Root rot occurs when excess moisture in the soil suffocates the roots, leading to anaerobic conditions that promote the growth of harmful fungi. As the root damage progresses, the plant will exhibit wilting, yellowing leaves, or stunted growth as it struggles to absorb adequate nutrients and water. If the soil is waterlogged and smells sour, this indicates severe decay; contrast this with healthy soil that smells earthy and allows excess moisture to escape. After this diagnosis, if you find the soil stays soggy long after watering, it might indicate compacted roots or obstructions in the drainage.
If you find that your soil appears too dry instead of wet, check for pests affecting root systems, as these can also cause similar symptoms but require a different approach. In such cases, inspect the roots for signs of insect activity, including small burrows or beetles, and consider using an appropriate pesticide or organic solution to remove them. Always act promptly when dealing with pests, as they can compound the challenges with root rot, stressing the plant further.
Understanding the conditions that caused the rot is crucial. Root rot typically occurs when soil retains excess moisture, inhibiting the roots’ access to oxygen. This is especially common in clay or poorly-draining potting mixes, where water can collect and suffocate roots, leading to a rapid decline in plant health. When moisture levels exceed what the roots can utilize, the excess promotes fungal growth and further degradation. If you notice that the potting soil is consistently compacted, or if the water stays pooled around the base of the plant, these are key indicators that the situation could escalate if not addressed properly.
If you identify a strong sour smell coming from the soil, that indicates substantial decay; in that case, you must fully replace the soil and treat with a fungicide. Avoid reusing old soil that retained water, as it can harbor pathogens. Offering adequate drainage solutions is essential; ensure drainage holes are unobstructed, and consider the shape and size of the pot for optimal moisture control. Remember, pots with wider bases typically allow for better ventilation and drainage than narrow, deep ones. If your pot lacks adequate drainage holes, adding more can significantly improve outcomes, especially during wet conditions.
Step 3 – Replant Herbs in Fresh, Well-Drained Soil
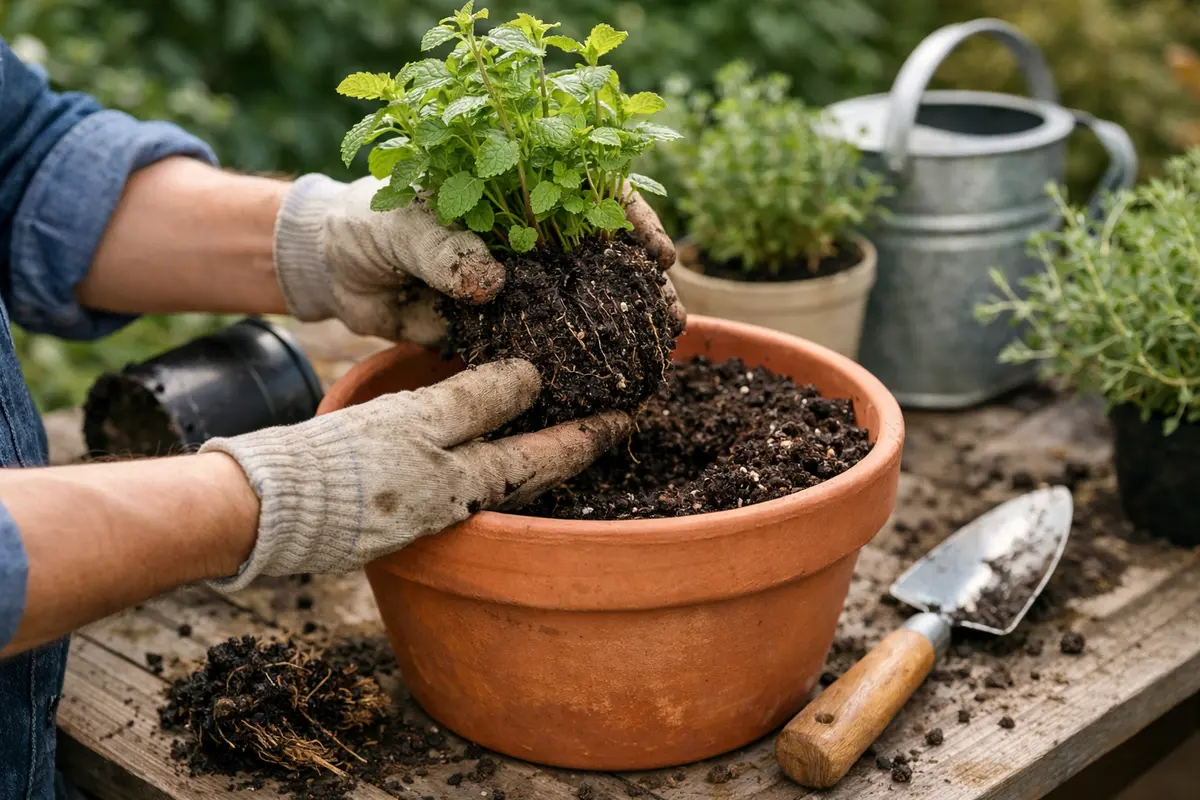
Replant your herbs in fresh, well-drained potting mix immediately. You should see an improvement in their firmness and vitality within a few days as they acclimate to the new environment. Healthy roots thrive better in soil that allows air circulation and proper drainage, encouraging robust growth. Look for potting mixes that specifically list good drainage properties or those designed for herbs, as they tend to have better moisture retention and aeration balance. Pay attention to the material composition of the mix; something with a combination of peat, perlite, and bark can work wonders.
The transition to new soil can stimulate the formation of new root growth, which is essential for the recovery of the herb. Ensure the new mix is specifically designed for potted plants and contains materials like perlite or vermiculite that improve drainage. This helps mitigate any previous water retention issues and creates a more favorable environment for root health. With the right mix, roots can regenerate efficiently, utilizing the available nutrients more effectively, which is particularly noticeable in herbs that are sensitive to nutrient imbalances. A related fix is explained in petunia plants turn if you want to compare approaches.
A common mistake during replanting is over-fertilizing in an attempt to speed up recovery. While a balanced fertilizer can support new growth, excessive amounts can burn sensitive roots that were already compromised. Instead, focus on lightly fertilizing after a month of growth to avoid overwhelming the plant with unnecessary nutrients initially. Monitor the moisture levels closely during the first few weeks; overwatering in new soil can lead to setbacks in recovery, so allow the top layer to dry out before re-watering. Observing signs of recovery such as newly emerging growth and firm leaves will indicate how well the plant is responding to the new conditions. If you see wilting or discolored leaves, this signals an immediate need to reassess your watering schedule.
Step 4 – Water Herbs Sparingly in Humid Conditions
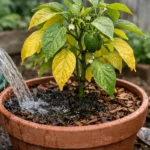
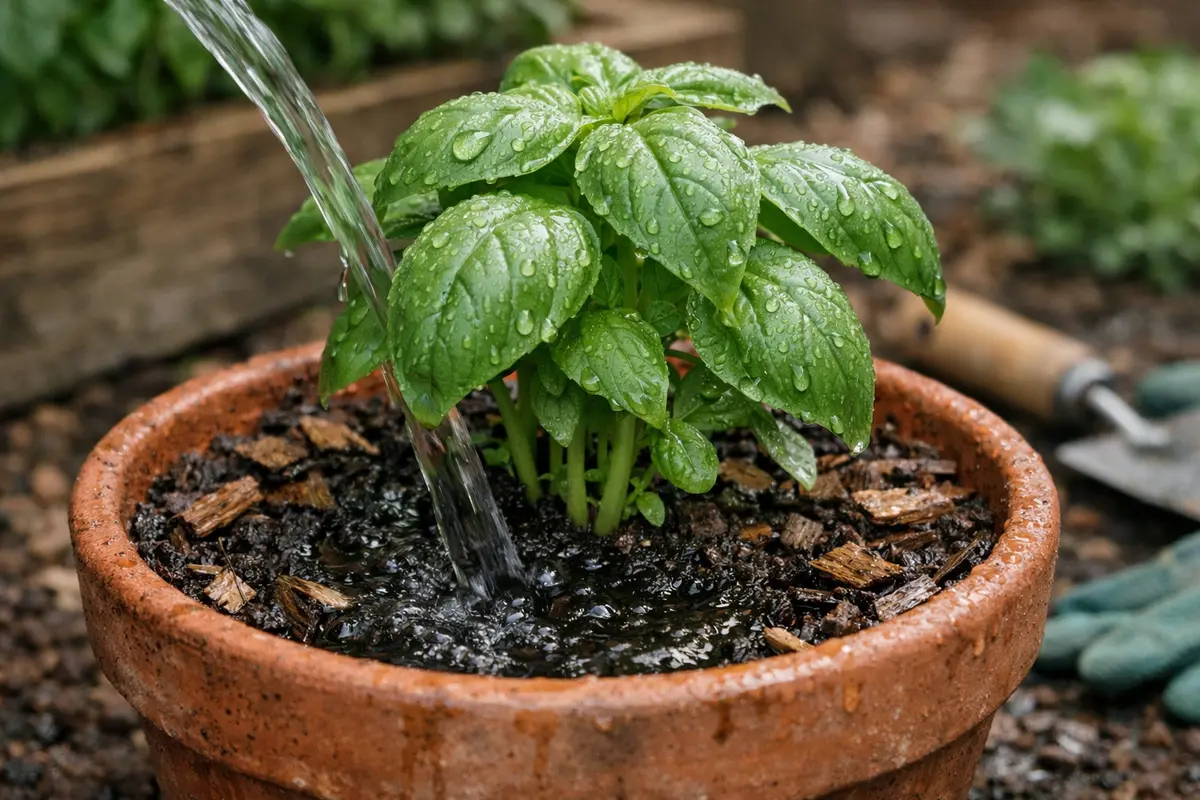
Start by ensuring your potted herbs are in well-draining soil and placed in pots with drainage holes. This setup will prevent excess water accumulation after rain, reducing the risk of root rot. Additionally, monitoring the frequency of watering based on environmental conditions is essential; adjust your schedule during humid months to allow the soil to dry between waterings, ideally waiting until the first inch is dry to the touch.
Overflowing pots can create saturated soil conditions, leading to root rot, while well-drained pots encourage healthy moisture levels. By regularly checking your herbs’ soil moisture a few inches down, you can confirm if the drainage is functioning properly; if it feels soggy, re-pot with fresh, dry soil without delay. The topmost layers of soil should feel loose and crumbly, not compact or overly wet. Implementing a routine check can prevent excess moisture from jeopardizing your plants’ health.
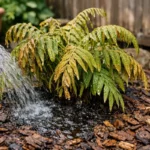
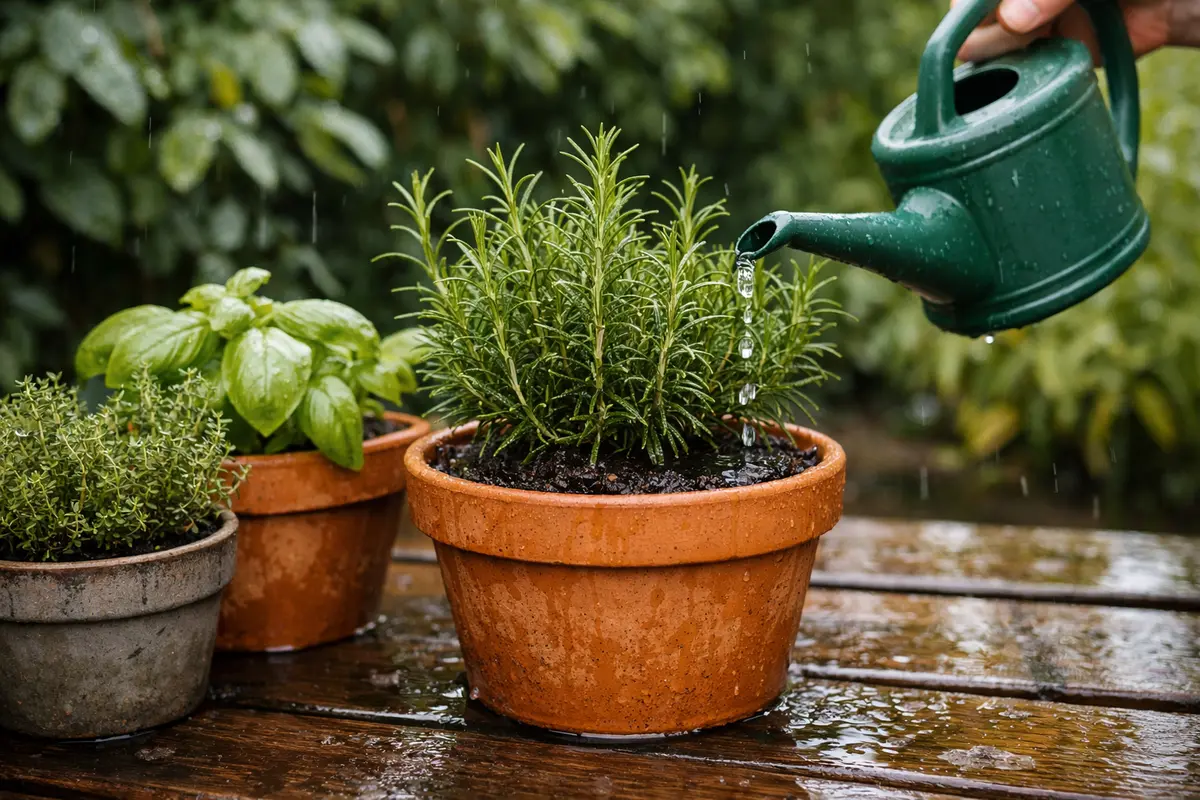
In colder months, when rain is frequent, add a layer of mulch on top of the soil to absorb excess moisture and keep the roots insulated. If you notice any mold or fungus developing, consider moving the pot to a drier location with good airflow to prevent recurrence. Managing humidity levels is crucial as can exacerbate the risk of root rot, especially if combined with overwatering. Ensuring the top inch or two of soil dries out between waterings helps to prevent the conditions that cause rot. This practice fundamentally alters how moisture interacts with the soil and roots, enhancing healthy growth patterns. Checking for signs of overwatering, such as droopy leaves or excessive yellowing, is critical in guiding your next steps.
When temperatures rise in spring and summer, consider adjusting your routine; water later in the evening when temperatures drop to reduce evaporation. Check soil moisture levels with your finger to gauge its water needs accurately; if the soil feels moist just beneath the surface, hold off on watering until it dries out more. There’s a common tendency among gardeners to rush to water without checking, thinking it is necessary, which can lead directly to issues like rot returning. If you’ve recently repotted, allowing longer dry spells initially can help establish new roots without the threat of rot, enabling plants to recover fully.
Step 5 – Check Herb Foliage for Signs of Recovery
Check your herb foliage every few days for visible signs of recovery, focusing on leaf firmness and color. You should see new growth beginning to emerge within a week or two as your herbs establish healthier roots in their new soil. Monitoring the plant’s foliage will inform adjustments to your care routine. Take notes on the growth patterns as they can assist in identifying potential future issues and inform your watering or fertilization methods accordingly.
Healthy plants will have vibrant leaves that look firm rather than droopy or discolored. If leaves appear wilted or have dark spots, inspect the roots again as the problem may not have fully resolved. Pay close attention to growth patterns; if new growth begins to shrivel despite proper care, it may indicate a return of moisture-related issues. Noting any environmental changes, like shifts in temperature or humidity, can also provide context for any setbacks, allowing for timely intervention. Be alert for reoccurring signs of root rot, as these could signal a deeper issue in your plant care routine.
If signs of rot return despite your efforts, it may be time to reassess soil drainage further or consider changing pot sizes. A pot that holds too much water can lead to repeated issues, so switching to a larger container with proper drainage can help manage moisture better. Assessing environmental factors is key, such as whether the current location of your herbs provides adequate sunlight; insufficient light can stress plants, making them more susceptible to rot after damp periods. A healthy balance of light, moisture, and space for root growth is essential for long-term recovery and vitality.
FAQ
How long does it take for herbs to recover from root rot?
Recovery can vary greatly, but most herbs should start showing signs of improvement within 1 to 3 weeks after proper treatment and repotting. New foliage growth and firm leaves indicate that the roots are reestablishing successfully. Keep in mind that continued care and attention are vital during this period; root systems can take a while to stabilize.
Can root rot spread to other potted herbs?
Yes, root rot can spread through contaminated soil or water, affecting neighboring plants. Keeping the infected plant isolated and maintaining good hygiene while handling plants can minimize this risk. Regularly cleaning plant trays and ensuring that pots have good drainage can further help mitigate issues; watch for early signs of rot in nearby plants and treat them promptly if necessary.
Should I remove all affected parts immediately?
Yes, immediately remove all visibly affected roots and foliage to prevent further decay. However, if most of the plant appears healthy, ensure to maintain it while addressing the rot, as complete removal isn’t always necessary. Be mindful of how often you disturb the plants; too much handling can cause stress and soil disruption that might lead to further moisture issues, making your intervention less effective.