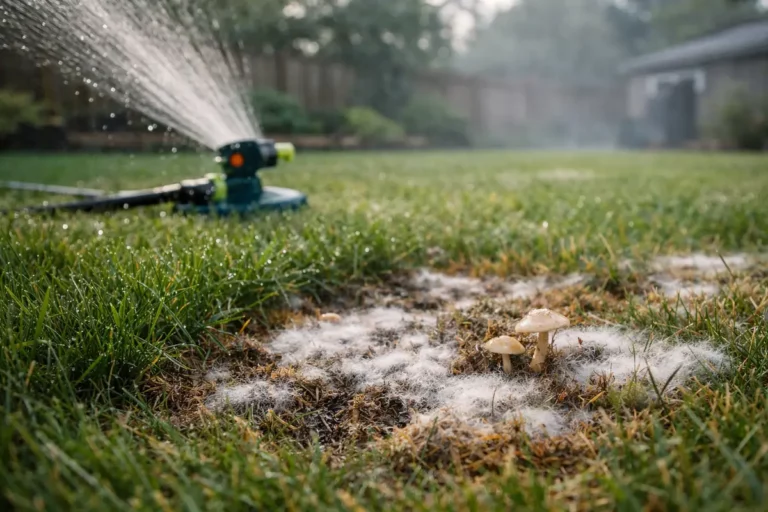
How to remove fungus from lawn after weeks of rain becomes urgent when you notice fresh damage spreading after watering or after a cold night. If you wait, the decline continues, and the damage can spread further, resulting in longer recovery times. Start by removing the worst affected growth right away, then check the roots and correct the cause before the next watering.
Step 1 – Stop Fungus from Lawn After Weeks of Rain Immediately
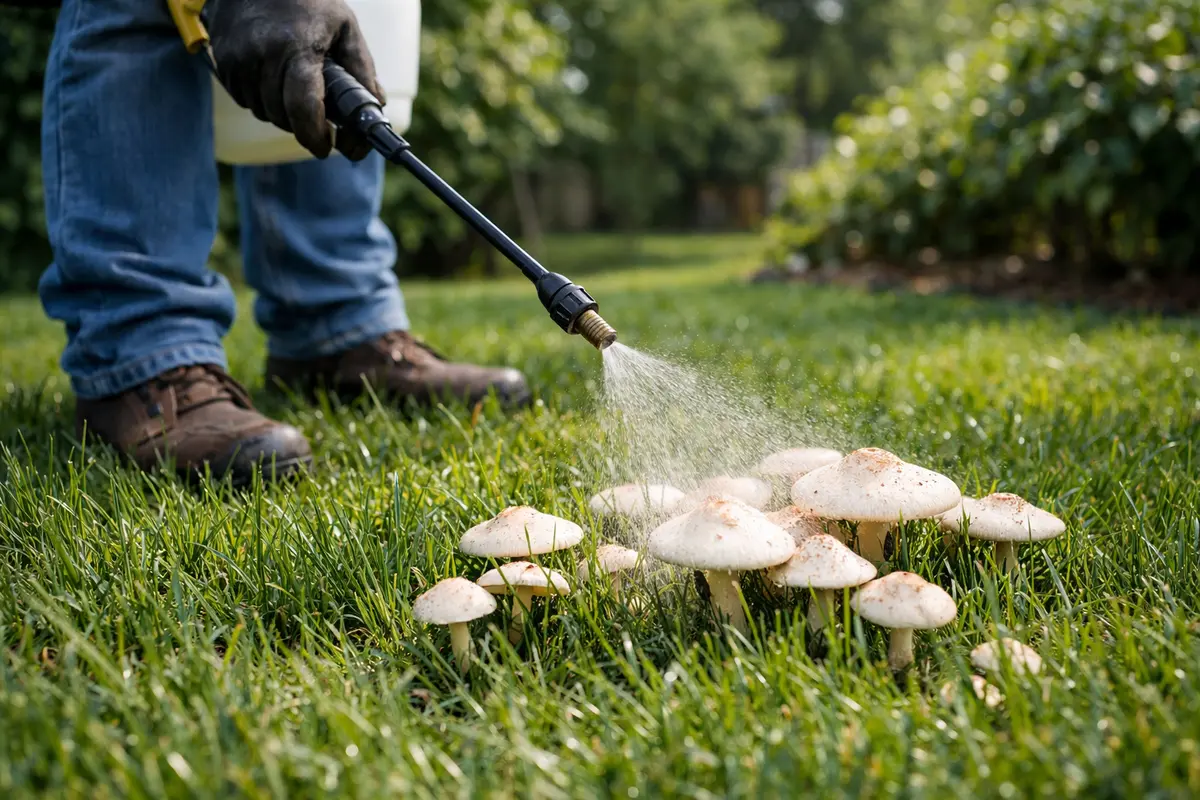
Remove the worst damaged leaves and hold off on watering until the soil surface dries. You should see the spread slow and fresh damage stop getting worse within a day or two. This immediate action is essential in curbing further fungal growth.
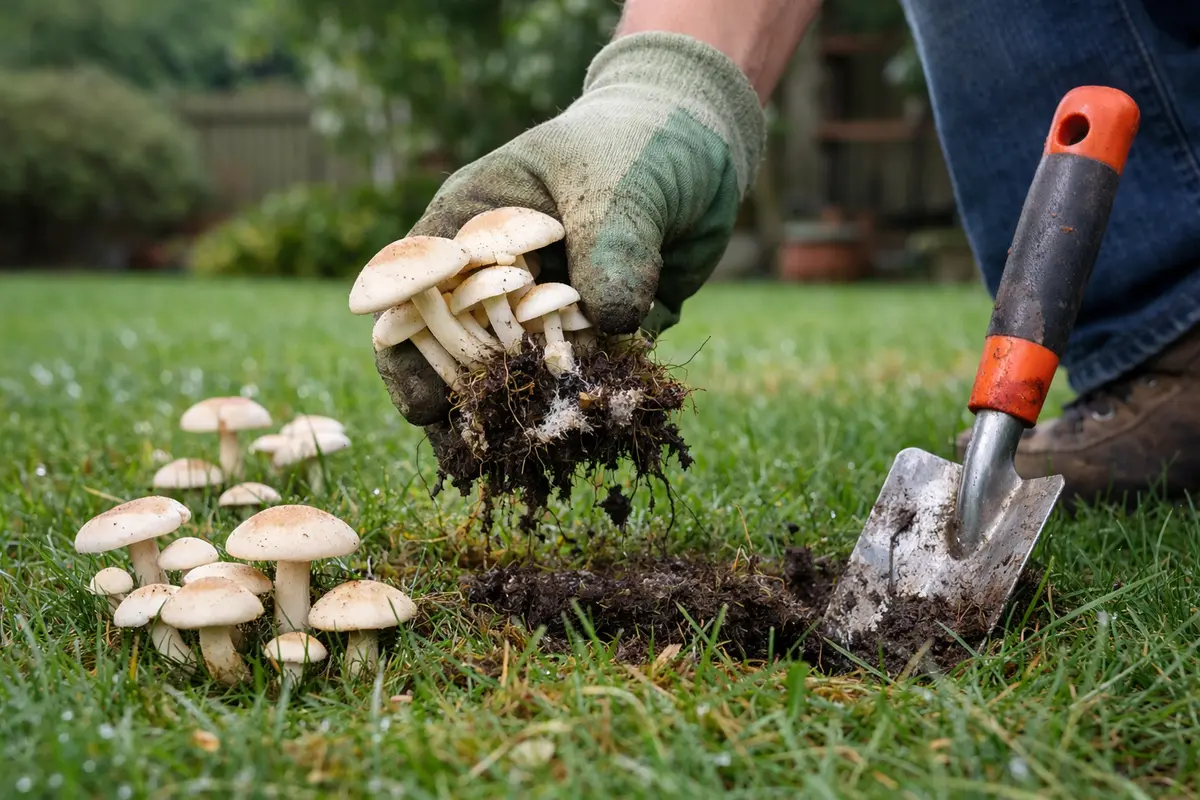
Start by clearing away the worst affected foliage with garden clippers or hand shears. Rake the clippings and affected debris thoroughly; be meticulous, as even small fragments can harbor spores that lead to regrowth. You should promptly dispose of this waste in a sealed bag away from your lawn to prevent reintroduction of the spores. A quick note: if you simply skim the surface, small spores can remain and cause regrowth. Keep the area ventilated by allowing for ample drying time; ideally, aim for direct sunlight for several hours to help dry out the affected areas. The quicker you clear the area, the better your chances of initiating regrowth without fungal interference.
Acting quickly is crucial because fungi thrive in damp conditions, and they can rapidly reproduce, leading to more extensive damage to your grass. Clearing the affected area disrupts their growth cycle and begins the recovery process. If left unchecked, the fungus can invade healthy grass, weakening it and potentially killing it over time. This issue can escalate within just a few days, making timely intervention even more critical. Additionally, this cleansing process can expose soil that is saturated, enabling moisture to evaporate more efficiently. A common mistake during this process is neglecting to thoroughly rake and bag clippings; without that attention, microscopic spores will likely re-infest your lawn quickly.
Step 2 – Identify and Correct the Cause
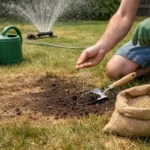
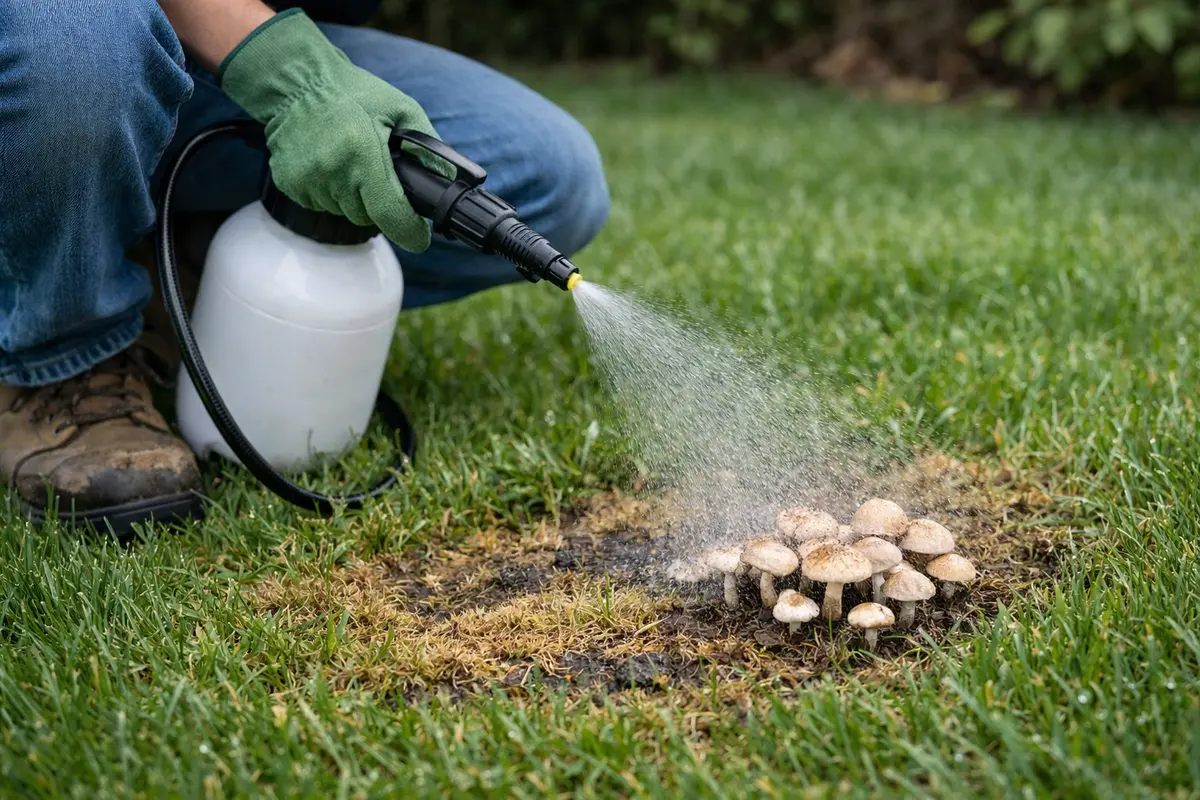
Inspect your lawn for standing water or poor drainage areas and correct these issues immediately. Improving drainage may involve aerating your lawn or adding soil amendments such as sand or organic matter to improve moisture retention while promoting drainage. Once drainage is enhanced, maintain a soil composition that supports healthy grass. Aim for at least 10% organic matter in the soil to create a balance that prevents future fungal growth. If you only treat the symptoms without fixing the underlying conditions, the fungus has a tendency to return.
Understanding the underlying cause of fungal growth is essential. Lawn fungus often thrives in damp soil conditions, particularly in heavy clay soils that do not drain well. When moisture accumulates without proper evaporation, it creates an ideal environment for fungi to proliferate. By addressing drainage, you are correcting the root issue. In cases where standing water proves persistent, you may need to consider grading the lawn or installing a French drain to redirect excess water away from vulnerable areas. This can avoid more extensive damage by facilitating proper runoff. If you notice that water pools in certain areas even after attempting these fixes, this could indicate that your chosen amendments are insufficient, requiring more aggressive alterations to the landscape.
If your lawn is still soggy after addressing drainage, modify your watering practices as necessary. Overwatering can lead to extended damp conditions that promote further fungal growth. Healthy lawns typically require about an inch of water per week, including rainfall. Adjust your watering schedule based on current weather conditions and soil moisture to keep the lawn in, including insights on watering humid weather that map to the same mechanism, optimal health. If using a sprinkler, set it to run no longer than 30 minutes at a time to avoid water pooling. Monitoring rainfall using a rain gauge can provide a more accurate measure to inform your watering habits and avoid providing excessive moisture. Be wary of the fact that regular intervals could sometimes create conditions that facilitate fungal growth, especially if those intervals coincide with periods of high humidity.
Step 3 – Restore Plant Health
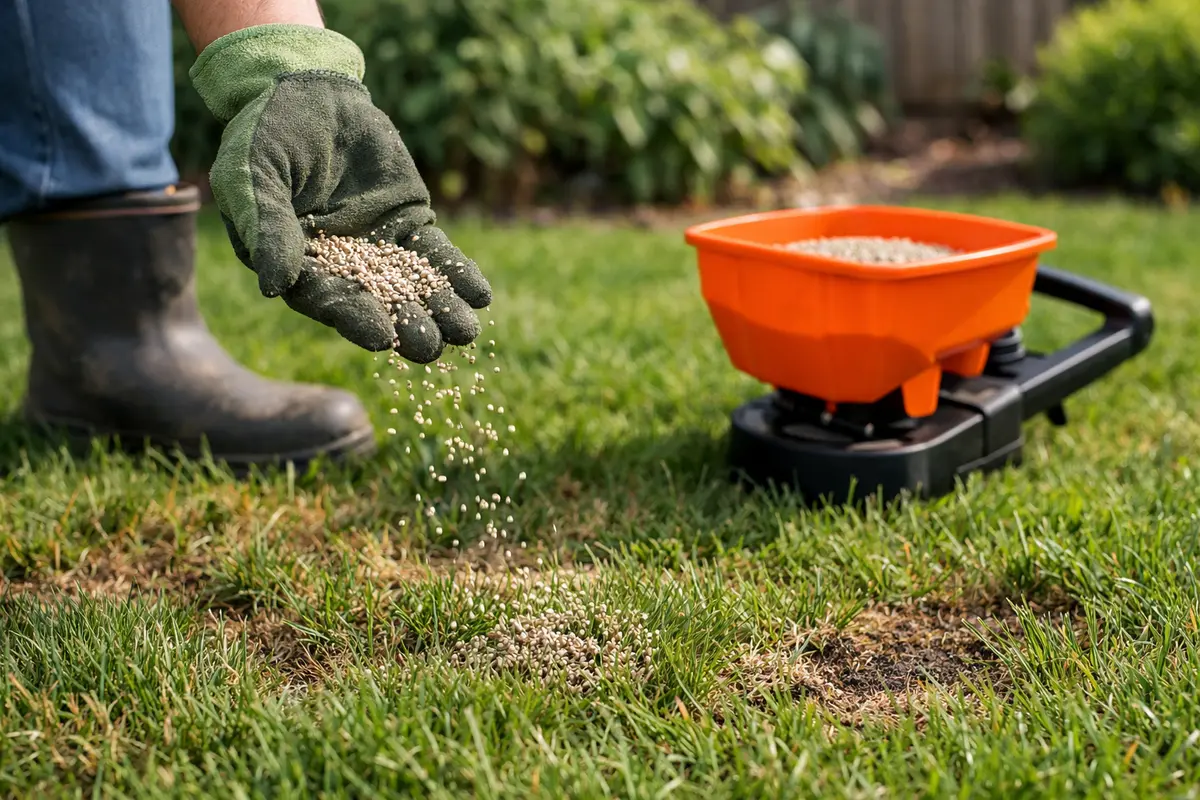
Keep follow-up care steady and allow the plant to recover over the next few days without rushing to apply fertilizer. You should see new growth that stays clean with firmer stems as recovery progresses. Watering should resume softly without saturating the soil again, which could lead to another cycle of fungus. Rushing into fertilization is a common pitfall; if the grass has not yet fully stabilized, applying too soon can overwhelm the roots.
Respect the recovery timeline; do not rush fertilizer during the first week after you’ve started addressing the fungal issue. Instead, focus on observing how the lawn stabilizes. Older damage may stay visible, but the trend should improve as the plant begins to regain its health. During this recovery phase, gentle irrigation of up to 15 minutes can help signal to the roots that they are being tended to without overwhelming them with excessive water. An overabundance of moisture during this time can lead to further complications, especially in early recovery stages.
A healthy lawn requires appropriate nutrients to withstand stressors like pests and diseases. As the grass receives adequate nutrition, it can grow back denser, improving its resilience against fungal attacks. This recovery process often takes up to a couple of weeks, depending on soil conditions. Look for signs of improved color and healthy leaf structures as positive indicators of recovery. If patches remain weak or discolored after fertilization, consider conducting a soil test to check for nutrient imbalances and pH, enabling you to implement targeted amendments based on the results. Recognize that common mistakes during recovery, such as applying fertilizers too heavily or too frequently, can harm your lawn by causing over-nutrition that leads to ‘burning’ of grass—creating even more problems.
Step 4 – Prevent Fungus from Lawn After Weeks of Rain from Returning
Reduce repeat flare-ups by making it a habit to inspect your lawn after watering and before humid weather. You should ideally see steadier growth from here on once the prevention routine is locked in. This habit can greatly contribute to the longevity of your lawn’s health. Develop a consistent inspection schedule; every two weeks during peak growing seasons can be an effective strategy.
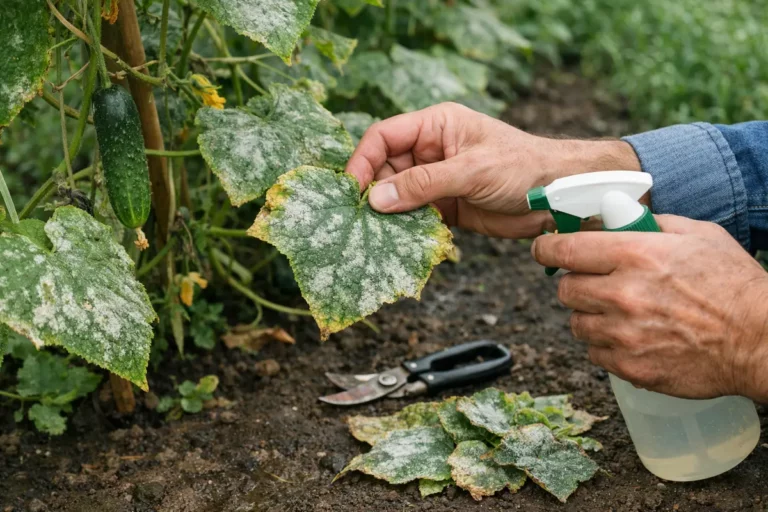
Establish a proactive schedule. After addressing immediate risks, adjust your watering routine while consistently monitoring for symptoms of fungal return. The next time conditions appear similar, repeat the same inspection protocol. The plant should, where cucumber plants develop describes a parallel pattern, bounce back more robustly each time the regular routine is initiated. A key aspect of this protocol is identifying specific indicators such as changes in soil texture or unusual leaf colors, which can signal early fungal development before it becomes a widespread issue.
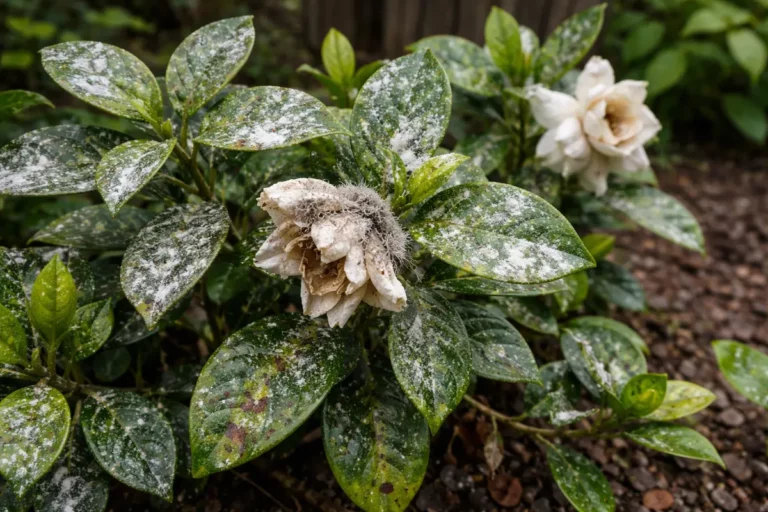
It is essential to recognize that environmental conditions significantly affect the recurrence of fungi, especially during damp seasons when humidity is consistently higher. Regular maintenance plays a key role, including aeration and overseeding with disease-resistant grass varieties. Implement these practices consistently—preferably in both the spring and fall—to fortify your lawn against future fungal invasions. Consider incorporating fungus-resistant grass types like tall fescue or perennial ryegrass into your overseeding mix to add a layer of defense against issues. This practice thickens your lawn while providing an additional buffer against potential fungal growth, enhancing resilience overall. Also, keep an eye on the humidity levels in the area; high humidity can be a precursor to fungal issues, signaling you to increase maintenance efforts preemptively.
Step 5 – Monitor and Follow Up
Check again every 2-3 days over the next 7 to 10 days and closely observe the new growth for signs of improvement. You should look for cleaner new leaves, firmer stems, and a complete absence of fresh damage or spreading stress. It’s essential to maintain diligence during this phase. Failing to adhere to a consistent monitoring schedule significantly undermines recovery efforts.
Recheck every 2-3 days with your inspection protocol, specifically looking for stress signs such as wilting or discoloration. If you find fresh damage appears or the problem returns, revert back to the correction step and repeat the treatment. If the current fixes are holding, new growth should stay healthy and the overall trend should improve. Look for widespread green coverage, affirming that your grass is moving in the right direction. Prompt recovery signs following treatment often can include vibrant green hues and stronger leaf structures, reflection of effective care and management checks.
A fully recovered lawn should display consistent color and texture without any indications of yellowing or wilting. Any re-emergence of fungal signs calls for immediate action by implementing the previous steps without hesitation. This could mean raking again and reassessing drainage issues more thoroughly. Should the fungus seem resistant to the outlined methods, this, and heavy rain containers shows how similar variables interact, may indicate deeper, underlying problems requiring additional scrutiny. Lastly, if your continued efforts do not yield results and the fungus persists despite your interventions, consider reaching out to a professional lawn care service. Their expertise may provide potent fungicide solutions and offer customized guidance based on your lawn’s unique conditions. Identifying the exact nature of fungal problems can sometimes require specialized treatment that only professionals can deliver.
FAQ
How long does it take for grass to recover from fungus?
Recovery time varies based on damage severity and environmental conditions. Typically, you might see considerable improvement within 2-4 weeks following treatment and proper care. During this period, closely monitor soil moisture and nutrient levels to support a successful transition back to health. Failure to ensure proper hydration and nutrition can prolong the recovery process.
Can fungus spread to other areas of my lawn?
Yes, untreated fungus can spread rapidly across your lawn, especially during wet weather conditions. Diligent monitoring, combined with the immediate removal of any visible fungus, greatly reduces this risk. Make it a routine to inspect for new growth after heavy rainfall or high humidity, allowing vegetation to flourish without the interference of the fungus. In some cases, changing your mowing pattern can also help minimize the spread by altering the way grass blades are cut.
Should I remove all affected parts of the lawn?
Removing visibly infected areas or patches is advisable to stop the fungus from spreading further. However, healthy grass surrounding these zones can often recover with proper care. Maintain vigilant monitoring of these areas and implement preventive strategies like adjusting watering schedules and fertilization practices to nurture the surrounding grass back to health. Always survey local conditions and anticipate environmental factors that may spur the return of fungal issues as well.